
The one weakness in the Oughtred plans is the way the carlins attach to the deck beams or whatever the heck it is they are supposed to attach to, since they are the main support for the coaming. I ended up sacrificing lightness for strength and glued them to the main beam against small blocks so I could get the proper amount of bend as they sweep down to the plywood knee that holds up the deck amidships. Then I glued in another small piece between the coaming and first deck beam (slathered with gobs of epoxy, since that is all that holds it in).
I wished I�d made the coaming a bit higher, since it ended up having a lot of upsweep to it, but I was running out of long lengths of plywood. It looks okay on the finished boat.
To make the boat look clean and have water run off easily, I had the decks come up exactly even with the edge of the gunwale. This meant I had to get a perfect fit on both sides and also come close the coaming, even with a trim piece around the coaming to seal the edge. I used a cardboard pattern, but still ended up running around the boat for hours shaving off a bit here and there with a microplane, fitting the deck, then making the same adjustment on the opposite side to keep everything even.
I would advise future builders to bring the inwale up to the exact level of the gunwale, run the deck over both and put I cap piece on top to make a �sandwich� with the deck in the middle and the gunwale/inwale on the bottom. Then you could trim the overhang off with a router and be done with it. The end grain of the deck would show, but my eyes would be hard pressed to see 3 mils of plywood from more than five or six feet.
I put solid wood trim pieces over the butt joints on the decks. I have seen decks with scarfs or plain butt joints, and they look kind of scraggly because they are long and highly visible. I ended up with a butt joint I didn�t want on the aft end, but I was simply out of large 3 mil pieces.
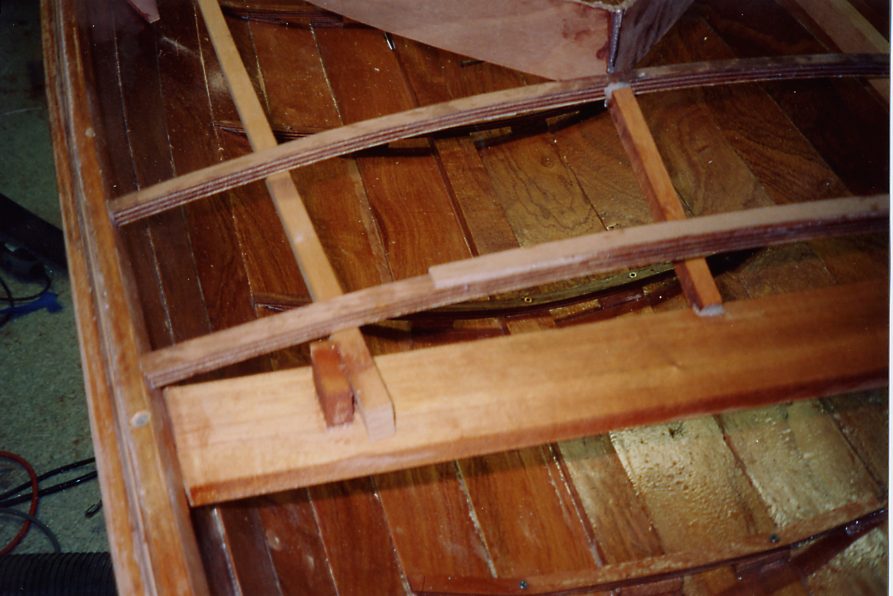
The floors were laminated from three layers of 3 mil offcuts. I did them �in situ� (on the boat) with screws going into the small spacer blocks shown on the plans. It got pretty hairy trying to hold them down, keep the laminations lined up, drill the holes and screw them in place, since a couple have a lot of bend and really fight back. I won the fight, but at the cost of having epoxy (leavened with sweat) up to my elbows by the wee hours when I finally finished what looked like a �simple� job.
In retrospect, it would be much easier to just use the molds that were used to build the boat as bending jigs, clamp them down as you would a stem piece, then just glue them into the boat already bent.
The floorboards were laminated from one piece of 3 mil and one piece of 4 mil plywood. They are held in place with small brass threaded inserts and screws, so they can be removed for cleaning. Much easier on the butt than the wooden buttons shown in the plans, and very nice looking.
