IMVU users and all developers
MySpace, Blogger, Facebook, Friendster, Zwinky, B2evo or any other blog or personal webiste users
To start, you can go to some image hosting sites. Photobucket, Tinypic, Imageshack...or any site that gives you the HTML CODE OF THE PICTURE. This time I'm using Photobucket.
1. Upload the image you want. Pretty easy, huh?
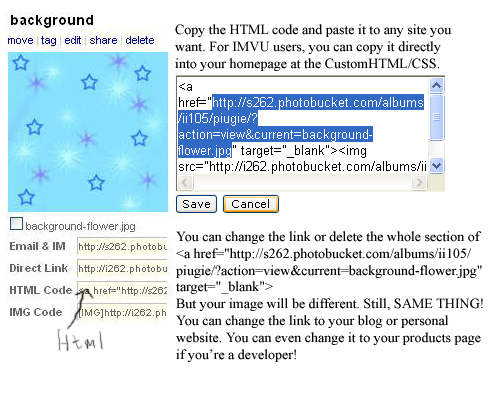
2. Copy the HTML code and paste it to your website. Remember, it will say like Custom Stylsheet or CustomHTML/CSS or HTML!
3. There is a link example:
<a
href="your link here"; target="_blank<img src=your image link here>
If you're using another kind of Image Hosting site it might be a little different from Photobucket. Change the link to the site you want it to go. The target can be changed to:
_blank
_parent
_self (itself)
_top (if you have a top one)
mainFrame (if you have a main one)
leftFrame (if you have a left one)
Text (if you have a frame)
Please do note that the letters must be correct. If it is a highercase letter, it MUST be.
That's it! You've done your first link!
IMVU developers: You have your own banner to your own catalog!
IMVU users:You have your own "Link" thing and you can show off to your friends! For other users: You've finished the MOST BASIC but the COOLEST HTML code eva!
More complex information below.