Feel free to rip off anything you like from this guide.
A few notes about getting started. I find that it's easiest for me to just get a bunch of paper cups, write the name of the playfield part I'm working with on the paper cup and then throw all the screws and nuts into that cup. I find that if I have a cup for say the sling shot plastics, when I go to reassemble it's pretty easy to deduce what goes where. Pictures are always a big help. Also, whenever possible put the screw or nut back into the part it came out of.
Also, before I begin I lay a while towel in the bottom of the cabinet.
Starting pictures:
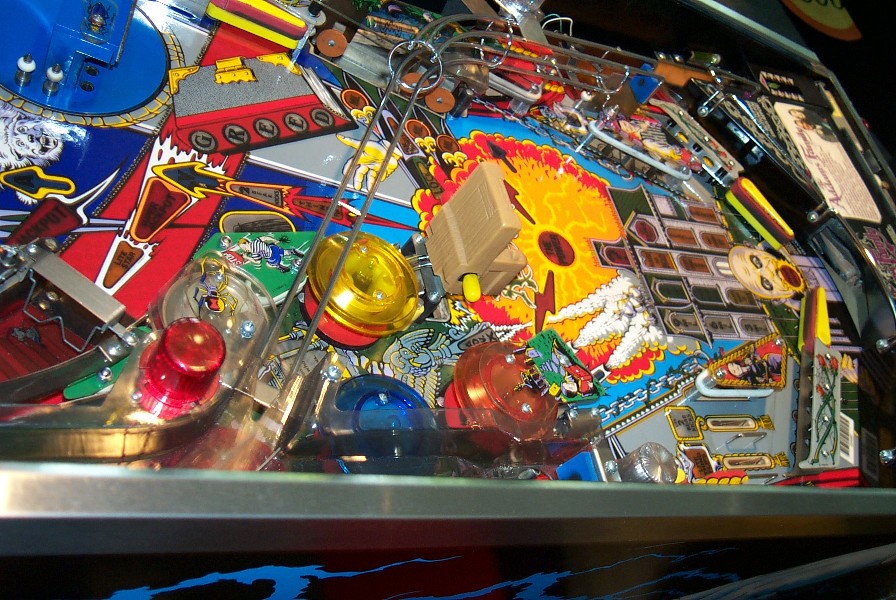
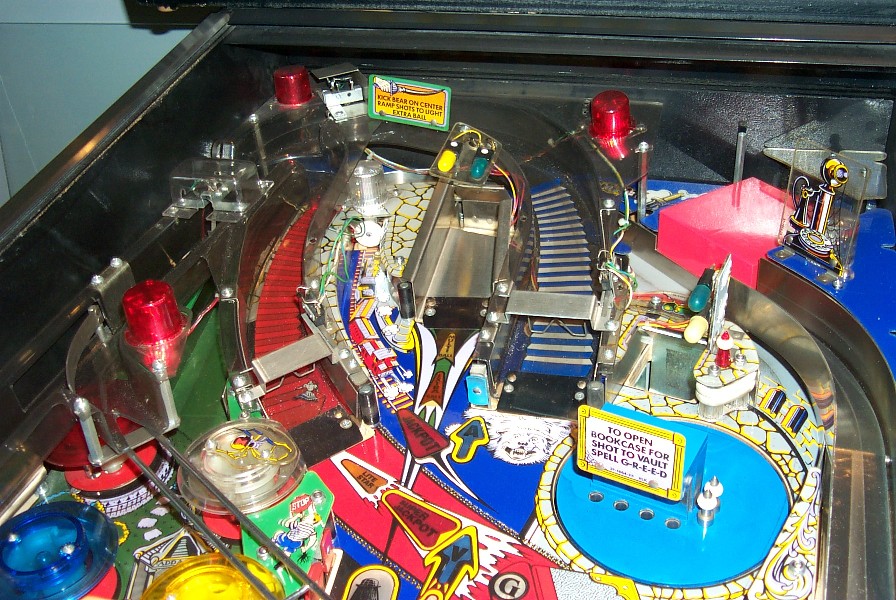
And here we go
- Remove 3 balls.
- Raise playfield and disconnect wires to ramps (basically any wire running though a hole to the top of the playfield). Make sure all wires can come up through the holes without any encumbrances. Label connectors so they will be easier to reconnect. I use a sharpie permanent ink pen and use the letters of the alphabet - a,b,c...
- Remove sling plastics. There's a washer on top of the ramp bracket.
- Remove wire ramp. The wires won't come up through the playfield until the swamp plastics are removed.
-
Remove swamp plastics and the ones below it. They are all attached to
each other. No need to unattach them, they can be removed as one piece.
Note: double rubber rings under plastics.
Lower playfield with slings removed.
- Remove plastics by lower flippers.
-
Remove outlane star posts - double rubber rings, 1-3/4" bolt.
Under red plastic with braid are three star posts with double rubber rings. The top one has a 2 inch post with 5/16" exposed above nut. The left one has a 1-3/4" pan head screw and the right bottom has a 2-3/8" post with a 5/8" screw exposed for the ramp.
- Remove the bulbs from the electric chair and lift the chair straight up to remove it.
- Remove rose, amber and clear pop bumper covers. The other two are not accessible because of the bear kick ramp.
-
Remove plastic by "thing", it has a stop sign on it.
- remove star posts under "stop" plastic.
- lower one has 2 inch post with 5/16" exteension.
- upper has 1-3/4" pan head screw - Remove plastic over "thing flips" flipper.
-
Remove bear kick ramp. This requires a bit of work. It can be done
without removing the playfield from the mounting, BUT, it's much
easier if the playfield is out of the mounting.
To remove playfield from mounting, put playfield at about a sixty degree angle and lift straight up. It is HEAVY! Now get the mounting bracket in front of the mounting post (on top of). Put a towel or rags on the rails at the front of the machine and lower the playfield pulling it about four inches out from the cabinet.If you don't remove the playfield, you'll need a stubby phillips screw driver to remove the ramps and removing all the playfield ball guides will not be easy. You also will not be able to remove the thing box, as you'll need access to the very rear corner of the playfield.
- Remove the red and blue pop bumper covers.
-
Remove plastics under the bear kick ramp.
Playfield with ramp removed:
-- Note, that the long green plastic on the left side has 3 washers on the posts below the plastic.
-- Note, plastic with acid bottle has 2 incch bolt on right side with a washer on top of the plastic.
-- Both star posts by vault hold have 2 incch posts with 5/16" extrusions. - Remove book case sign, two screws in top.
- Remove playfield ball guides. Note, some of the guides require nuts to be removed from the bottom of the playfield. I like to remove everything from the far back of the playfield and then put the playfield back into the bracket so it's not extented anymore. This way I can raise and lower it without having to worry about anything. However, just as long as you're careful, you can leave it out of the mounting bracket.
-
Remove thing plastic box, carefully lift it straight up.
To remove thing plastic box - raise playfield, remove metal box cover. To do this just remove the 2 screws at the top and slide the box backwards. Careful, the box has sharp edges!
-
Remove hand from mechanism by unscrewing both screws.
Playfield with all plastics removed:
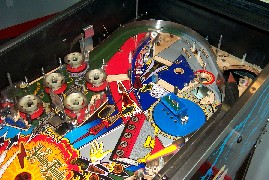
-
Remove ball guides from rear of playfield so you can clean the corners
and other areas easily.
Pictures of playfield stripped:
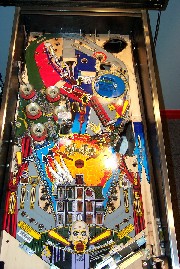
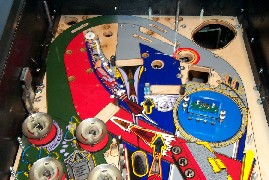
- Remove under playfield troughs, remove the switch from the plastic trough so you can clean it thoroughly.
-
Remove plastics that hold light bulbs so you can get access to the
playfield inserts. Clean the inserts using compress air or a brush
and windex. Note, if you are using a brush, use a dry brush first to
remove the loose gunk before you wet everything and make a big mess.
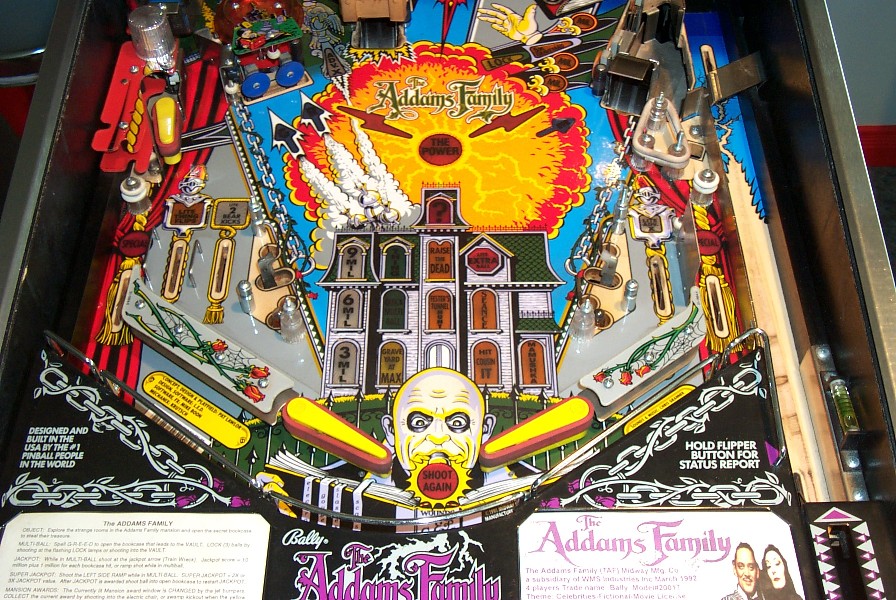
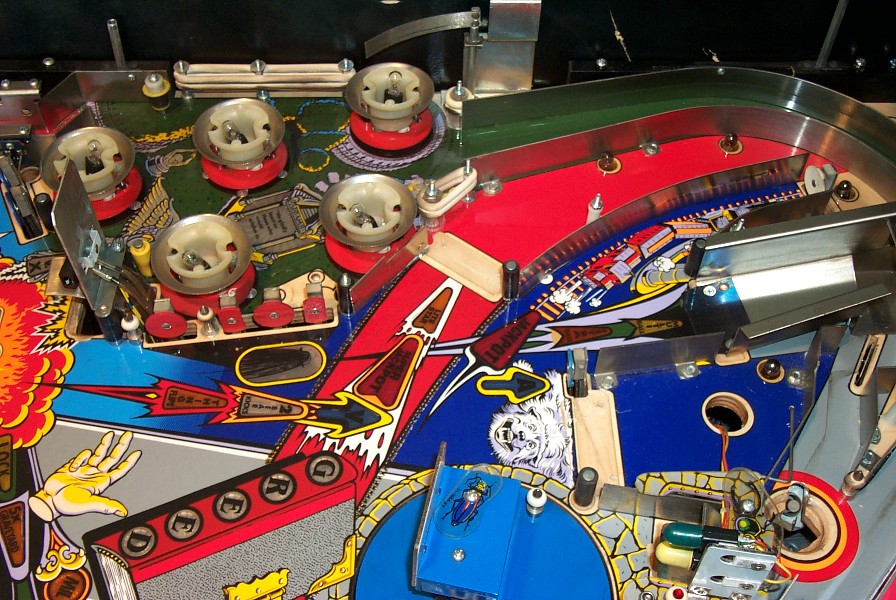
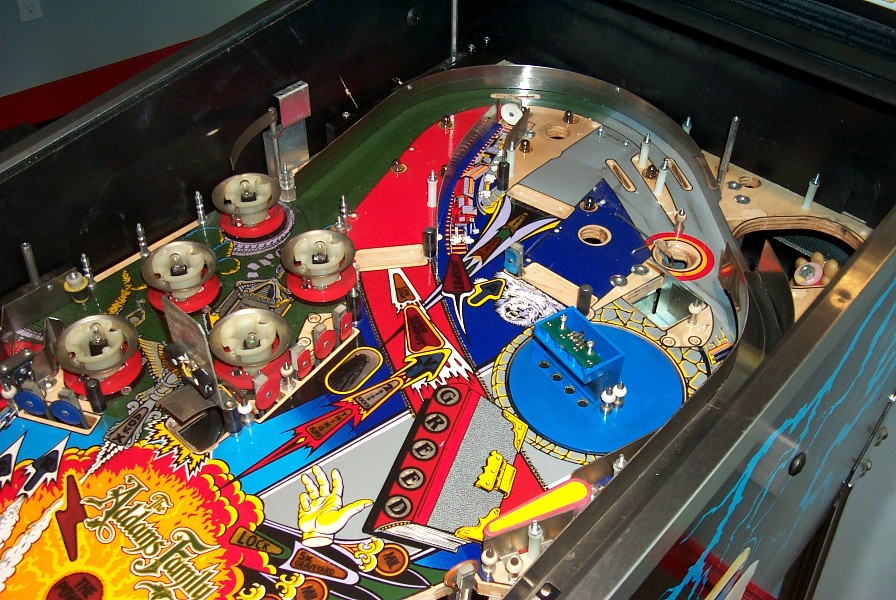
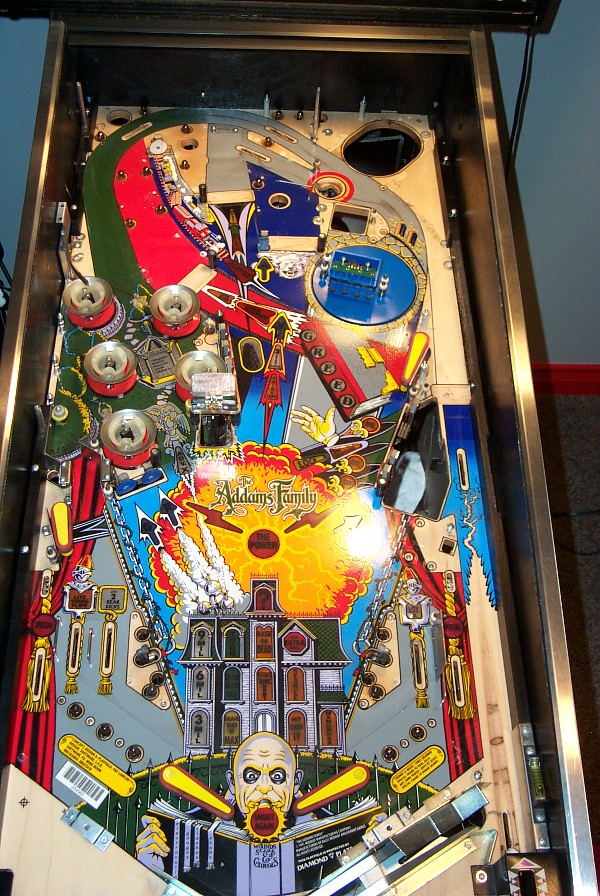
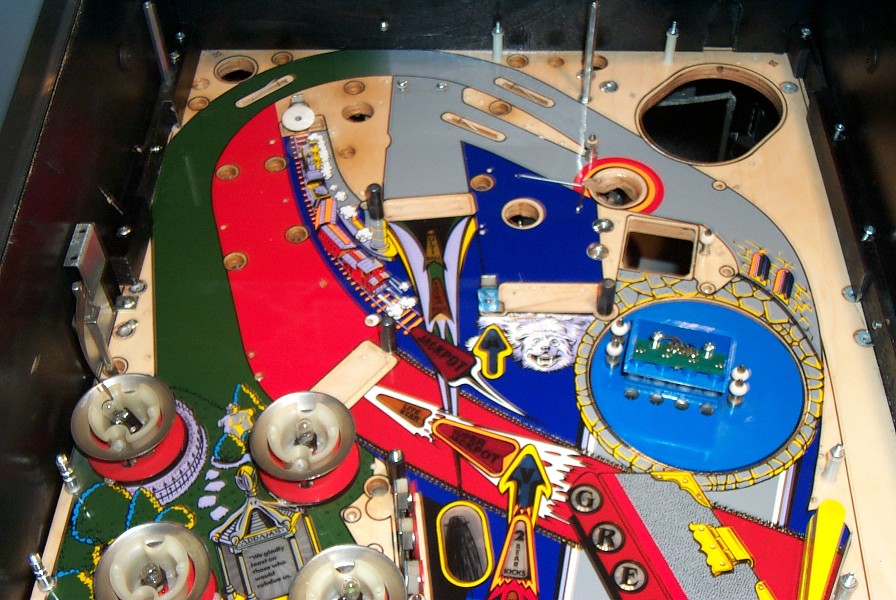
The plastic with the phone on the top is the hardest piece to get back into place. You can put the rear screw in and slide the lower plastic under it, but the ball guides are in the way making it impossible to slide in the front screw. If you have a magnetic #1 phillips screw driver this will be much easier. The screw driver needs to be thin to fit in between the plastics to reach the screw.
It's also a good idea to run a lamp test once you've replaced all the lamps and before you start putting everything back. There is nothing worse than finding out a lamp is not working in the back corner.
Good luck - end of guide.
It's Only Pinball