Feel free to rip off anything you like from this guide.
A few notes about getting started. I find that it's easiest for me to just get a bunch of paper cups, write the name of the playfield part I'm working with on the paper cup and then throw all the screws and nuts into that cup. I find that if I have a cup for say the sling shot plastics, when I go to reassemble it's pretty easy to deduce what goes where. Pictures are always a big help. Also, whenever possible put the screw or nut back into the part it came out of.
Also, before I begin I lay a while towel in the bottom of the cabinet. When parts drop they are much easier to find.
And take plenty of pictures. If you have a digital camera, go overboard, you can always delete them after things are back together.
And lastly, I found this a rather easy pin to shop. Things come a part in logical manner; everything you need to remove has connectors (except for the pop bumpers). Even some of the solenoids have clip on wires. There are no big surprises and the order is not that critical.
Parts to have on hand
-
Replacement spinner decal.
Bulbs - thirty or so #44 or #47
twenty #555 a few #89 flashers Rubber ring kit - see chart at end
Two coil sleeves for gopher plungers - WMS part number 23-7067-6
Replacements for anything that is obviously broken, pop bumpers, for example.
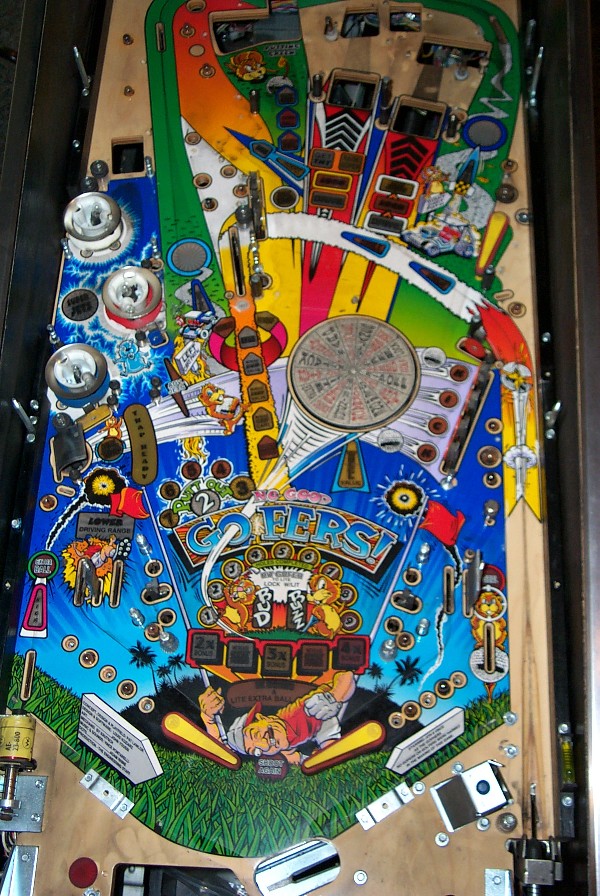
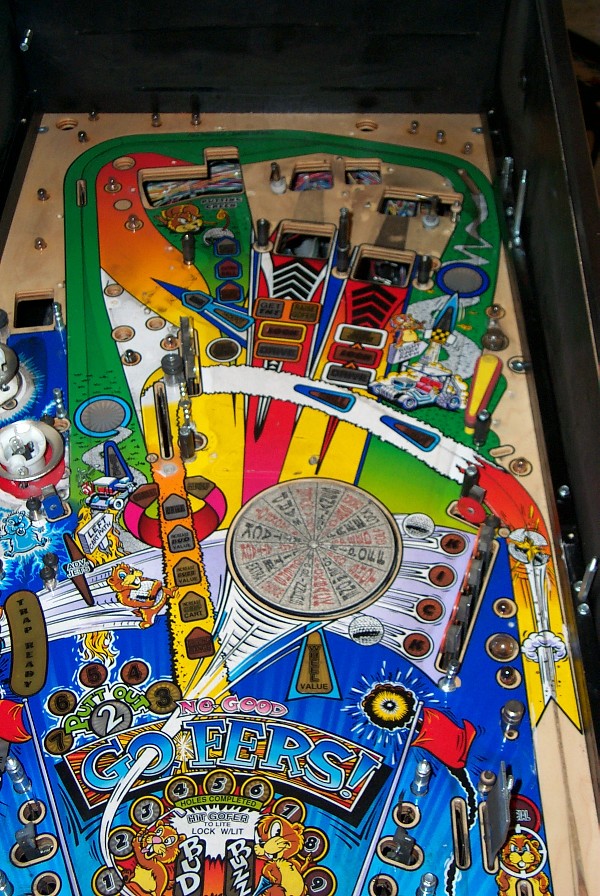
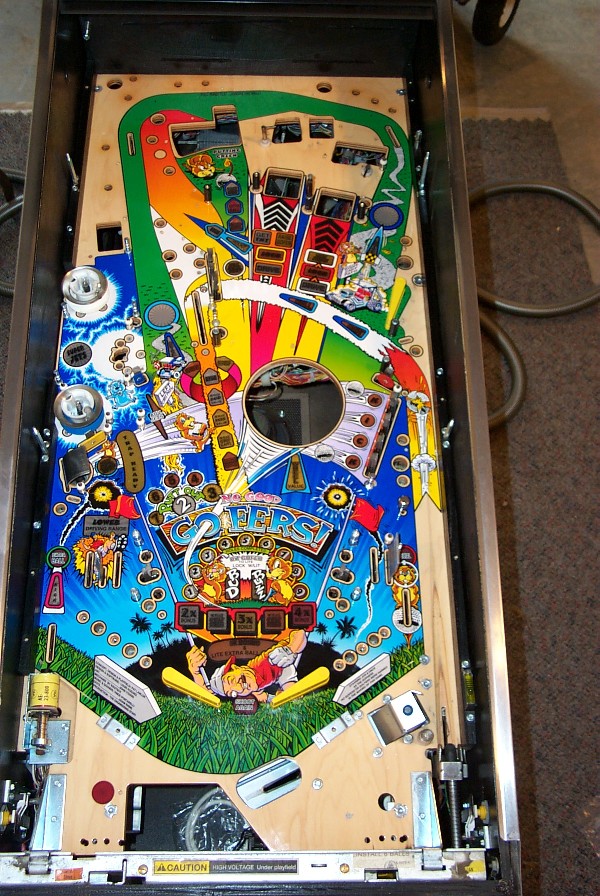
Starting pictures:
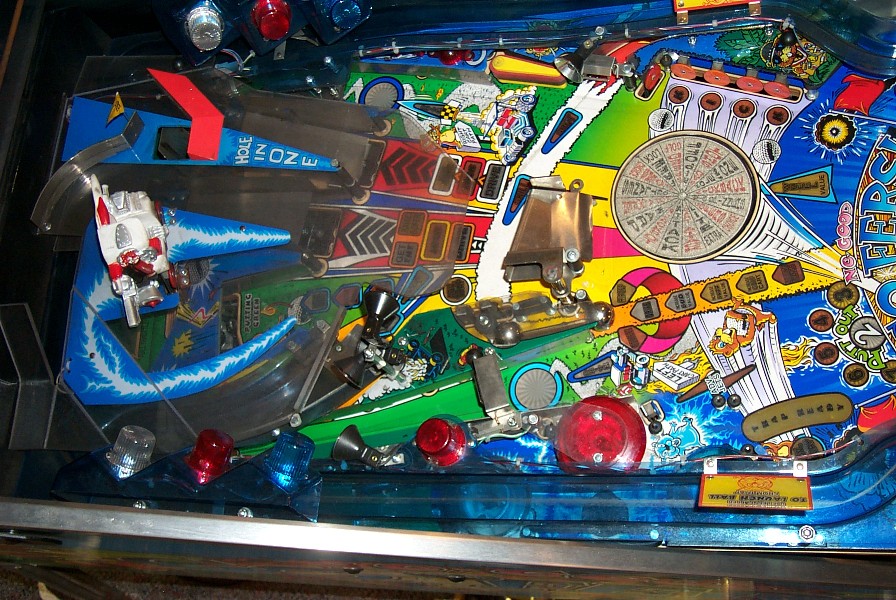
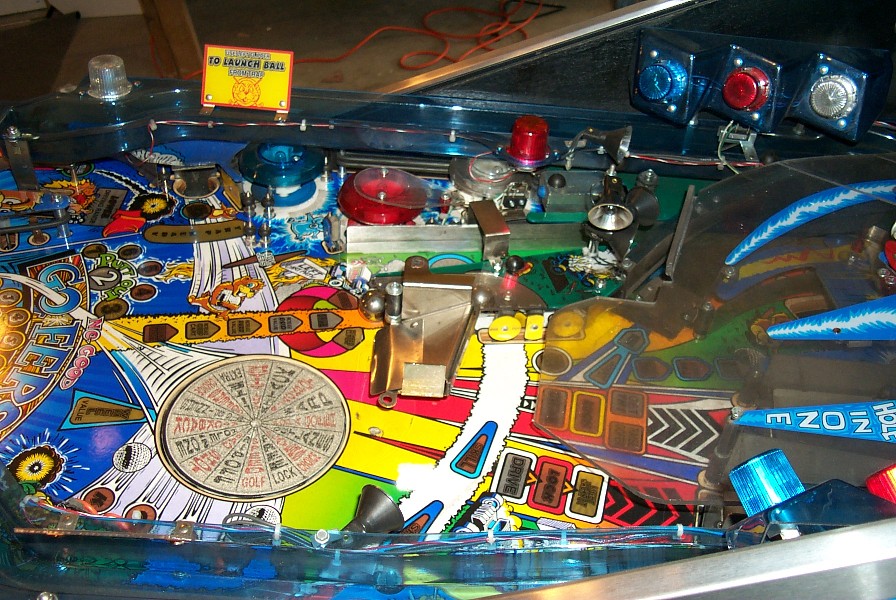
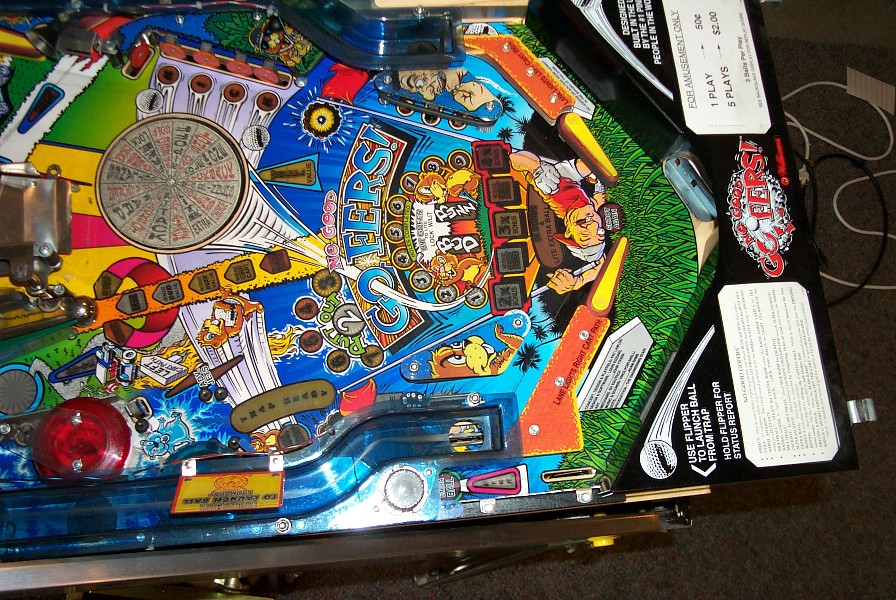
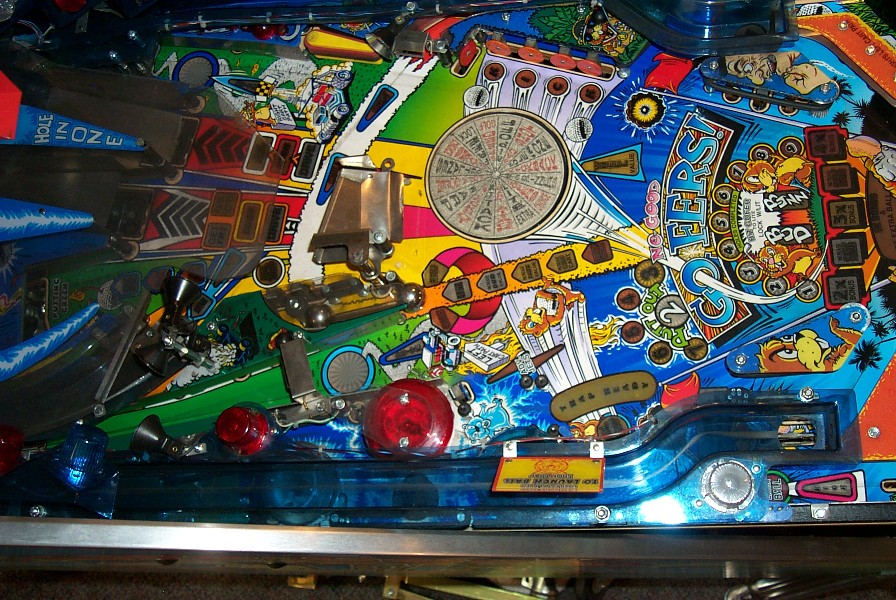
And here we go
Remove 6 balls.
Raise playfield and disconnect wires to ramps (basically any wire running though a hole to the top of the playfield). Make sure all wires can come up through the holes without any encumbrances. Label connectors so they will be easier to reconnect. I use a sharpie permanent ink pen and use the letters of the alphabet - a,b,c...
Remove left and right slingshot plastics and rubber rings. 2 lock nuts on each.
Remove the large plastic the golf cart is on. Just remove the screw and carefully manipulate it until it comes out taking care to fish the wires out from under the playfield. Put the screw back in the hex post.
- Remove the right plastic ramp.
- 2 hex bolts behind the right gofers ramp.
There are washers under the hex extenders above the ramp.
Only the forward hex extender holding the flashers needs to be removed, the rear one only goes to the ramp.
Now carefully remove the plastic ramp, there should be enough play behind the metal gofer ramp to ease it out.
Remove clear ball guard over right orbit - just a lock nut, no washer and it's attached the the 1-1/4 inch hex extension next to the spinner.
Remove right orbit spinner. There are 2 lock nuts and remove the 1-1/4 inch hex extender holding a small plastic to the left of the spinner in front of the spinner nut. The nut that held the clear plastic was attached to this. Remove playfield plastic under spinner and hex extender - it has 2 stars on it.
Remove the plastic above the K-I-C-K targets - 2 lock nuts.
Remove plastic behind the upper flipper.
Remove small green plastic behind the right gopher - 1 lock nut.
Remove plastic over the putting green hole - 2 lock nuts and a clear plastic ball guard on the left bolt.
Remove clear plastic and red top from middle pop bumper and the left spinner.
The spinner wire is attached to the clear plastic with a tie wrap, so you
need to remove everything at once.
There are 2 washers on top of the clear plastic.
And remove the spinner.
Remove 3 spot light tower from the back of the plastic over the captive ball. Feed the wire up though the playfield before turning the tower. Washer on top of plastic.
Remove captive ball and the loose ball.
Remove 6 sided hole-in-one assembly from between the two gopher ramps.
Remove the left gopher ramp - if you can't remove it, just make sure it's loose so you can move it to free the left plastic ramp.
-
Remove the left plastic ramp.
Like the right ramp, only the hex extender to the front of the playfield holding the flashers needs to be removed.Carefully remove the ramp, moving the gopher ramp forward (if you didn't already remove it).
Remove the metal ball guide on the left side of the left gopher.
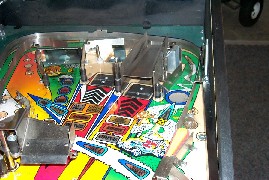
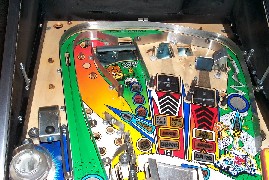
Remove the left gofer ramp. You need to push the ramp itself off the metal pin that raises it. Wiggle it around as you lift and it will come off the mechanism that raises and lowers it.
Remove green plastic in the left rear corner.
Remove green plastic in the right rear corner.
Remove other 2 pop bumper caps. The clear one is in the rear and the blue on is in the front.
Remove plastic above the sand trap hole.
Remove lane guides next to lower flipper.
Remove ball gate from end of launch trail.
Remove the apron holding the pricing and instructions - two hex bolts in the front hold this on. Put the bolts back in the apron.
Remove all the ball guides.
Remember, the ball guides have lock nuts under the playfield should all have washers.Remove the 6 star posts.
Remove twenty-five #44/47 bulbs and two #89 bulbs on the top of the playfield.
Remove slam ramp by removing the screw holding it into the armature beneath the playfield.
Remove the two gopher assemblies. These need to be cleaned well.
Remove under playfield metal ball troughs.
Remove rubber rings.
Done with disassembly phase.
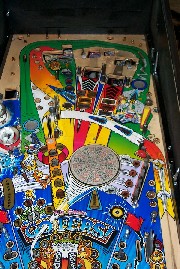
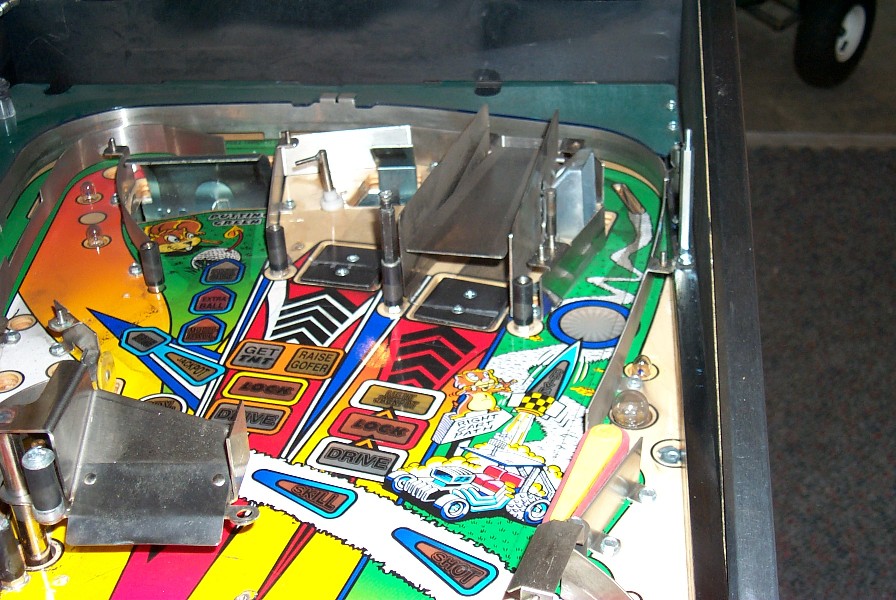
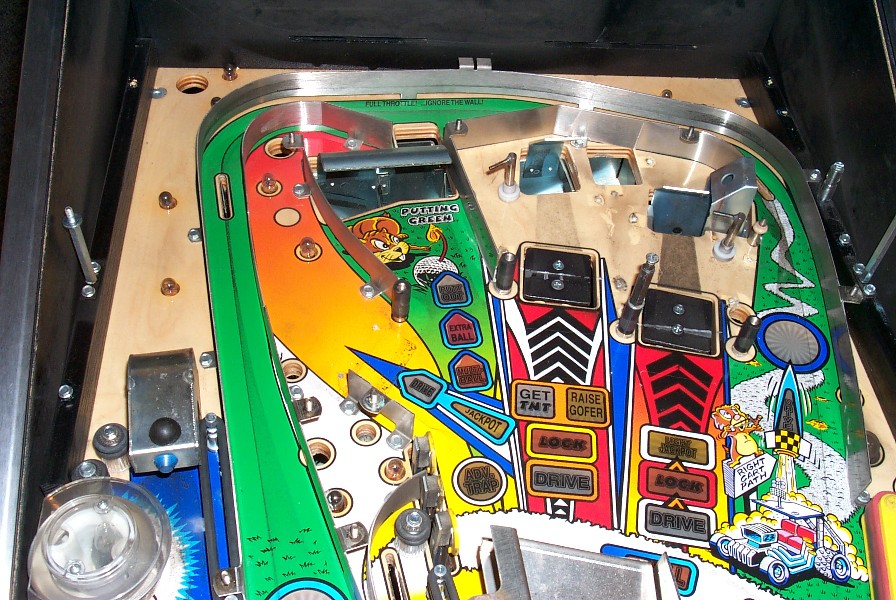
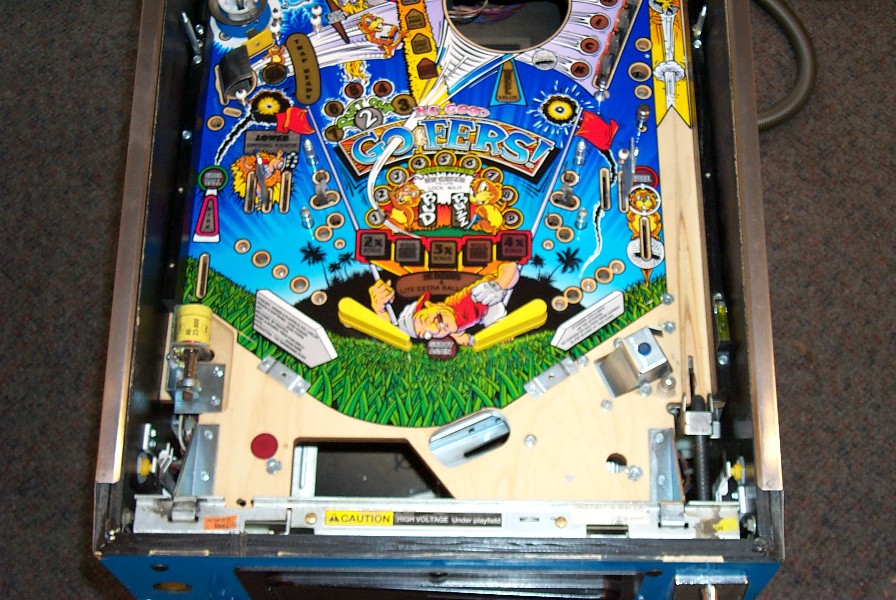
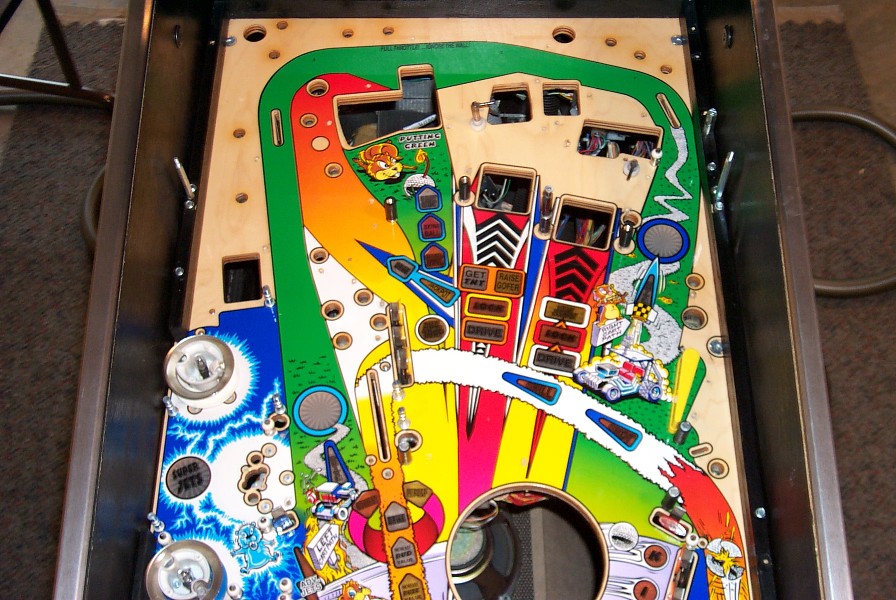
Here's what it looks like thus far: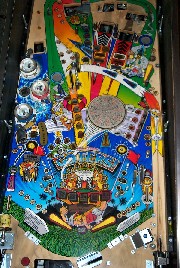
Cleaning phase.
Clean all the plastics, posts, ramps, lights, etc. Replace any lights you want, change to 47's if you feel like it. Make sure replace bulbs in the hard to reach places - under the plastics in the back. My feeling is that you've already gone to so much trouble, spend the extra $10 and replace all the bulbs. It's takes about twenty-five number 44 or 47 bulbs for the upper playfield.
Remove the 5 light boards from under the playfield and clean them with compressed air. Clean each of the bulbs with a damp cloth.
Before you put the light boards back, clean all the inserts from the bottom with compressed air, then lightly swab with a q-tip or cloth moistened with windex or 409 or other cleaner.Also, at a minimum remove and clean all the flasher bulbs under the playfield. It's also a good idea to remove and clean all the #44 bulbs as well.
Clean the Gophers
Remove the two gopher assemblies from beneath the playfield. Label them "right" and "left" before you remove them. Take off the two gophers and give them a good cleaning.
Now remove the coil stop on the 23-1300 coil (the big one that controls the gophers up and down movement).
Now carefully remove the plunger from the mechanism. Note there is a piece of spring wire in the top. Be mindful of it as you remove and replace things on the plunger.
Remove and replace the coil sleeve (part number 23-7067-6). If you don't have a replacement coil sleeve, clean it good. Clean the plunger as well.
Put the coil sleeve over the plunger and make sure it rides up and down freely. If it seems to be binding - check the roll pin on the plunger and make sure it is flush. Both of the roll pins on mine had come out slightly and were binding on the sleeve.
Now reassemble the gopher - make sure the wire on the top of the plunger is bent towards the front of the gopher.
If your shopping your game, the decal is probably worn and now's the time to replace it. I bought an Alan Meyer reproduction replacement decal. These are available from Action Pinball at http://www.aros.net/~rayj/action
Remove the spinner assembly from the bottom of the playfield. Remove two wire connectors and six screws. But, before you remove it, make a reference mark on the underside of the playfield so your sure to get it back correctly. The motor goes towards the top.
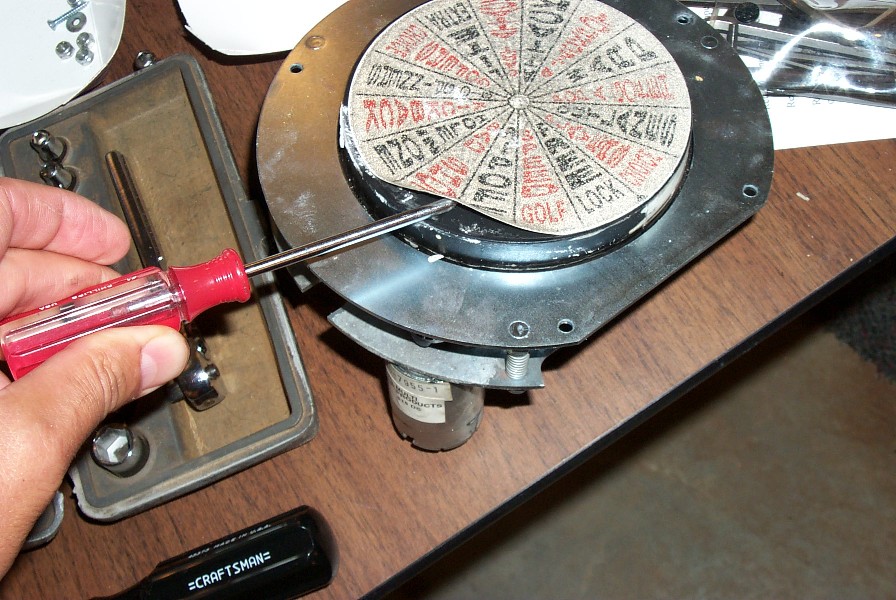
To remove the old decal, get a razor blade and carefully place it between the decal and the plate and lift a small bit - just enough to get the blade under it again easily.
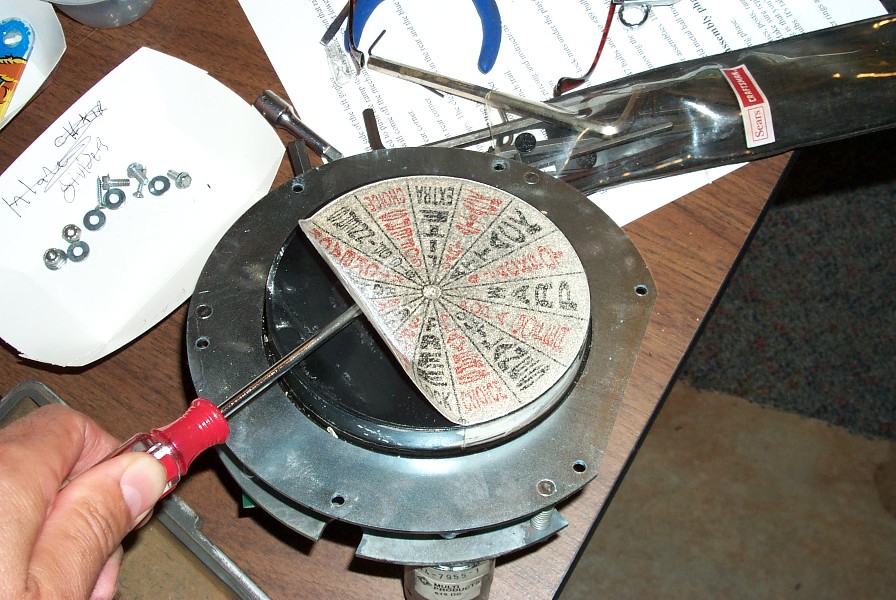
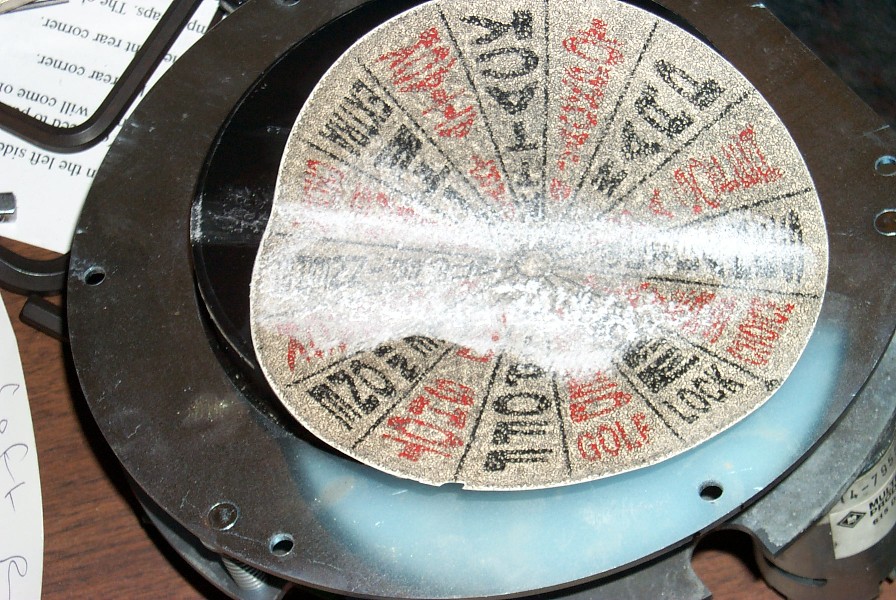
Now using freeze spray, spray a bit on the portion you just raised with the razor blade. Now lift a bit more, it should come up very easily. At this point you can grab it and by alternating between freeze spray and lifting it should come right up in about 3 sprays - don't spray the whole decal, just the one inch strip that's next to come up.
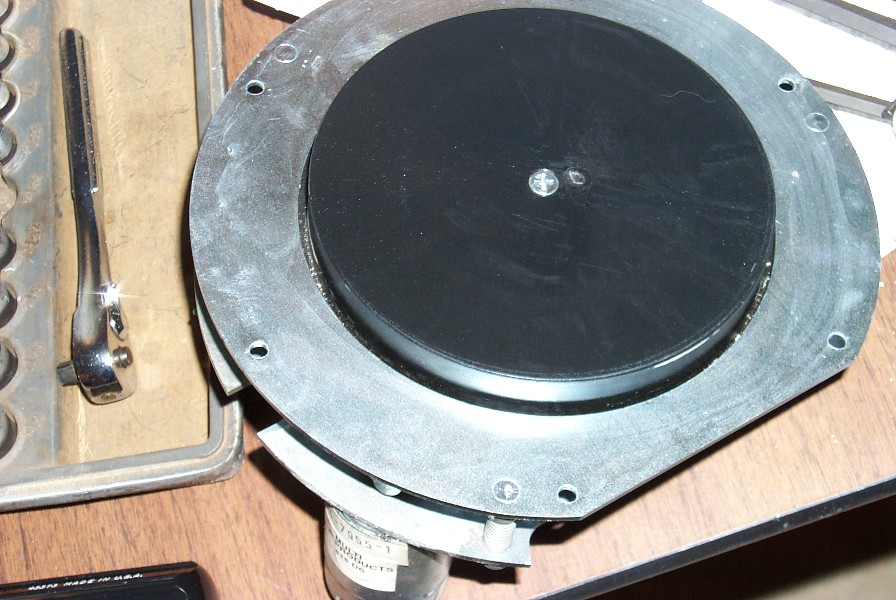
Now use the razor blade to remove any residue on the metal disc and then thoughly clean with alcohol or another greese free solvent - if you use "goo gone" make sure you remove every last trace of the "goo gone" or the new decal won't adhear properly.
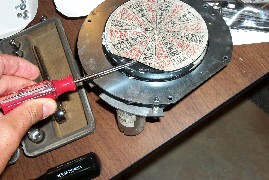
After first application of freeze spray.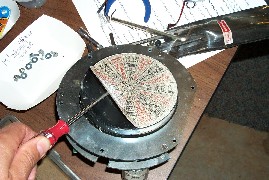
After second application, notice how cleanly it's coming off.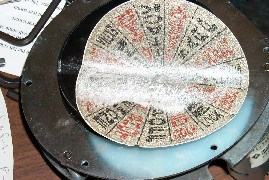
Decal is now off, the white is frost from the freeze spray.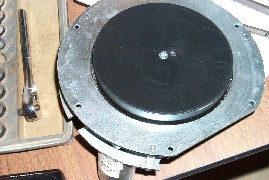
All cleaned up and ready for the new decal.Make sure you align the triangular mark between "free lock" and "players choice" on the decal with the line on the plate.
Replace the spinner decal
All Cleaned Up and Ready to Reassemble
Aligning the spot lights
Ripped off of Rec.Games.Pinball
Spotlight on left ramp - about a 10 degree angle right of straight back
Spotlight on right ramp - about a 10 degree angle left of straight back
Group of three spotlights:
Top - directly at center of golf cart
Center - directly at left gopher
Bottom - directly at right gopher
Replace rubber rings and rubber posts.
Note, No Good Gofers came with write rubber rings.
Here's the rubber ring chart:
| Ring Inside Diameter | Quantity |
|---|---|
| 5/16 | 8 |
| 1-1/4 | 2 |
| 2 | 6 |
| Shooter tip | 1 |
| Flipper (std 1-1/2) (red) | 3 |
| 3/4 Tapered Sleeve (yellow) | 1 |
| Rubber Sleeve (yellow) 23-6552 | 2 |
| Rubber Sleeve (black) | 4 |
| Rubber Sleeve (gray) 23-6824 | 2 |
| Ring Bumper 23-6535 | 10 |
| Rubber pad (blue) 23-6823 | 1 |
| Total Per Game | 40 |