FIONA'S QUILT ROCK TUTORIAL
Fiona Colors: Americana: Light Buttermilk -- Raw Sienna --- Deep Periwinkle -- Gooseberry Pink -- Jade Green
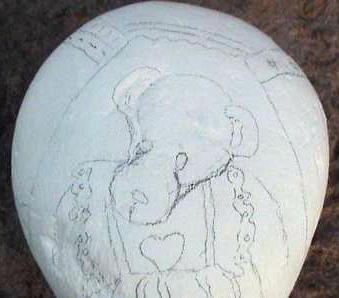
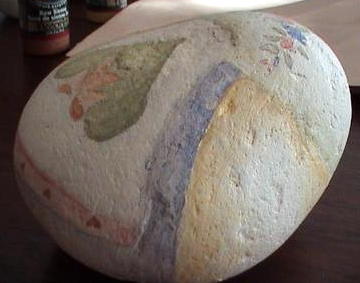
Step 1: Base coat your rock with Americana Light Buttermilk and allow to dry.
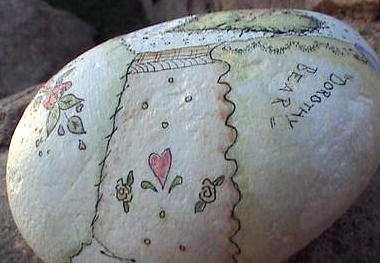
Step 2: Trace or draw the quilt designs onto the rock using light pencil lines, bearing in mind the final angle the rock will rest at etc. It's always fun to have a little written message "hidden" somewhere on the side or bottom of the rock, for the viewer to discover as they turn it over in their hand.
Step 3: This style of painting requires a very watered-down mixture of paint to create the soft washed effect, so go easy on the paint. Test your colors on a scrap of board first to see that you are happy with the shade. Think of the colors you'd find in faded old laundry, such as soft grays, pinks, greens, faded denims and tans.
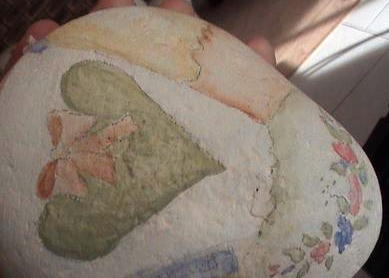
The whole concept of "country feel" is conveyed by the fussy little spots and stitching, as well as the casualness of the line work - no precise drawing required !
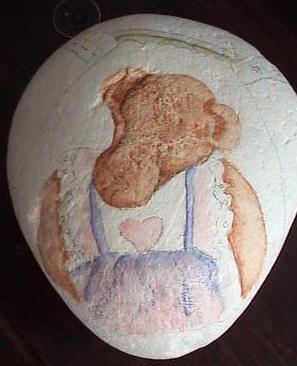
Decide on your color scheme, and begin by washing in the soft borders and shading around each block of the quilt, concentrating the colors in the corners as would happen with a faded garment. In our example, I started by washing in the colors of "Dorothy" the bear. Her fur is Raw Sienna, shaded slightly darker inside the ears, under the arms and the cheek behind her muzzle ..( is that what it's called in bears ?). I then washed in pale watery shades of Deep Periwinkle and Gooseberry Pink around her dress, avoiding the edges of frills. Don't be afraid to first apply clear water to the surface, this makes it easier to blend colors or fix mistakes ! If you find you've applied too much color, wet it with water and dab at it with a paper towel, or wipe a clean brush over it....Don't forget to paint the heart on her dress too.

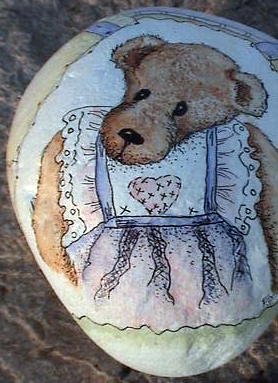
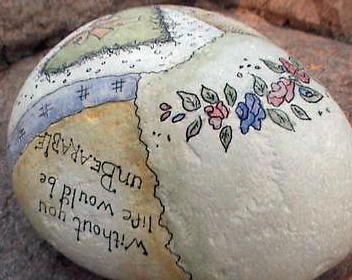
Being the impatient type, I jumped ahead and then drew the pen outlines, so I could judge the effect. Use any black permanent (waterproof) ink. Test if it's truly waterproof on scrap paper first ! When outlining, keep the lines scraggly and relaxed, using tiny dots in places to enhance the shading. I used a fine Rapidograph technical pen, but they can be pricey, so improvise .

If you are tempted to draw the black lines before you've finished shading the whole rock, please be careful of the ink running once you apply the watery paint....it's NOT funny seeing 3 hours of work ruined....!!! Safest bet is to shade everything first and draw the lines right at the end.
Once all the shading has been done , draw in fussy little design elements such as crosses, tiny o's and stitching, along with the borders etc. and your written message if any.
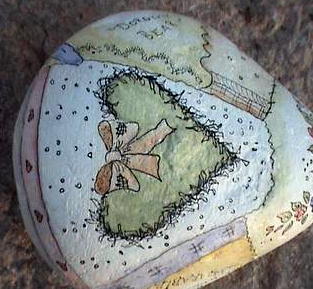
Step 4: Wait for everything to dry, ( at least 2 hours for the ink !) and spray with a clear sealer. Voila ! You have a lovely quilted rock, and no pricked fingers ! Hope you've enjoyed it !