STUDENT PROJECTS GALLERY
Email us at: [email protected]
![]()
![]()
![]()
![]()
![]()
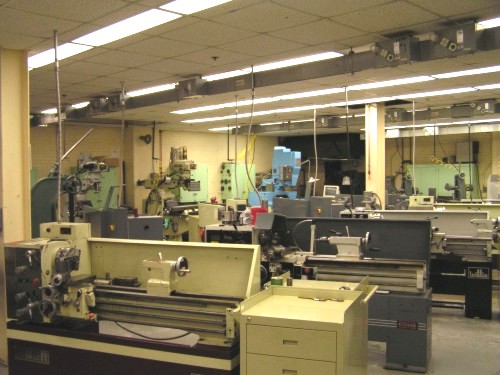
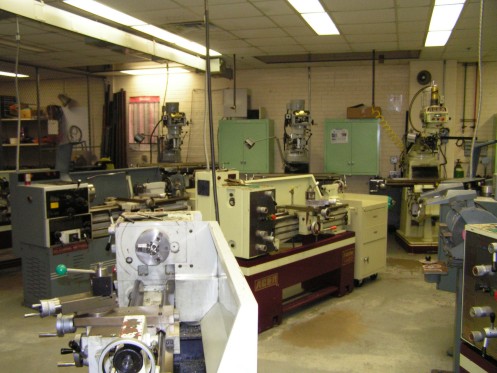
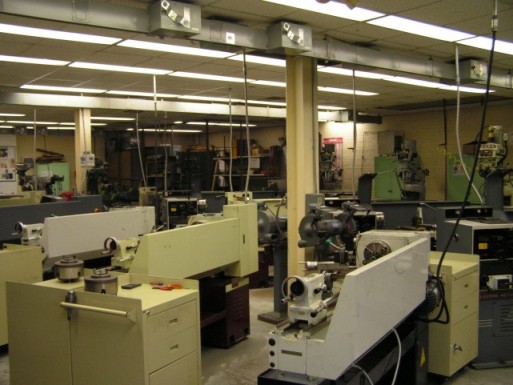
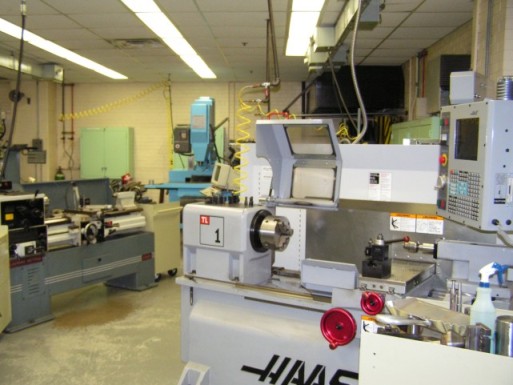
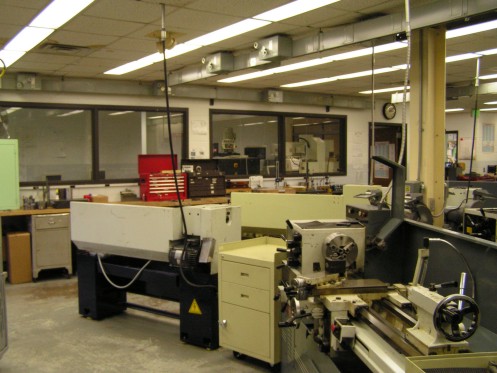
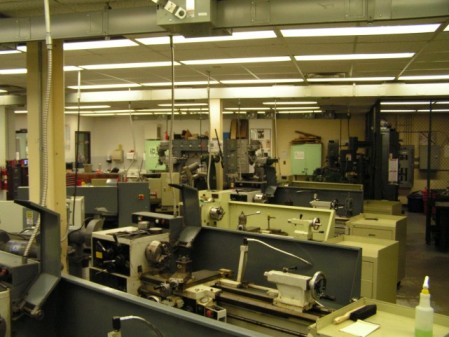
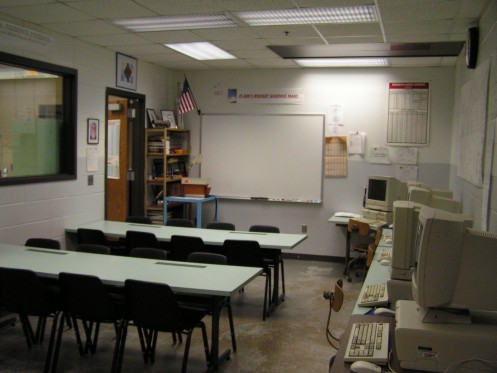
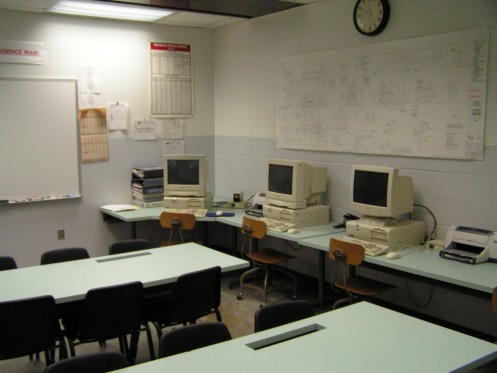

Tour our shop
It’s small and crowded but there’s not a lot we can’t do. If you have a pocket full of money that you’re itching to get rid of, consider buying us an expansion.
Surface Grinder Rebuild Project
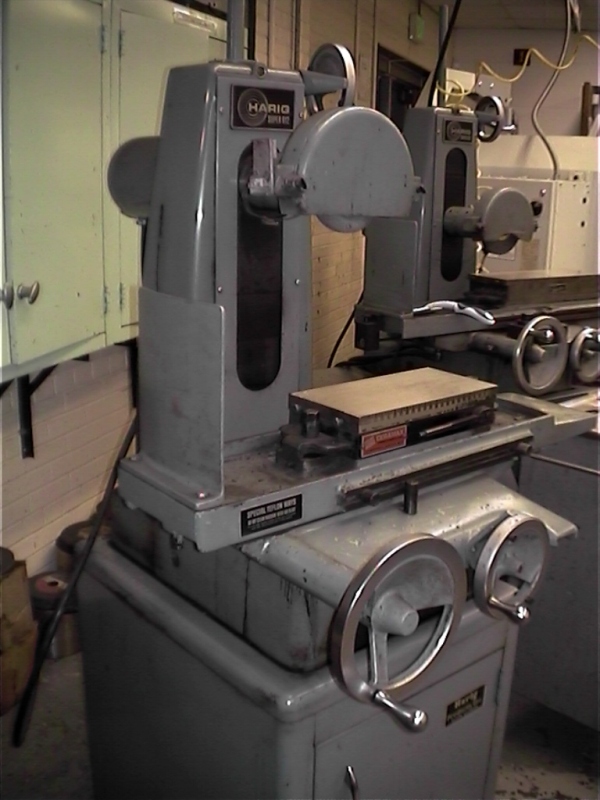
We have an old Harig surface grinder that used a cable/pulley system for the table movement. The cable would slip off the pulley or become stretched or break at least twice a year and it would frustrate the hell out of me. We purchased a new Chevalier grinder last year and are very happy with it but I just couldn't bring myself to scrap a machine that does work...most of the time. Our bigger Harig uses a rack and pinion gear set to move its table so it gave me the idea to retrofit our smaller Harig.
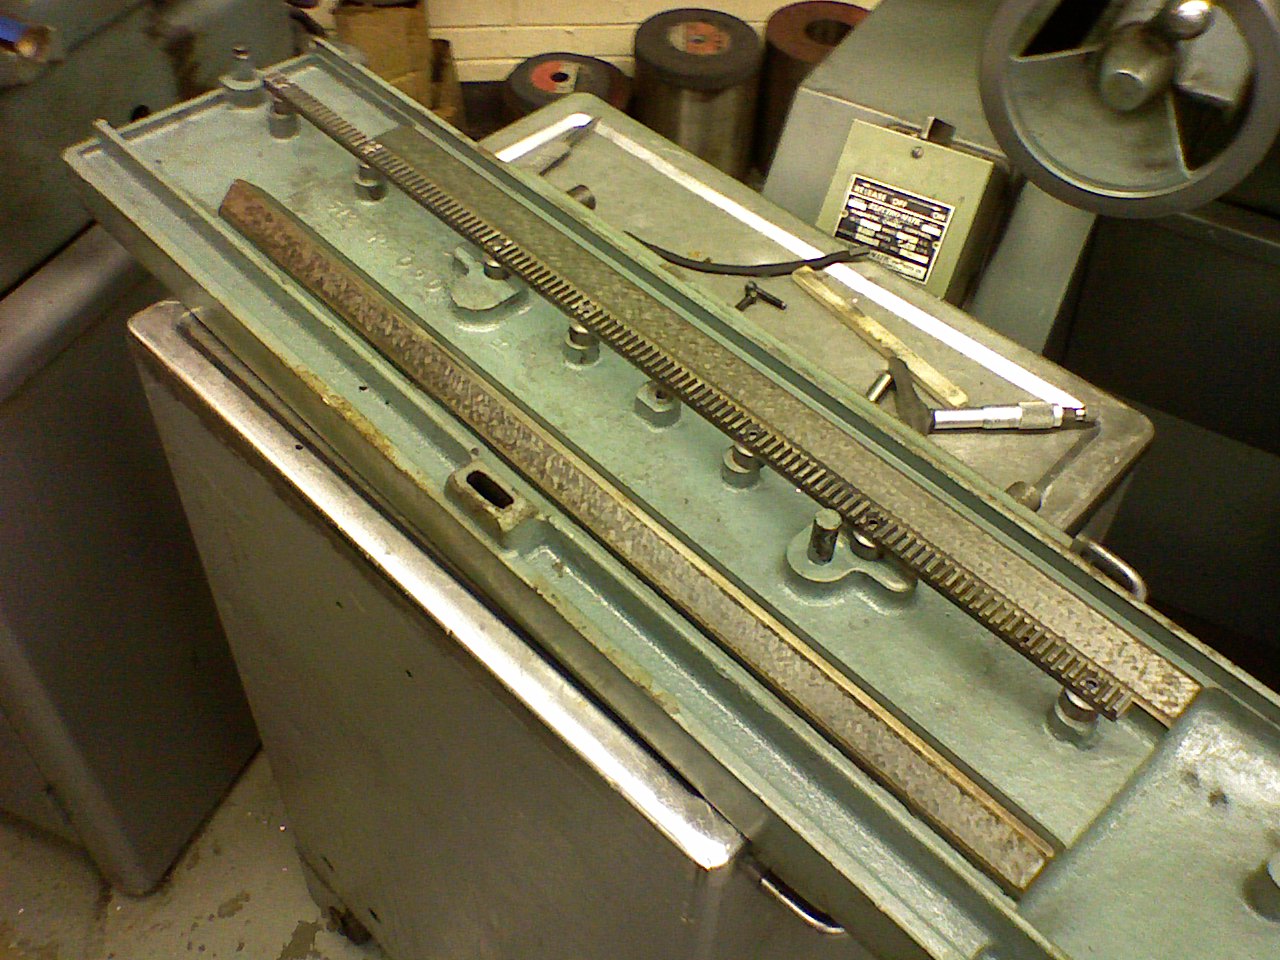
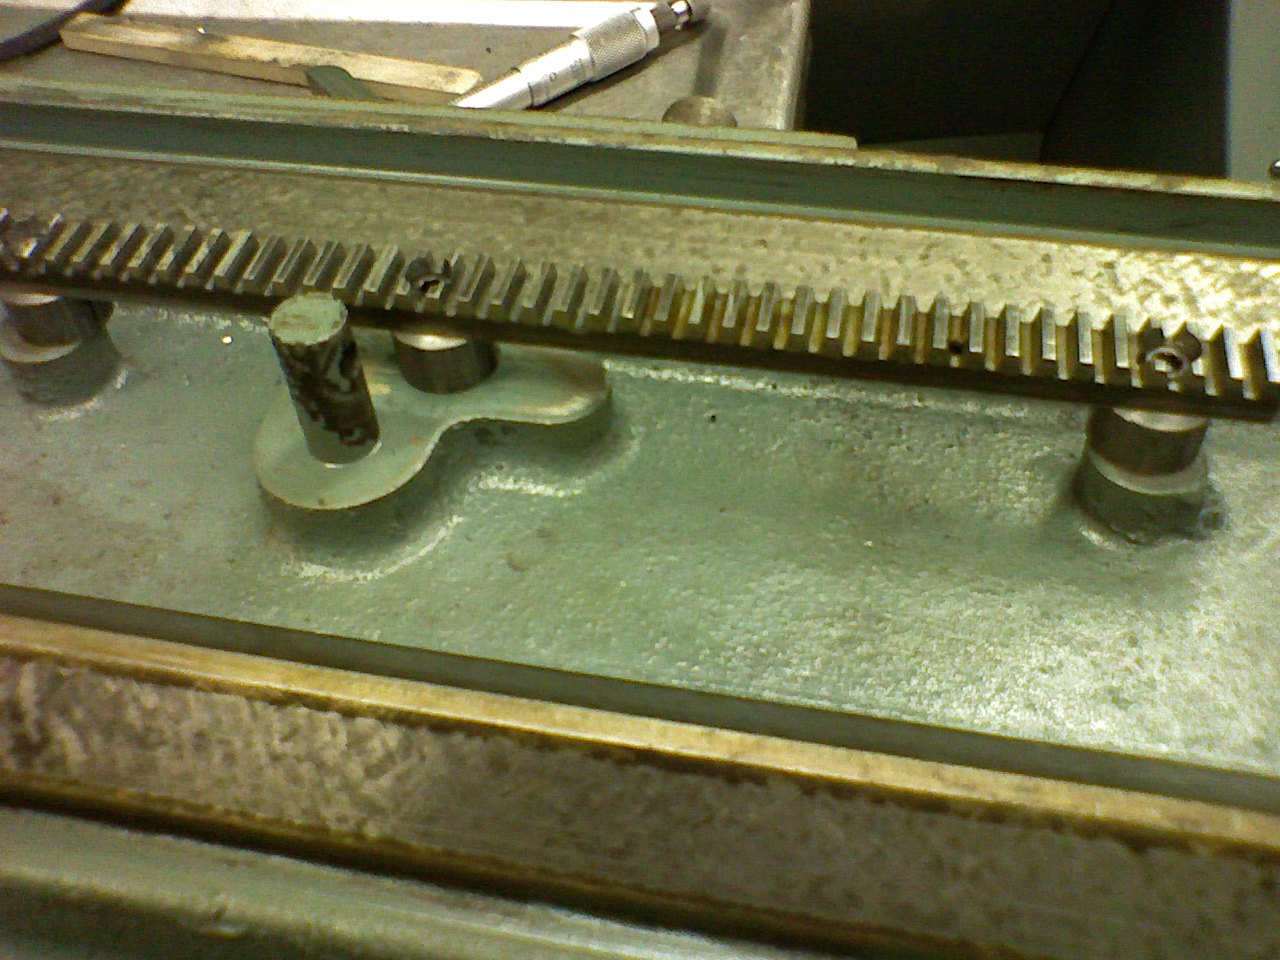
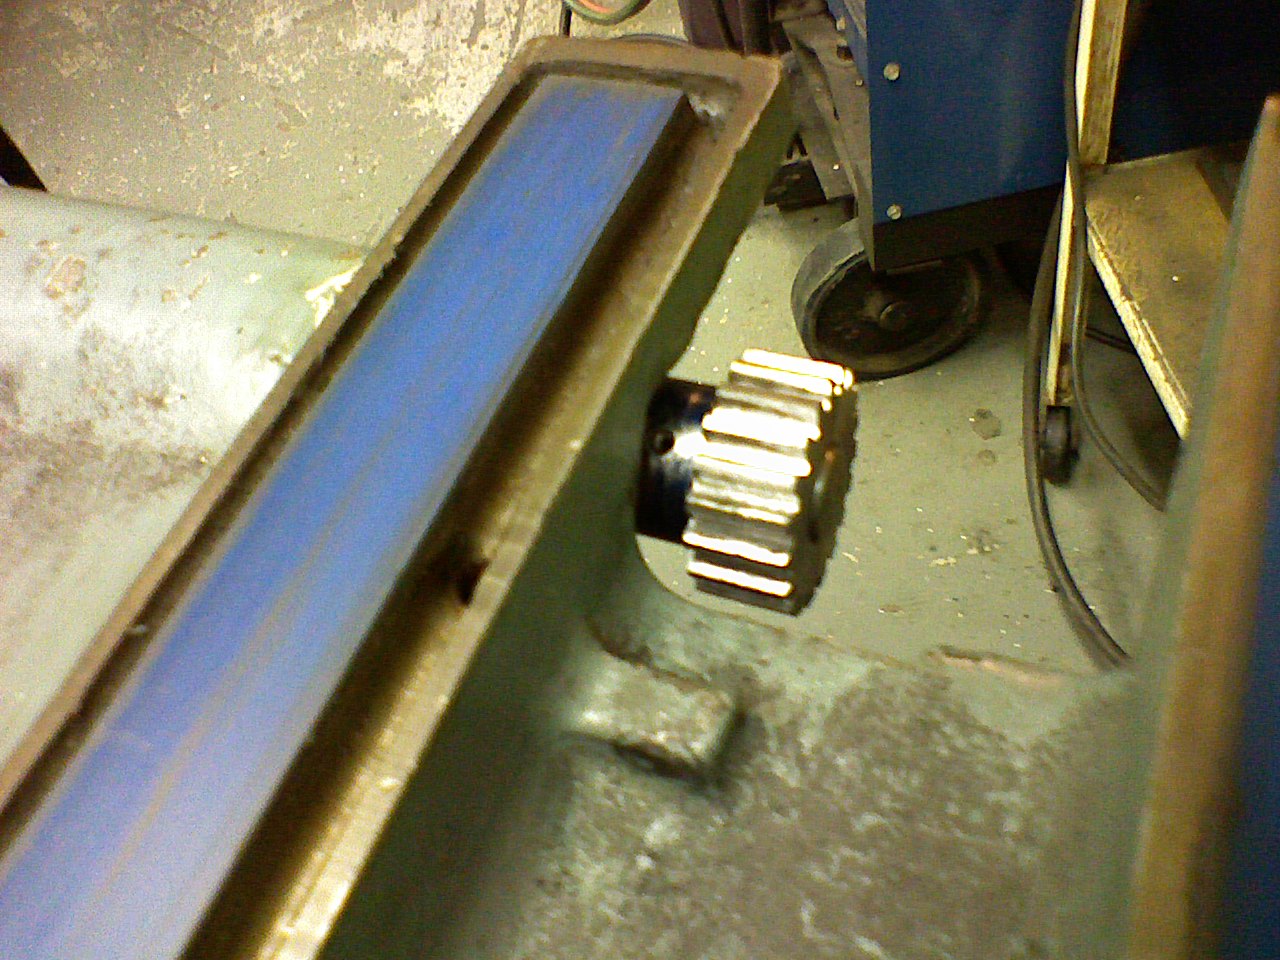
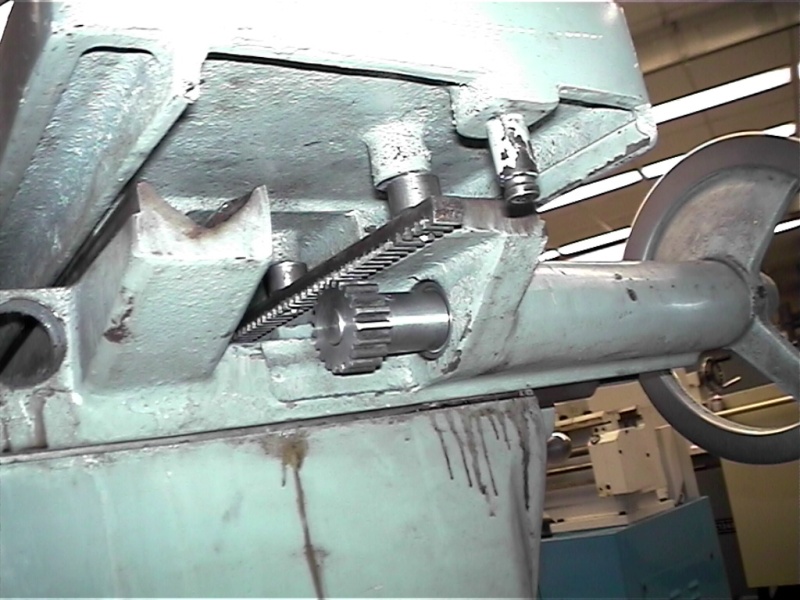
So we took a gear rack off an old junk lathe and mounted it on the bottom of the surface grinder table. We then made our own pinion gear to replace the PIA cable pulley. With a little adjusting and some lapping compound on the teeth we now have a rebuilt grinder that works just as good as new. No more cable making, no more rerouting the cable under the table. Its carefree and we get to show it off as well!!
Some Special Shop Projects
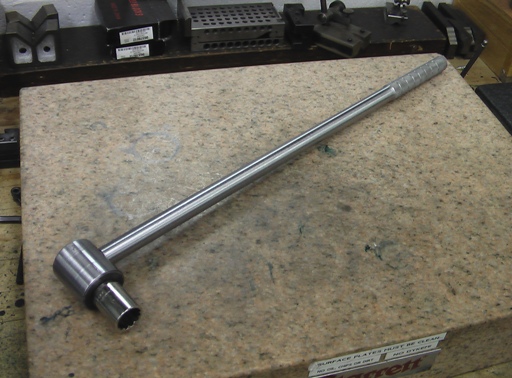
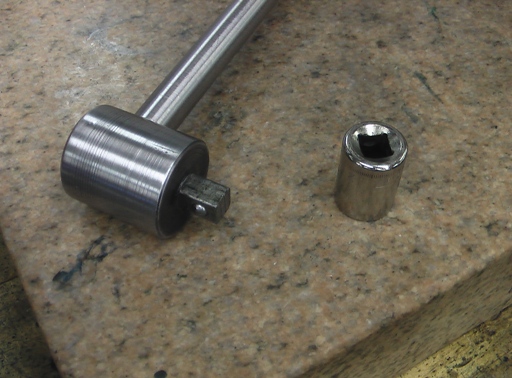
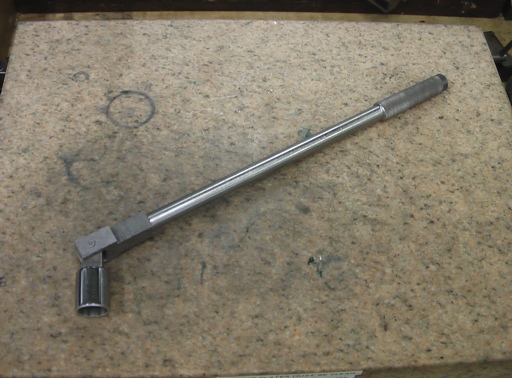
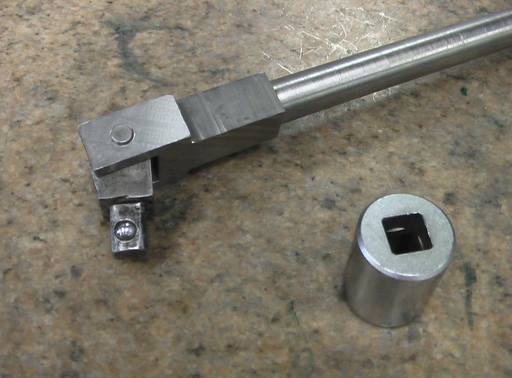
A couple of breaker bars for 1/2" drive sockets
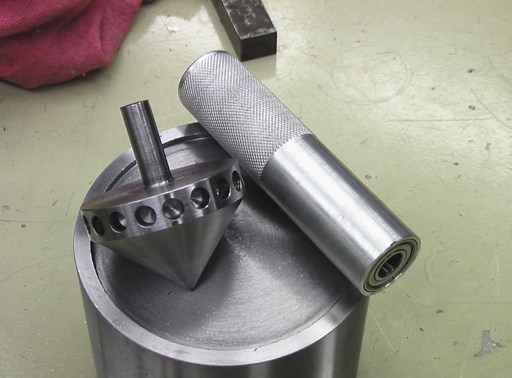

An industrial strength spinning top. This was originally created by a student a few years ago and we turned it into a quick lathe project. The students get a kick out of the speed of this thing. Click on the thumbnail on the right to see a video of this thing taking off. It is wild!
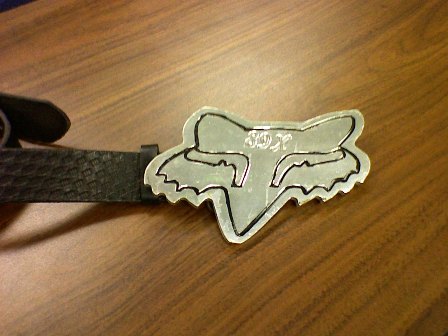
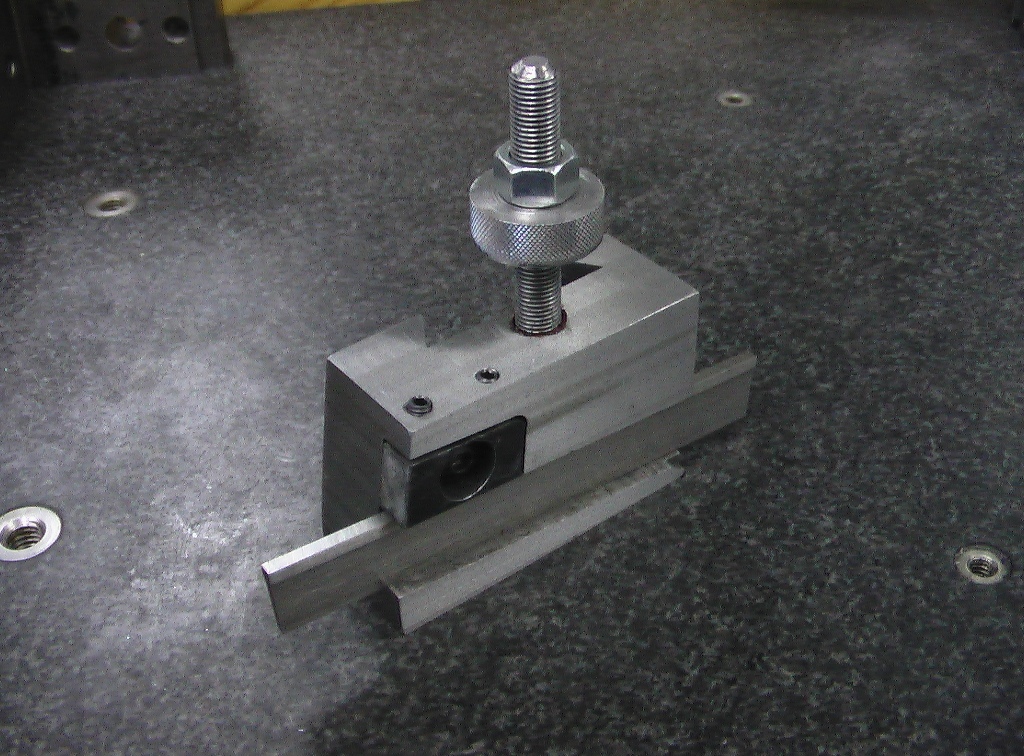
Fox Racing belt buckle, Using Mastercam's tracing function the student created the geometry and then cut out the emblem. Part-off tools for a lathe, a fly cutter set with base.
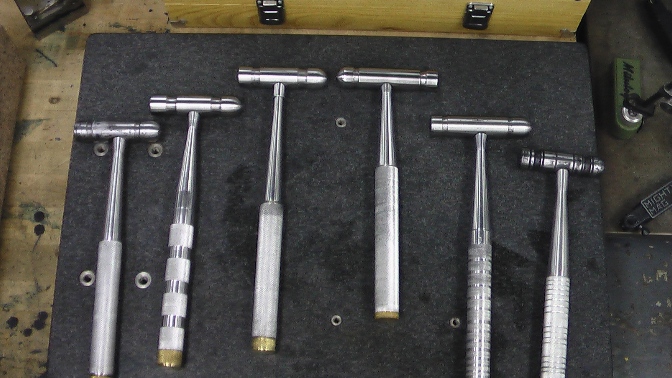
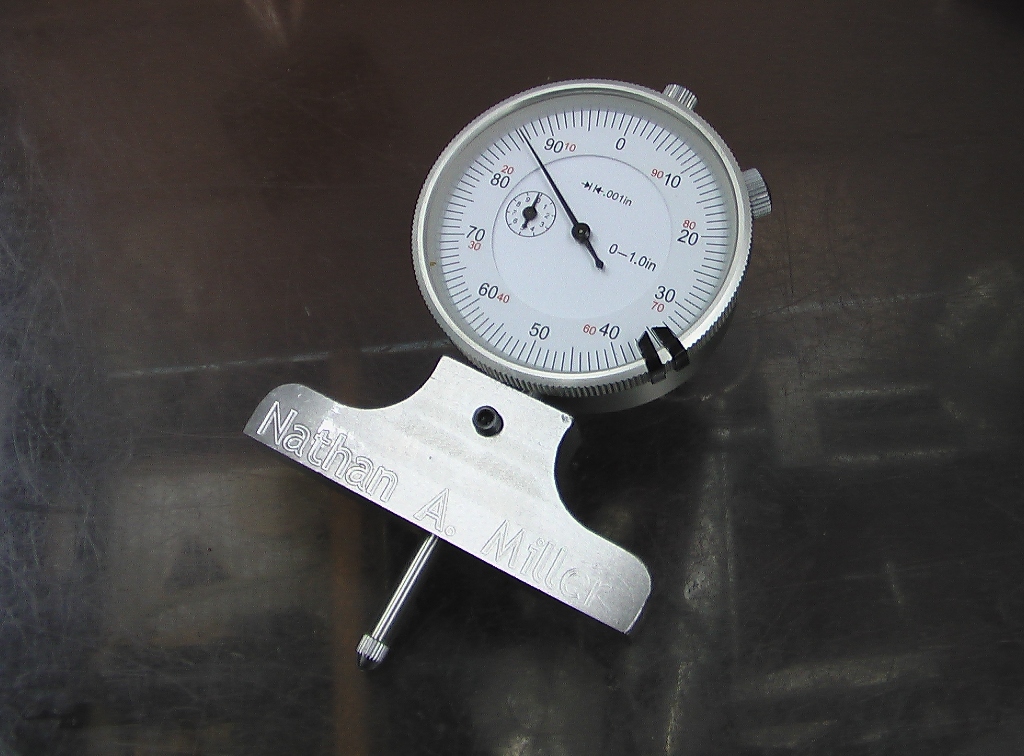
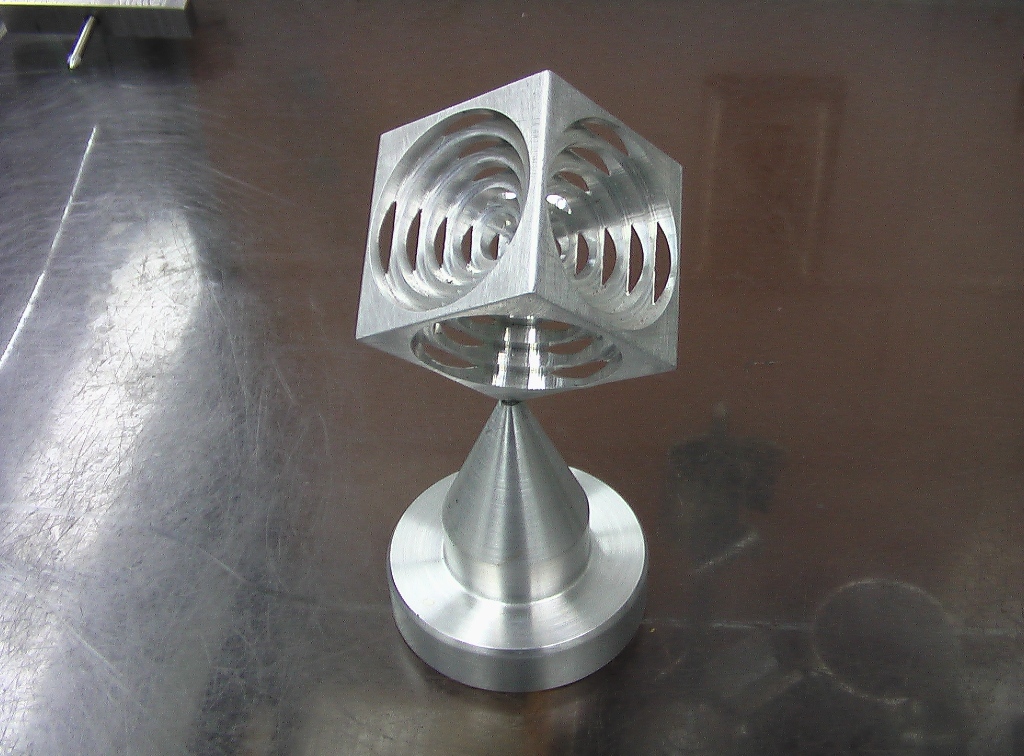
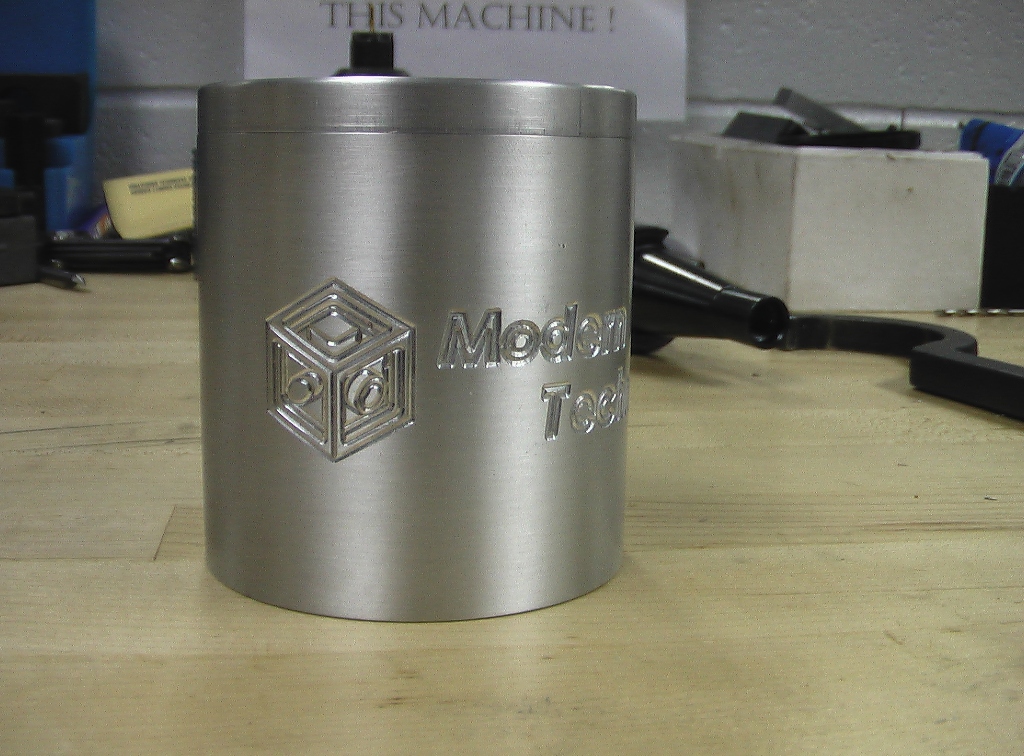
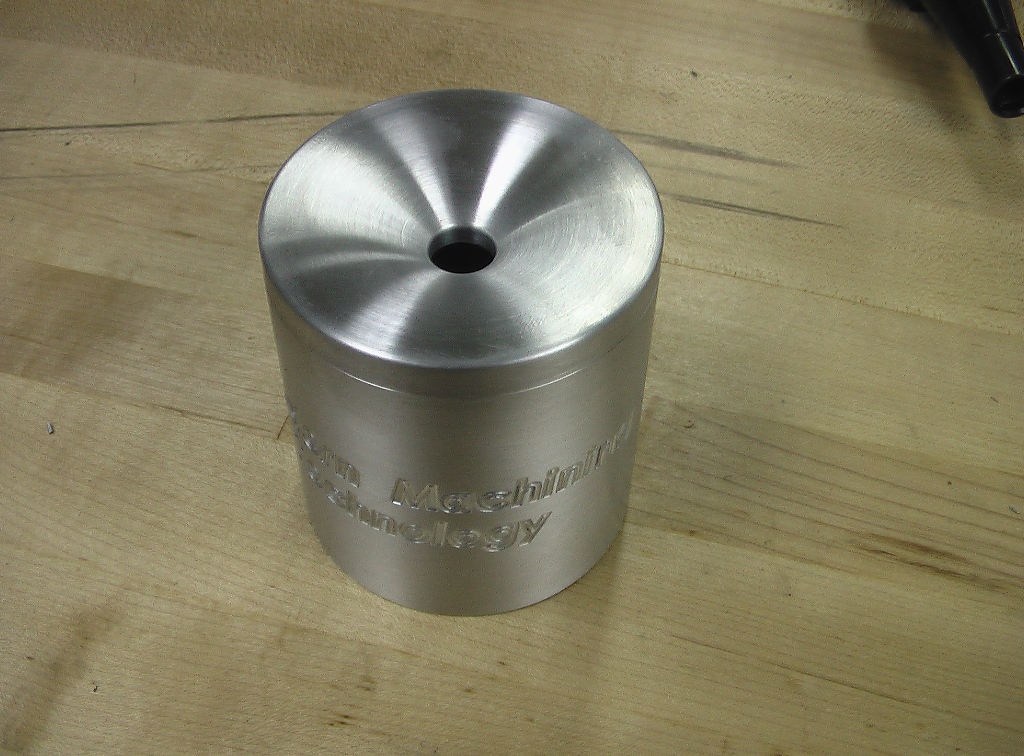

Some ball peen hammers from our first year students, Indicator Base, Ring Cube With Pedestal, Industrial Oil Cups (3 pics);
The oil cup was an idea I came up with. I bought some cheapo no-spill paint cups to hold our cutting oil. They still spilt and the lids never stay on so we made our own with an o-ring seal. You can also go to our YouTube site and see the 4th axis we built engraving the oil cup above.
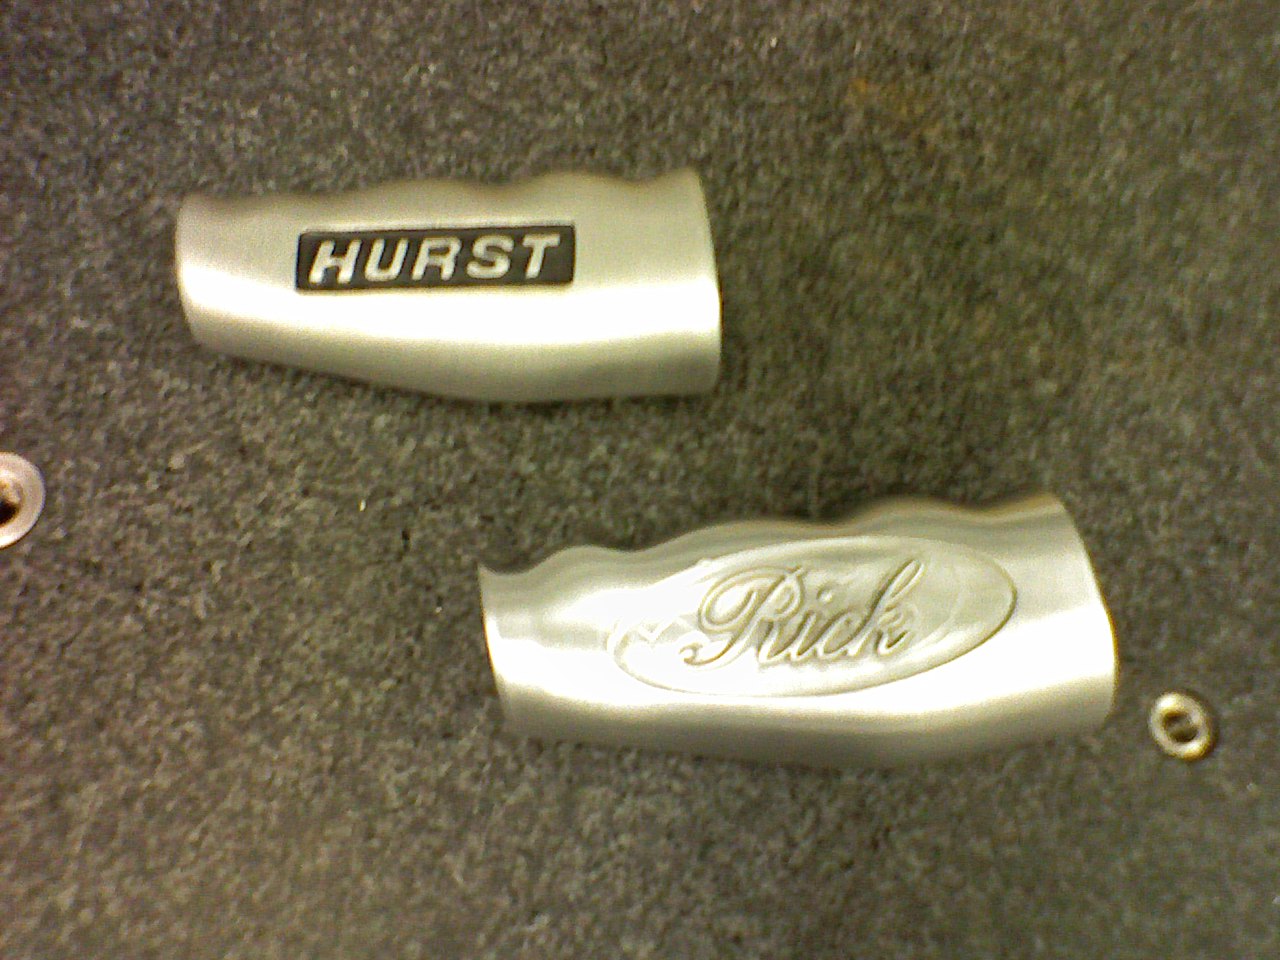
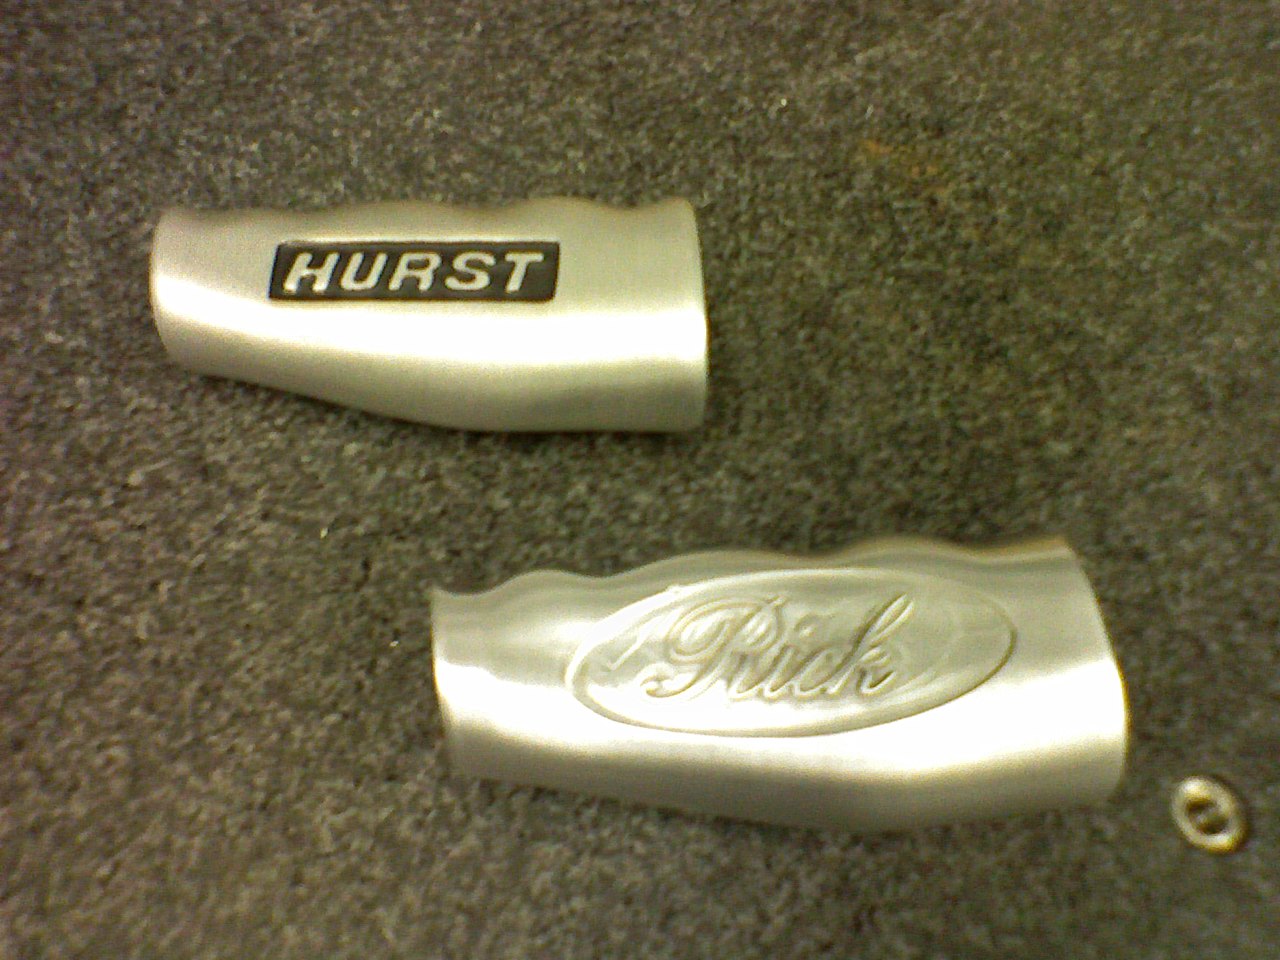
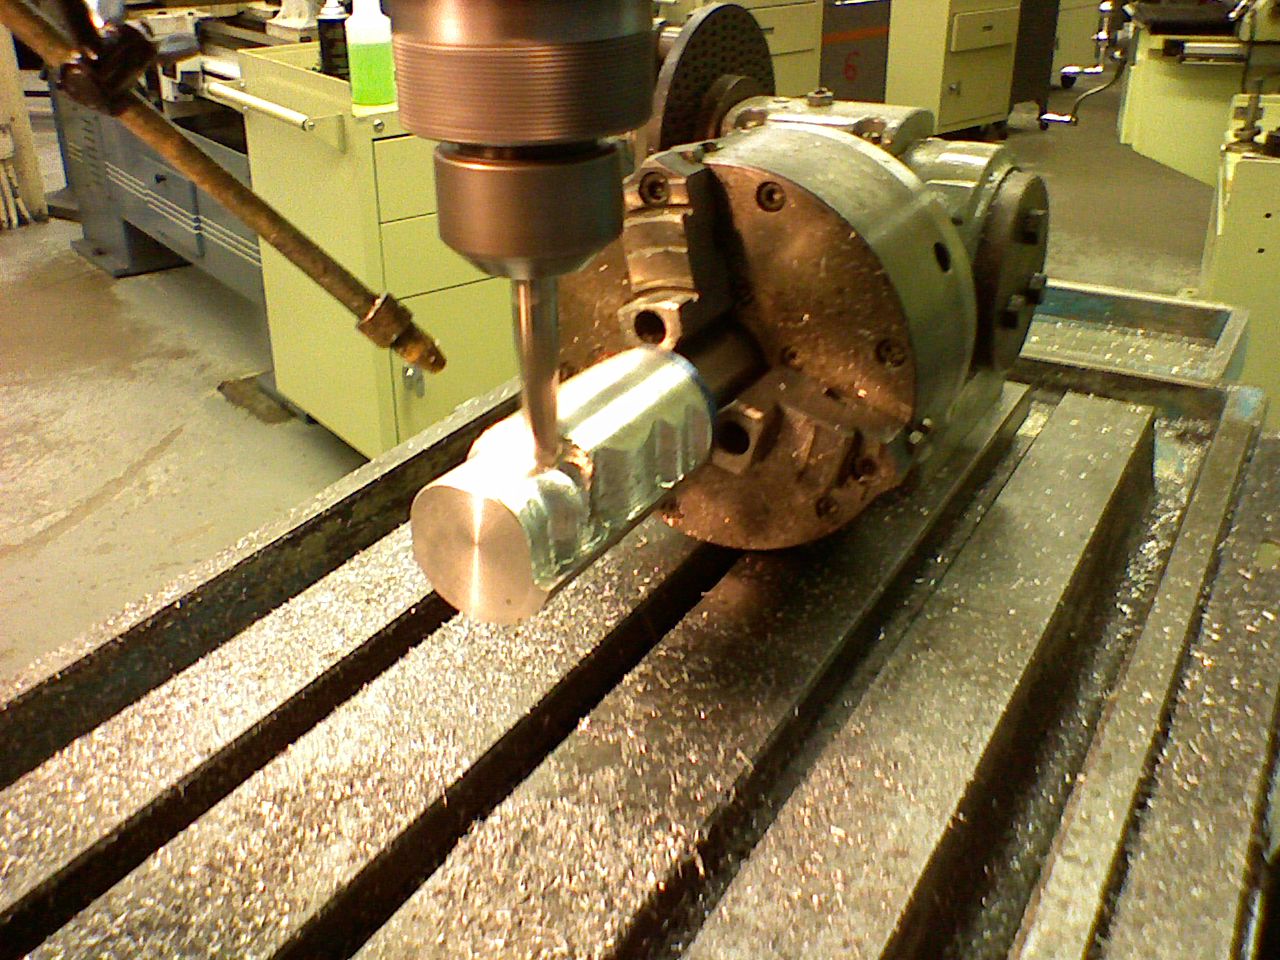
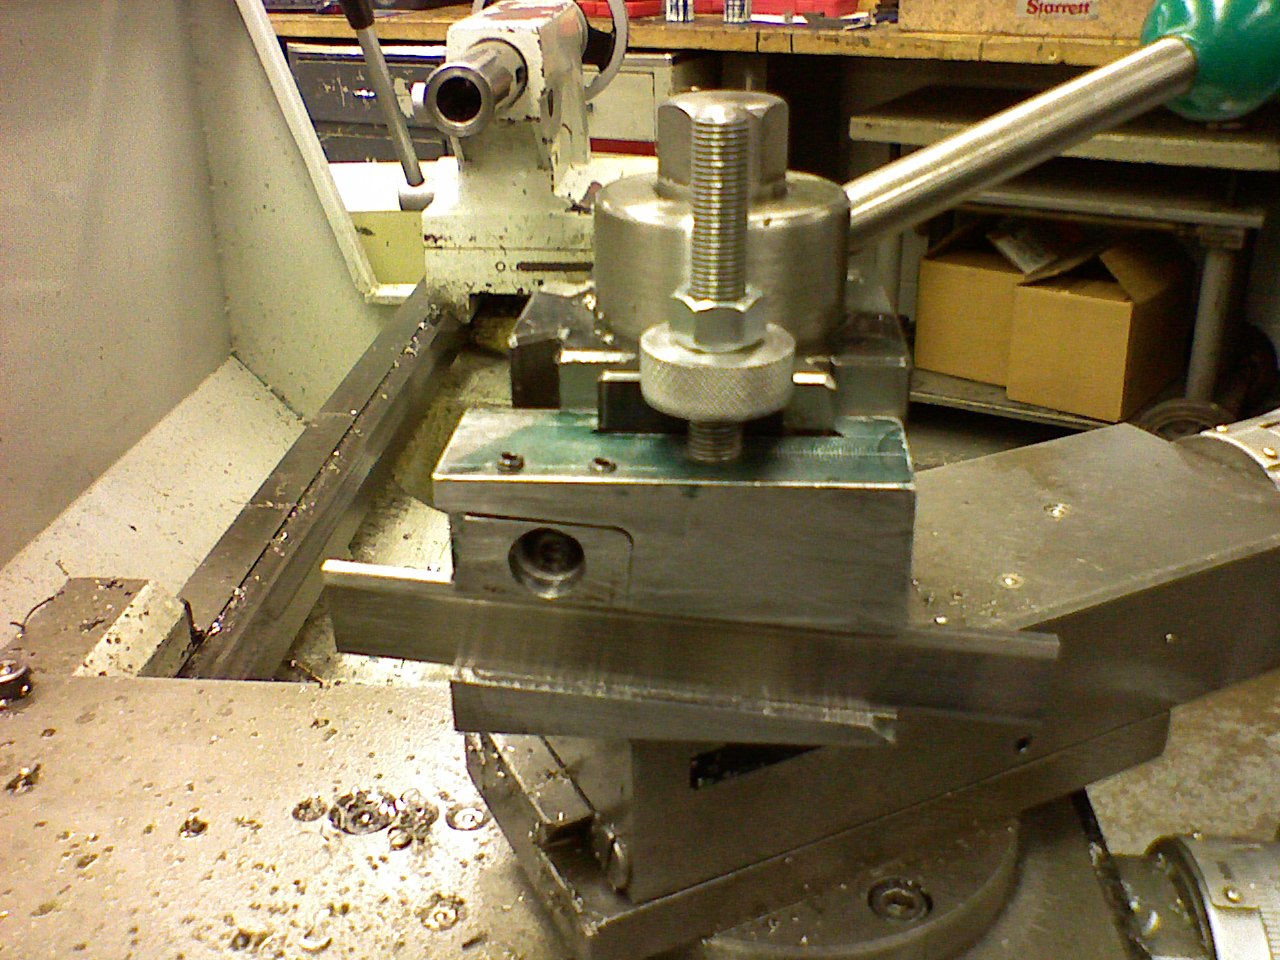
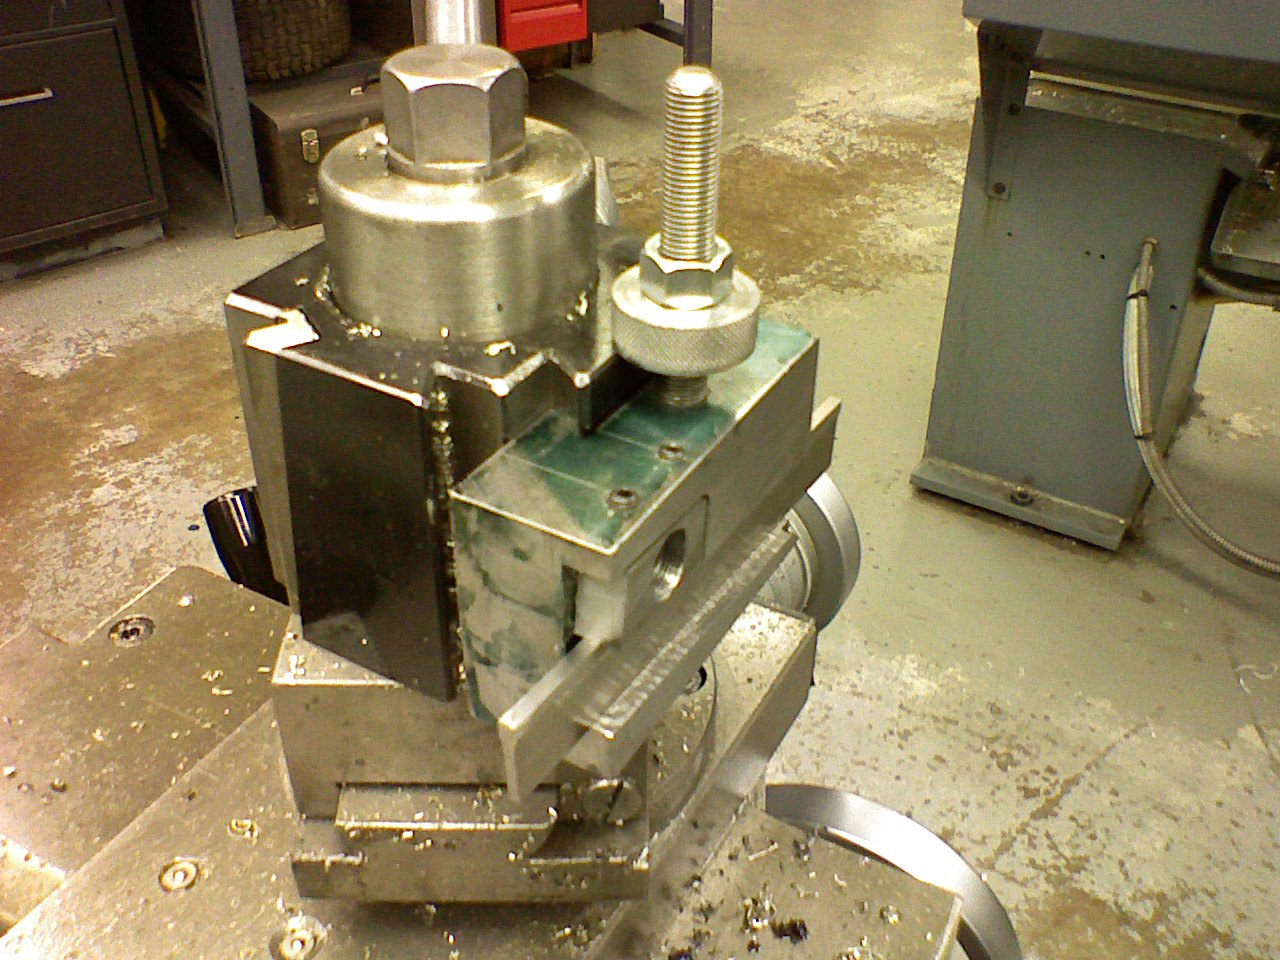
A shifter handle. Student made one for his dad. We copied the retro Hurst shifter and put dad's name on it. Note the machining photo. We used an indexer to cut this out on our BlueMill. Too bad our 4th axis wasn't done yet we could have used it for this project.
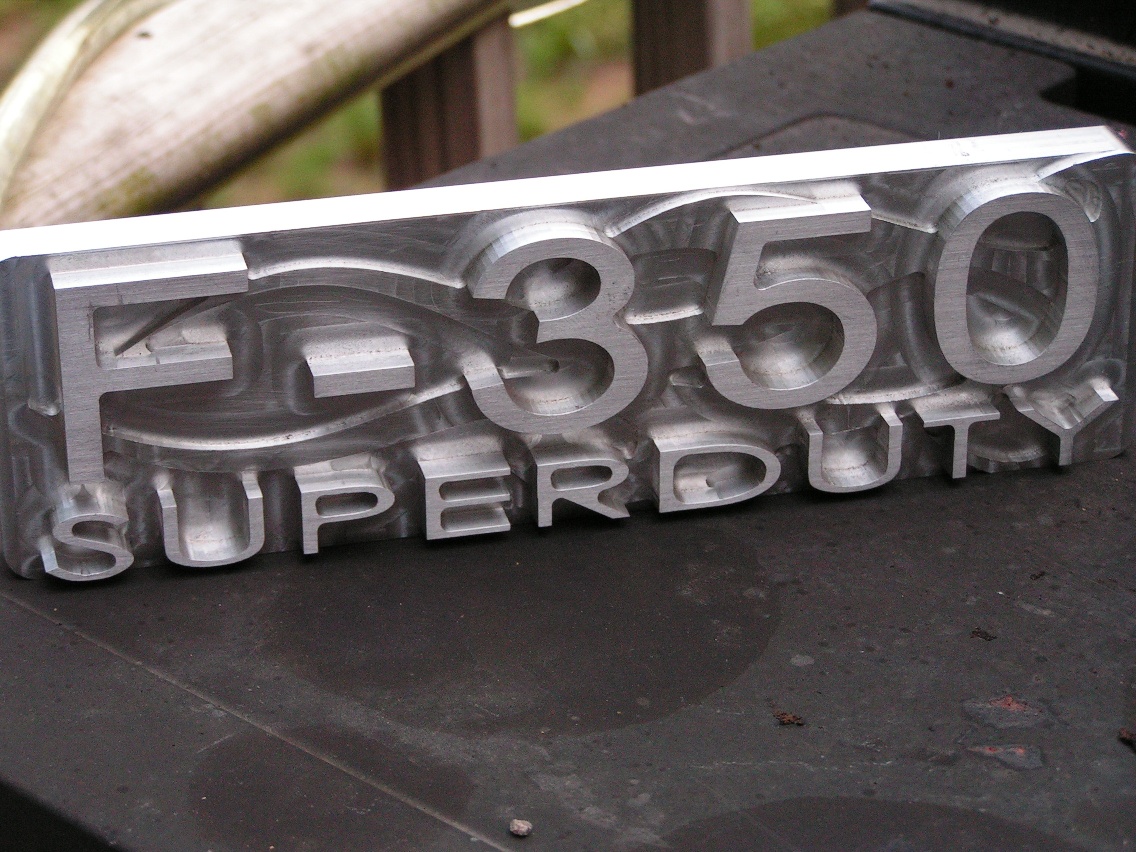
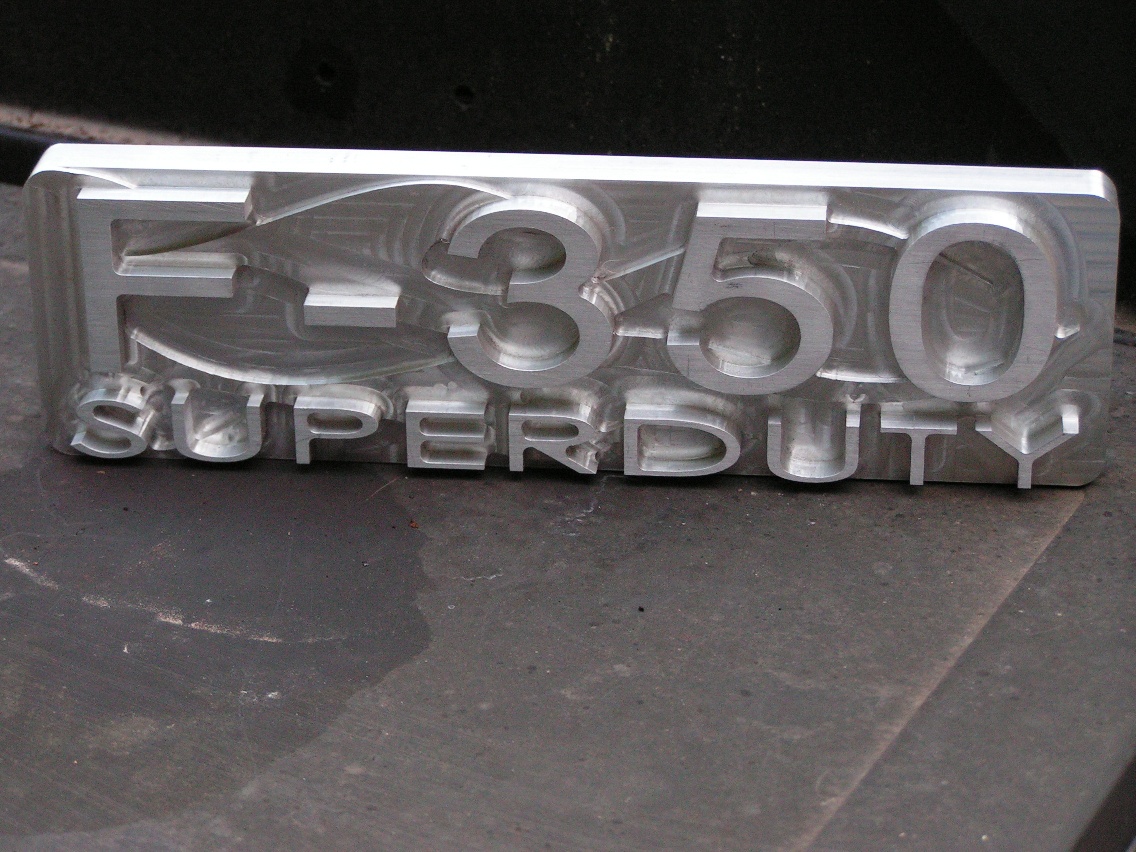
Badges for a Ford F-350 4X4. A CAD student designed them for his truck and we cut them out.
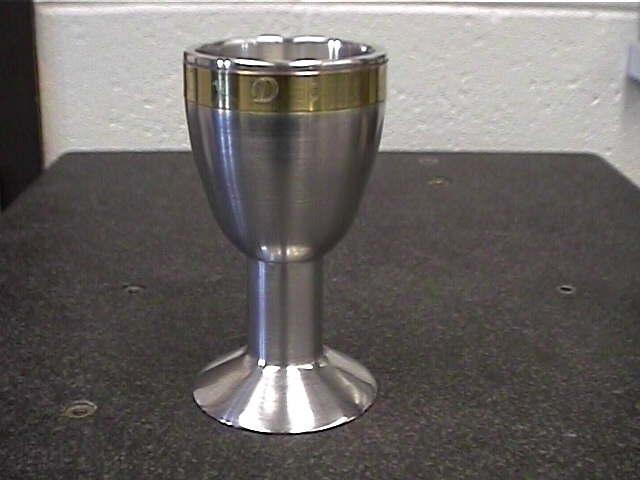
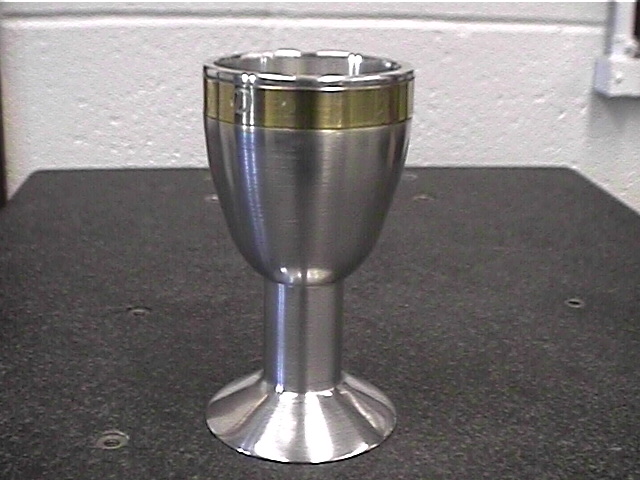
A challis. This was made a few years ago but I just now found the photos. The student cut this out on a manual lathe! This student just graduated from Vincennes University with a Machining Technology Degree.
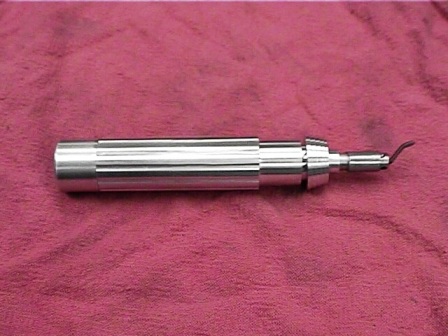
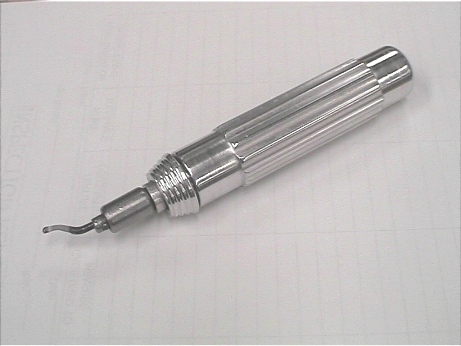
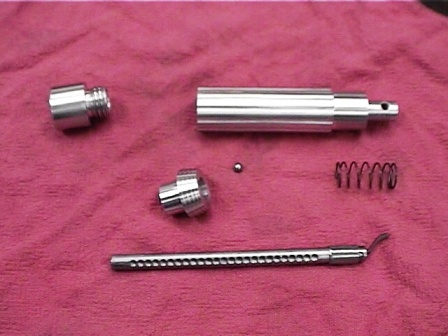
Rout-a-Burr tools. This is a favorite for students to make. They even make the springs!
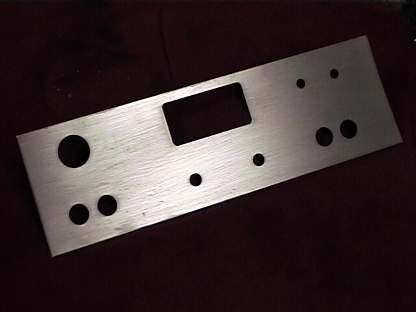
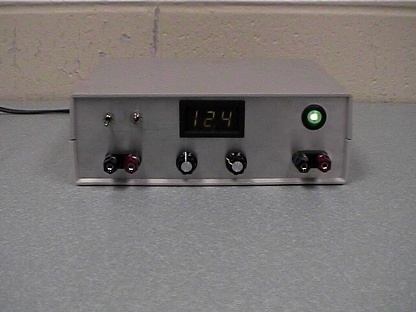
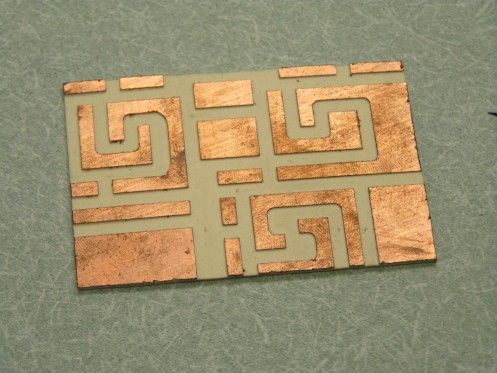
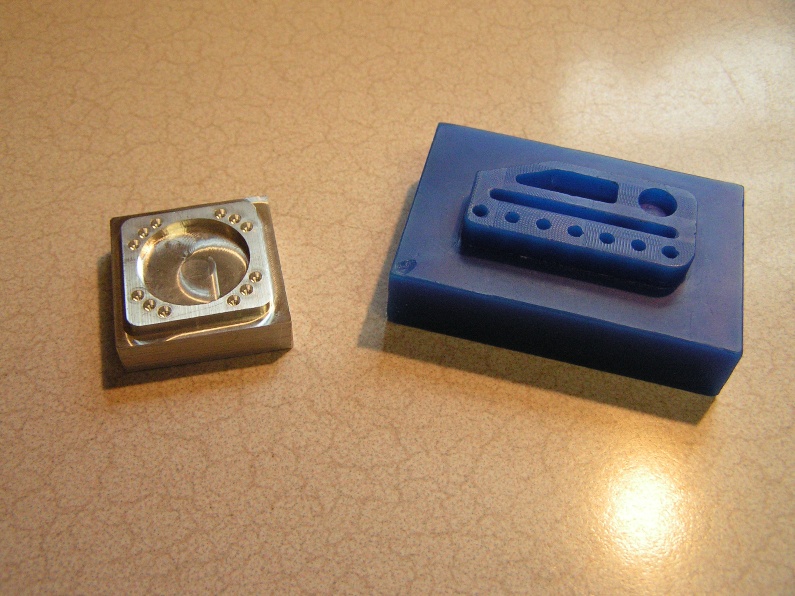
Joint Projects With Electronics Technology: Our faceplate project; 1st year students work with 2nd year Electronics Technology students as they design their own faceplates for a DC power supply and then work with our students to cut them out of plastic or brushed aluminum. Our 1st year students also create a simple circuit board for these same power supplies and cut them on our CNC mills.

Tool Kit (Left) - Students make a T-Base for their dial calipers and indicator swivel tool then created the geometry for the kit box on Mastercam and cut the box out on the CNC mill. Box is made from oak.
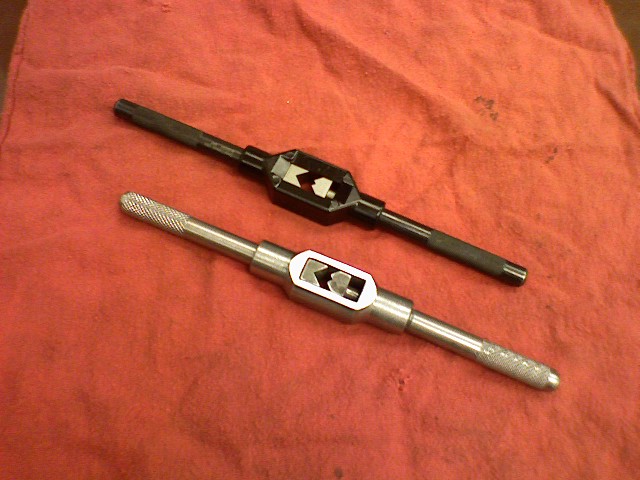
Tap Wrench (Center) - The wrench in the top of photo is a Sears brand wench which we took apart and made a print from. The lower wrench is one of our student's...nice job!
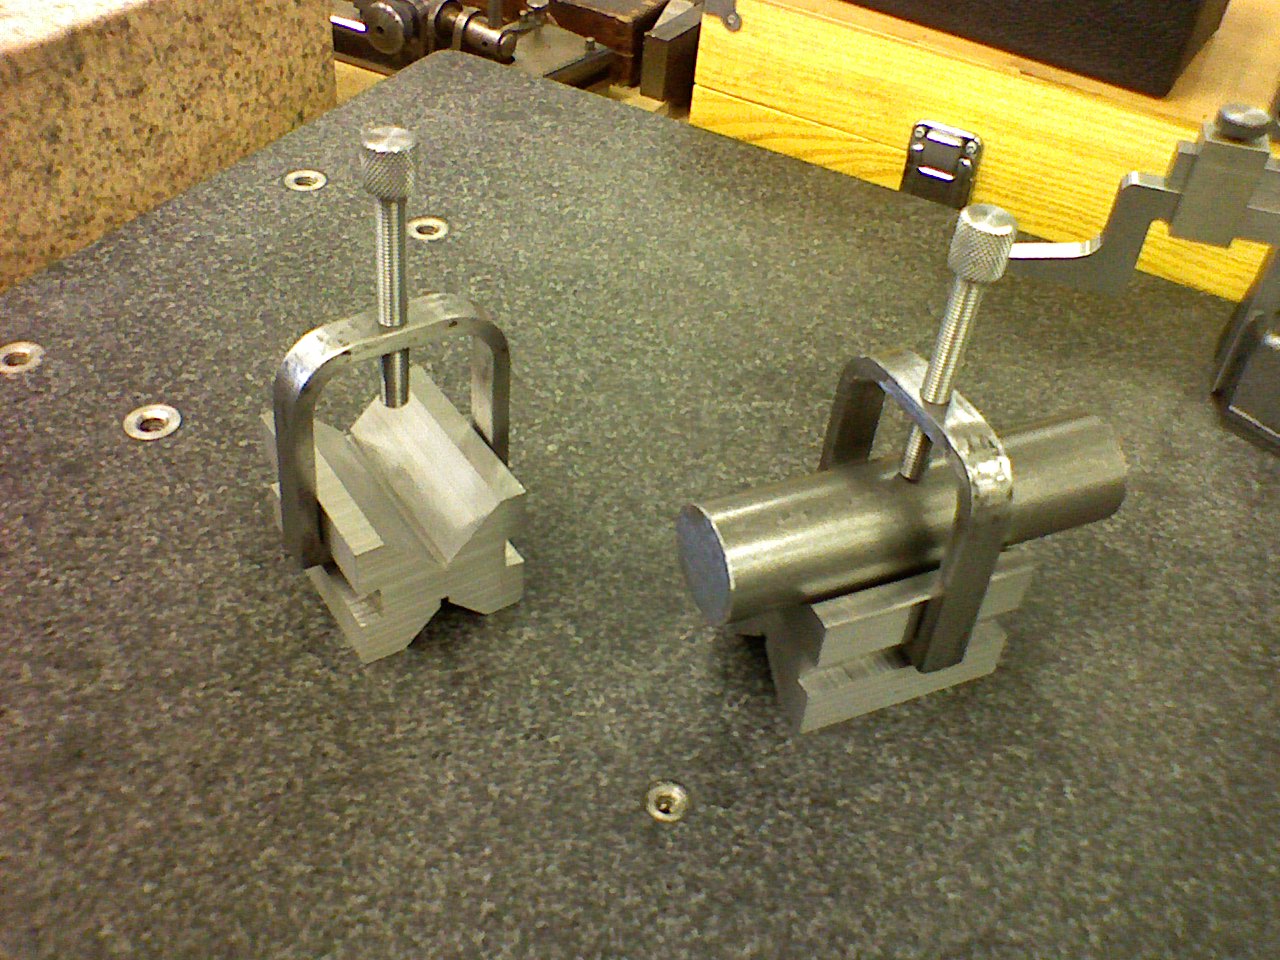
V-Blocks (Right) - Matched pair and accurate within .001 in every way. Students also made the bolts and clamps.
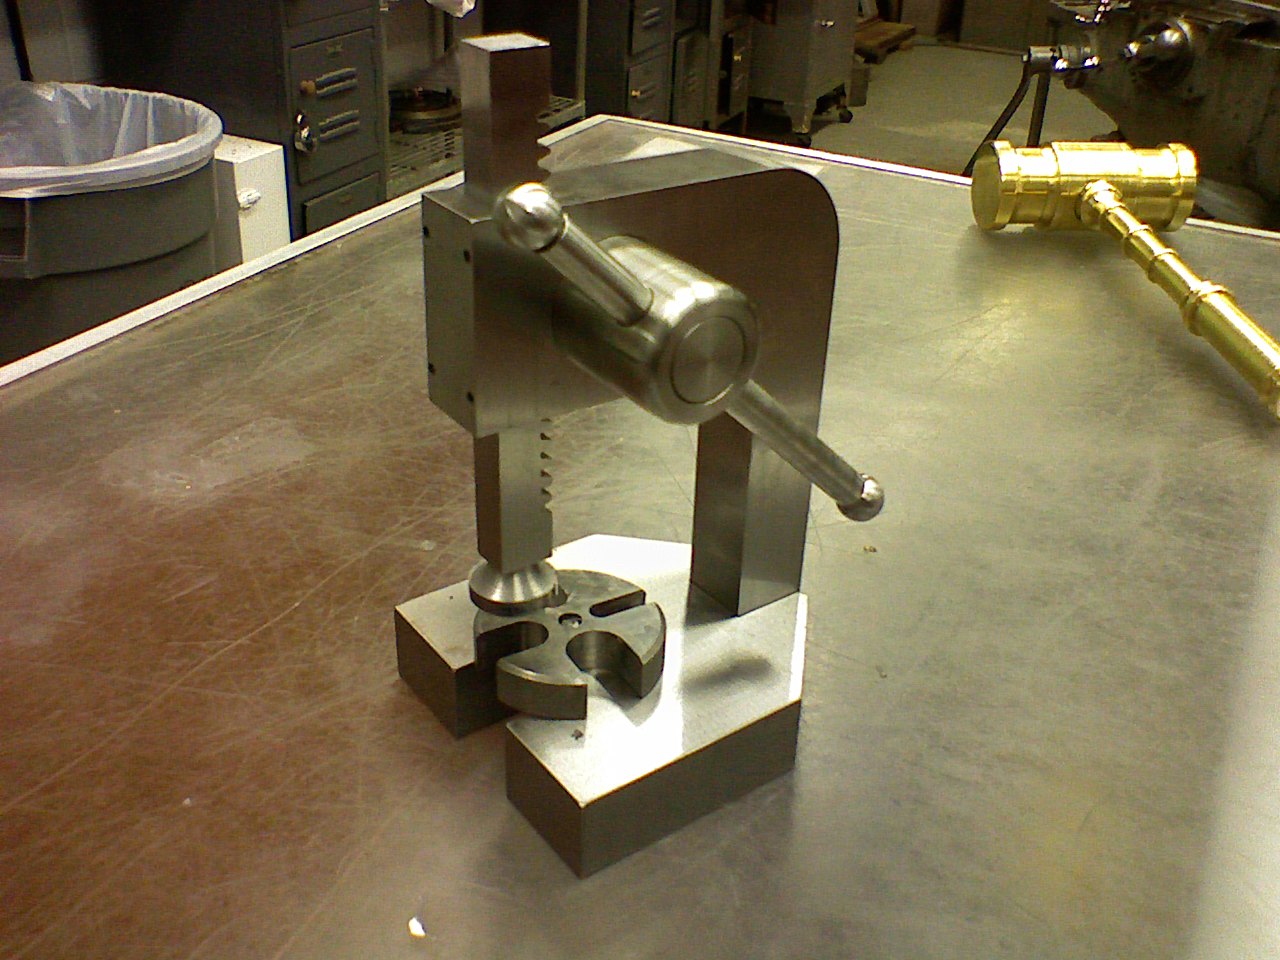
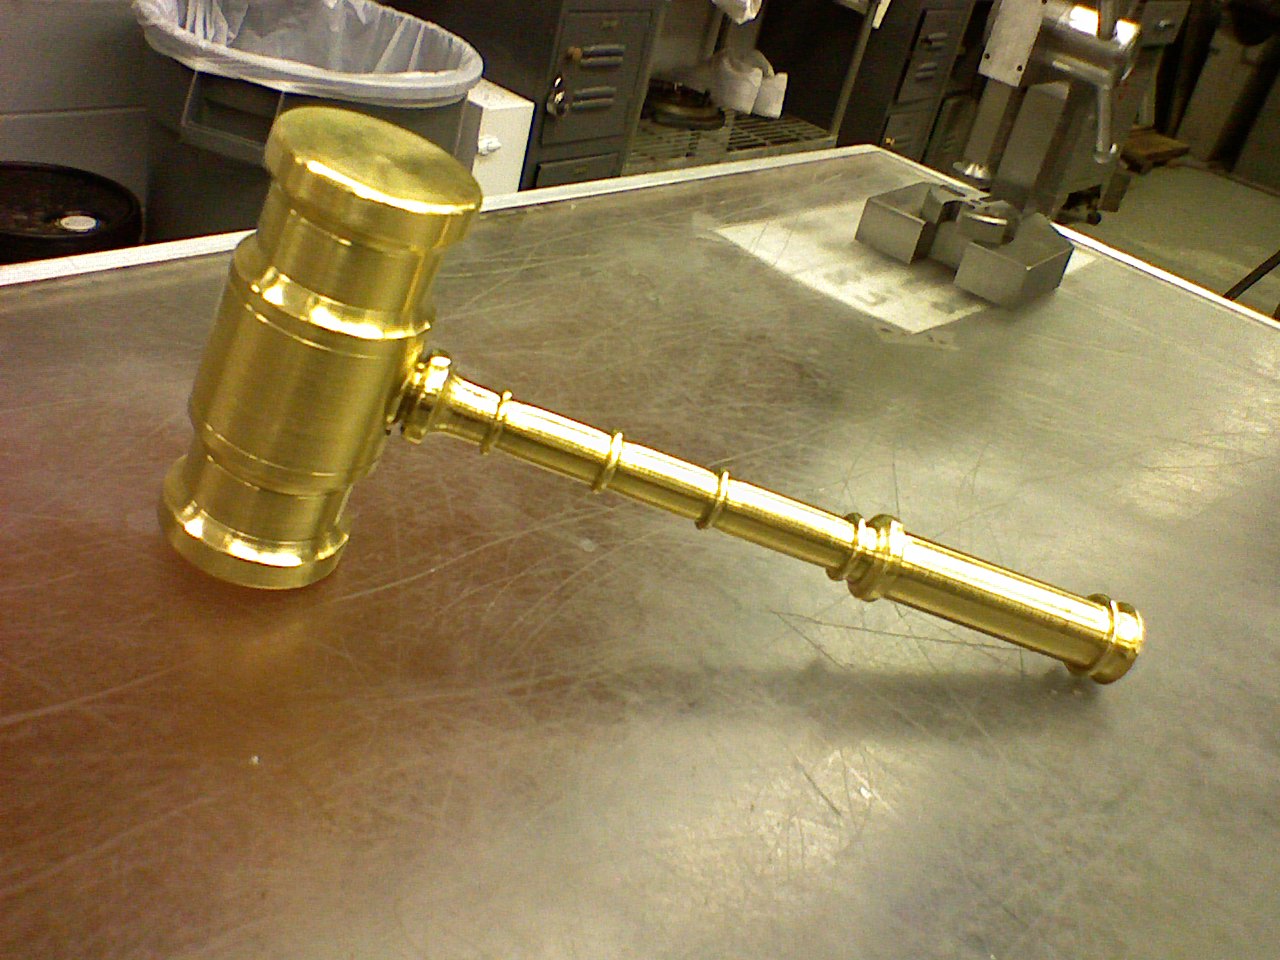
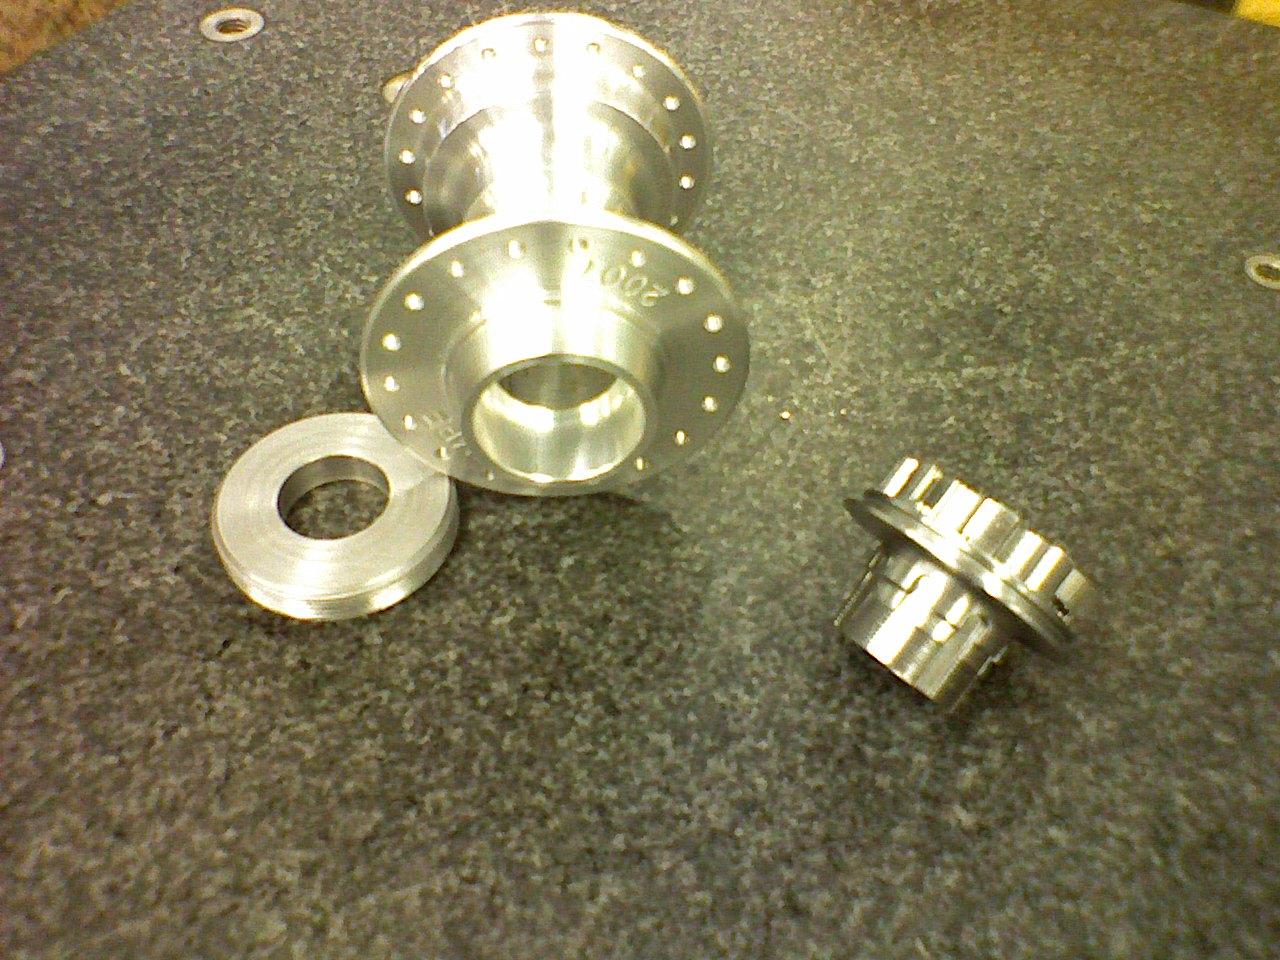
A mini arbor press, a brass gavel and a cassette hub. The cassette hub was a final project of a former student that just completed his journeyman apprenticeship. He built the components on Mastercam and then cut them out.
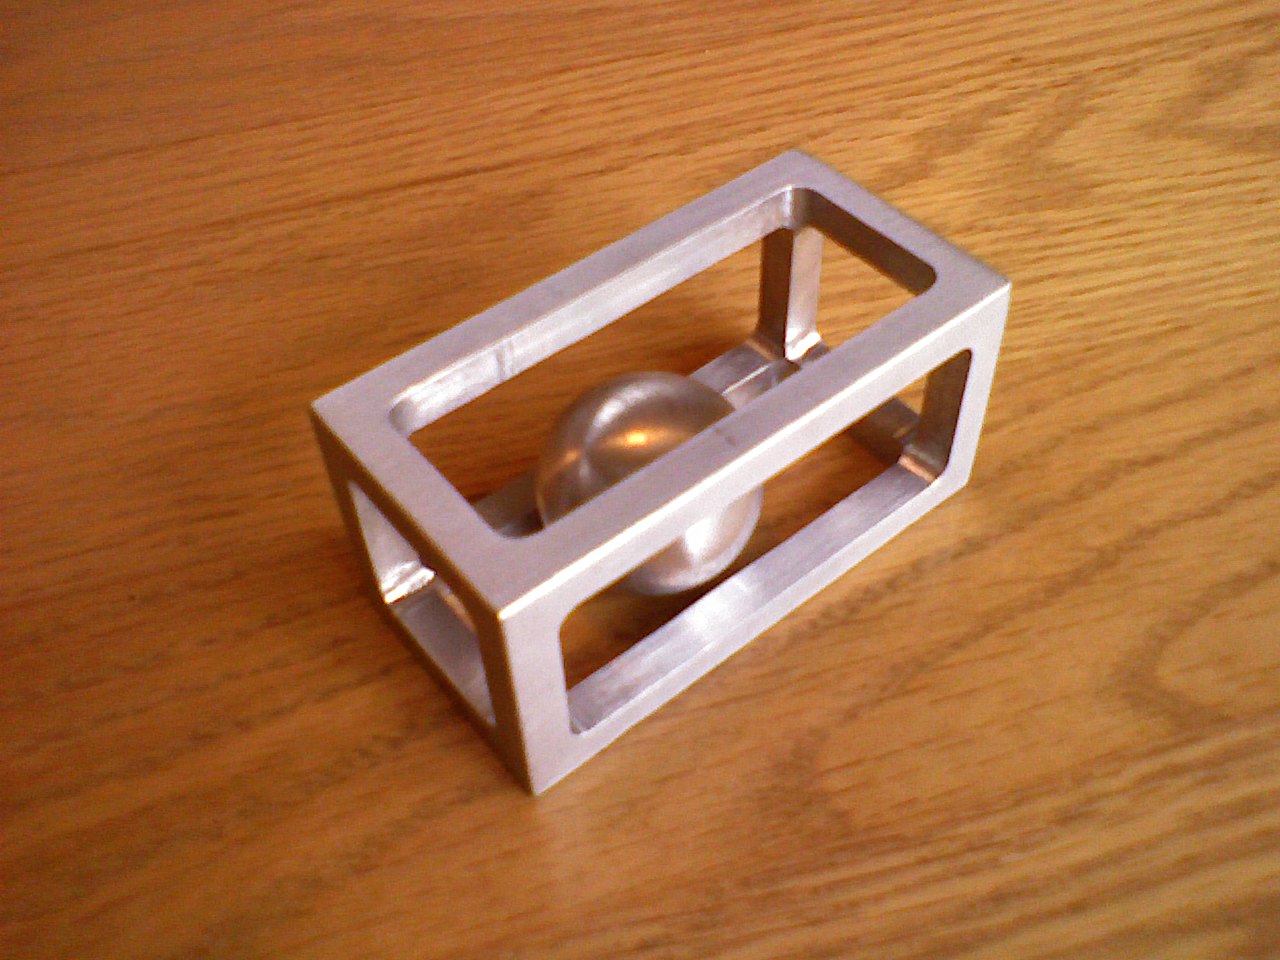

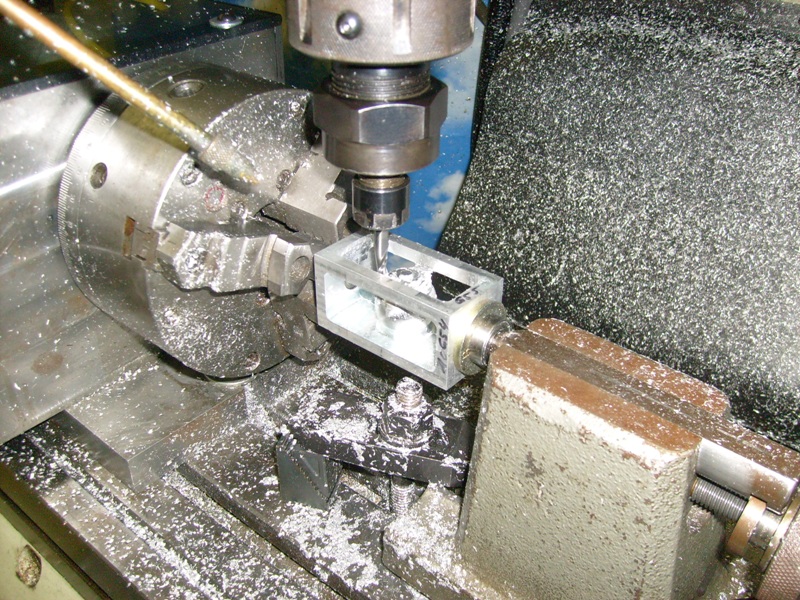
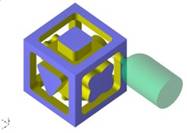
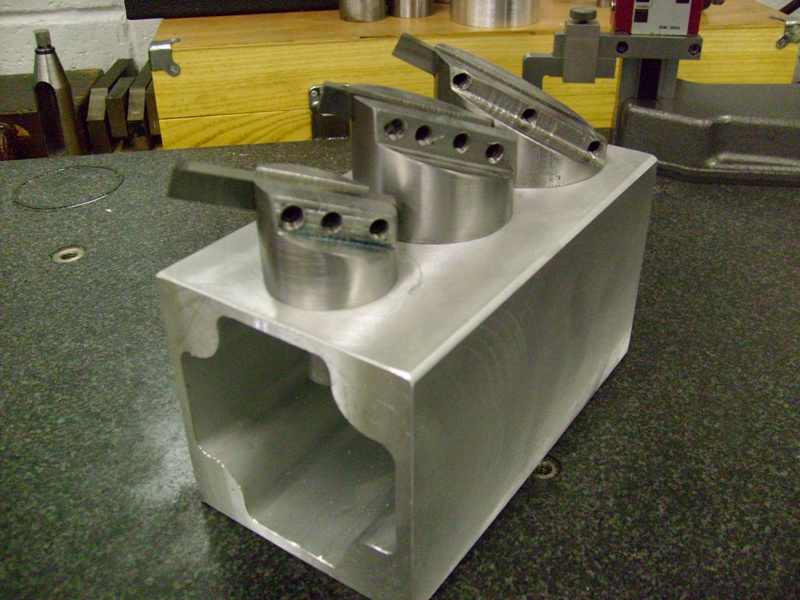
A ball in a cage. This was a variation on the same theme as our 3D cube. We cut this out of a solid chunk of aluminum. When we're done, the ball is free to roll around inside the cage but will not come out. Follow this link to see the ball in cage running on the yellow mill.
An adapter for a router motor. We built an enclosure for a Porter Cable router motor so we can mount it to any of our CNC mills. This gives us 27,000 rpm which is great for wood or plastic projects. We cut our caliper boxes with this.
G-Code Program parts. These are 2 samples of G-Code programs that the advanced students create. They are not permitted to use Mastercam at all for these assignments. They have to calculate each cutter position and then hand-type the coordinates into a "long hand" G-code program using just a text editor. We run the programs through Vericut first to prove them out and make corrections. Once they look good on the virtual CNC they proceed to set up one of our mills and run the program in real life. G-Code programming gives the students a better knowledge of what a CNC machine actually does and what information it needs to produce a part. They also learn about tangencies, intersections and the G-Code syntax and format.
OUR CNC MACHINE REBUILDING PROJECTS:
Our BlueMill project is finally complete. After one full year of rebuilding the machine is now fully functional and runs circles around our other CNC mill. We have a new video showing the machine in action. It is a “wmv” file and is about 3mb in size.
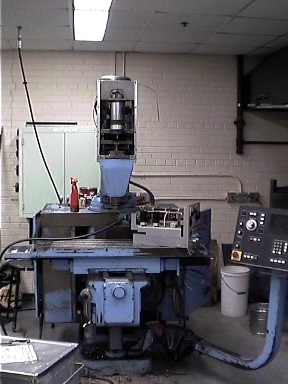
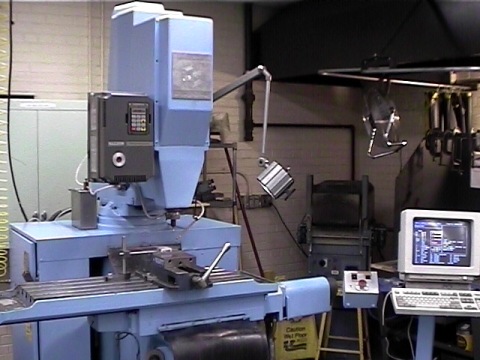
Before After
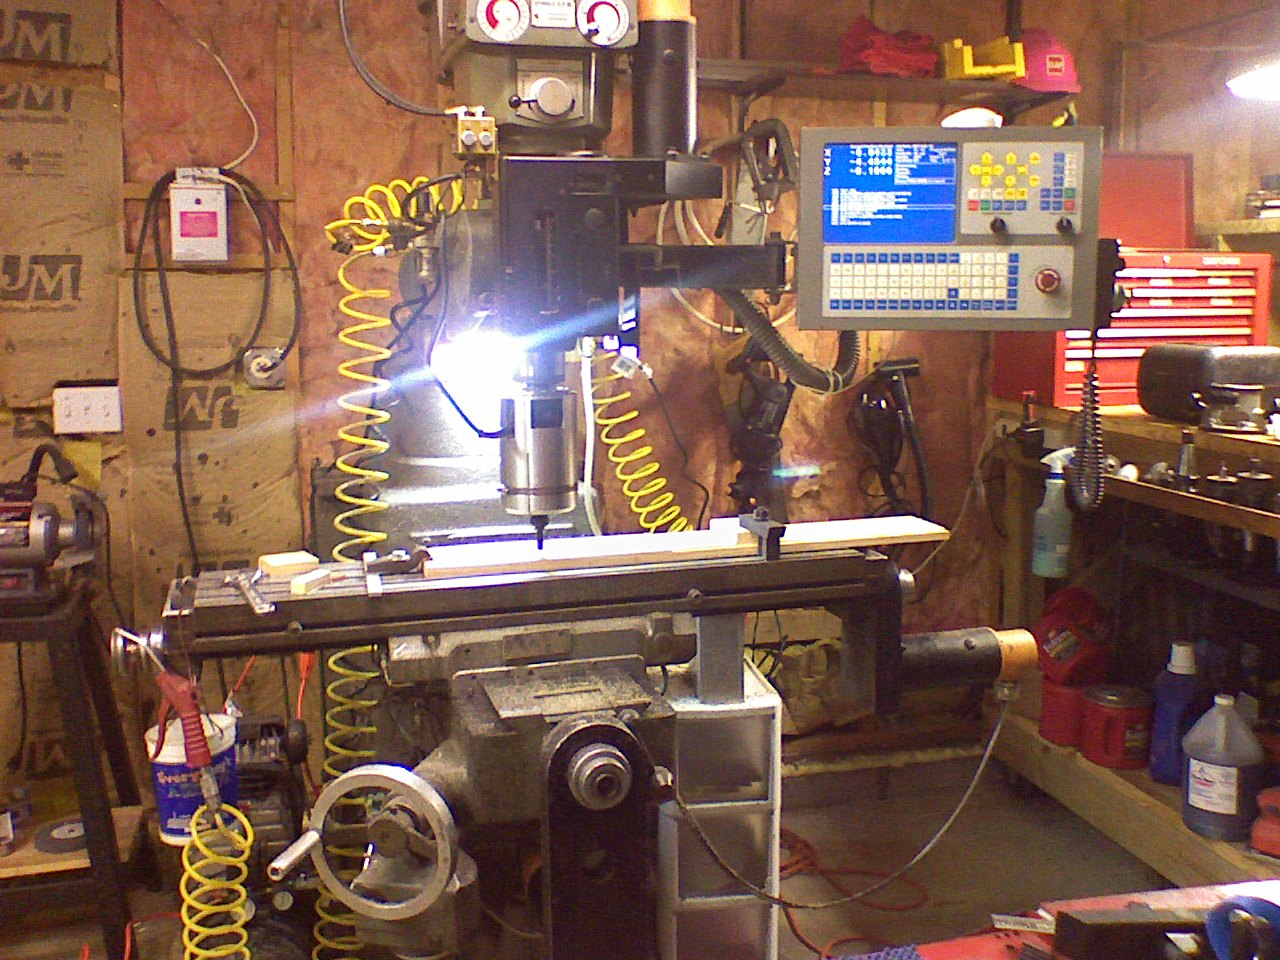
Our "Yellow Mill" project.
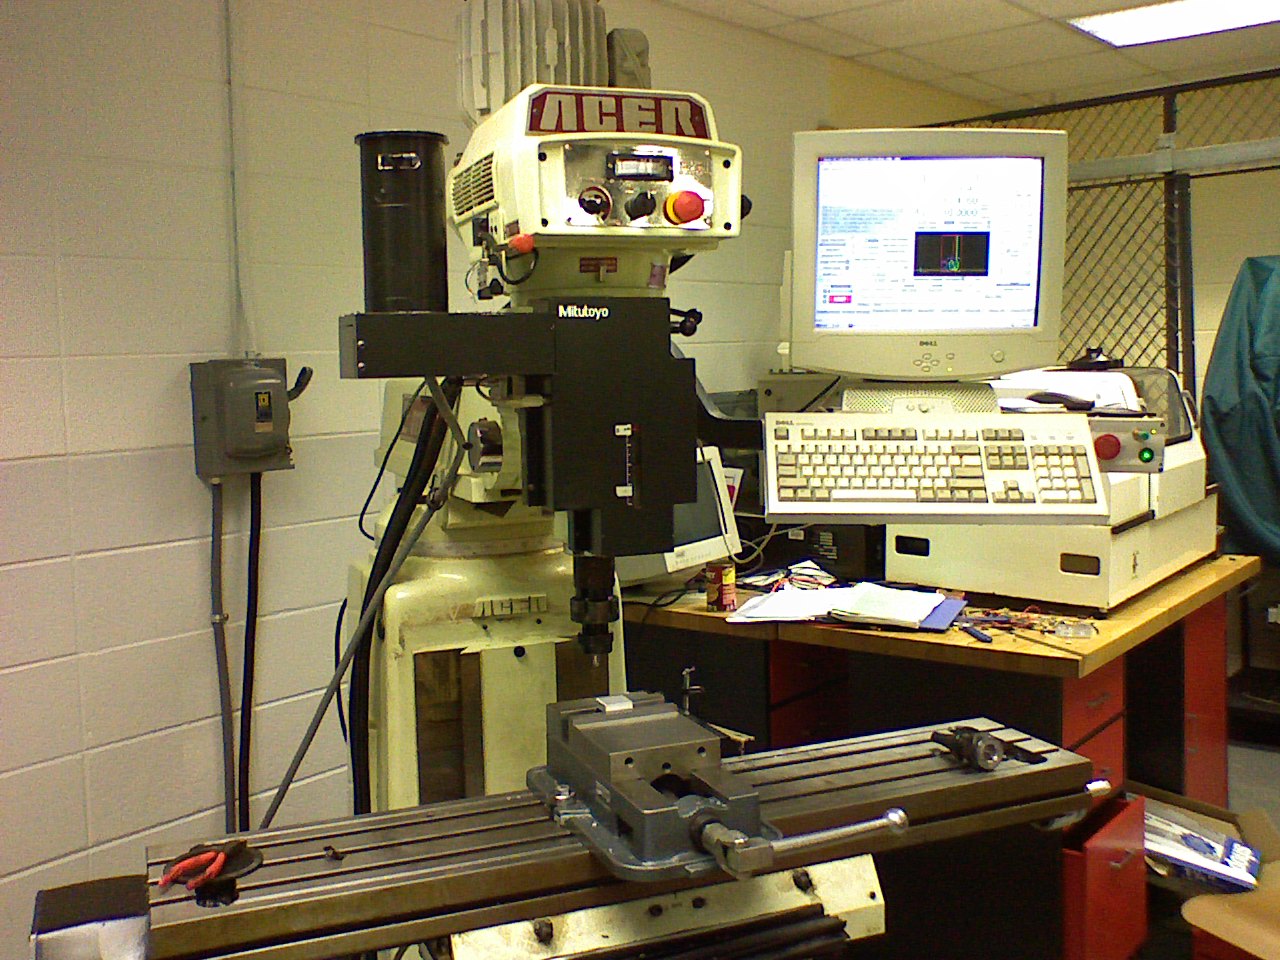
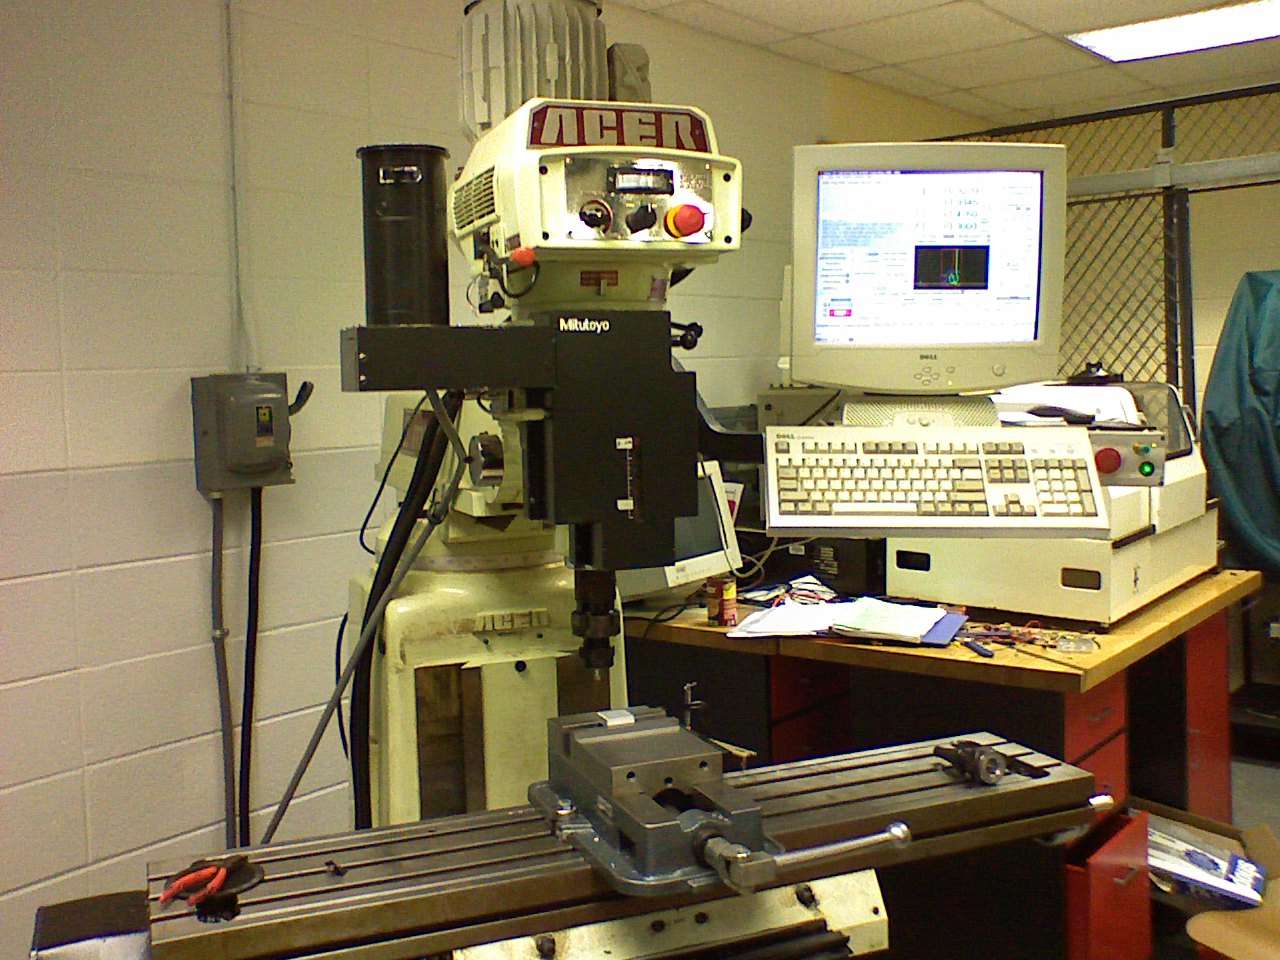
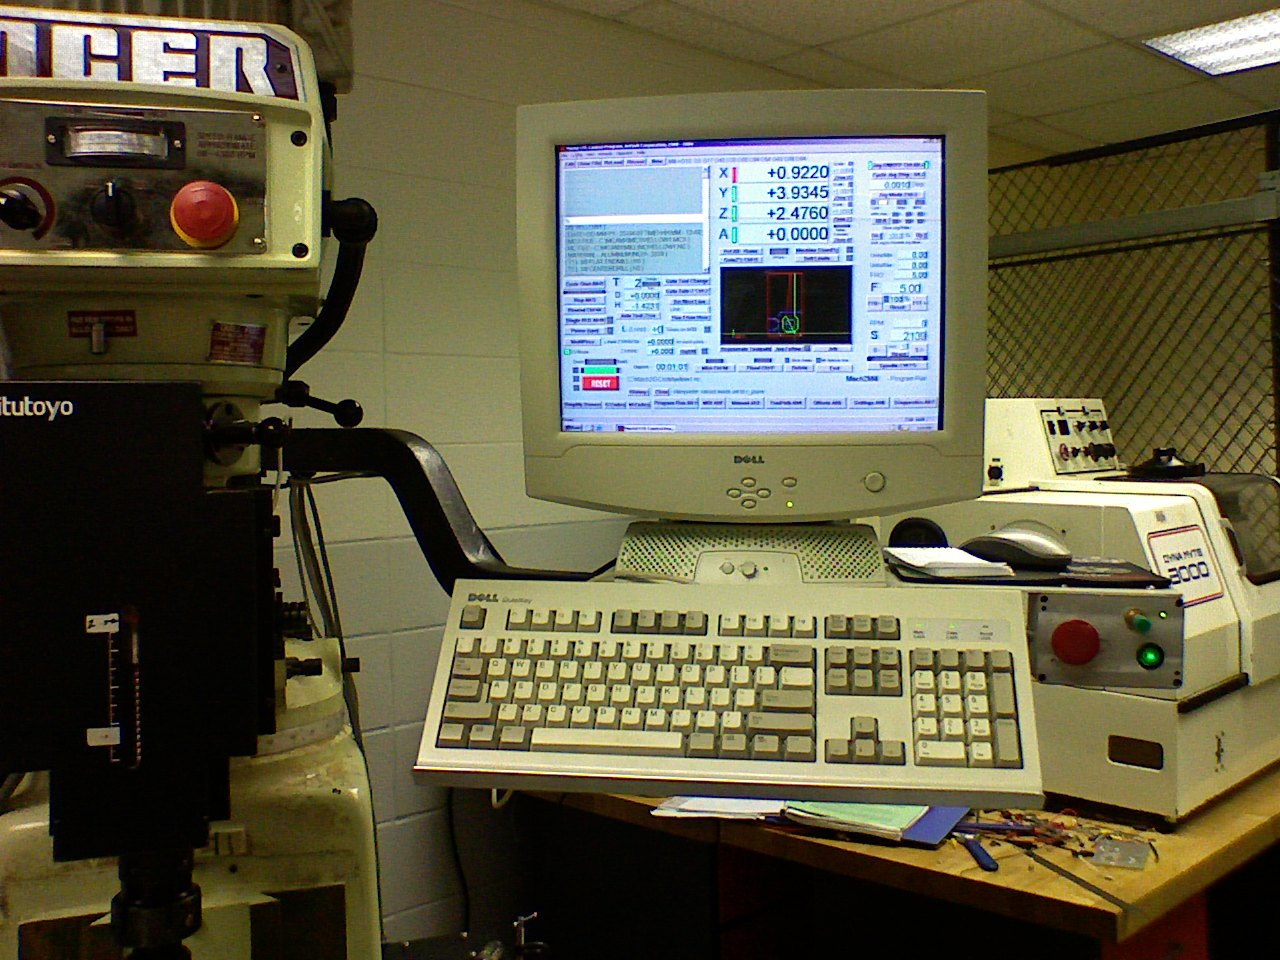
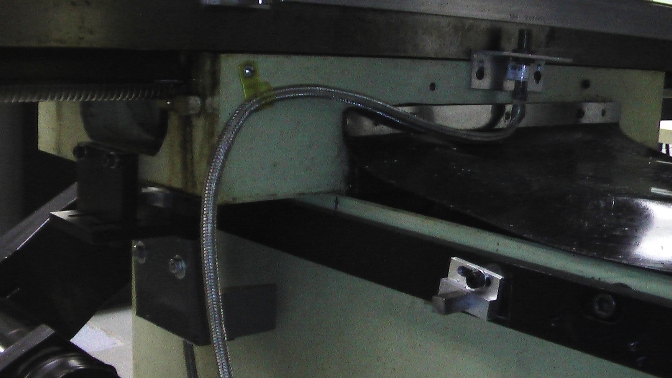
OCTOBER 2007 - After chasing our final problem around for the past 2 months, we finally have the YellowMill solid. We added some optical isolators on the input signals of our prox sensors that we are using for limit switches on the X and Y axis. This cleaned up the signal and stopped the false tripping that we were experiencing. After that effort, we closed the box and started running parts. The machine is going great. Below are some recent photos.
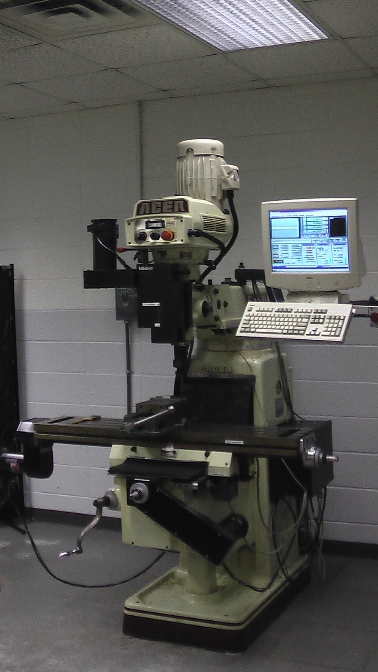

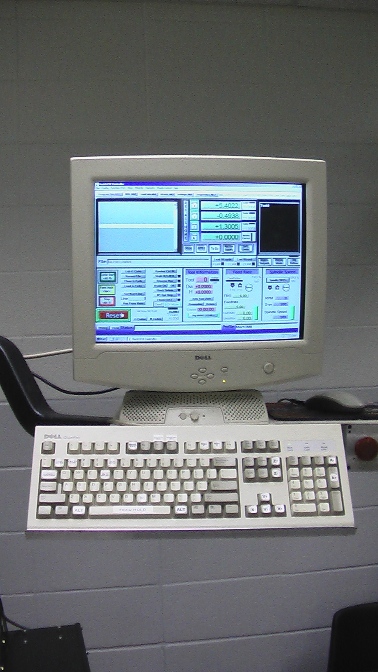
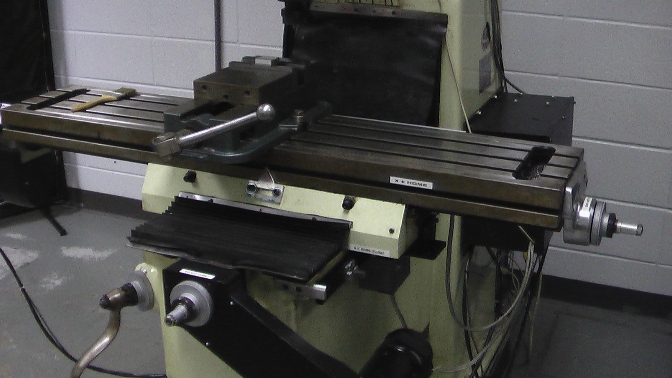
Above are some photos of the machine itself along with a shot of the control software that we are using. Artsoft's Mach3 Visit their site by clicking on their link below.
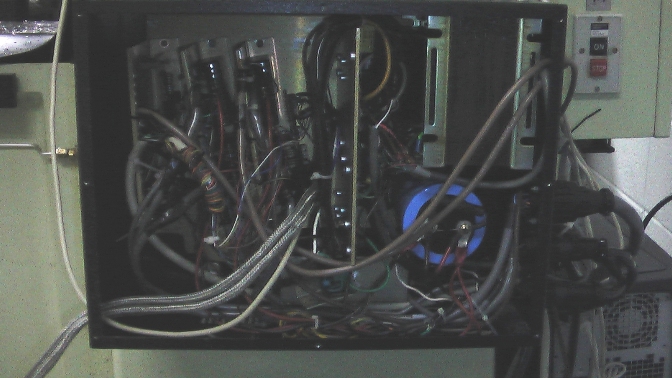
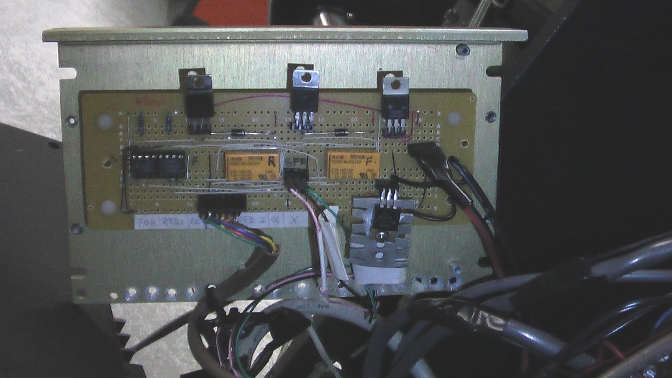
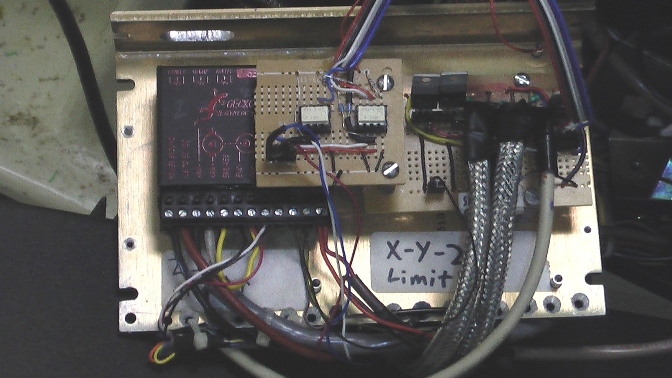
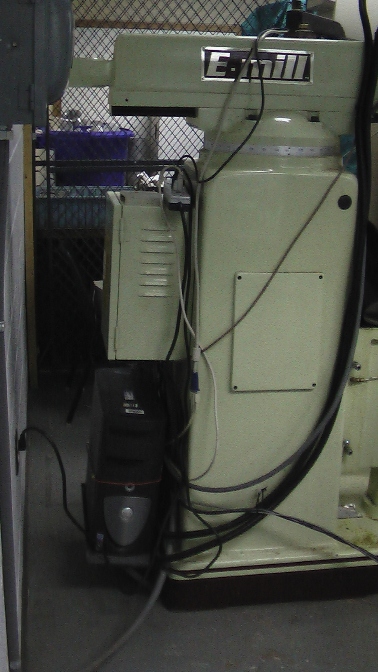
These photos are showing the electronics tech's handy work. From the left is the entire control box housing our power supply, servo controllers and the limit and spindle boards. The 2nd photo shows our prox switches that we use for limiting X and Y. We are using mirco-switches for the Z. The 3rd photo shows our spindle controller board. We currently have control over CW, CWW and OFF. For this year, the electronics class is working on a circuit that will let us control speed as well. The 4th photo is of our limit switch boards and the Z axis Gecko. The last photo is showing the computer unit we mounted on the back of the Machine.
ROTARY 4TH AXIS PROJECT -
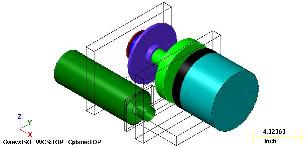
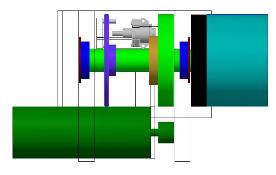
SPRING 2007 - Our next challenge is a CNC rotary 4th axis. My first year students are currently building this from scratch. The more I kept thinking about this project the easier it became so I drew up some plans and put the students to work. We are about 90% complete with this project. We are planning to use this 4th axis on either the BlueMill or the YellowMill. This fall we are going to try to create a self contained computer for the 4th axis so we could use it on a manual machine as well.
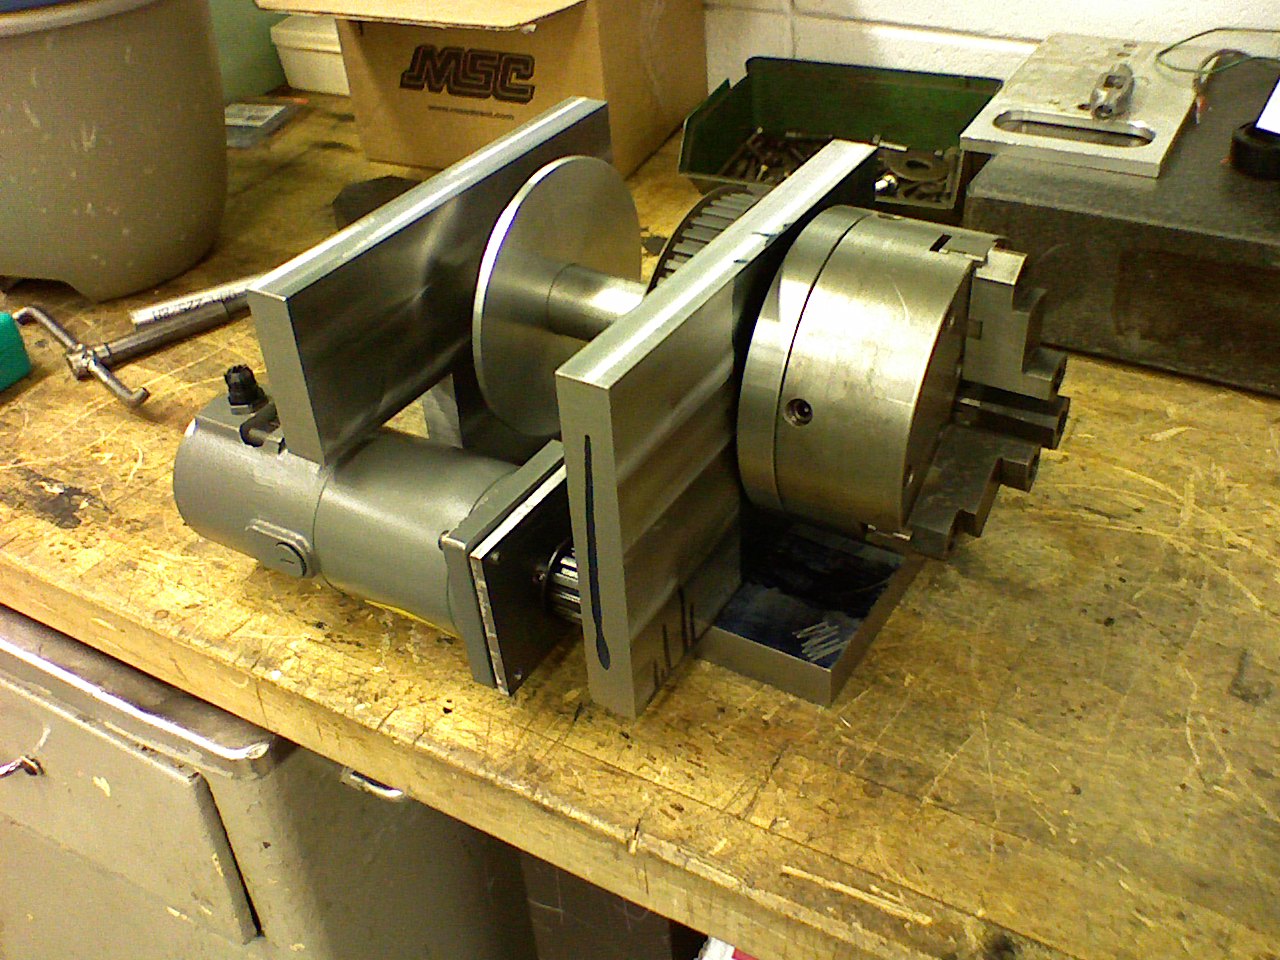
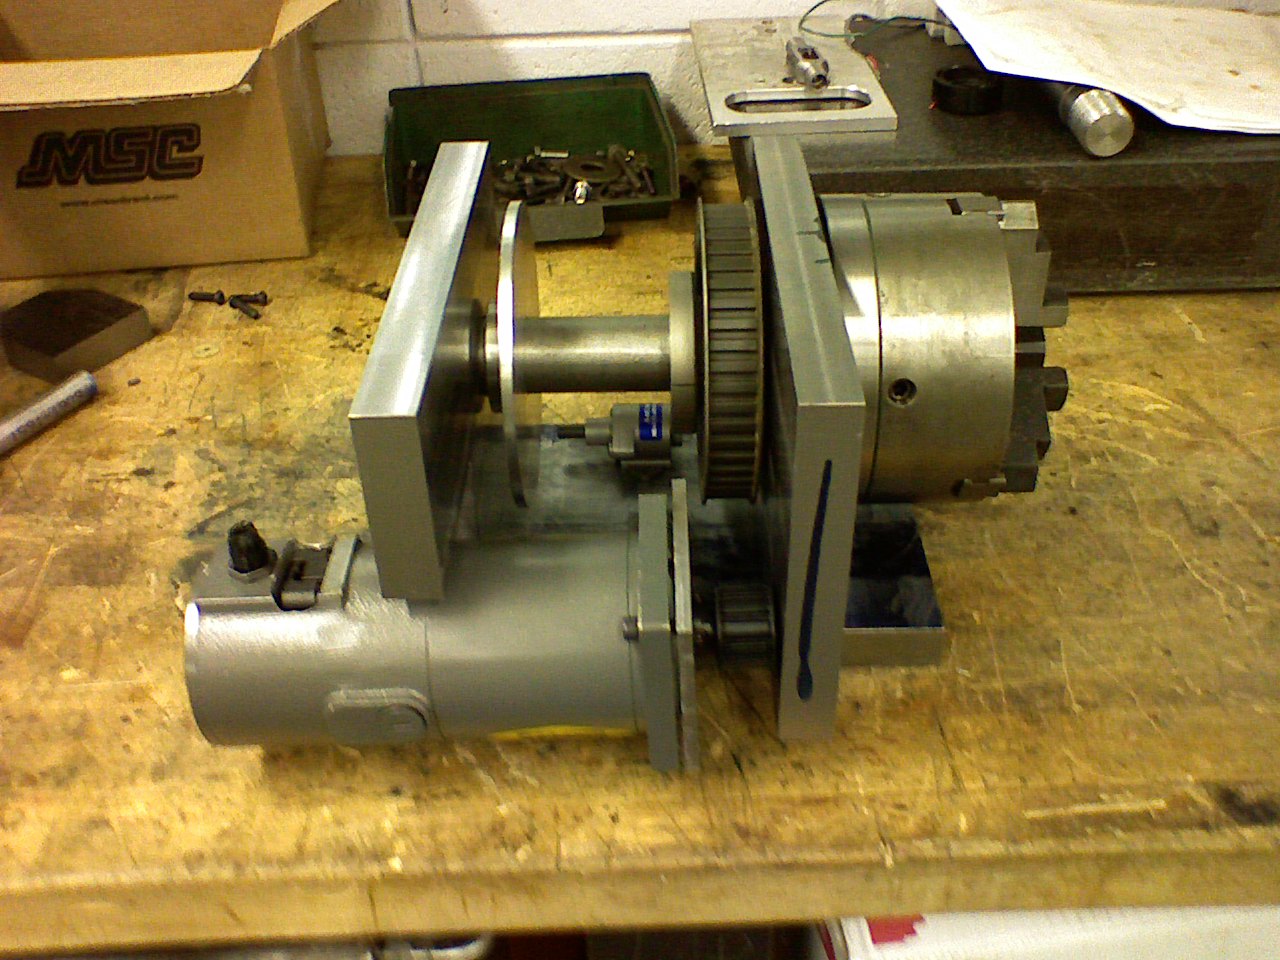
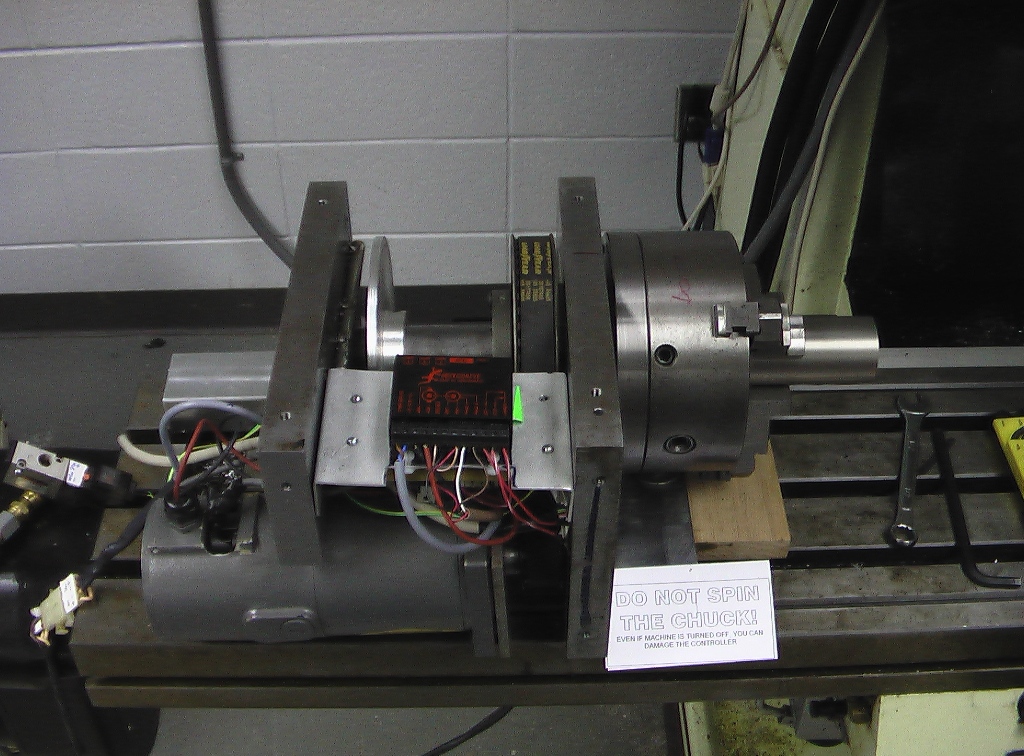
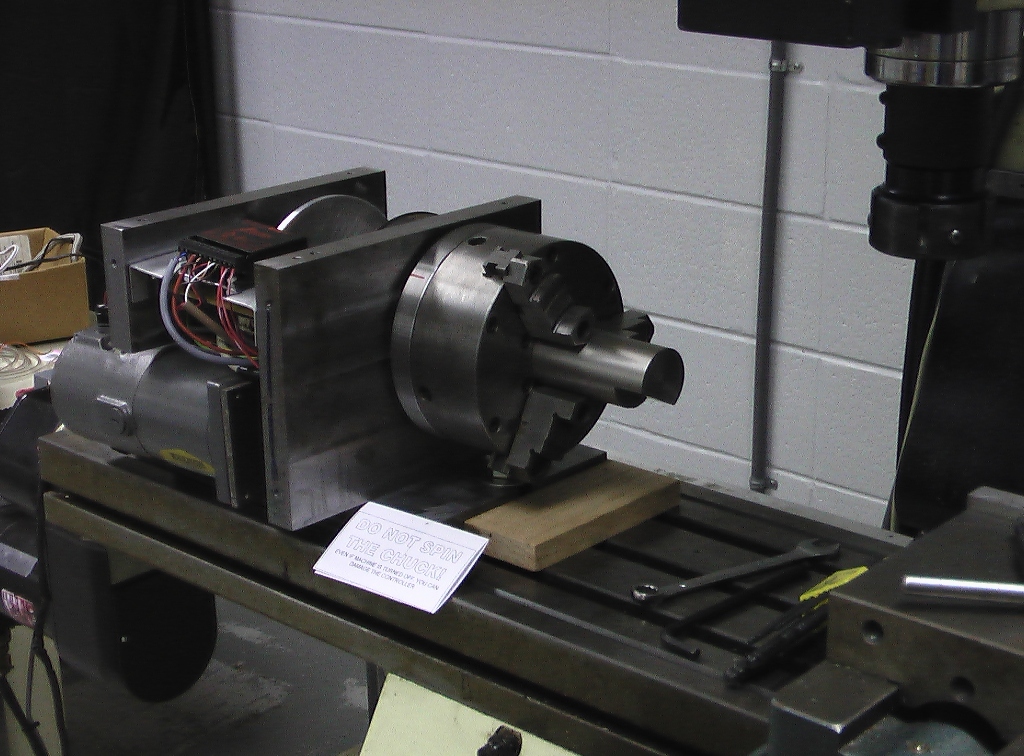
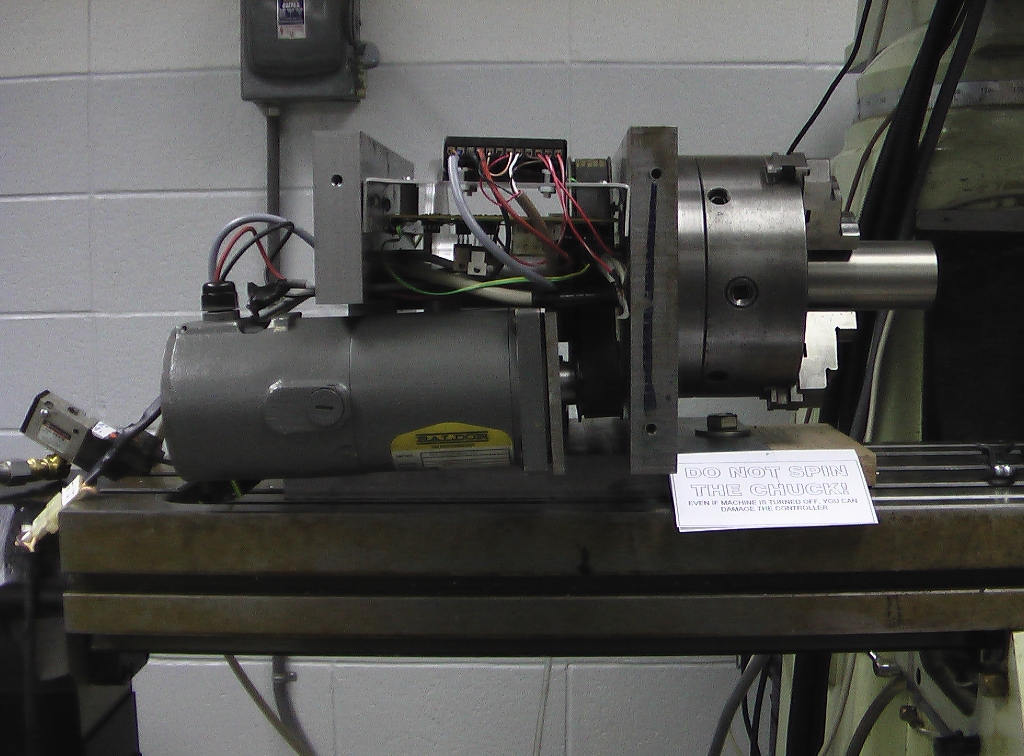
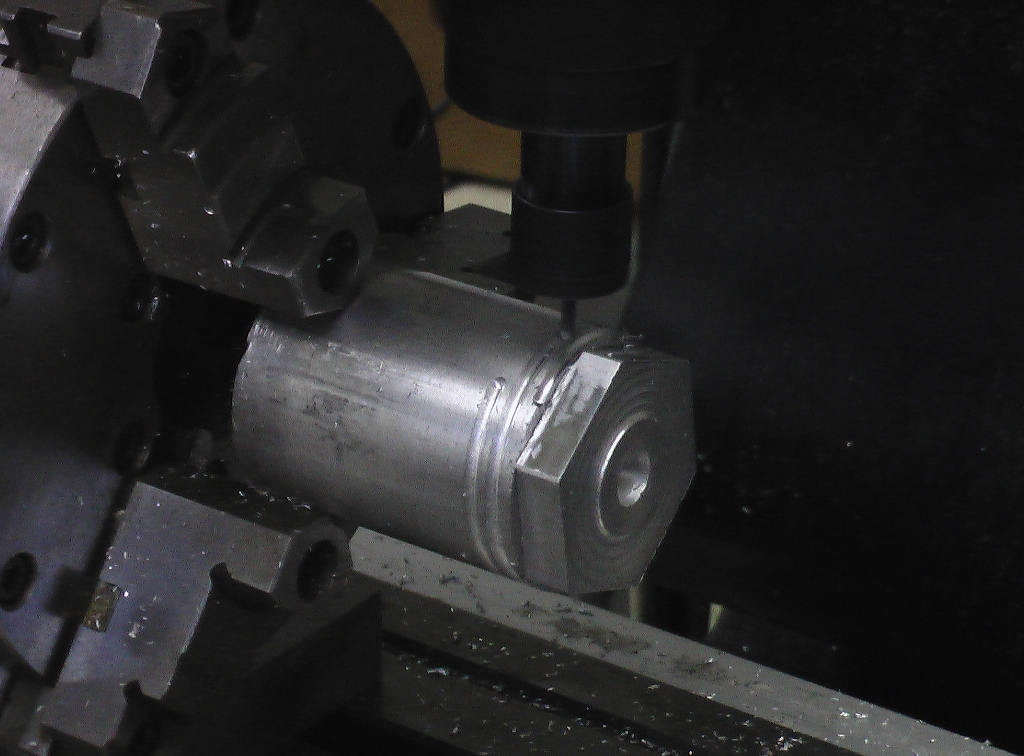
The students made everything but the servo motor, pulleys, single acting pneumatic cylinder and the 3 jaw chuck. They even made us some new top jaws for the chuck and they built a brake rotor and caliper that functions way better than I expected. The 4th axis is currently in our electronics lab getting wired up. The electronics students have the unit hooked up to a computer and it moves and is controllable but we ran our of time and had to save it for this fall.
December 2007 - The 4th axis is finally put together and bolted to our YellowMill and hooked up to power and the computer. It works! Check out the videos on the YouTube site of the 4th axis in action.
http://www.youtube.com/watch?v=yP4Lzo4VfrY
Go to our channel and view other videos of the 4th axis, YellowMill and BlueMill.
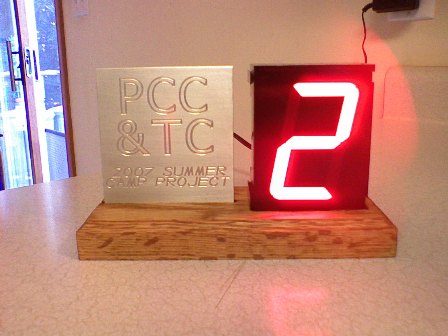
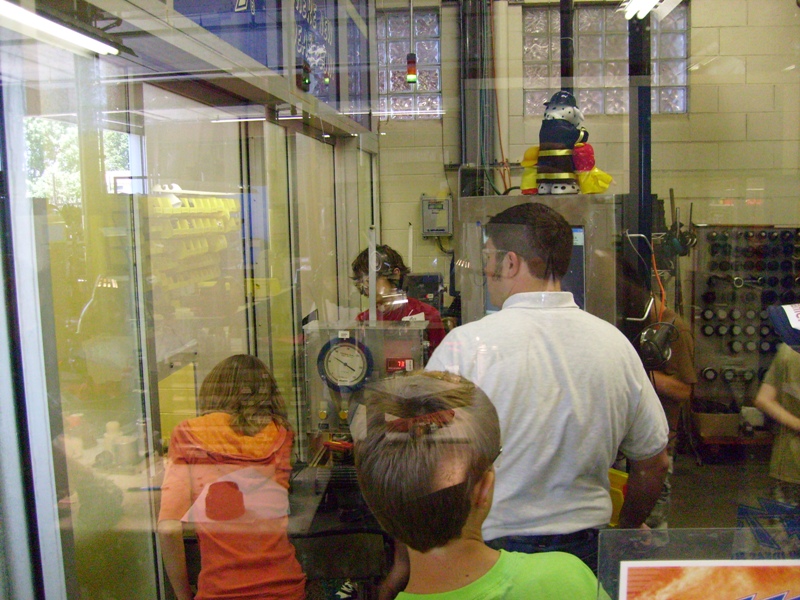
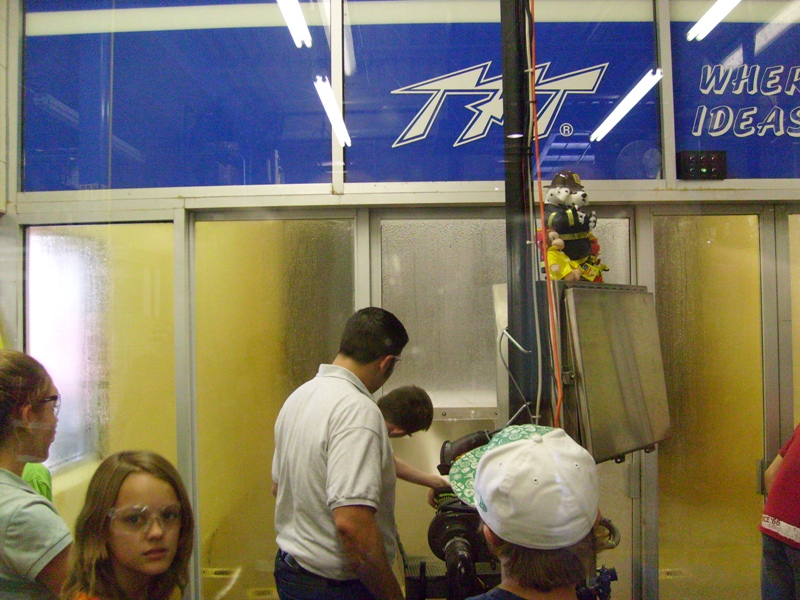
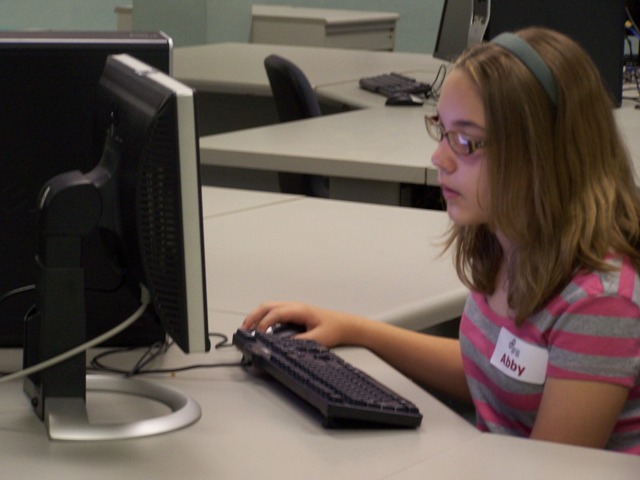
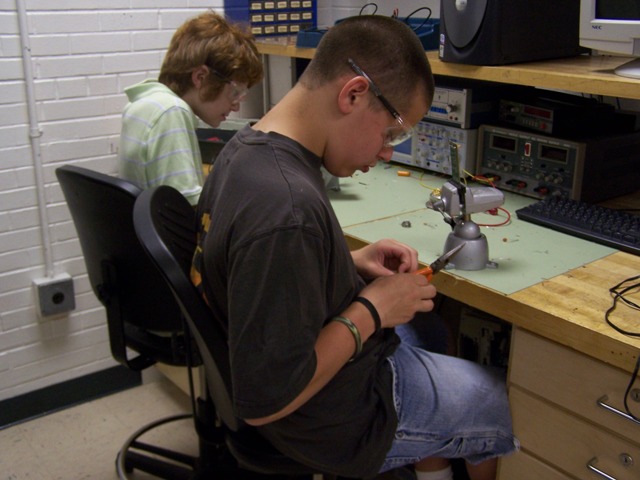
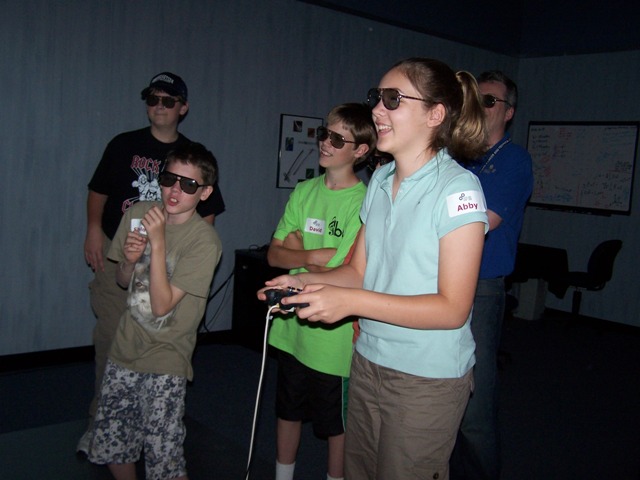
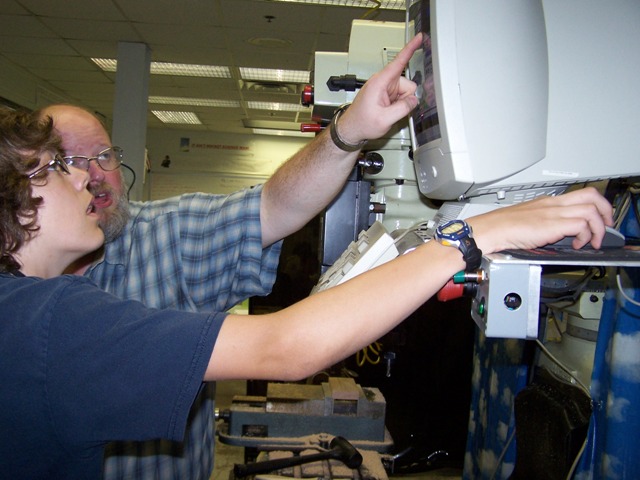
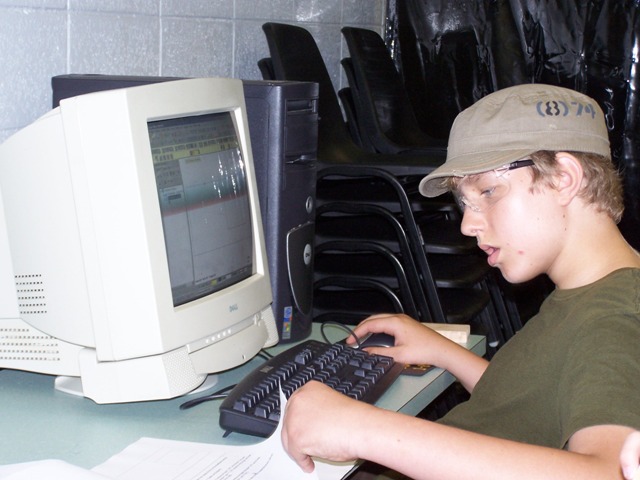
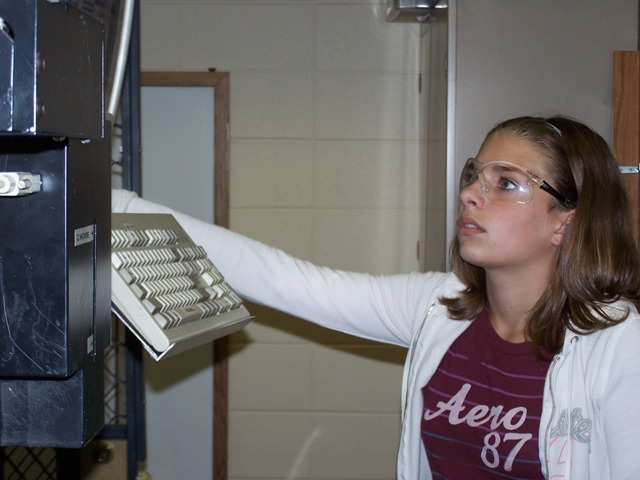
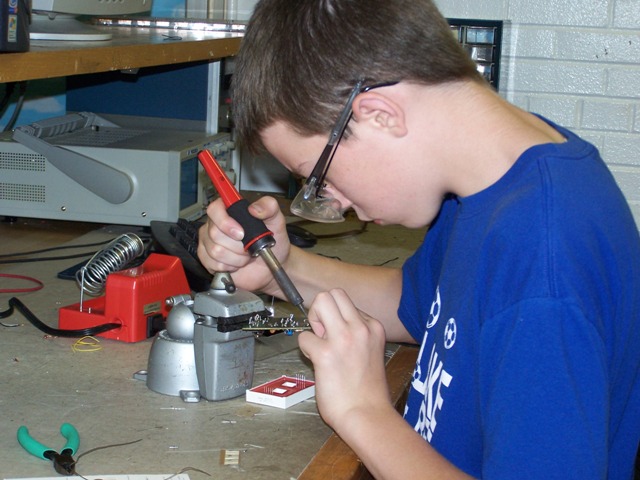
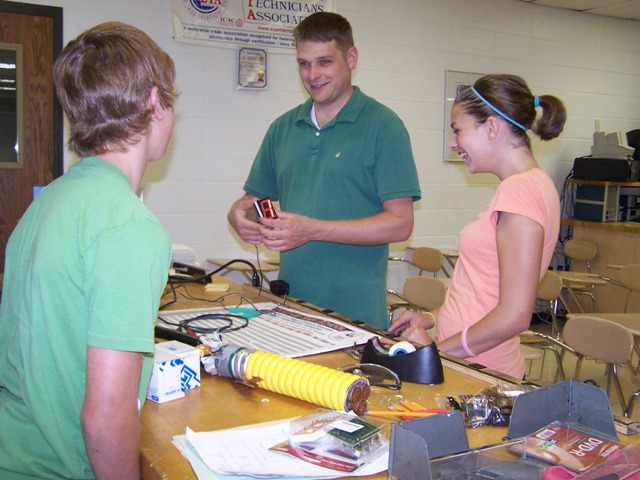
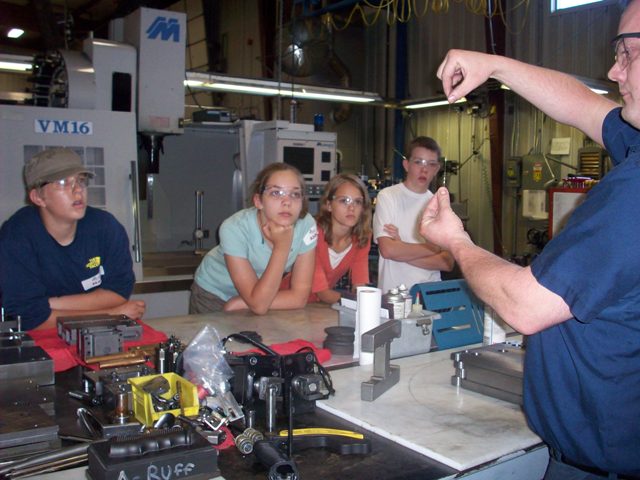
Summer Day Camp!
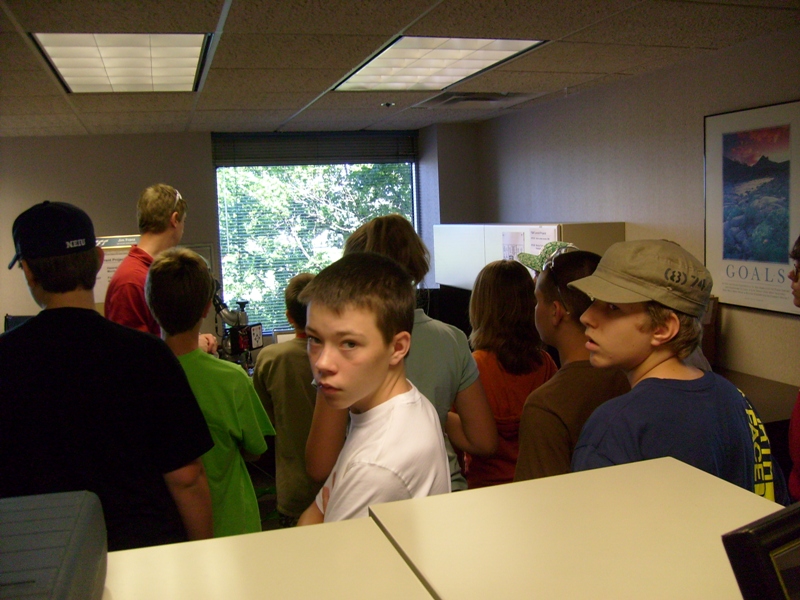
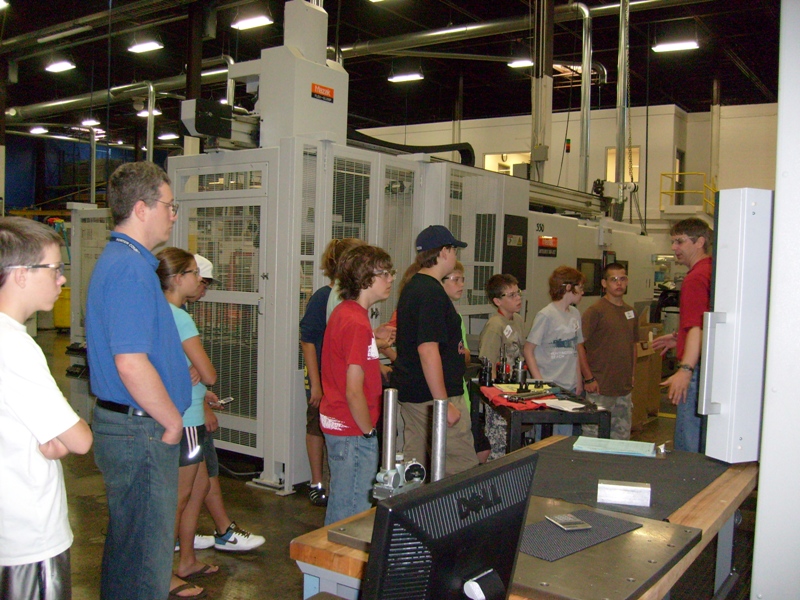
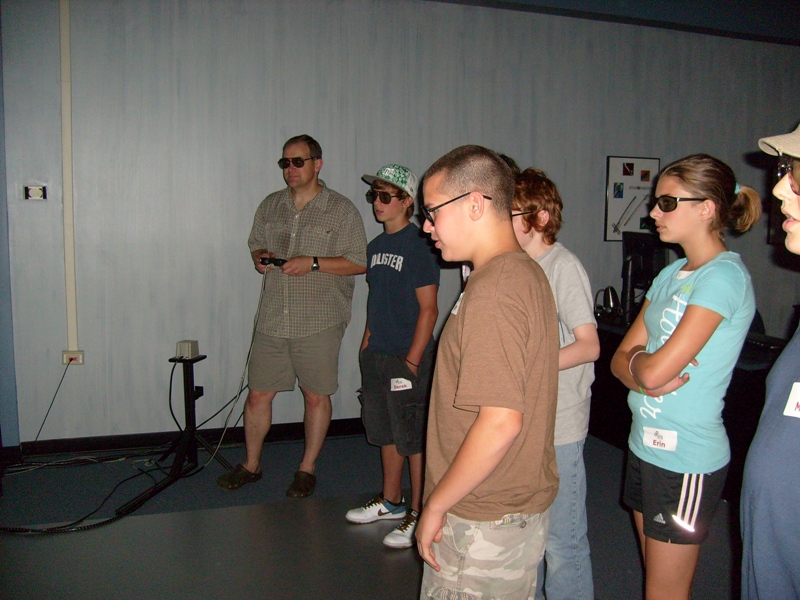
Our class and Electronics Technology hosted another summer day camp for 8th graders. This summer the students built a high tech digital clock where they had to assemble and solder their own circuit boards and then had to design and cut the oak base and a name plate. The students and us instructors really had a great time making these clocks. We hope to see some of these middle-school kids in our classes in a few years. Below are some thumbs of the day campers on a field trip to Task Force Tips, Inc. and to Valpo University.