Bumble Bee Cane Tutorial
From Nov 1-06 Demo
 Materials:
Your choice of brown, yellow and black clay for the body.
Translucent and white clay for the wings.
Black clay for the head.
Making the Bees body:
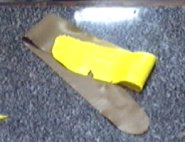
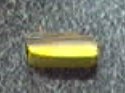
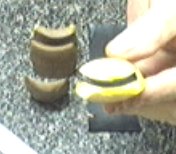
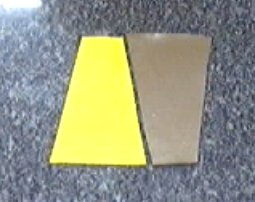 Start with a yellow and brown.
Make 2 triangles as in the picture above.
Fold in half with the yellow end meeting yellow and brown end meeting brown as below:
Start with a yellow and brown.
Make 2 triangles as in the picture above.
Fold in half with the yellow end meeting yellow and brown end meeting brown as below:
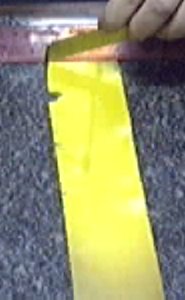
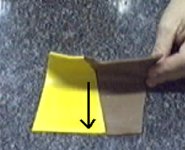 Put threw the pasta machine folded edge in first.
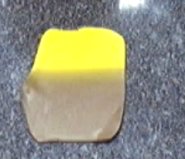
 Put threw the pasta machine aprox 20 times,
each time folded in half as before until you get a nice
gradient blend as below:
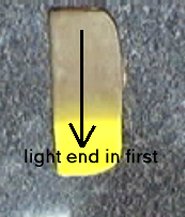
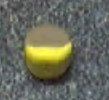
 Fold in half one more time.
Put threw the pasta machine on thickest setting with the light end in first:
Fold in half one more time.
Put threw the pasta machine on thickest setting with the light end in first:
 Do this again only on the thinnest setting of the pasta machine.
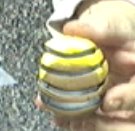
You should now have a long gradient ribbon.
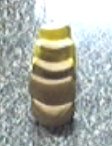
 Starting at either end, (it doesn�t matter which end you start at), cut strips off the ribbon the same size. Do this all the way to the end. As you do stack them in the order you cut them off as below:


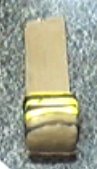
You should now have a stack as below:
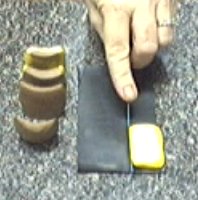
 Compress this stack and form into a short fat plug.
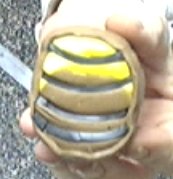
 Condition your black clay and roll out on the thickest setting. Set aside.
Curve your tissue blade and cut so that the cuts will have a curve.
Condition your black clay and roll out on the thickest setting. Set aside.
Curve your tissue blade and cut so that the cuts will have a curve.
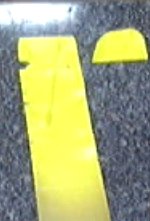
 Cut 3 or 4 curved pieces (or more if you like) from your plug.
 Now layout your black sheet you prepared earlier.
Put a strip of black clay between each of the sections you cut from the plug.
Now layout your black sheet you prepared earlier.
Put a strip of black clay between each of the sections you cut from the plug.
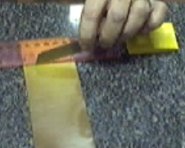
 Roll out a contrasting brown sheet of clay and wrap this plug.
The thickness of the clay you wrap with depends on your own preferences.
On to page 2 "Making the Bumble Bee Wings"