|

|
|

|
|
This page shows step by step how we made our USS Constitution Pen. Most of the steps that we took for this pen are the same as with other types of wood. I just happen to take pictures of this one because I wanted to have proof that it actually came from the souvenir piece that we picked up in Boston ten years ago.
Most of the blanks I use come in strips of 3/4 by 3/4 stock that is usually close to five inches in length. All I need to do is to cut them to the proper length and drill them. For the other pieces of scrap that I get I go through the same process as below to cut the blanks out before starting. |
|
|
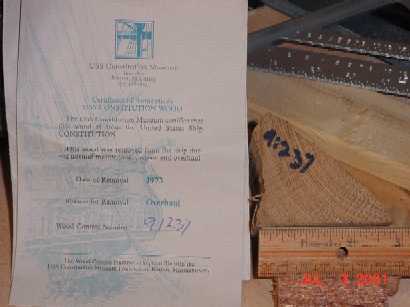
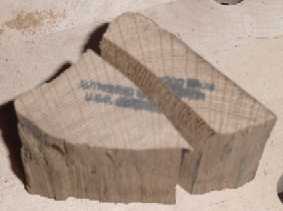
1. We took pictures of the piece of wood we bought at the USS Constitution's Gift shop (Boston) back in 1990 while the ship was still in dry-dock for repairs. |
|
|
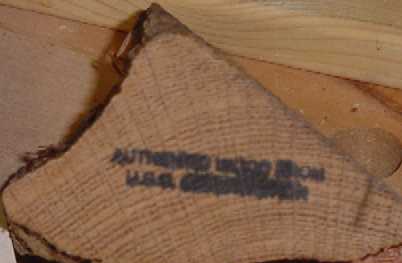
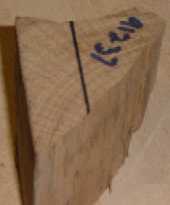
2. We marked and cut the first crosspiece. We took great care to leave the serial number, but had to cut across the authentic stamp. |
|
|
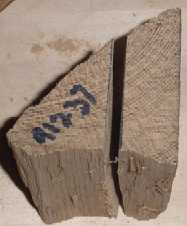
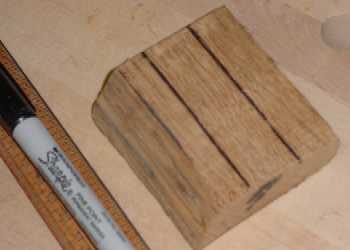
3. Again we marked for the second and third cuts that would give us the individual pieces. The next step was to cut the top and bottom pieces to their respective length. |
|
|
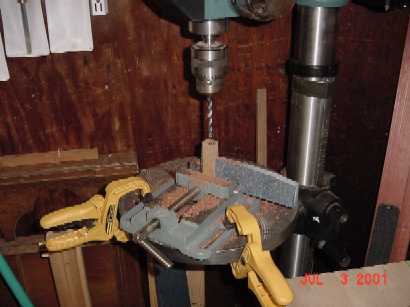
4. The drilling was the hardest part due to the pieces being slightly abnormal in size and shape (ie - NOT square). You only get one shot at being in the center - slight angles will ruin a blank instantly.
You can picture how much easier it is to do several blanks at once. I prefer doing upwards of 20 blanks at a time from the drilling phase up through the gluing. |
|
|
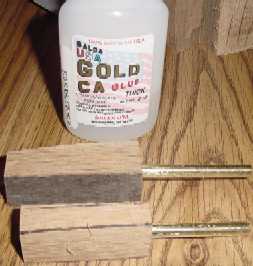
5. The pieces had to have the brass plugs glued in the center. At this point, I had to let them sit for several hours. |
|
|
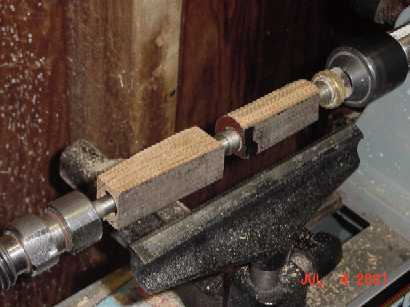
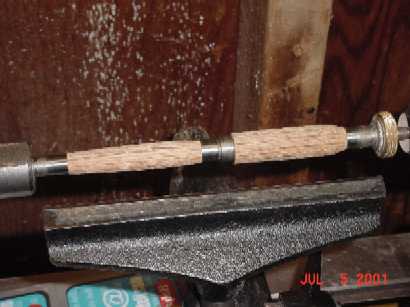
6. Once the glue has set, the blanks are put on the Pen Mandrel and then mounted on the Lathe. Notice the bushings at both ends and the center. They determine the final size the blank should be to fit the pen parts. There are different types and sizes of bushings made for the different style pens. |
|
|
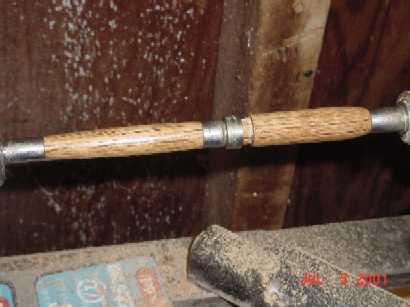
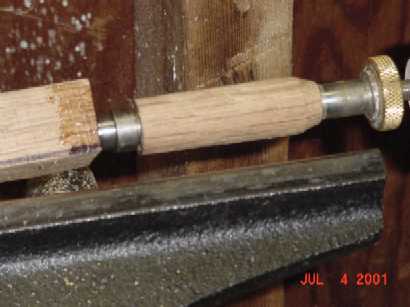
7. Using the tools, the wood is milled down to a close size leaving enough wood to be sanded down for a smooth finish. Once the top was finished, we did the bottom. |
|
|
8. Once both pieces were milled to the correct size, I got the sandpaper out. I start at 150 grit and work my way through 220, 320, and 400 grits for the wood. On the harder woods, I'll go up to 600 so that the polish will shine brighter. For the Acrylic pens I have sanding files that have 2,400, 4,000 and 12,000 grit for ultra fine sanding. |
|

|
9. I use Hut's Crystal Coat friction wax for the polish. It is a mixture of Carnauba wax and Shellac so it comes out real shiny and protects the wood from water and / or other moisture on the hands while using. |
|
|
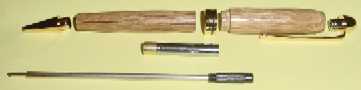
10. I laid the parts out for display. The only piece that is glued is the center ring. The other pieces are all press fit into place. |
|
|
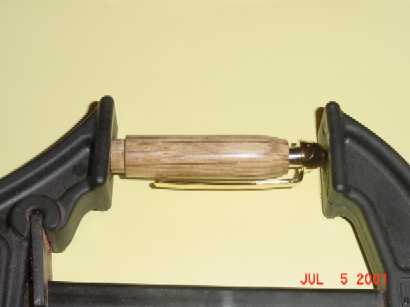
11. First piece that is pressed in is the cap. I then glued the center ring on (not in picture) |
|

|
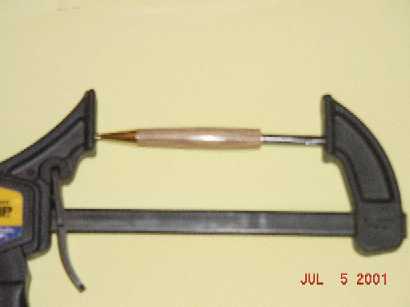
12. Next was the Nib. |
|
|
13. Then the piece that holds the pen cartridge in place. It is also the piece that has the turning mechanism. |
|
 |
|
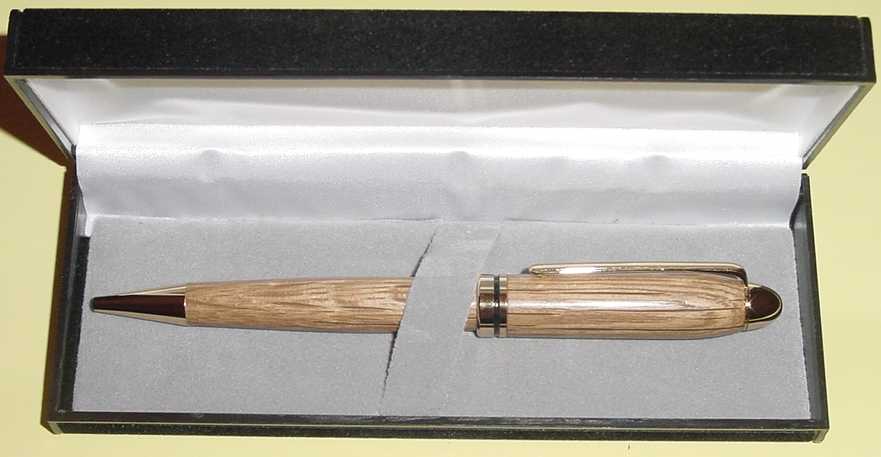
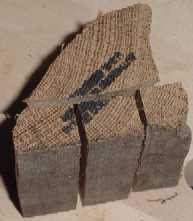
Notice the long dark grains left in the piece of oak. I'm not sure of the age of this piece or how long this piece was on the ship. I do know that it had some unusual characteristics for oak due to the soaking in the seawater for many years.
I plan on having the pen etched with USS Constitution and the serial number from the certificate.
Our plans are to display this pen with the certificate and the left over piece of wood showing that it came from the ship. |
|
|