

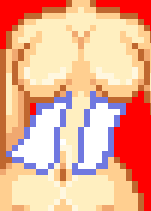
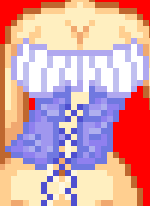
First you draw the outline of the corsette top using #1 from the Corset Pallet.
Draw the strings using #1 on the stitching pallet.
Make wrinkles where the "openings" in the X the strings make using the same colour that you used to draw the outline.
Start to darken the sides using #2 on the corset pallet.

Flood Fill the rest of the corset using #3 on the corset pallet.
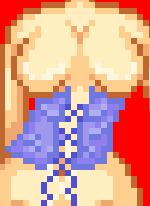
Highlight the wrinkles using #4 on the corset pallet. ABOVE them.
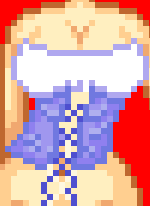
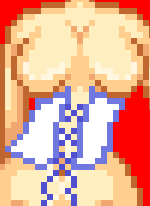
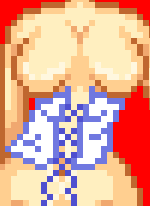
Now we are done with the corsette part! When you draw the outline using #1 on the top pallet, make sure it connects all the way.
Do the wrinkles at the breasts using #2 on the top pallet.
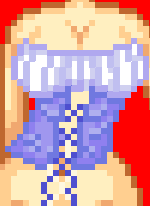
Start to shade around the top and bottom of her breasts using #3 on the top pallet. Leave the middle alone.

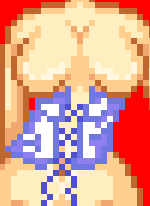
Flood fill the rest of the shirt using #4 on the top pallet.
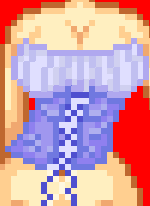
Bring the rest of the shirt down to where the corset ends using #4 on the top pallet. Unless you want it to show!
Add stitching so that we have something to hold the shirt up. TO make the stitching use #2 & #3 on the stitching pallet.
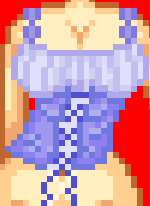
This should be the finished result

Remember if you found this tutorial useful, use the button below so that others can find it to!