| Preparation Protcol for getting raw samples of enamel for analysis of carbon and oxygen isotopes |
| Examples here are fossil horses from Mexico |
| Two techniques are used: either drill off pristine enamel powder with a dental drill, or remove a flake of enamel and grind it to powder. Both will be illustrated here. |
| Technique 1: Drilling pristine tooth enamel |
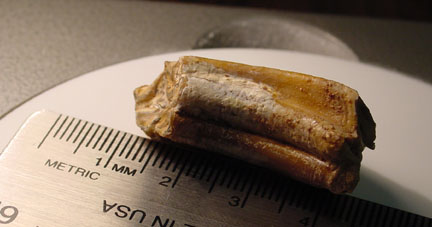
| 1) Select an area where enamel is thick and that drilling will not seriously damage or reduce the scientific value of the tooth (Figure 1) 2) Clean the surface where you plan to drill. 3) Begin drilling. Drill enamel with the tooth sitting on a piece of creased weighing paper (Figure 2). Be careful not to drill through the enamel into the dentine, as this will ruin your sample.I usually drill several points along a line to get a good bulk sample for the whole tooth. Individual spots might also be drilled for serial samples from one tooth. 4) Use creased weighing paper to put sample into a labeled 1.5 ml microcentrifuge tube. 5) About 2 mg of enamel is needed for one analysis. I always try to make sure that there is enough sample for several runs (because accidents happen?). The amount of powder shown in Figure 3 should be adequate for several analyses. |
| Technique 2: Sampling from a loose flake. |
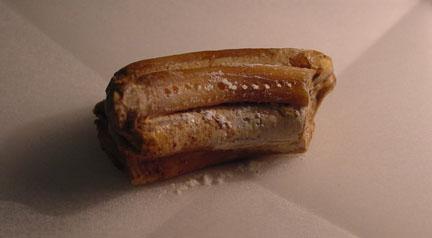
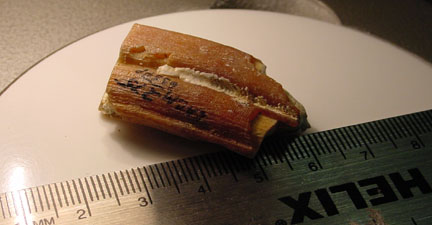
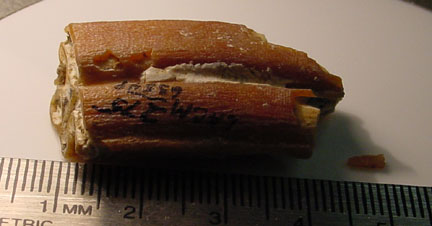
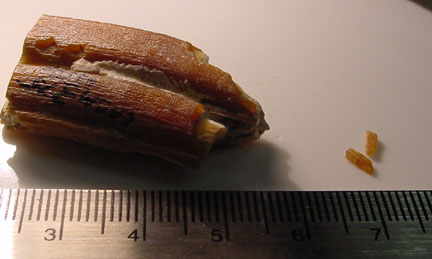
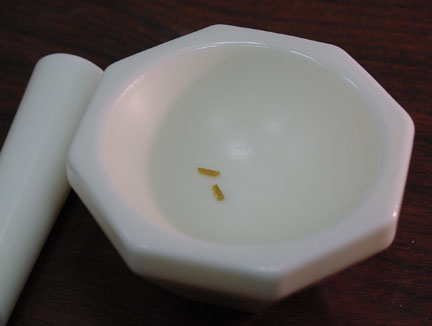
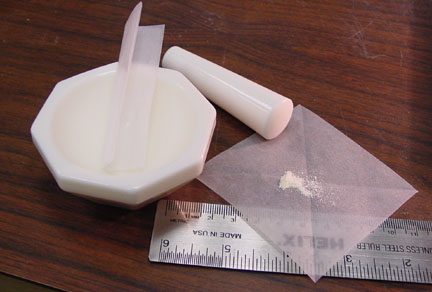
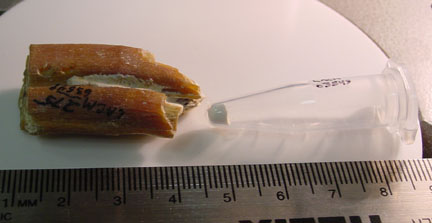
| 1) Identify flake to be removed (Figure 4). 2) Gently clean outer surface of flake while it is still attached to the tooth. In this example, part of the selected flake came off at this step. 3) Gently clean inner surface of the flake while it is still attached to the tooth (if possible). Somtimes this action will break the flake off (Figure 5). 4) Carefully break the flake off. Usually it will come off by prying with a fingernail. 5) Clean all the dentine off of the inner surface of the flake (Figure 6). 6) Grind flakes with mortar and pestle. Collect powder on creased weighing paper (Figures 7, 8). 7) Place powder in a labeled 1.5 ml microcentrifuge tube (Figure 9). |
 |
 |
 |
 |
 |
 |
 |
 |
 |
| Figure 1 |
| Figure 2 |
| Figure 3 |
| Figure 4 |
| Figure 5 |
| Figure 6 |
| Figure 7 |
| Figure 8 |
| Figure 9 |
| Go on to the next step Chemical Preparation of samples |