A serviceable fan Clutch should be stiff to spin when cold, for a few revolutions of the fan, then free spin. If yours is not doing this then this Cheap/Quick fix could be for you. Mine was not, running well into the "RED" even on resonobly mild days. I have tested it at highways speeds with A/C on , temperature at around 35 degrees Celsius, and the needle is just into the Green (about a 1/3) on the temp gauge.
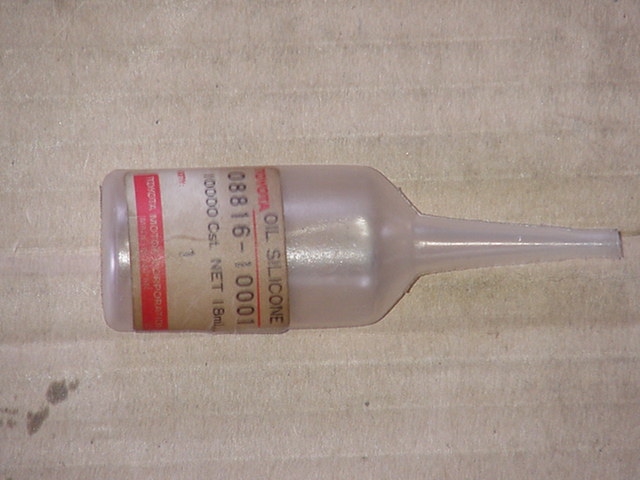
You will need the following; Spanners to remove Fan, 1/8" drill bit and drill(LOW SPEED), Another bolt with the same thread that holds the fan on, Small rubber "O" ring, A heat scource and Silicon Oil.
STEPS;
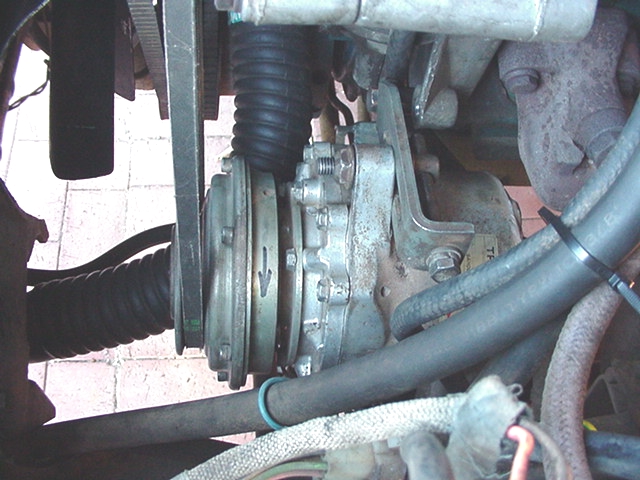
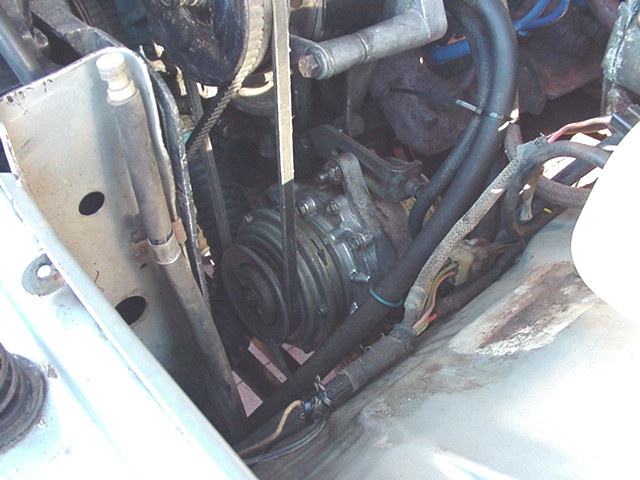
1; Remove Fan assembly from vehicle.
2; Seperate Fan from clutch housing.
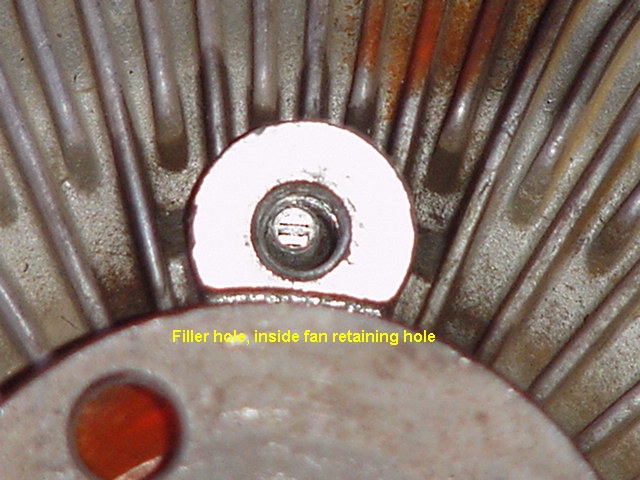
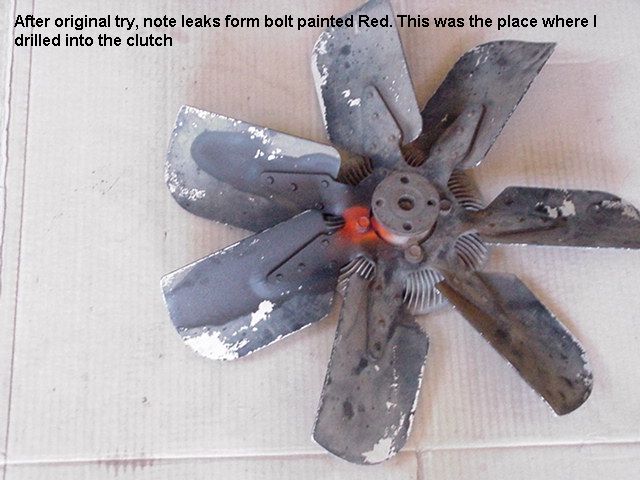
3; Drill, slowly as not to damage internals of the clutch, 1/8" hole in one of the fan mounting holes. Best if this was drilled upside down so not to get any shavings into the clutch, which may later foul its operation. A bit of grease on the drill bit may help catch metal shavings. The hole only needs to just penitrate through the clutch housing, just enough to let oil in.
4; Lay clutch housing flat with hole too the top, and apply a gentle heat . This will make it easier for the Silicon Oil to run in and remove any air bubbles inside the clutch. Fill with Silicon oil as required.
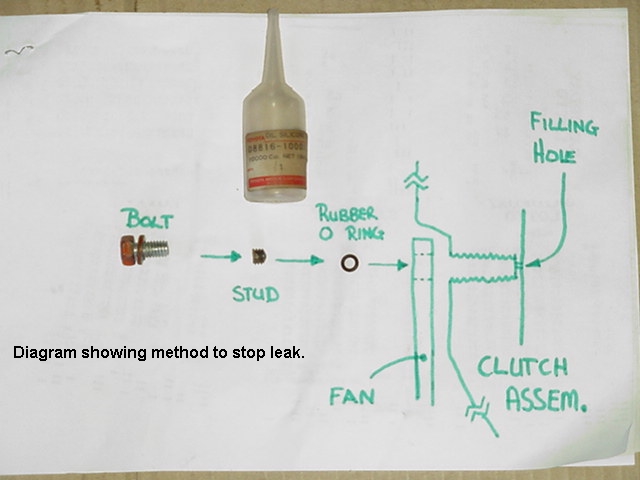
5; Measure depth of hole and cut spare bolt to suit (See pic). Put a slot in the top for installation/removal and roun the bottom off.
6; Insert small rubber "O" ring into bottom of hole and then fit made up " grub screw". This should privide a seal at the base of the hole. For insurance you may put some threat tape on the bolt that goes in this hole.
7; Re-assemble fan to clutch assembly and paint/mark the bolt which coers the filler hole..
By using this method, if the clutch fails again it is a simple proccess to refill it.