 |
|
|
|
|
|
|
|
|
|
|
|
|
|
|
|
|
|
|
|
|
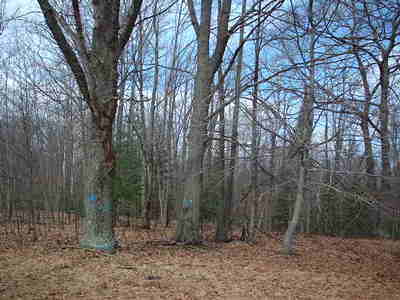
The small light gray tree to the right of the two Red Oaks (with blue spots) is actually a fairly large Beech tree. It was "In Harm's way" either from the timber harvest or when the Oaks eventually succumbed to stump rot. |
|
|
|
 |
|
|
|
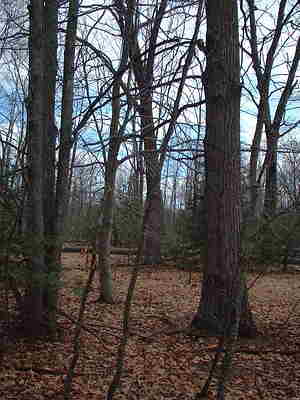
This photo shows the three Red Oaks that threatened it. The Beech is left of center and within the triangle of the three Oaks. |
|
|
|
 |
|
|
|
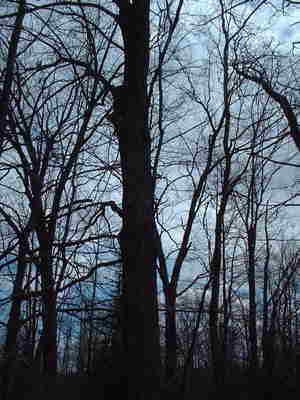
This photo shows the interlacing of upper branches. The Beech is to the right of the large Red Oak trunk in the middle. |
|
|
|
 |
|
|
|
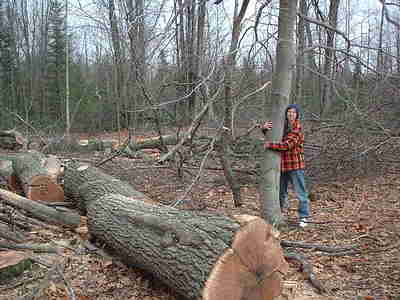
This Red Maple was in the only path that two of the Red Oaks could be redirected to. It was sacrificed for the sake of the Beech. It wasn't wasted. It was just harvested about 9 months prior to when it would have been included in a second timber sale. |
|
|
|
 |
|
|
|
Life's a Beech
My DW becomes a tree hugger for the lucky survivor of the 4 tree massacre. The logger showed remarkable skill in overcoming the rotten stumps and actually making one of the Red Oak trees twist its upper branches out of the Beech's as it fell past it. That's pretty hard to do when the center wood is soft from decay. |
|
|
|
 |
|