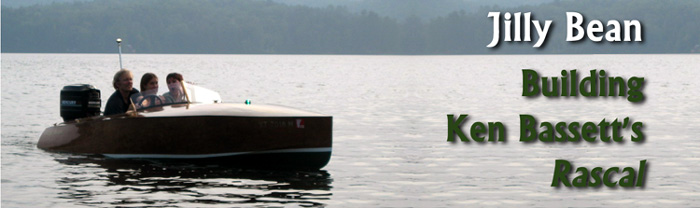
| Contents | |||||||||||||||
Why do this? See Boatstruck: The Passion Behind Building Wooden Boats |
|||||||||||||||
|
Introduction
|
|||||||||||||||
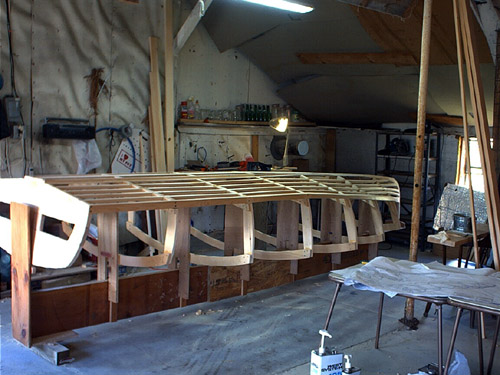
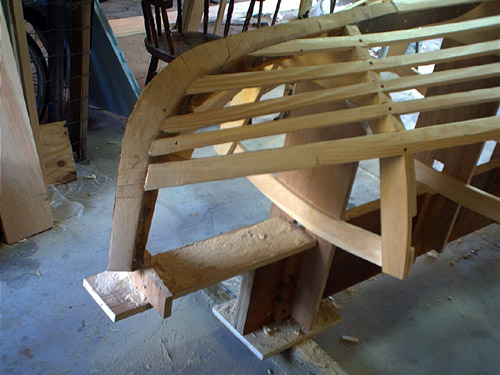
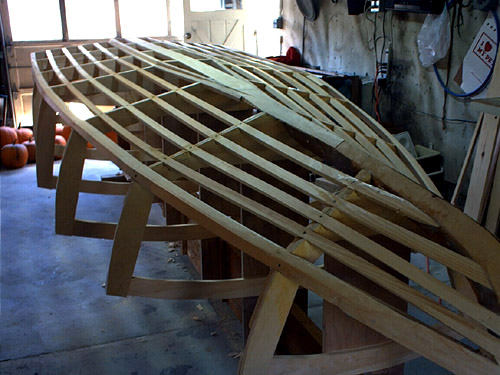
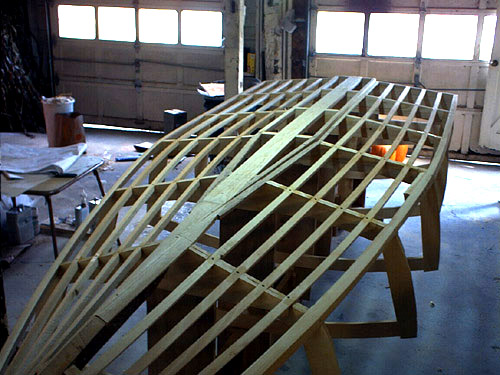
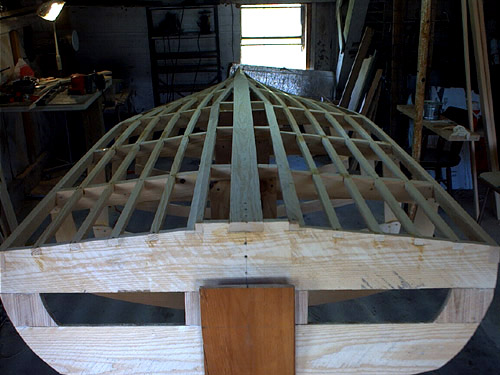
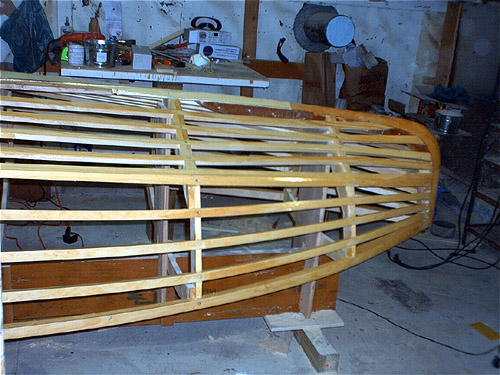
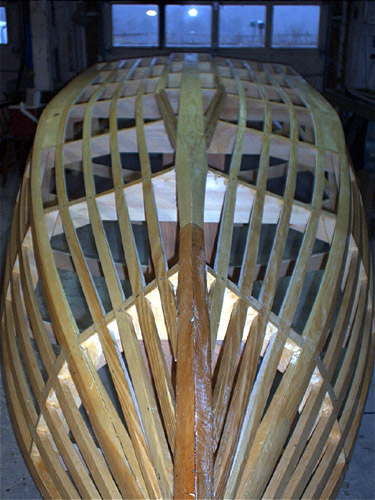
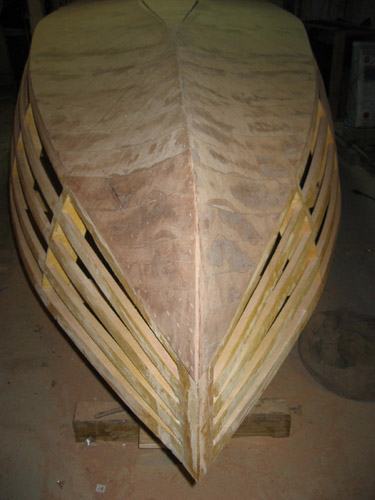
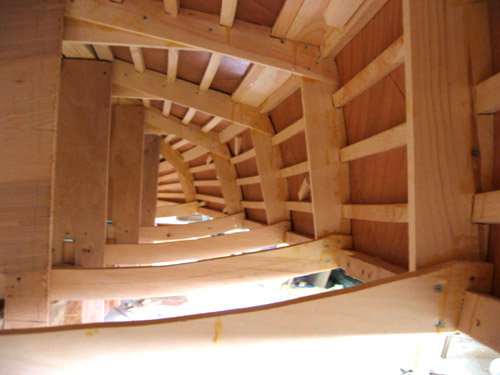
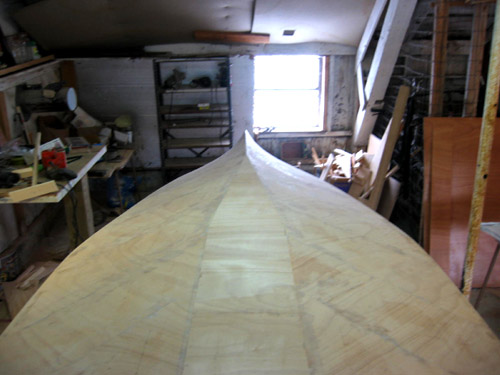
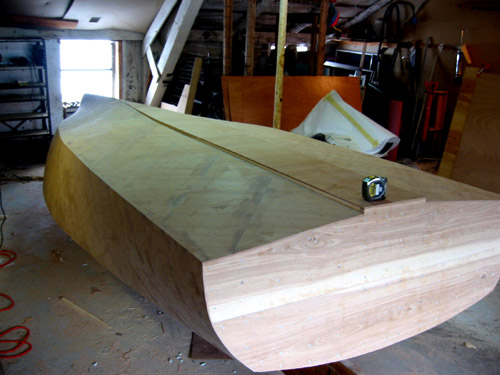
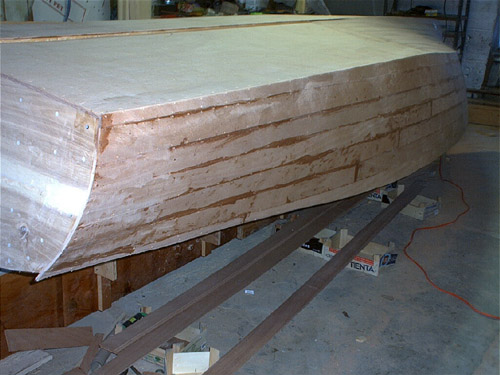
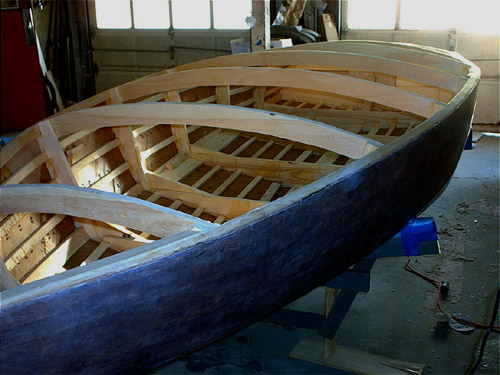
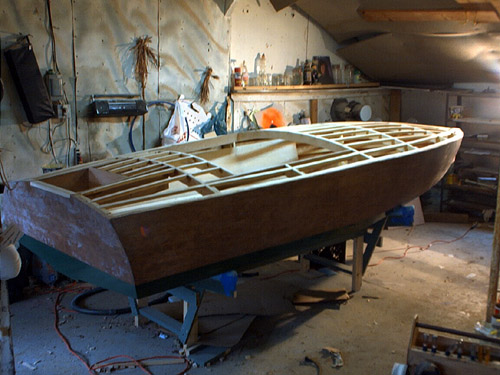
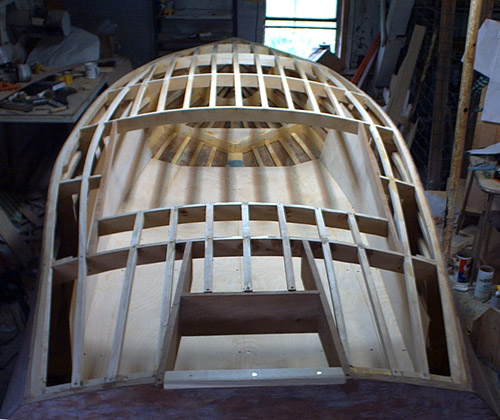
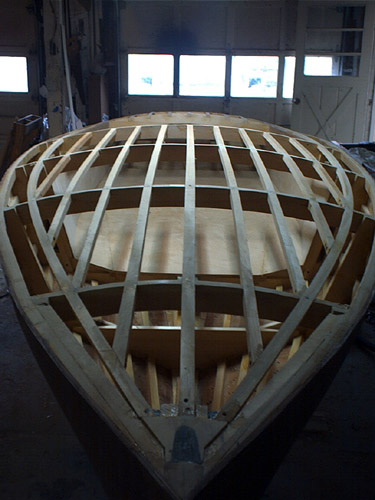
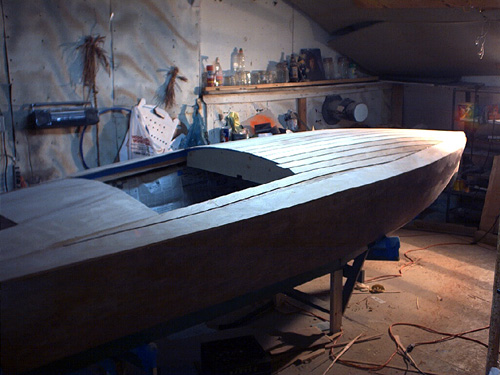
| Frame Construction (bottom battens installed) | |||||||||||||||
|
|||||||||||||||
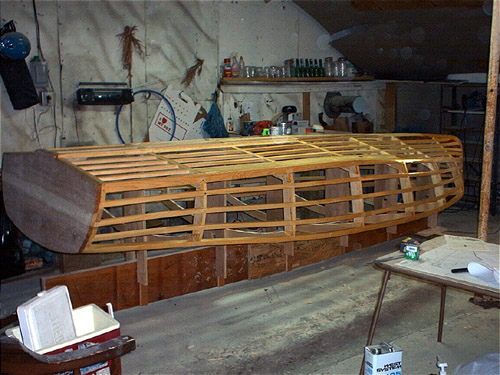
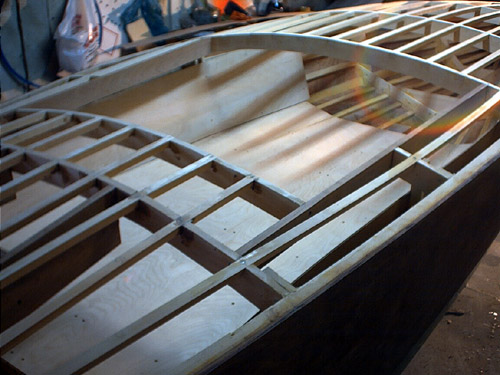
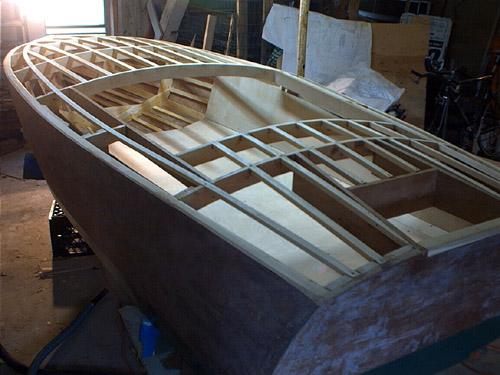
| Frame Construction (battens installed and seal-coated) | |||||||||||||||
|
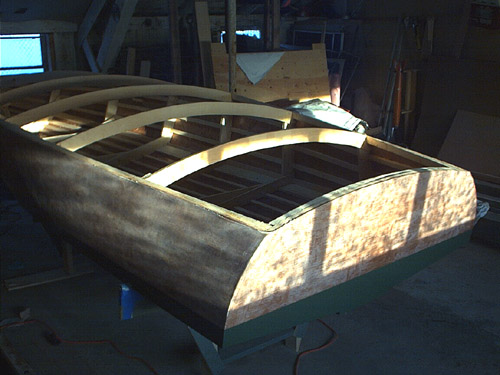
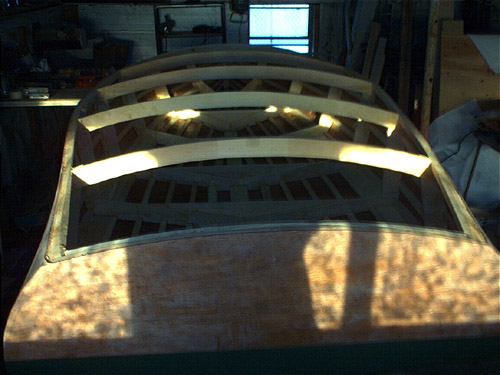
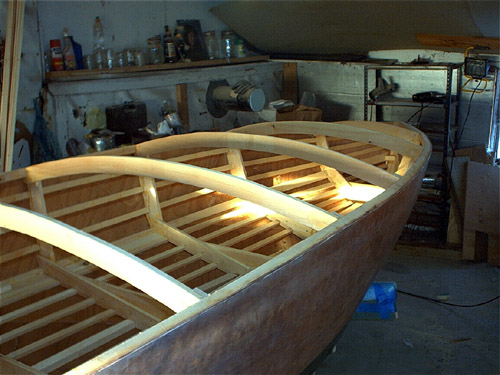
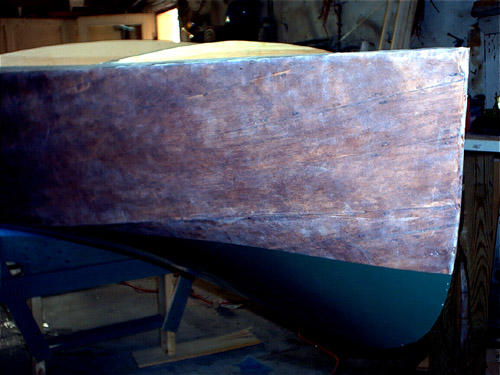
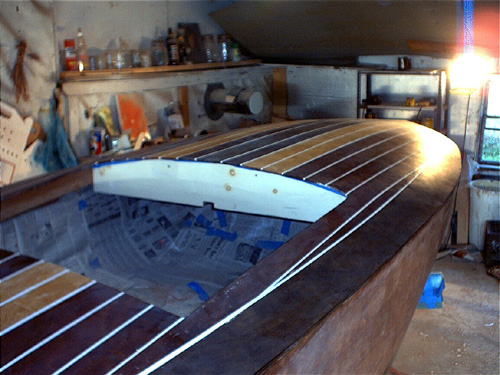
The frame is finished!
All the battens are installed and
faired, and the glue surfaces are seal-coated with epoxy, to prevent "wicking"
of the epoxy when the planking is glued down. After sanding I'll be ready to
start the first layer of planking, 5mm on the bottom and 4mm on the sides. The
inner layer runs diagonal to the center line, 12"-wide strips nearest the transom (rear) down to 3" near the
stem (front). The outer layer will run lengthwise, strips match batten
spacing...
|
|||||||||||||||
|
|||||||||||||||
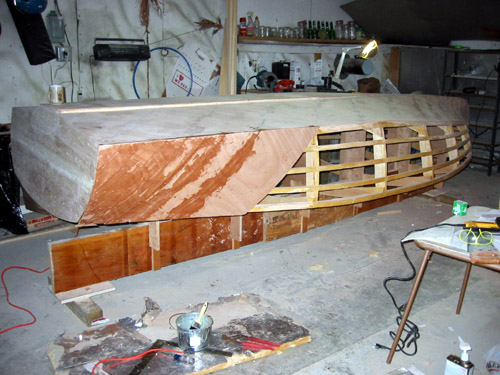
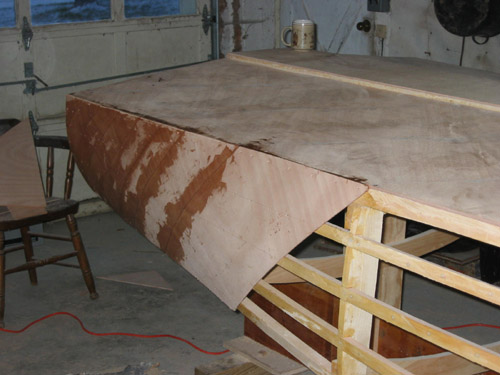
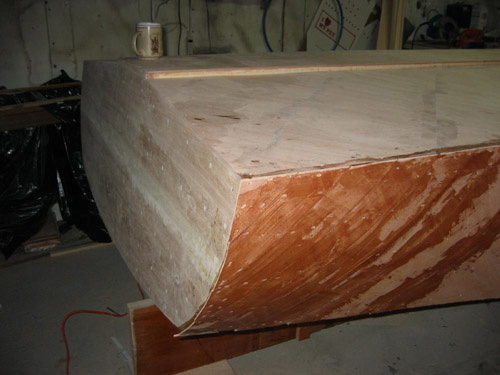
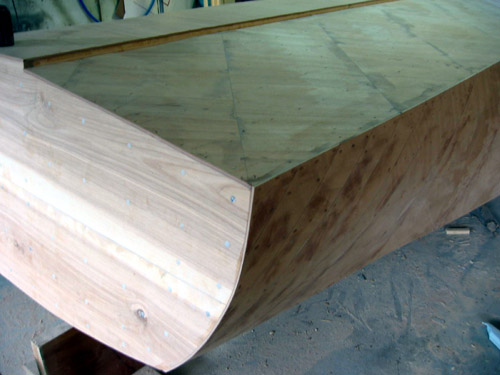
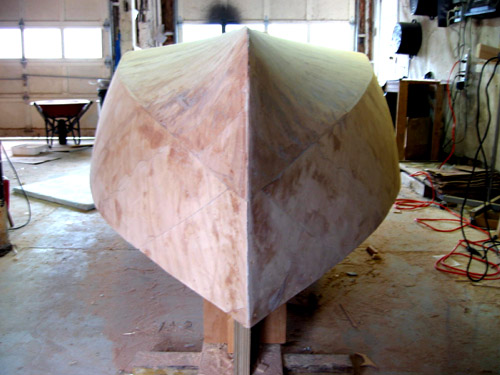
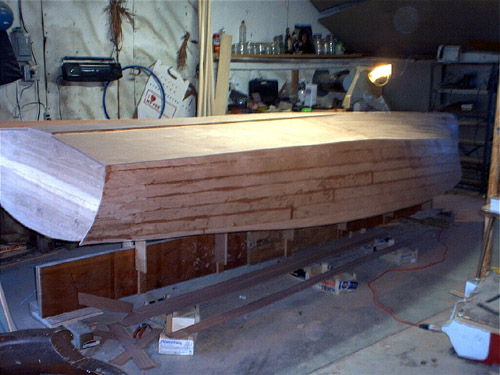
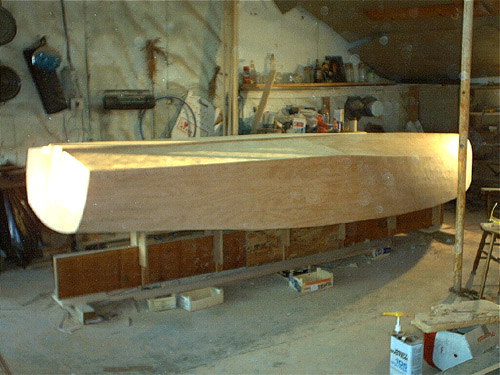
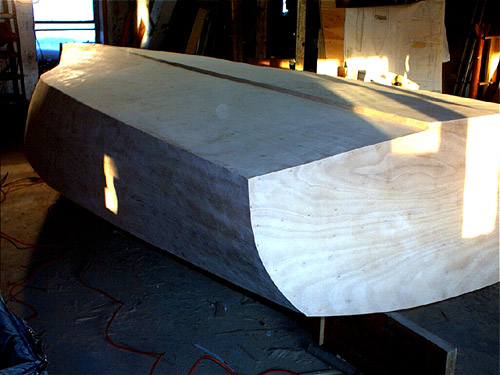
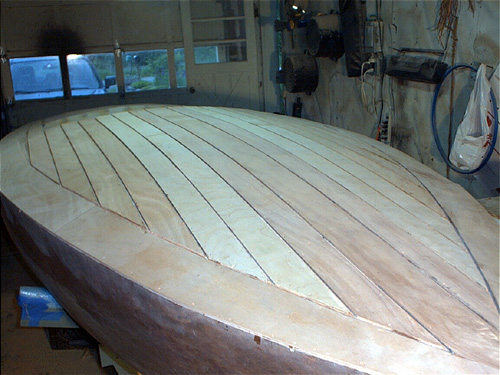
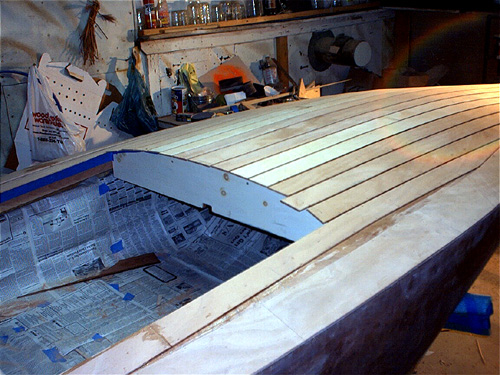
| Inner Layer of Bottom Planking (5mm) | |||||||||||||||
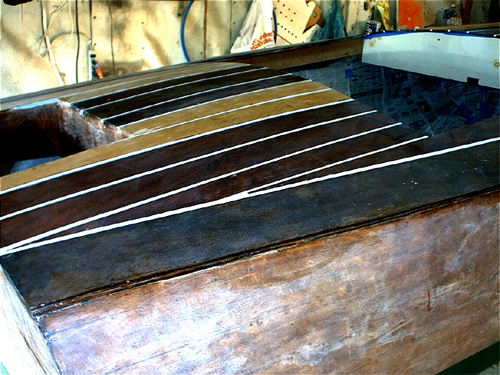
| I have finished the inner layer of 5mm bottom planking (12"-wide strips) and have started on the side 4mm planking. Note that I'm a little further down the side (two additional 12" planks) than shown in the photos. 4mm is funky to work with, pretty bendy, but I still had to rip down to 3" near the transom (note how the sides bend in, almost like a barrel-back). | |||||||||||||||
|
|||||||||||||||
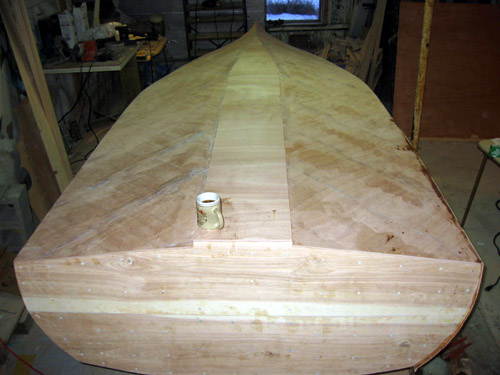
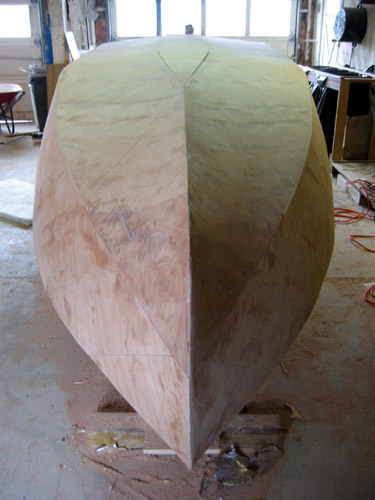
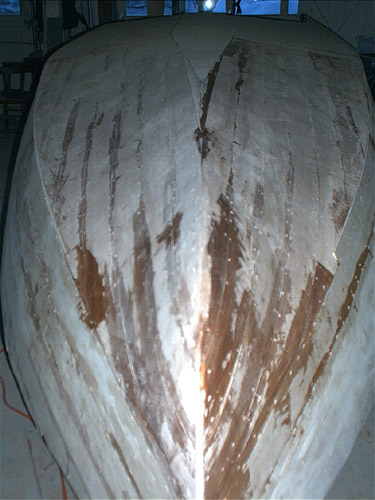
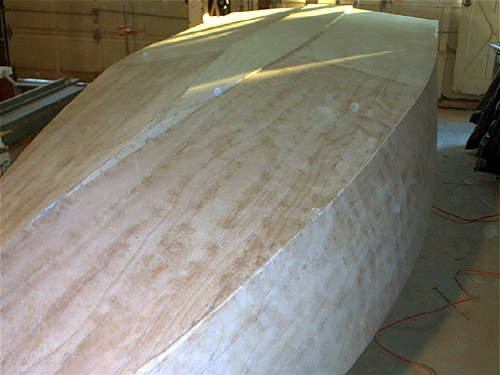
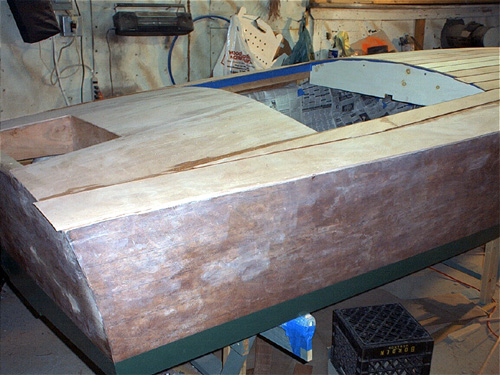
| Inner Planking (Bottom & Sides) Finished! (Xmas 2002) | |||||||||||||||
| This week I finished the inner layer of the 4mm planking for the sides. I'm now sanding and contemplating the next step: outer (final) planking for the bottom and sides!! | |||||||||||||||
|
|||||||||||||||
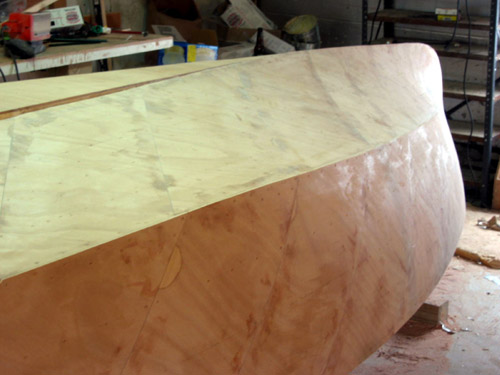
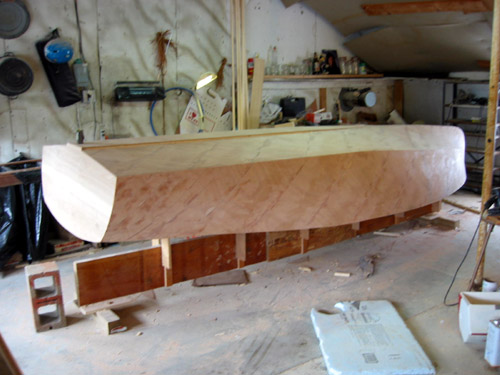
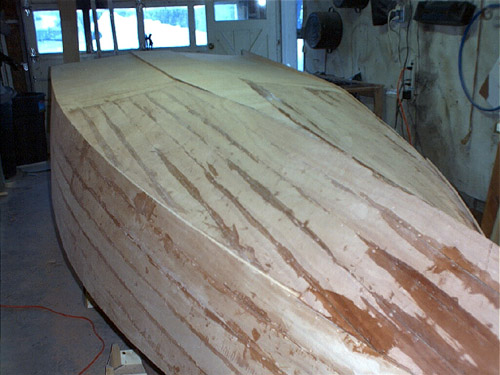
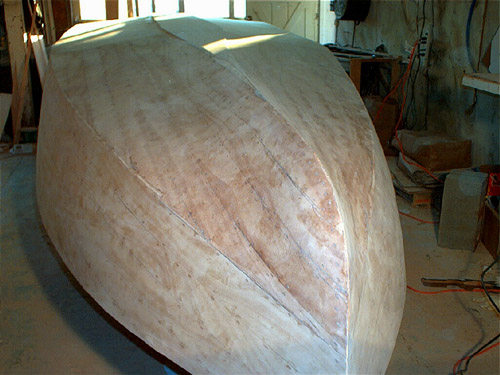
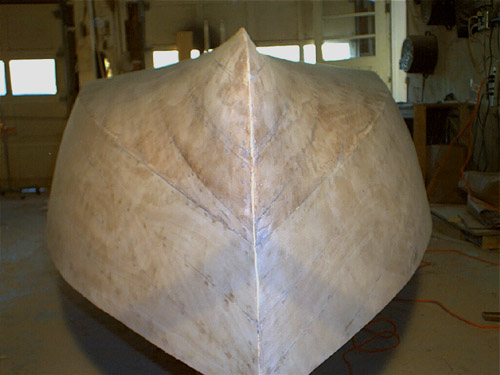
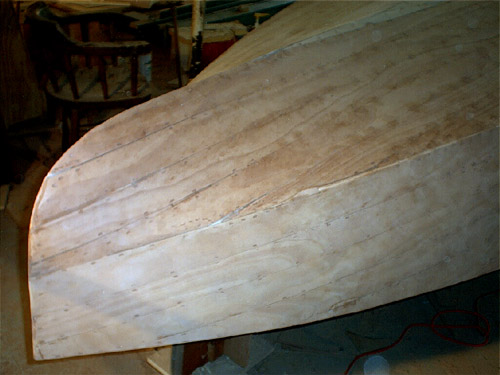
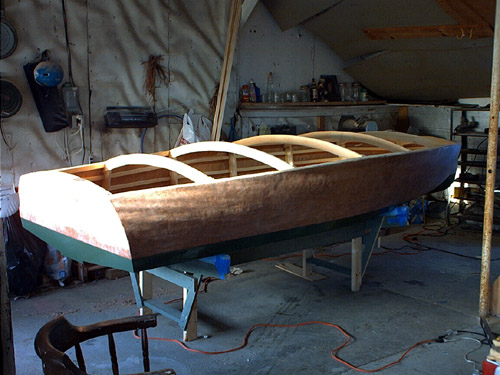
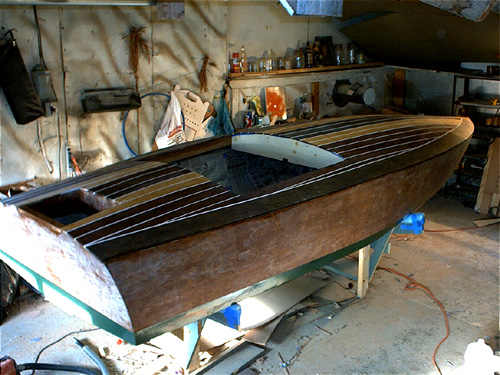
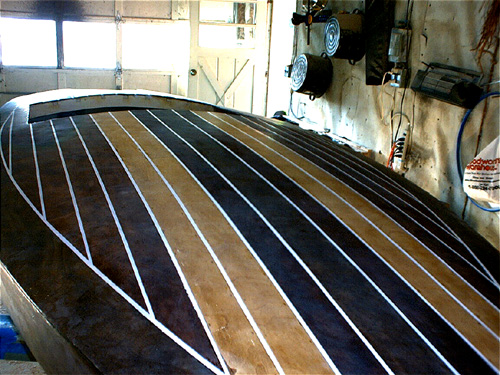
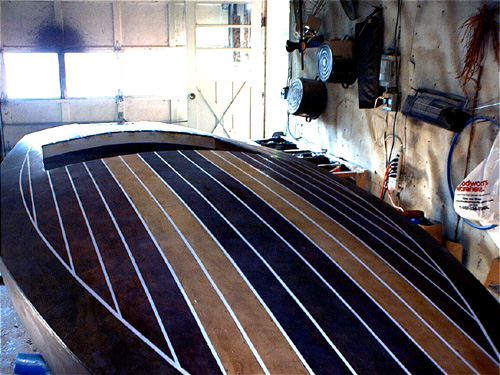
| Outer Planking (Bottom & Sides) Finished! (Mid-January 2003) | |||||||||||||||
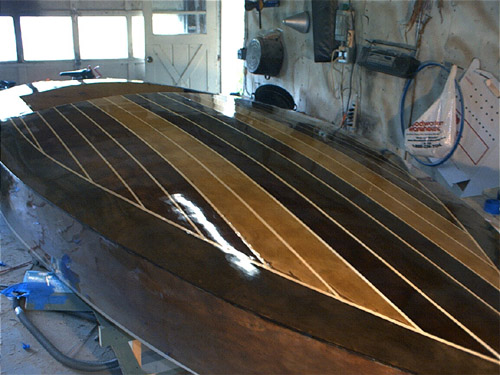
| I'm nearly finished with the outer layer of planking (4mm sides, 5mm bottom). For both I ripped 3" plywood planks, to emulate the traditional approach. | |||||||||||||||
|
|||||||||||||||
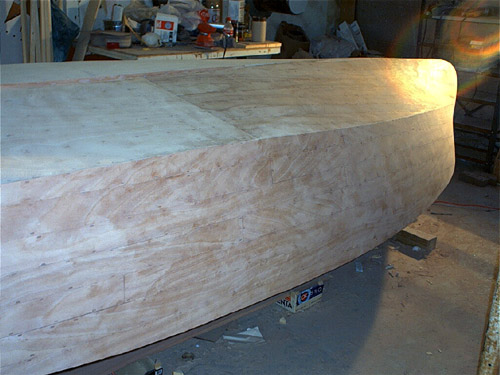
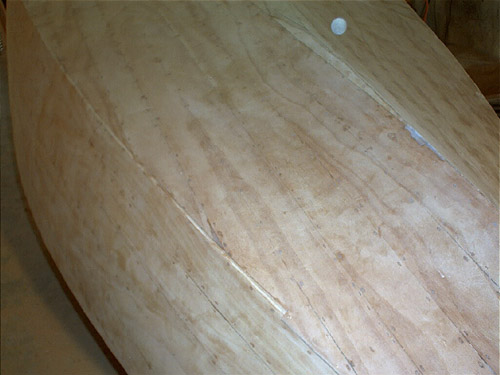
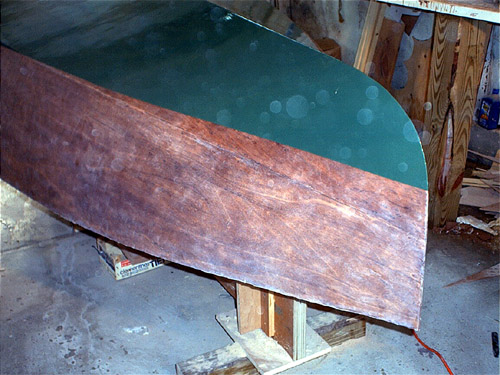
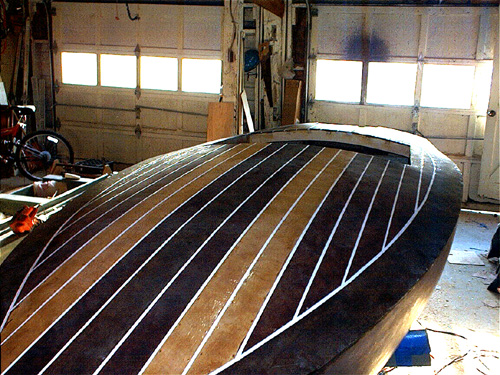
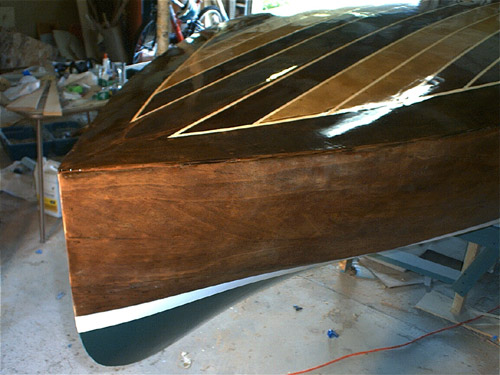
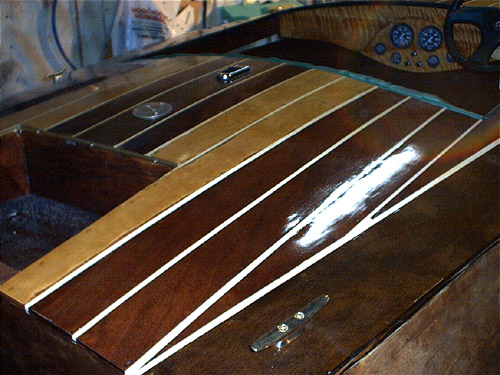
| Final Sanding; Ready for Staining (February 2003) | |||||||||||||||
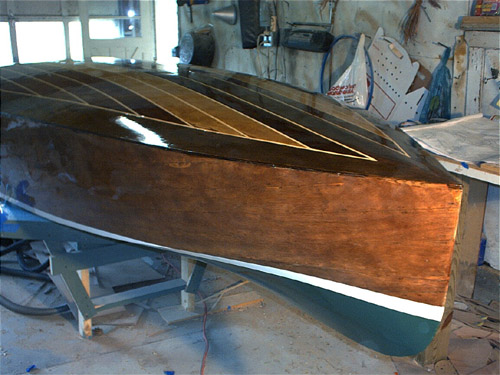
| I've finished the lengthy process of sanding (belt first, then orbital), filling the staple divits (epoxy, thickened and colored with sanding dust), re-sanding (orbital) and am ready to start finishing: Stain, fiberglass, varnish. So far, so good, as you can see below. I'm still debating whether to use normal oil stain, a water-based stain or aniline wood dye to give a reddish mahogany tone... | |||||||||||||||
|
|||||||||||||||
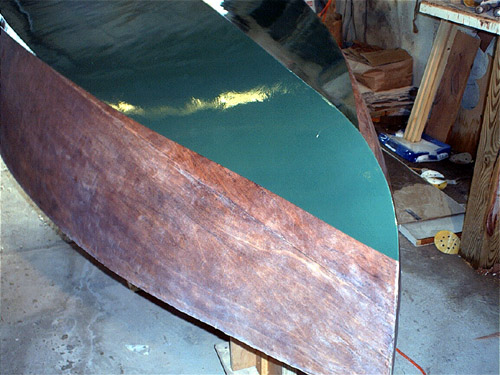
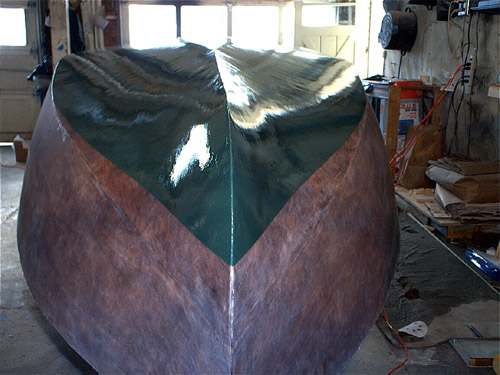
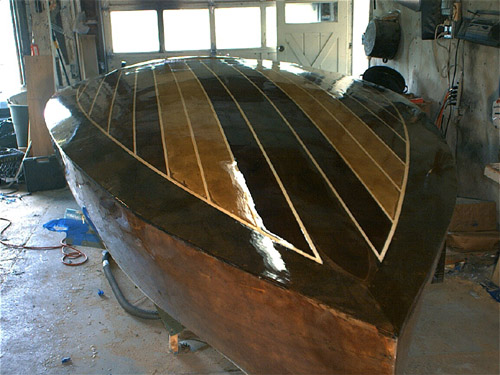
| Staining & Glassing (March 1-16, 2003) | |||||||||||||||
| Staining: Not
much of a story here; applied MinWax Red Mahogany stain, wiped as
usual, and let it sit for almost two weeks while I waited for my 4-oz glass
cloth to arrive from Glen-L.
Glassing: Man, that was a bugger...did one side/bottom a day, did the "keel" later in the week. Started with the bottom,
which was good, as it helped me get in sync with the materials and process.
Transparency is good; I'm very pleased and relieved that the "red" in
the "red mahogany" stain has come back now that there is a glossy finish
over it. I knew in *theory* that it would; I had hints of that when the
varnish was thick and wet, before I wiped it off. I'm FAR from done with the
finish; I still need to sand away bumps, apply at least a second coat, sand
down to 220 grit, and varnish. But at least I've had a prelude of the final
look of the wood. |
|||||||||||||||
| Sanding (March 17-24, 2003) | |||||||||||||||
| Spent the previous week
sanding the epoxy down to "full scratch," which means smoothing the bumps
and ripples and generally eliminating most glossy areas. Started with 220
grit disks, but found that they gummed up too quickly and occasionally left
what appears to be melted epoxy behind on the boat. BAD! Much happier
using 150 grit, but I still buy the "contractor's" packs (25/box). I prefer
the Norton disks, even though others are more expensive. Painting Prep (24 March): Masked and papered in anticipation of starting the bottom painting. Color will be "Kelly Green." Hope to get some photos tomorrow... |
|||||||||||||||
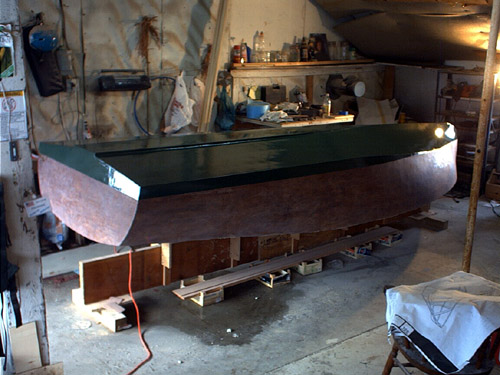
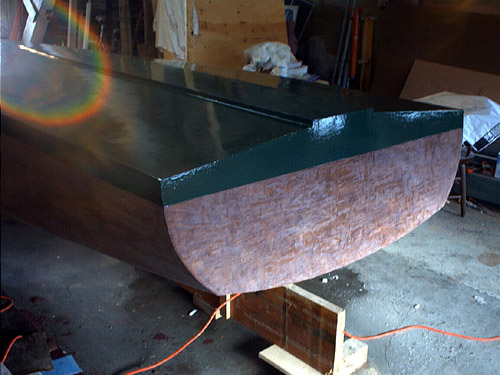
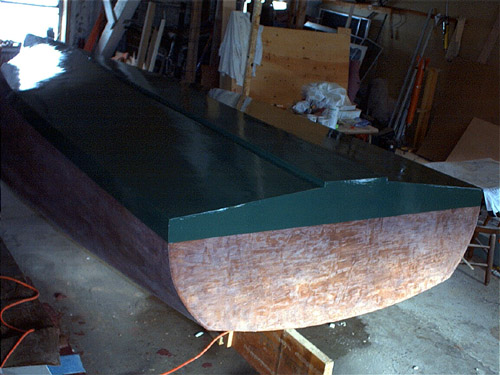
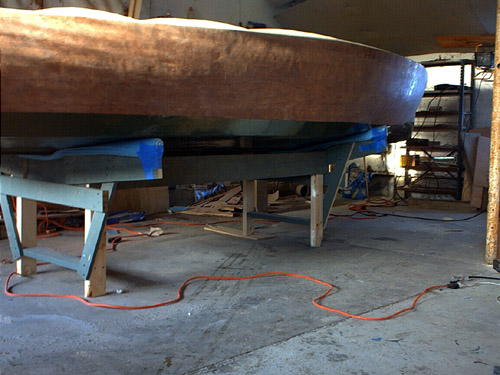
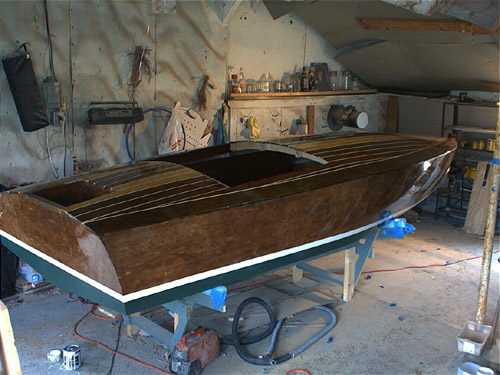
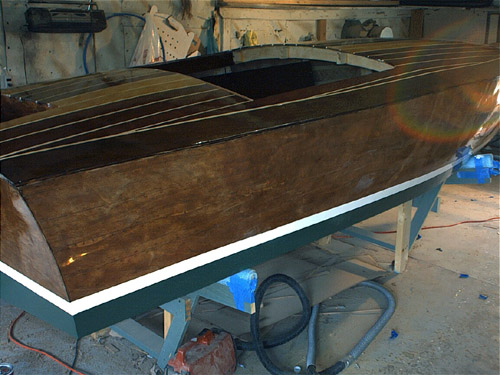
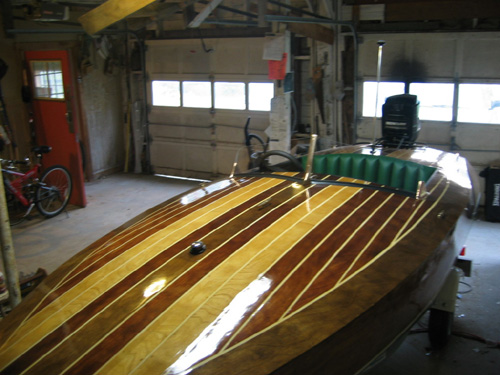
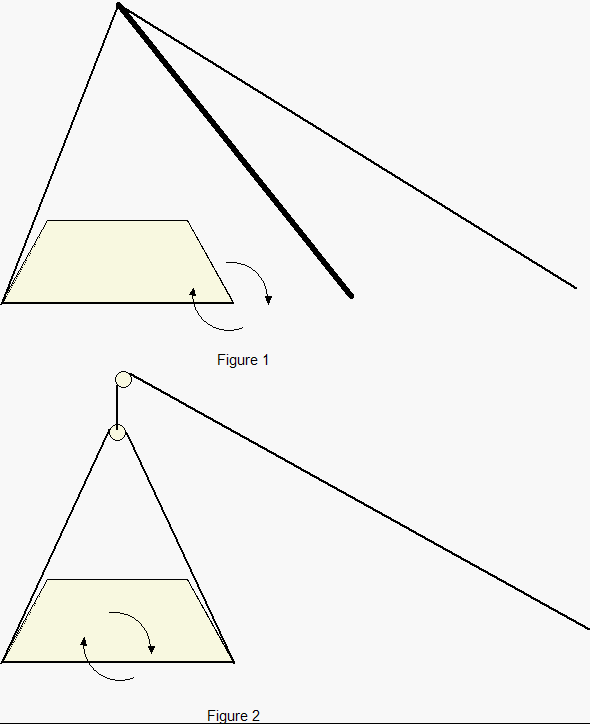
| Painting (March 31, 2003) | |||||||||||||||
| Here we are with the bottom
painted, getting ready for varnishing the sides and then flipping (see
Figure 2 of this sketch). Or, maybe, I'll wait to
varnish when I've completed the deck and cockpit. In these photos you see the epoxy on the sides at "full scratch," like a satin (non-glossy) finish. All of that will go away with the hi-gloss varnish finish. |
|||||||||||||||
|
|||||||||||||||
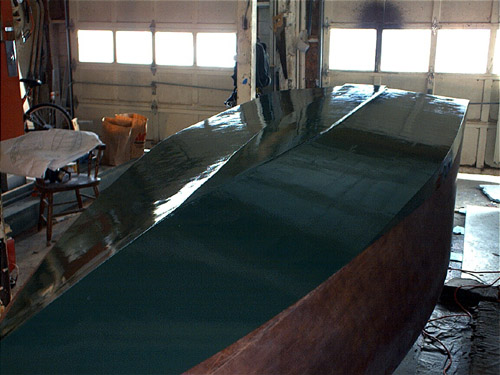
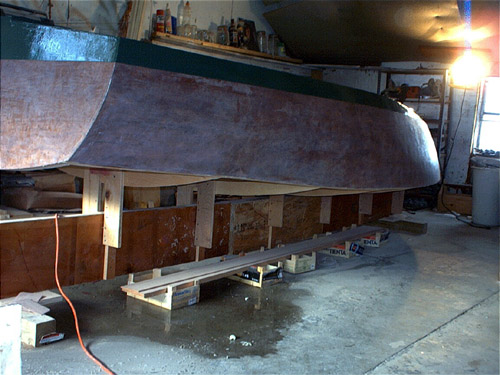
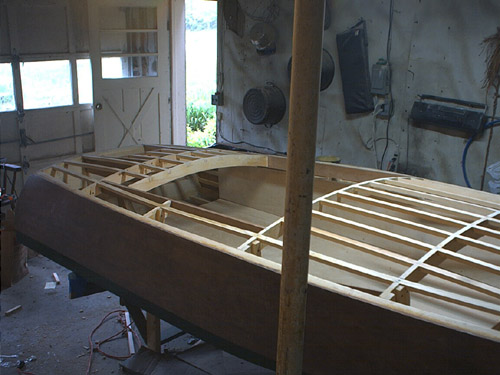
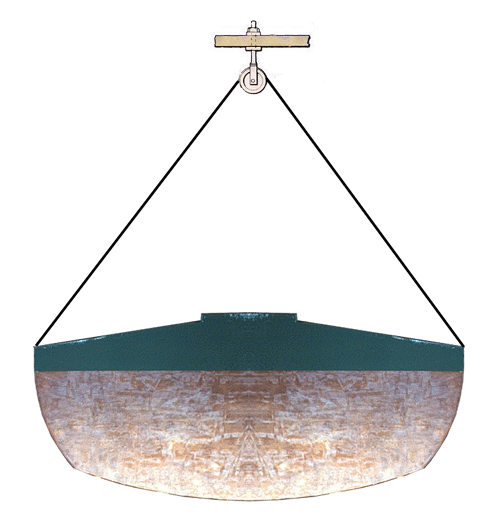
| Flipped! (April 5, 2003) | |||||||||||||||
| On Saturday we finally flipped the boat; thanks to John Currier and my brother Mike for their engineering advice, and to Mike for staying far away during the actual flip!!! See the rig we used... | |||||||||||||||
|
|||||||||||||||
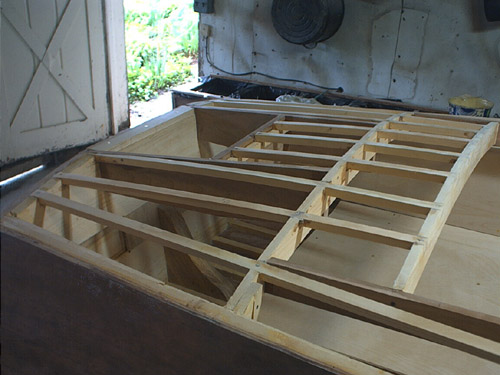
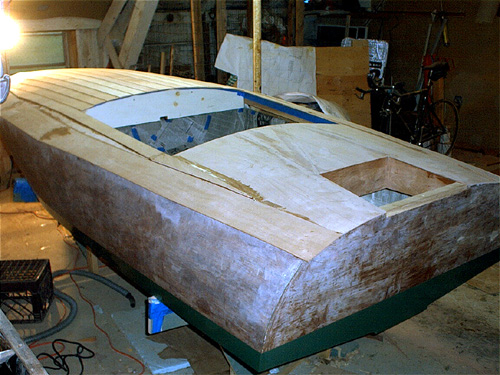
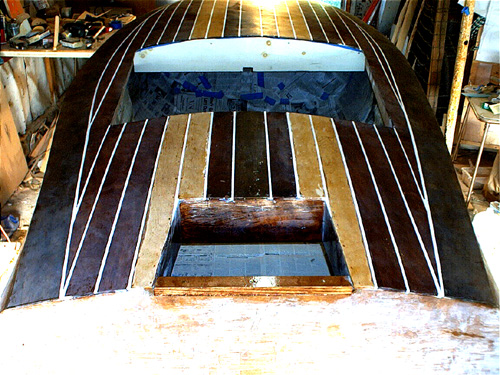
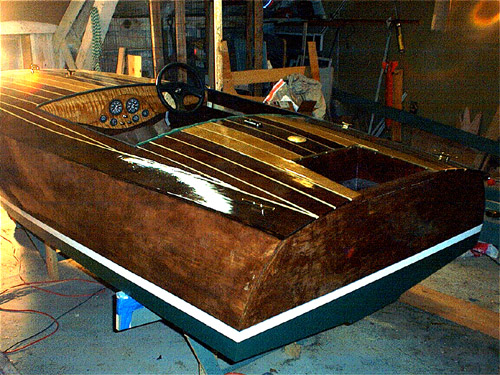
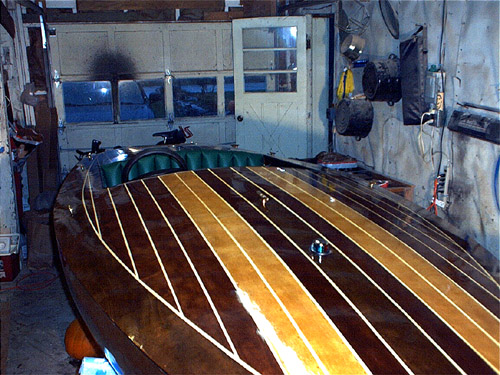
| Cockpit Lining and Deck Framing (May 26, 2003) | |||||||||||||||
| Work has been slow this past month as I have diddled with the interior, including framing and lining the cockpit (birch plywood, to be stained cherry. I've also finished framing the deck, including the motor well and the cockpit opening. | |||||||||||||||
|
|||||||||||||||
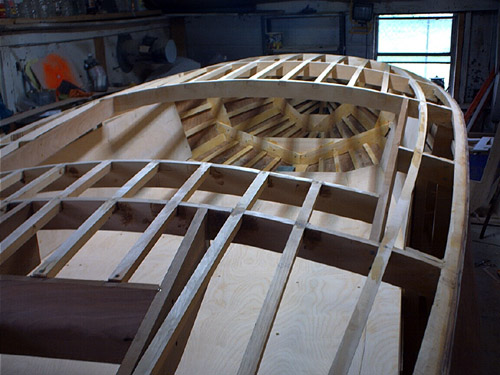
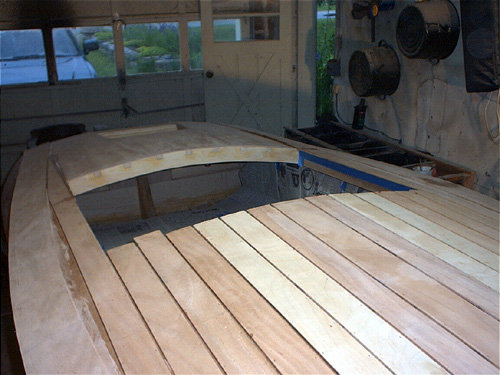
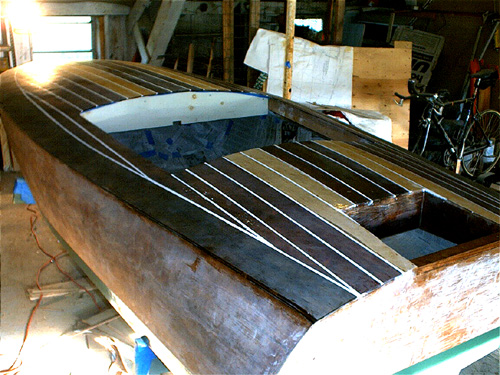
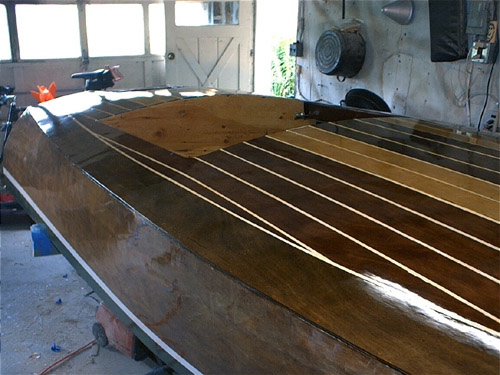
| Deck Planking (June 20, 2003) | |||||||||||||||
| The inner laminate of the deck is done (4mm ply) and I've
moved on to the outer laminate, including the coverboards and strip planking (both 4mm ply, strips
ripped to 3" to simulate old-style planking. In these photos you can see
that I've completed the coverboards (port side not yet trimmed) and the forward
strips, and am about to install the aft strips. Notice the 5mm grooves between the strips, which will be filled with a white silica/epoxy mix to simulate traditional caulking... |
|||||||||||||||
|
|||||||||||||||
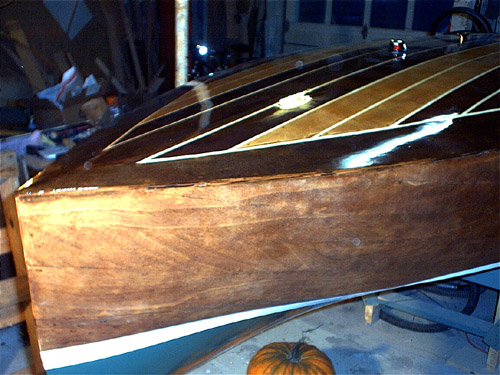
| Deck Stained & "Caulked" (July 6, 2003) | |||||||||||||||
| The deck planking is stained in a
three-color scheme (walnut for the coverboards and center strip,
golden oak for the light-colored stripes and mahogany for
everything else) and has a couple protective coats of epoxy, and the gaps
between the decking have been filled with an epoxy-simulated caulking. The
surface has been sanded, which is why it looks a bit dull in the photos.
Still a bit of sanding needed in the motor well. Next is epoxy encapsulation, then sanding, then varnishing the deck and sides. |
|||||||||||||||
|
|||||||||||||||
| Varnished (August 2003) | |||||||||||||||
|
Most of July and August was spent varnishing the hull, deck and
cockpit. Protocol is: sand epoxy to "full scratch," wipe down, apply three-four
coats of
ZSpar Captain's varnish (approx. 12 hrs between coats), sand,
repeat...Colors are showing through nicely.... While I finish the varnishing I'm thinking about my next moves, which include installing steering, electrical and instruments; motor installation (probably will be a Mercury 4-cycle 60 ELPTO); and hardware (including custom fabrication of windshield brackets and cutwater). |
|||||||||||||||
|
|||||||||||||||
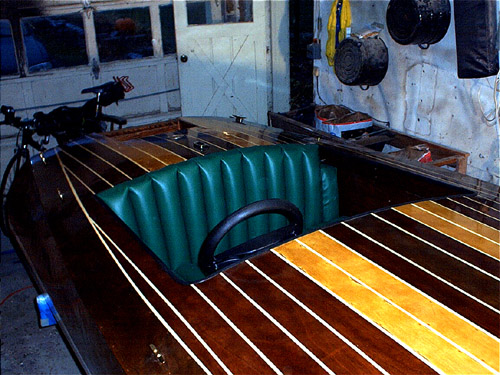
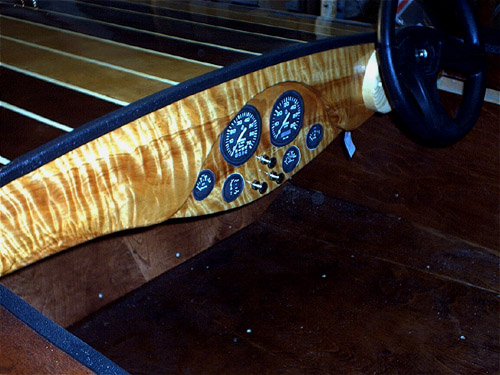
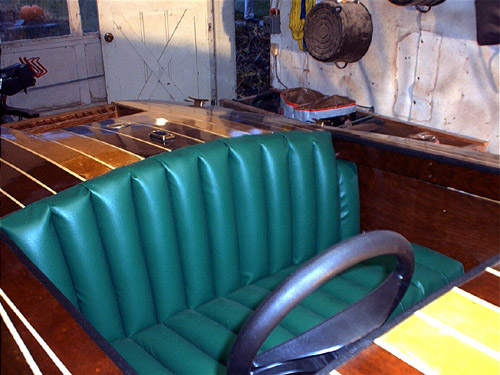
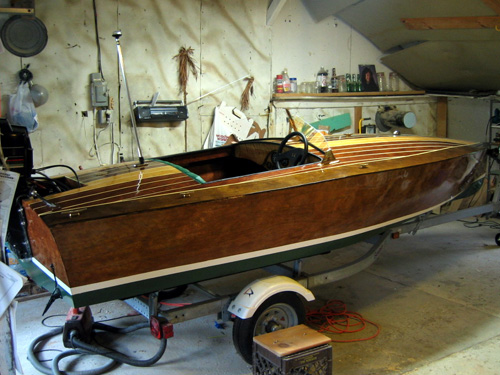
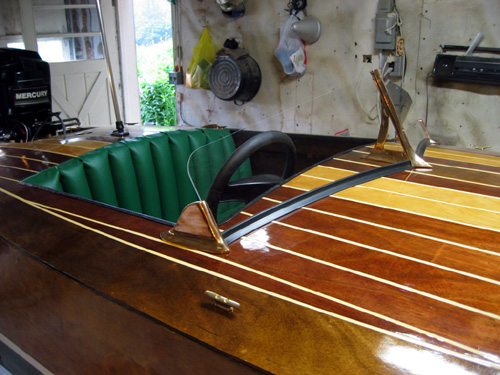
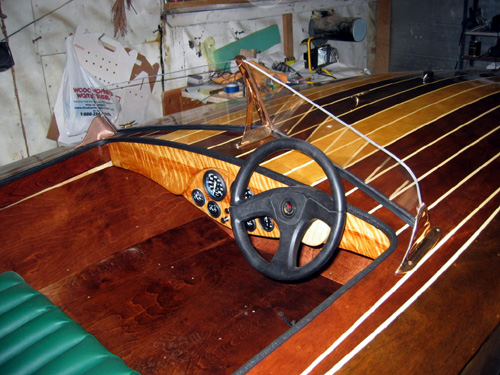
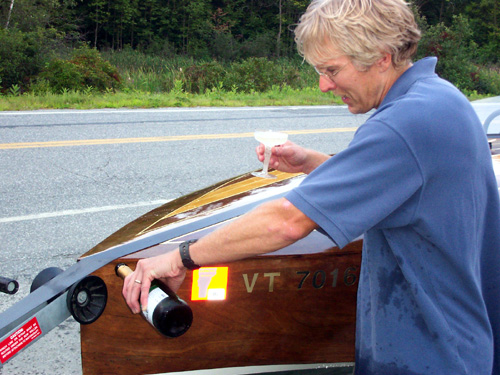
| Dashboard and Upholstery (October 2003) | |||||||||||||||
| September and October were spend
on the dashboard (knarly birch; thanks Paul!), "tuck-and-roll" upholstery, helm kit and
installing various fittings, including deck lights. Yes, I did the
upholstery myself;
it is pretty interesting process!
Next up is the windshield... |
|||||||||||||||
|
|||||||||||||||
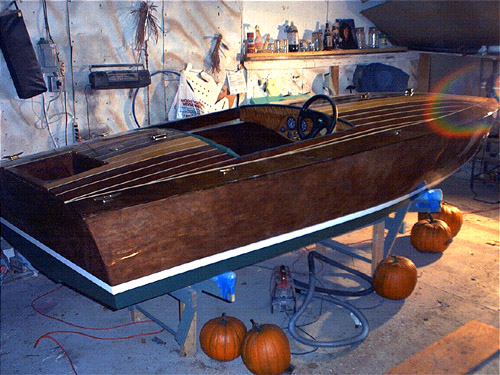
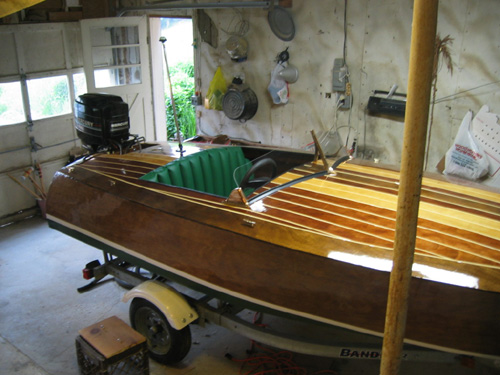
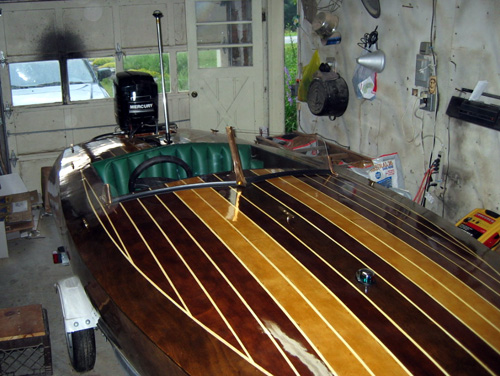
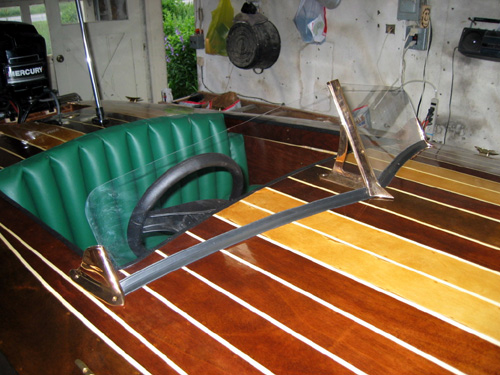
| Windshield and Motor (July 2004) | |||||||||||||||
| It has been too long since our last update! In May I
finally found a rebuilt 1990 Mercury 60hp, the motor that Rascal was designed around. I mounted the
motor and finished the electrical in June --- many evenings spent under the dashboard wiring those instruments!
Yesterday I received and mounted the polished bronze windshield brackets from
Tendercraft Boats of Toronto, which you can see from the photos.
The windshield is 1/4" plexiglass.
The only thing left to do is to take delivery of the battery from West Marine and get the boat in the water! |
|||||||||||||||
|
|||||||||||||||
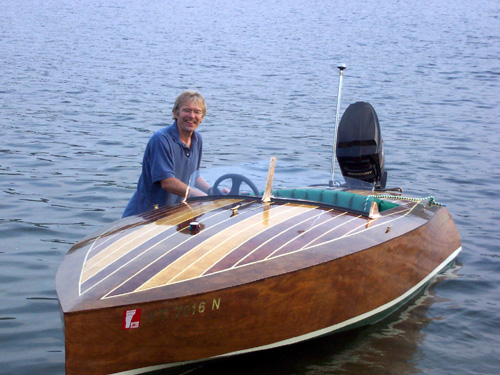
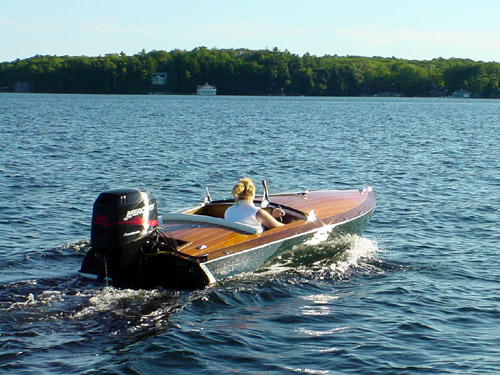
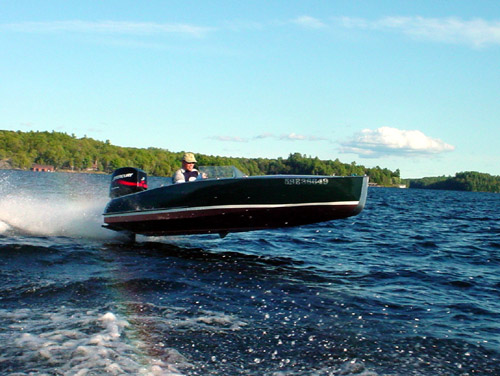
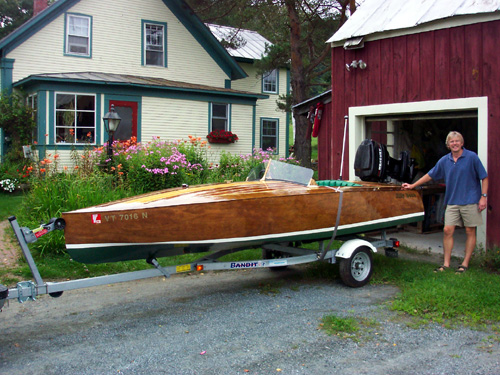
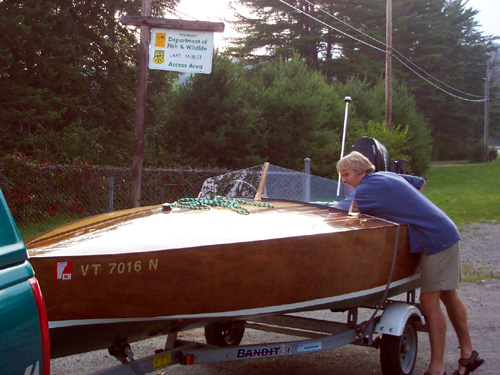
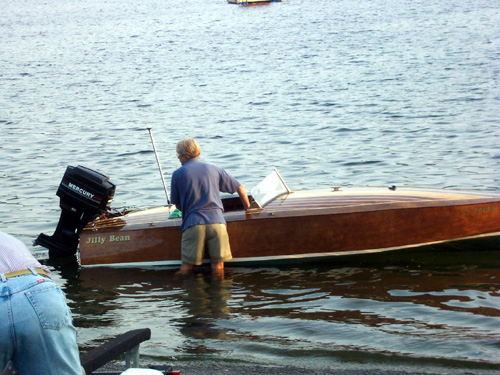
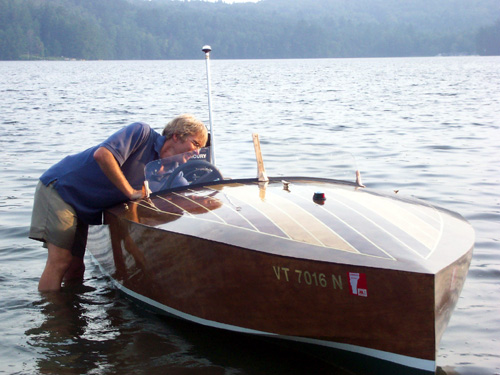
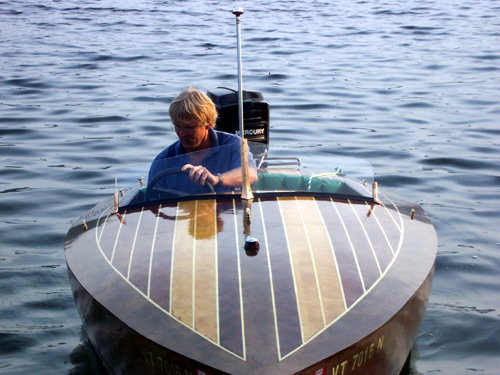
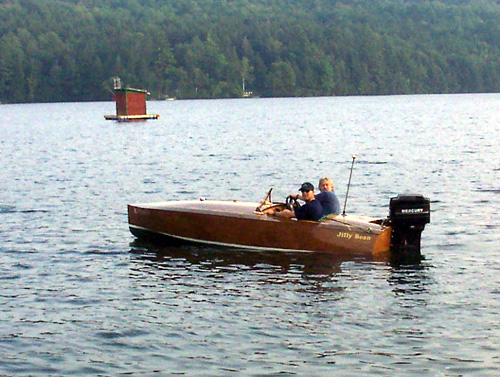
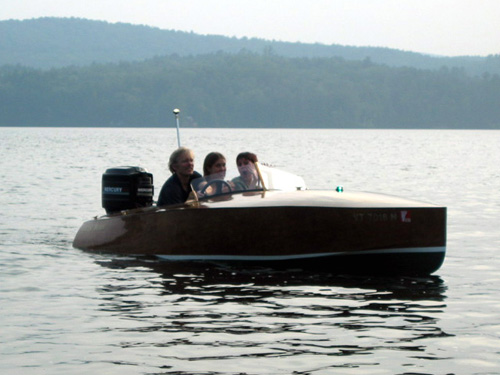
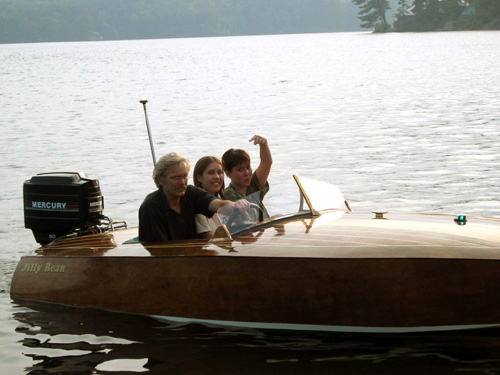
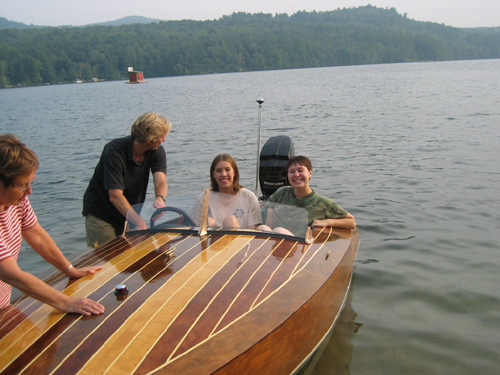
| NEW! First Launch of the "Jilly Bean" (August 2004) | |||||||||||||||
|
Christened and launched Thursday, 19 August 2004, Lake Fairlee, Vermont
We finally launched the boat yesterday, on a beautiful Vermont summer evening! All I can say is, "WOW!" It gets up on plane very quickly, and once it is there it is rock solid (no "porposing," at least in the flat water). About half of Lake Fairlee was glass-smooth, and I easily had it cruising at 40+ mph, where it very happily skimmed over the surface. It is surprisingly quiet in the water --- maybe this is due to it being a wood hull. In fact, the perception of speed, g-forces during turns, etc. was nothing like what I expected. I expected that being low to the water and in a small boat would heighten the perception of speed, but (I think) the sitting position, which is more sport-car like (legs extended in front of you rather than down) helps matters. Whatever it was due to, we felt comfortable at speed. From a driver's perspective it has a very "light" feel; when turning, etc. I didn't feel like I was fighting it. I'm getting all this speed in an approx. 800-lb boat with a 60hp motor, instead of a 2000+-lb boat with a 200hp+ engine, like most people I know. It leaves almost no wake; this was freaky at first, but is not unexpected because it is after all a "planing" hull. At one point we did a big circle at 40+mph on the smooth portion of the lake and as we came back on our path, my passenger and I turned to each other and said, there's no wake!! The hull design isn't intended for big swells; it would be safe under those conditions, but it wouldn't be a performer (a true "V" hull would be better for "cutting" though the waves on a regular basis). Towards the end of our "trials" last night we got the courage to take on the big wake left by the lone other boat on the lake, and it did't feel bad at all; in fact due to my cushy upholstery job it was very comfortable. With more time behind the wheel I can see that we'll be having some fun hopping wakes!!! |
|||||||||||||||
|
|||||||||||||||
| NEW! Short "Movie" of the "Jilly Bean" (September 2004) | |||||||||||||||


|
Click on the image at left for a short, 1MB animated GIF of the Jilly Bean in action. NOTE: due to hourly Geocities bandwidth restrictions, downloading of this movie will probably restrict your ability (and that of others) from downloading the content on this page. If this happens, please return during the next hour. Sorry! |
"There is no reward in the next life for not building a boat in this life..."
