 |
|
|
|
|
|
|
|
|
|
|
|
|
|
|
|
|
|
|
|
|
|
|
|
|
|
|
|
|
|
|
|
|
|
|
|
|
|
|
|
|
|
|
|
|
|
|
|
|
|
|
|
|
|
|
|
|
|
|
|
|
|
|
|
|
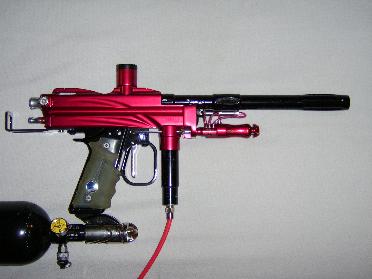
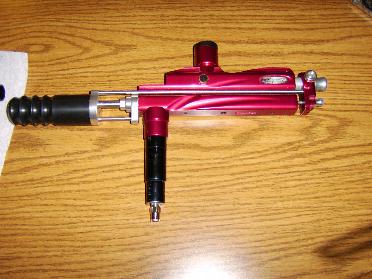
Before Chipley Convertion |
|
|
|
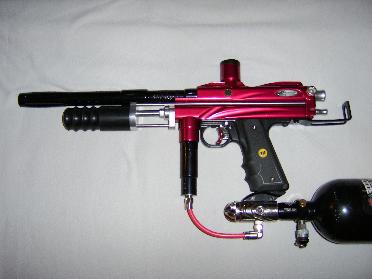
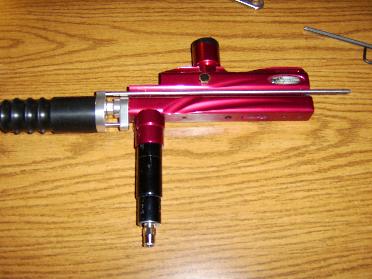
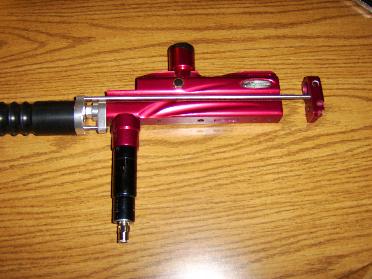
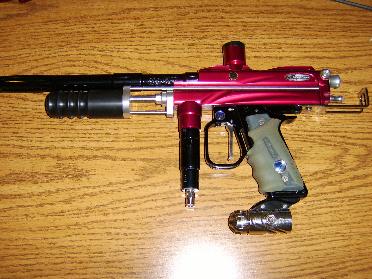
After Chipley Convertion |
|
|
|
|
 |
|
|
|
 |
|
|
|
To see larger pictures of before the convertiion and after it click on either picture. |
|
|
|
|
|
|
|
 |
|
|
|
 |
|
|
|
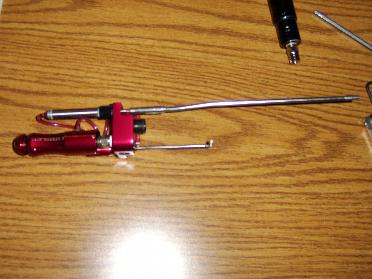
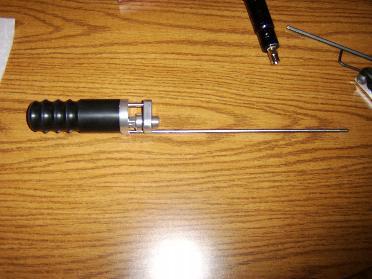
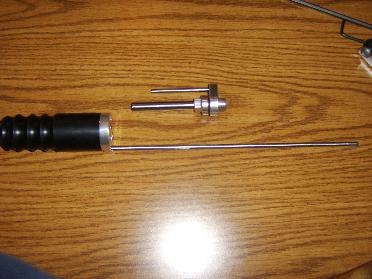
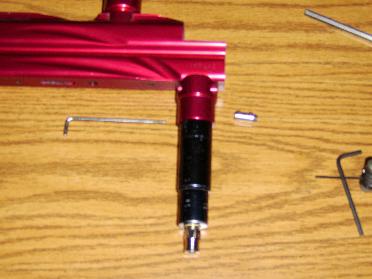
Step 8: Collect the front block, pump rod and trigger rod. Put them together and store someplace where they won't get damaged. |
|
|
 |
|
|
|
 |
|
|
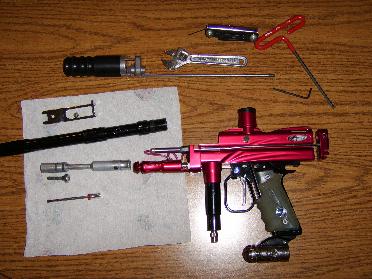
Step 1: Get all the tools and parts that you need to make the convertion. |
|
|
|
|
|
|
|
|
|
|
|
|
|
|
|
|
|
|
Step 2: Remove the barrel, bolt, the rear block stopping bolt and the macro line that goes from the regulator to the tank adaptor. |
|
|
|
|
|
|
|
|
 |
|
|
|
|
|
|
 |
|
|
|
|
|
Step: 9 Grab your pump kit. Mine is a 2k + Chipley conversion kit. |
|
|
|
|
|
|
|
|
|
|
|
|
|
|
|
|
|
 |
|
|
|
|
|
 |
|
|
Step 3: Remove the rear block from the pump rod. |
|
|
|
|
|
|
|
|
Step 10: Separate the pump and pump arm from the guide. |
|
|
|
|
|
|
|
|
|
|
|
|
|
|
|
|
|
|
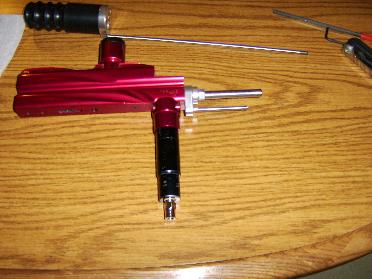
Step 11: Attach the Pump guide where the front block used to be. Make sure you line everything up right. |
|
|
|
|
 |
|
|
 |
|
|
|
|
|
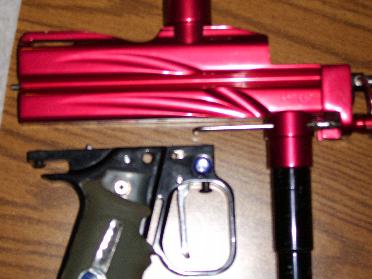
Step 4: Remove the frame from the body. |
|
|
|
|
|
|
|
|
|
|
|
|
|
|
|
|
|
|
|
|
|
 |
|
|
Step 5: Loosen the 2 allen screws on the timing rod collar. This is located between the regulator and the front block. |
|
|
|
|
|
 |
|
|
Step 12: Slide the pump and pump arm back on the guide. |
|
|
|
|
|
|
|
|
|
|
|
|
|
|
|
|
(sorry about the pic. quality) |
|
|
|
|
|
|
 |
|
|
|
|
|
Step 13: Screw or attach the rear block to the pump arm. I put mine on as far as I could. |
|
|
|
|
|
|
|
|
|
|
|
|
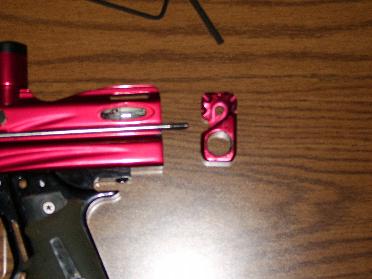
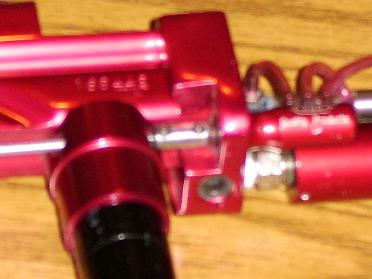
Step 6: remove the large bolt holding the 3-way on the body. On this marker it is the big black one in the middle of the picture. |
|
|
|
|
|
|
 |
|
|
|
|
|
|
|
|
|
|
|
|
|
|
|
|
|
 |
|
|
|
|
Step 14: Put the bolt, and rear block stopper bolt back in. |
|
|
|
|
(sorry about the pic. quality) |
|
|
|
|
|
|
|
|
|
|
|
|
|
|
Step 7: Unscrew the timing rod from the collar which is keeping the rod from sliding through the regulator. |
|
|
|
|
|
|
 |
|
|
|
|
|
|
|
|
|
|
|
|
|
|
|
|
|
Step 15: Put the frame and beaver tail back on the marker. Reconnect the macro line. Put on a tank and hopper and Go Have Some Fun!!!!!!!!!! |
|
|
|
|
|
|
 |
|
|
|
|
|
|
|
|
|
|
|
Note: Sorry about some of the pictures being blurry. Had touble getting the camera to focus. |
|
|
|
|
|
|
|
|
|
|
|
|
|
|
Made another change. I added a slide trigger frame to the marker. I like it. |
|
|
|
|
|

|
|
|
|
|
|
|