Vinyl/Decal/Body Paint Tutorial...
Here's a simple way to add decals to your image. The easiest way to do this would be to mask the picture using the image and change the color values. Again, I'm using Corel Photo Paint as it is the easiest one available, but any Photo editor should be able to do the same tweaks.
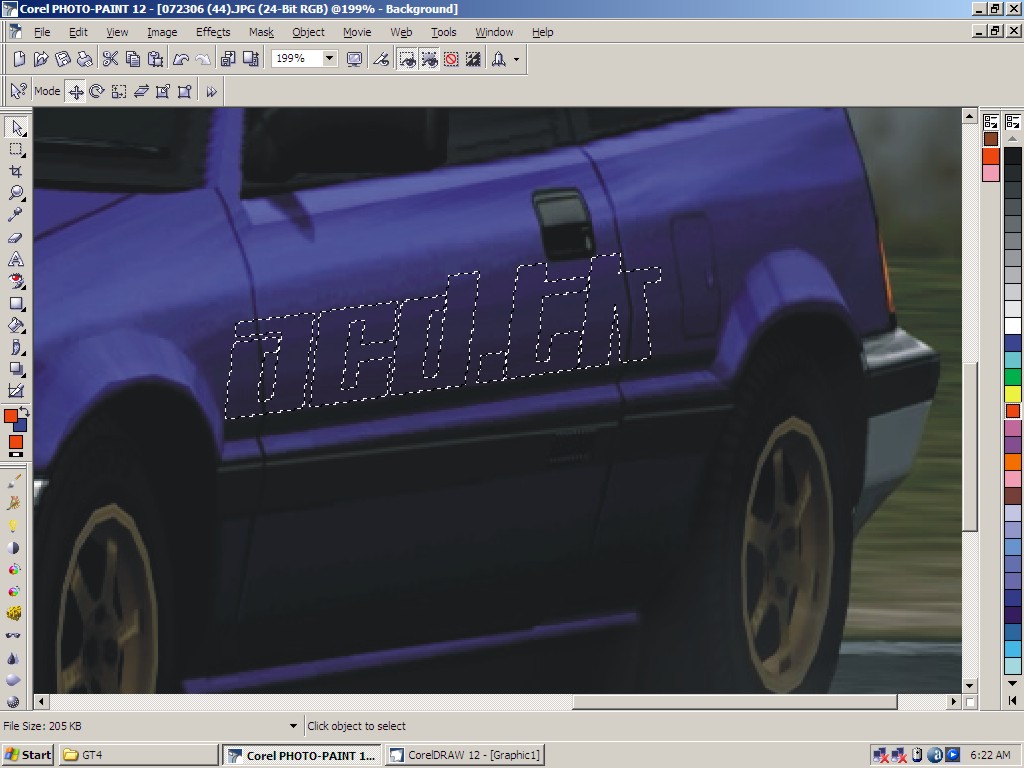
First, Create an object based on the decal you want to add.
Next, position the object onto the car body. Be careful regarding perspective. The easiest way to do this would be to line up the image by using the car lines. In some instances, you may need to use some tools such as Punch, Mesh Warp, etc. to make the image flow with the bumps on the car.
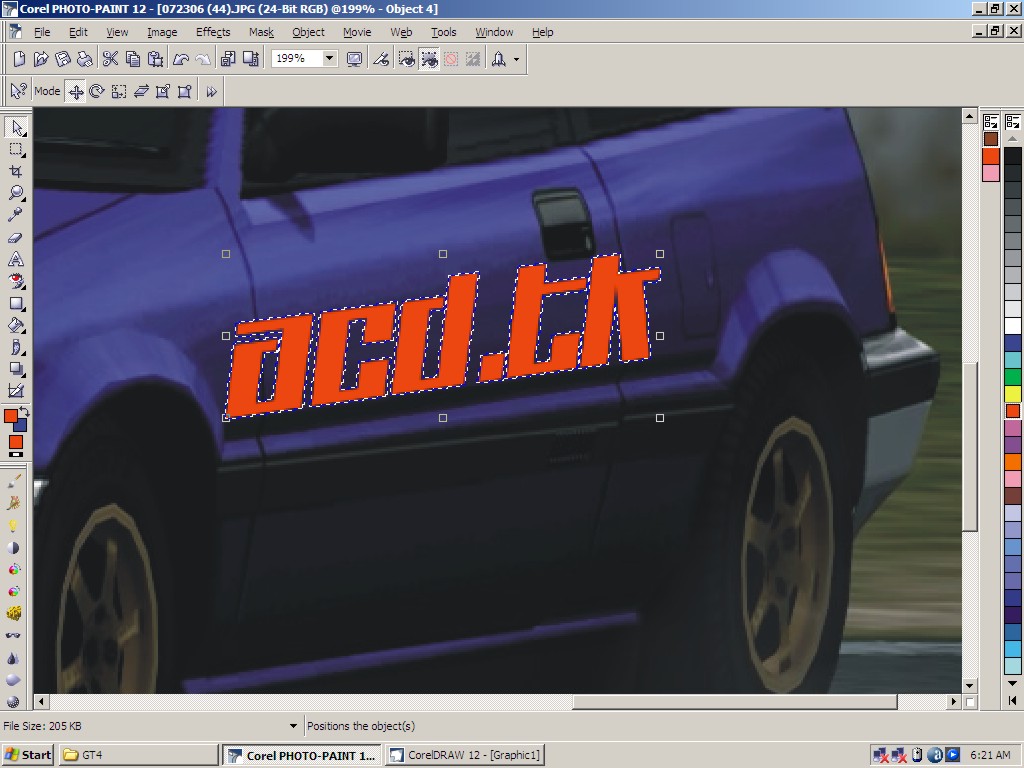
Create a mask using the image (In Corel Photo Paint, you can find this in Mask>> Create>> Mask from Object) and then delete the object.
Use the Color tools (Hue Saturation Lightness and Color Balance in Corel Photo Paint) to change the color of the masked portion. If you are going for a white or black color, use Desaturate. Then, use the brightness/contrast, and saturation tools to fine tune the image.
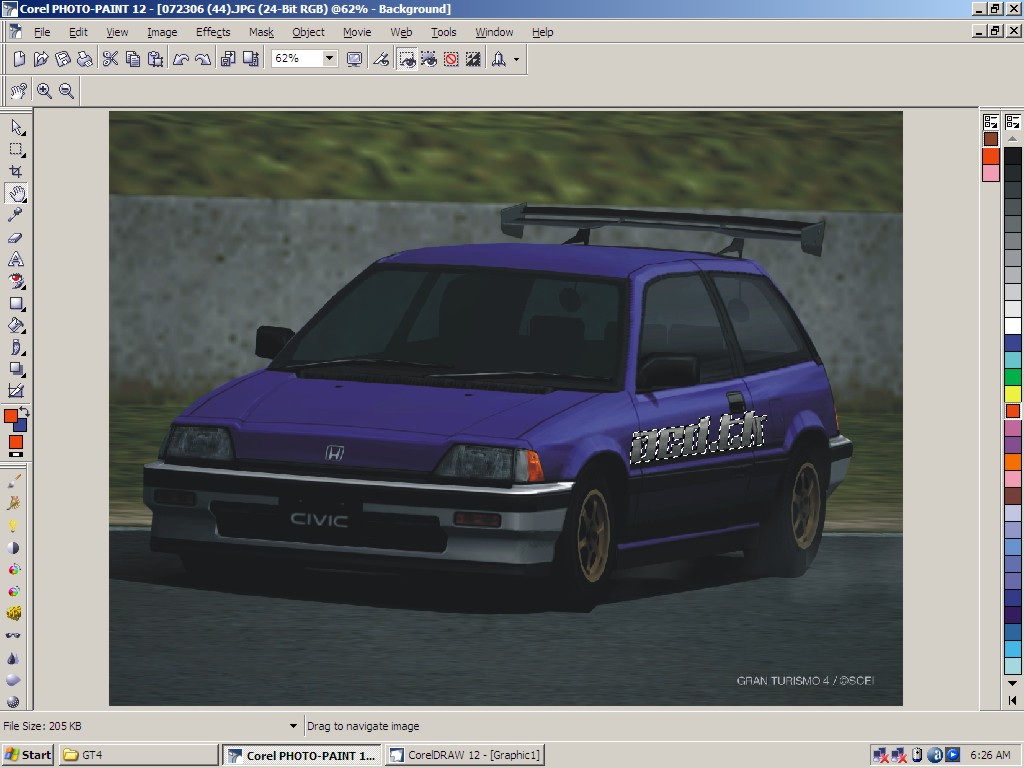
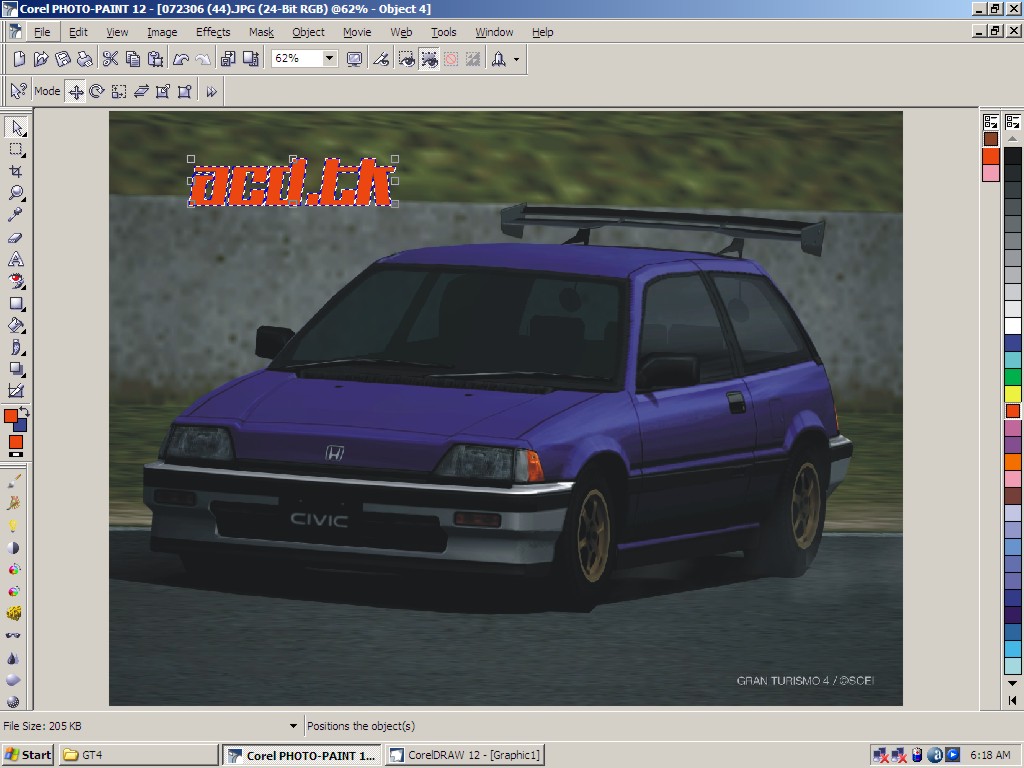
Once the decal looks ok with the rest of the image, start cleaning up your work. I came up with the image below after some minor tweaks...
I'm not really satisfied with the final image the edited portion kinda pops out. One reason for this is that I desaturated the masked portion and failed to add a tint of the dominant color, blue.
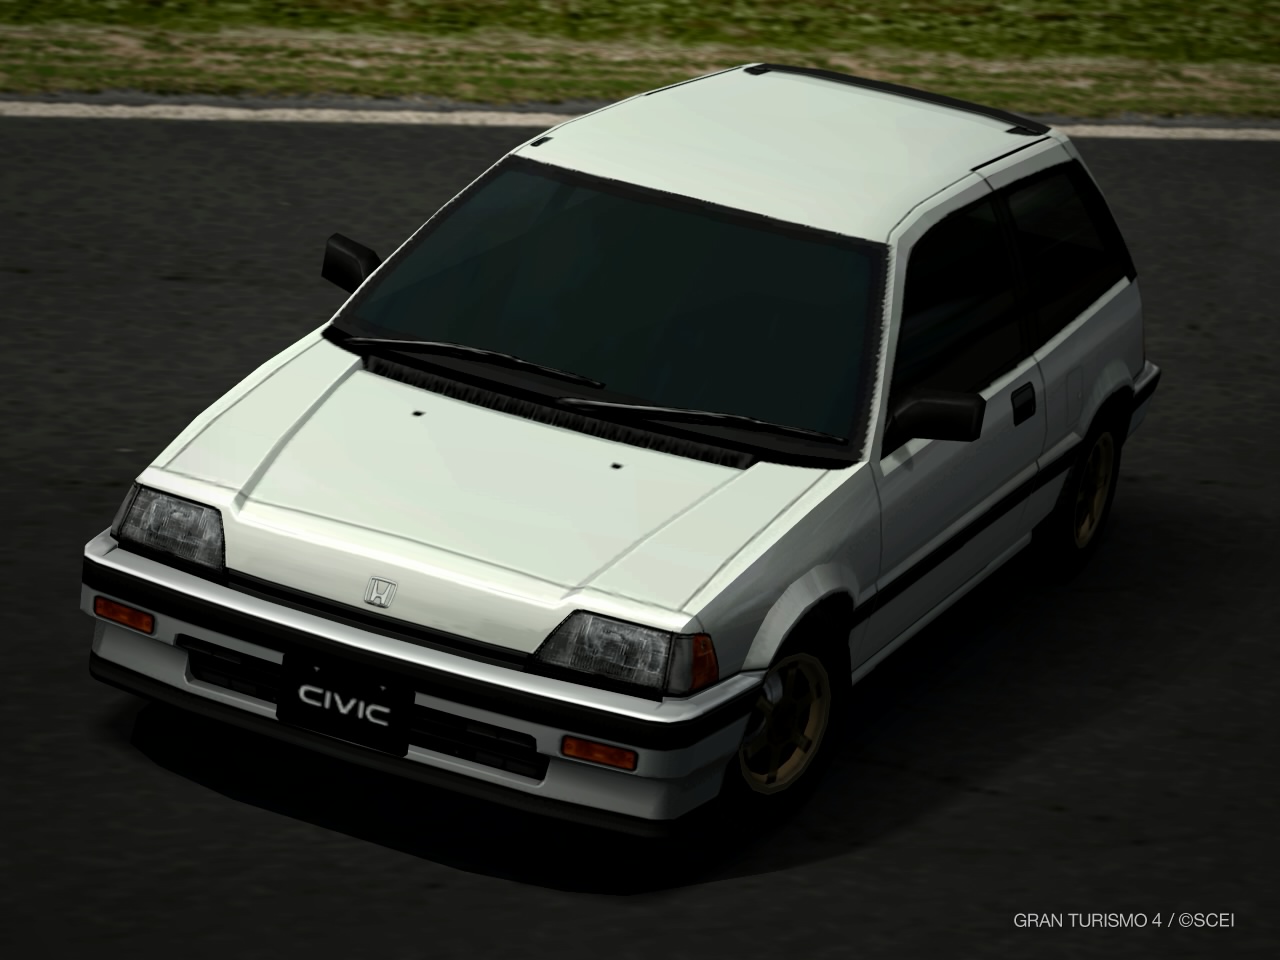
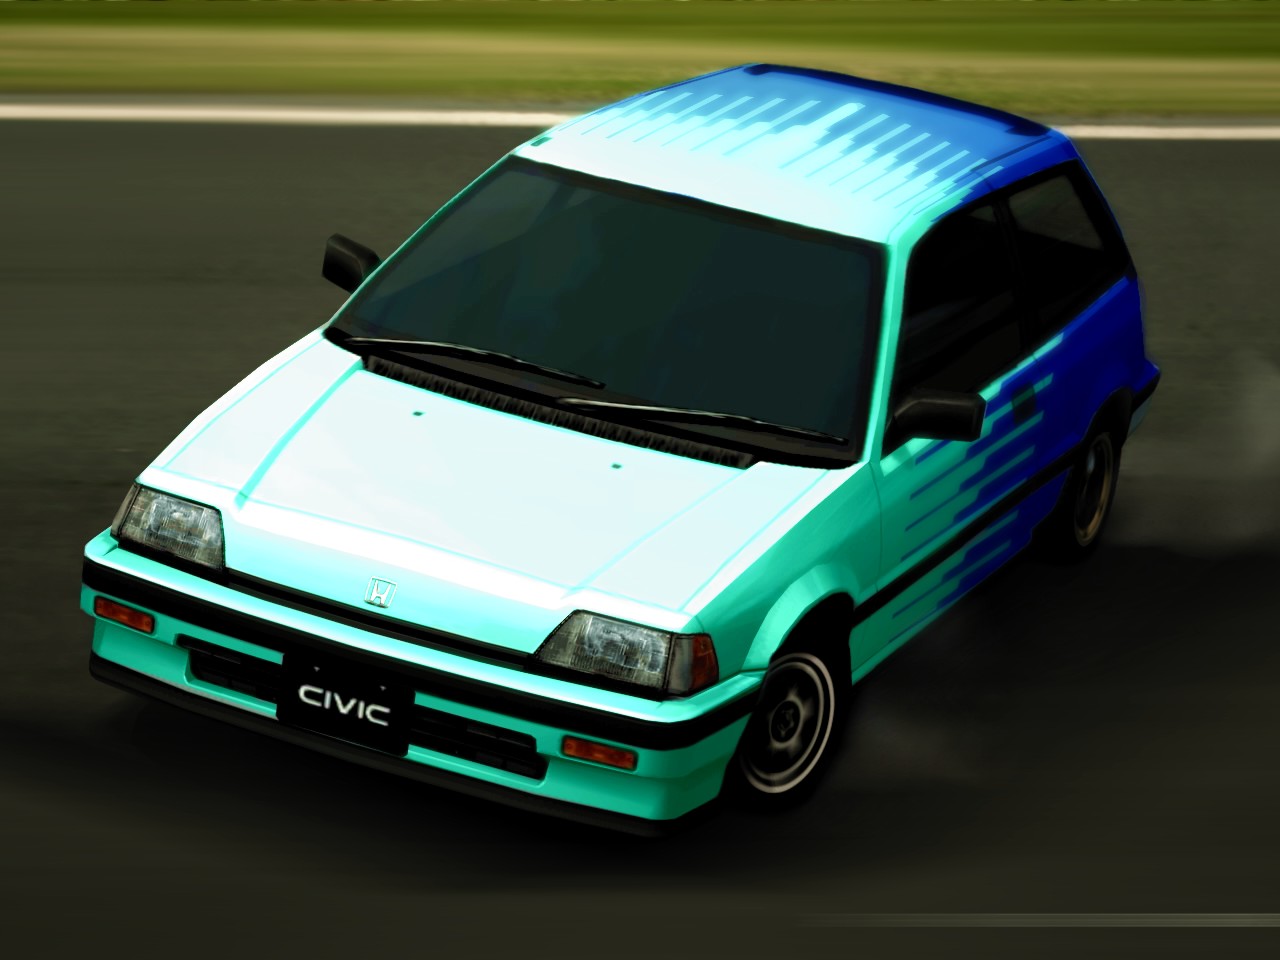
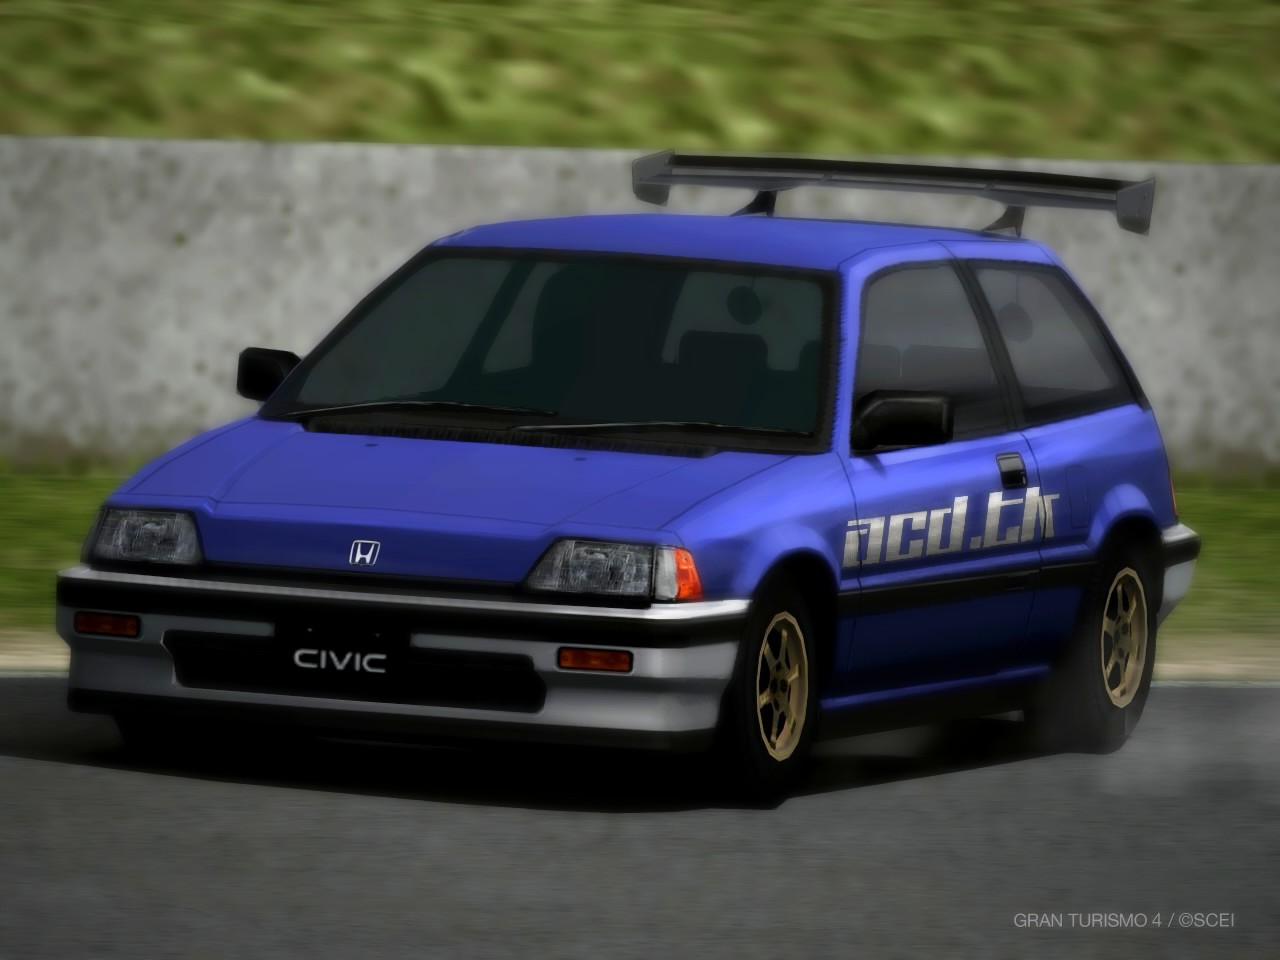
Using the same process, you can also do a full body paint edit to your image (See images below...). When choosing car colors, go for light colors, and avoid darker ones. The contrast on light colors will make the edited portions look natural. When choosing car colors, go for light colors, and avoid darker ones. The contrast on light colors will make the edited portions look natural.