Photo Stitching....
Photo stitching has been around almost as long as the camera itself. Used mostly for panoramic shots, it's real value really shone through with the advent of digital cameras and photo editing software.
Sometimes, you may find GT4's picture resolution may be a bit too small, and that the picture you are taking just isn't detailed enough. You might have a monitor with supported resolutions above 1280X960. You may want to have a picture printed or photo developed, and you need a larger image. Sometimes some pixelation comes up when working on a low res image and you just wish you had a higher res pic to work with. Coupled with jpeg compression, there are lot of details that get lost. The solution? Good old photo stitching.
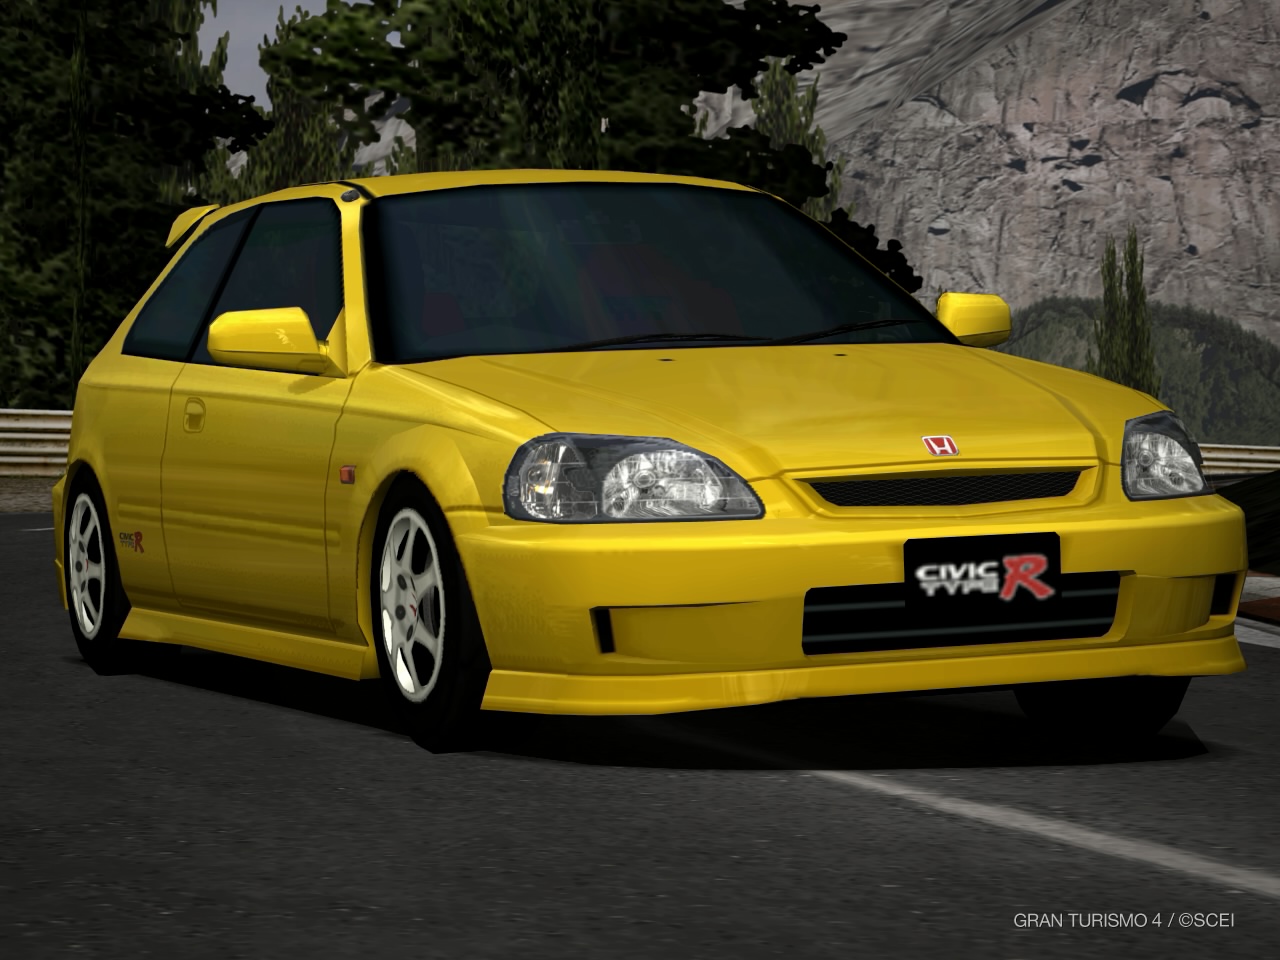
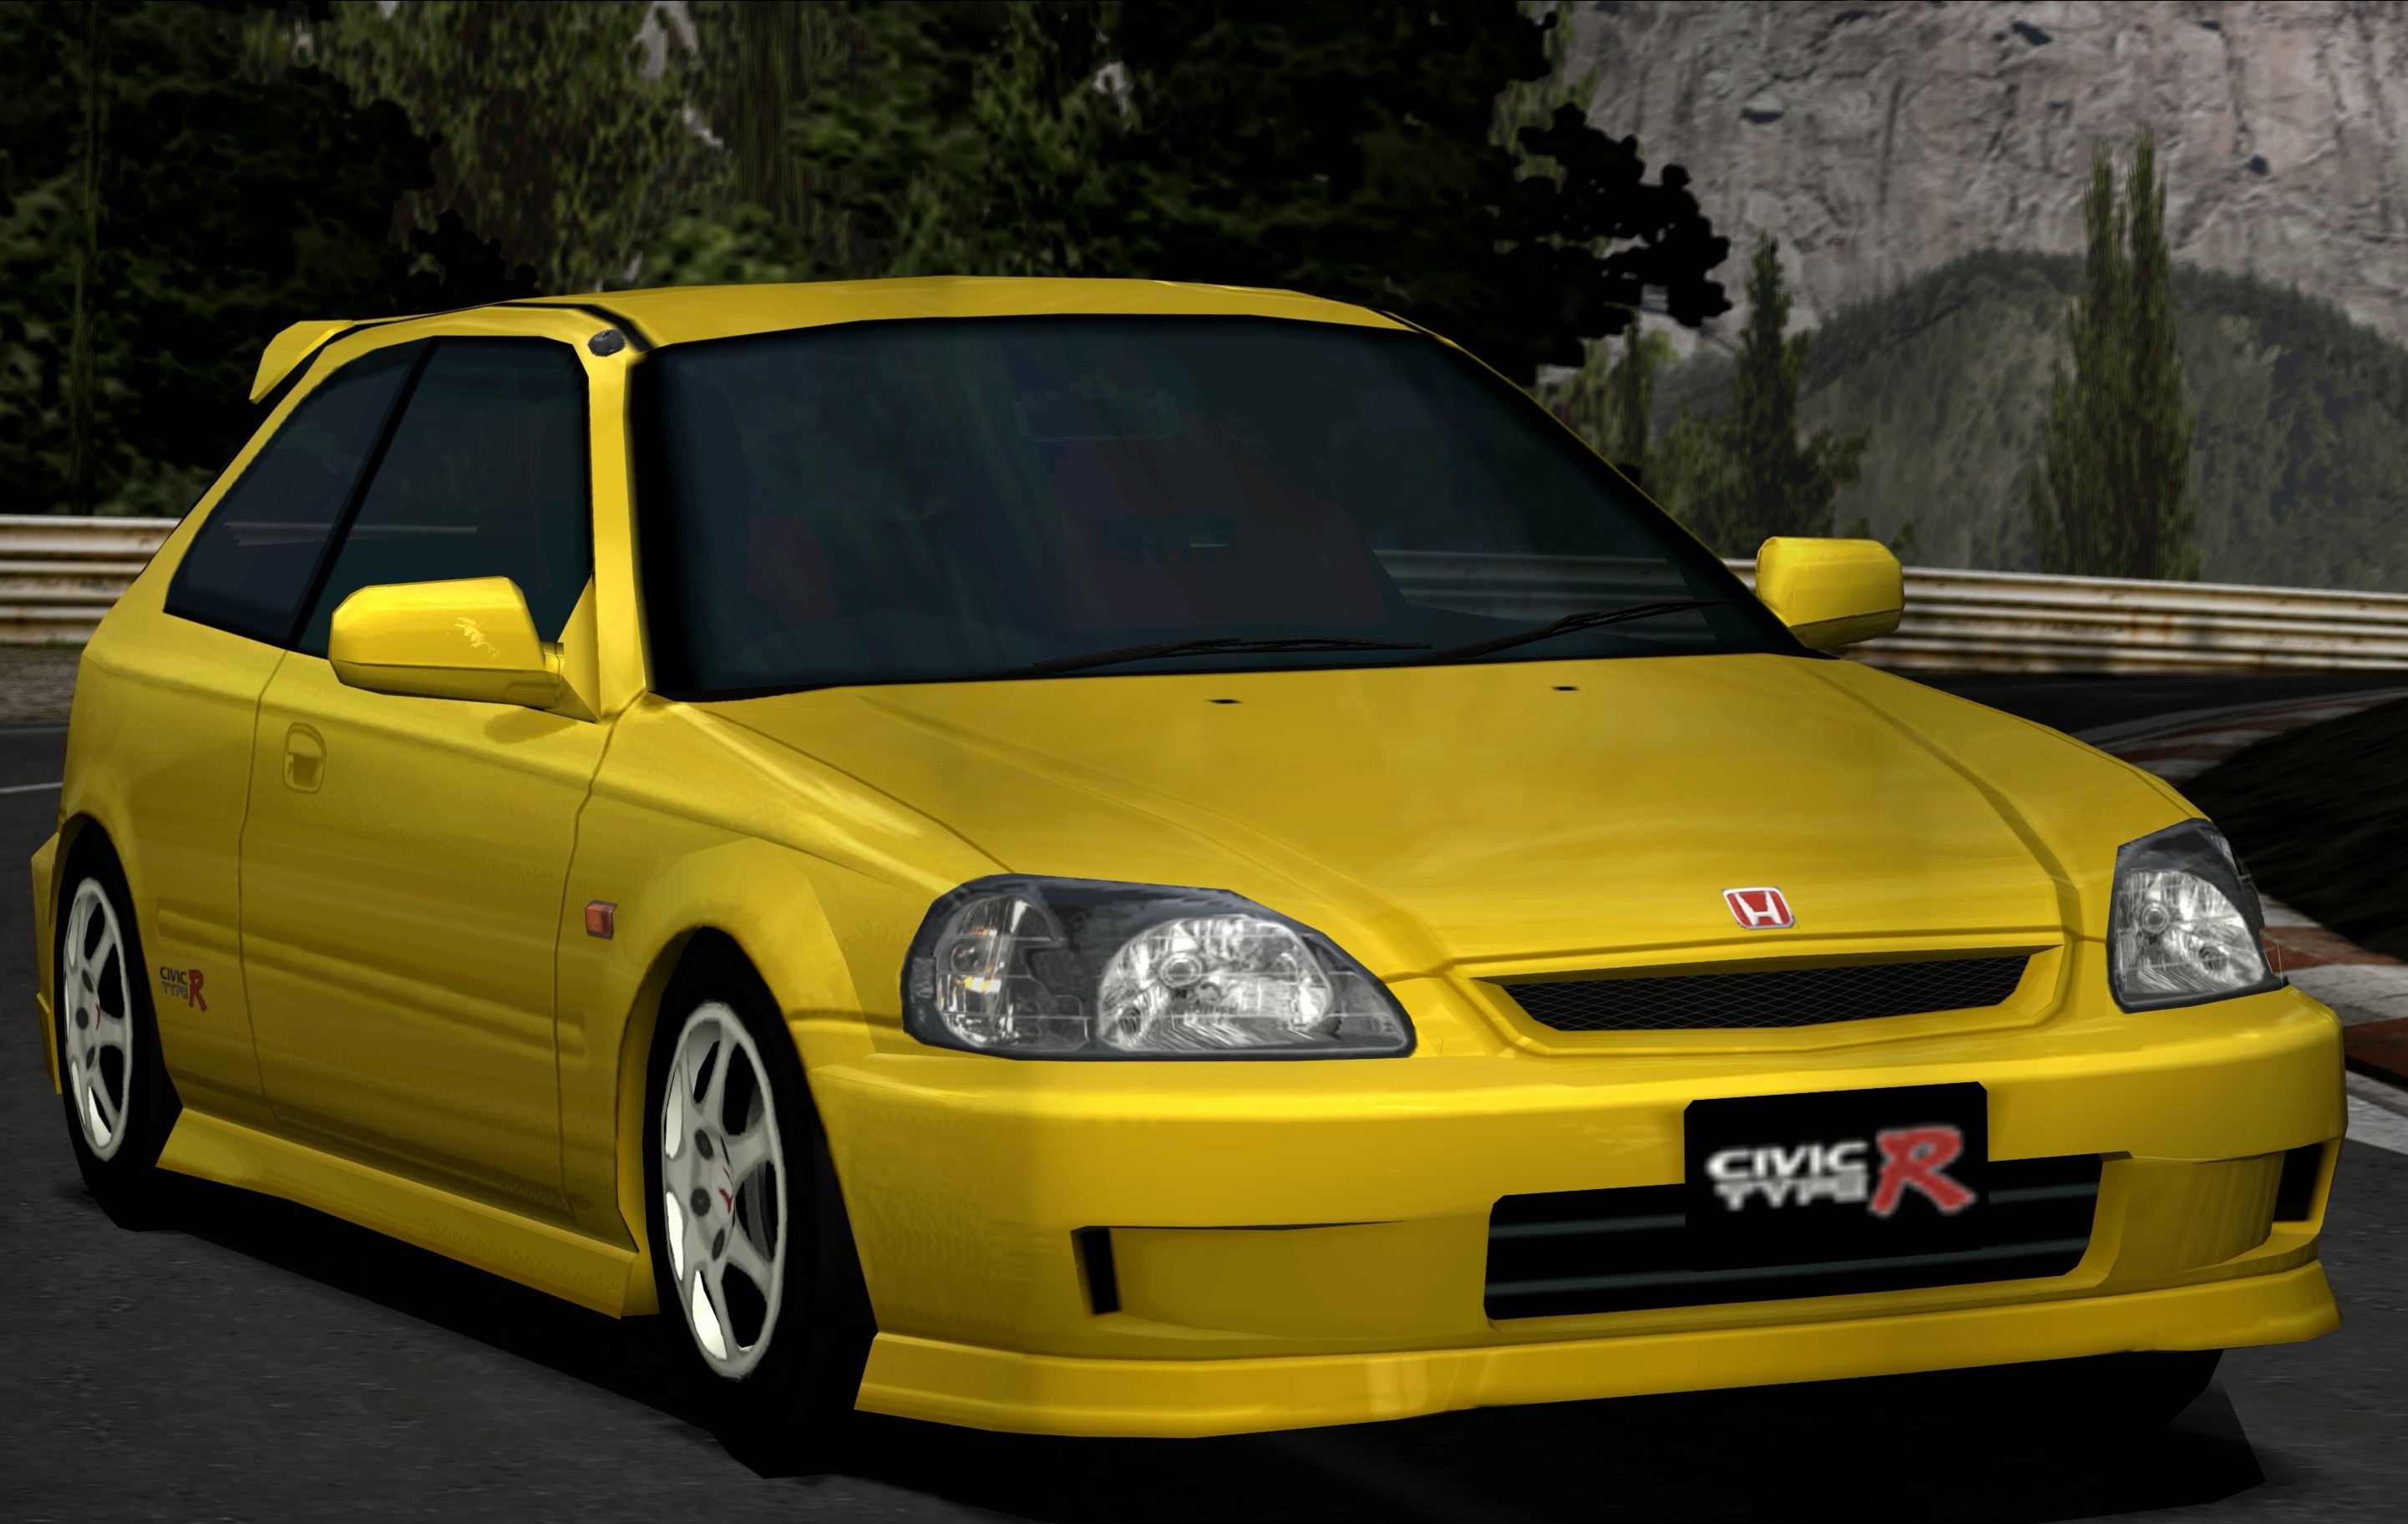
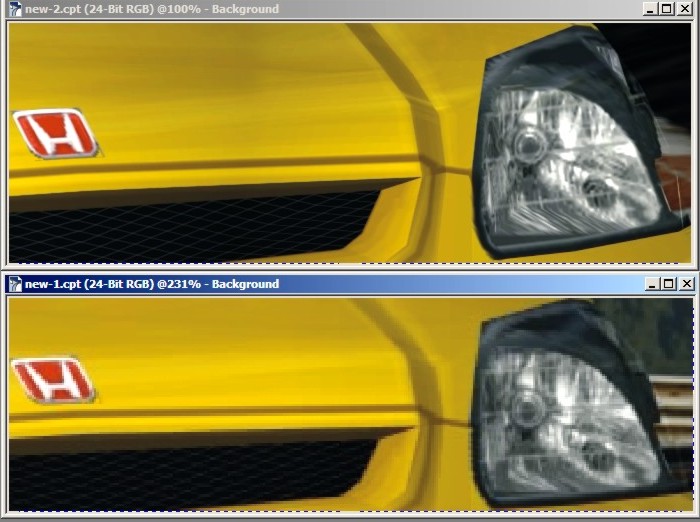
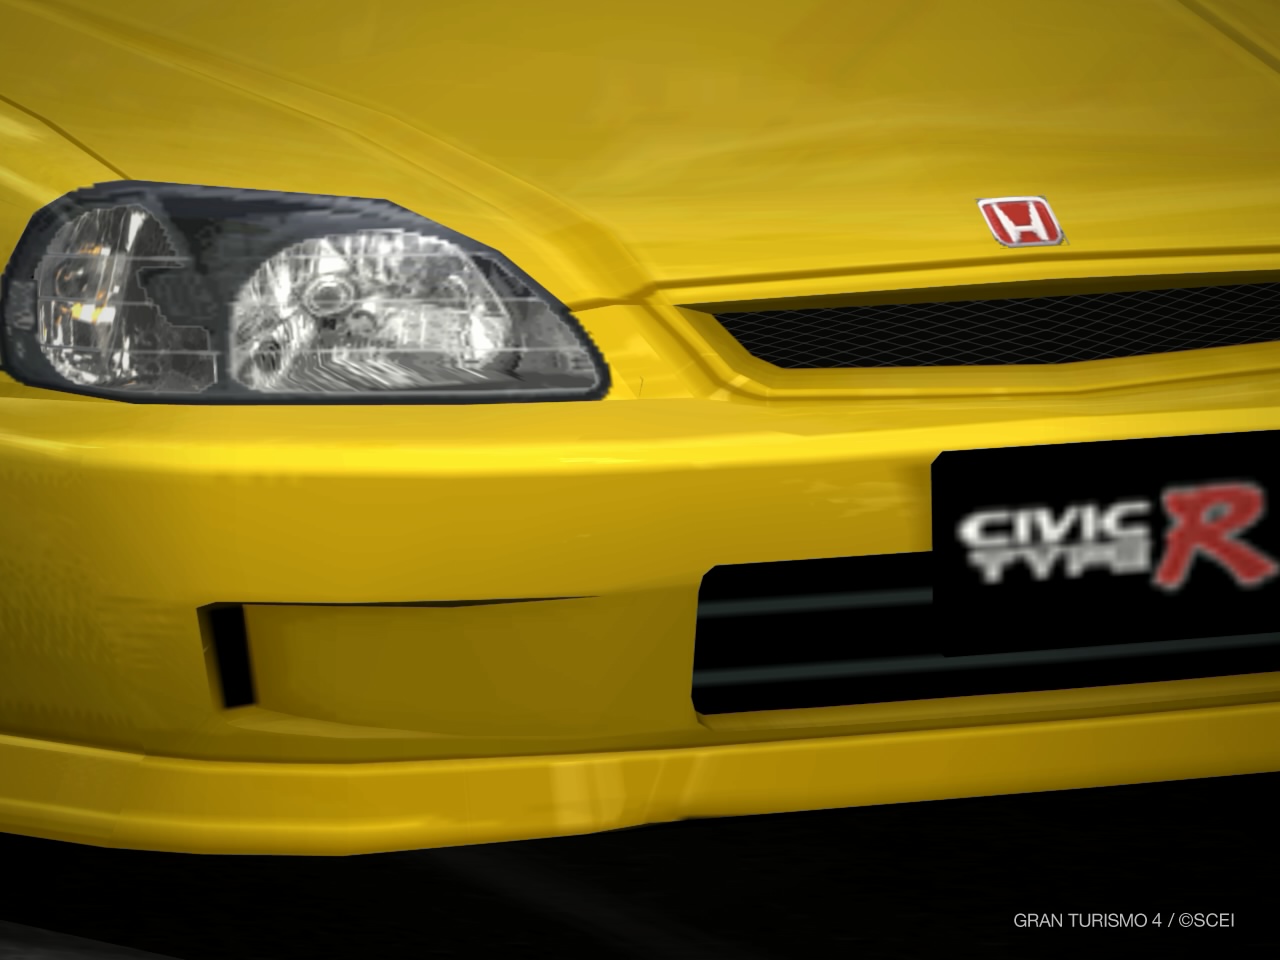
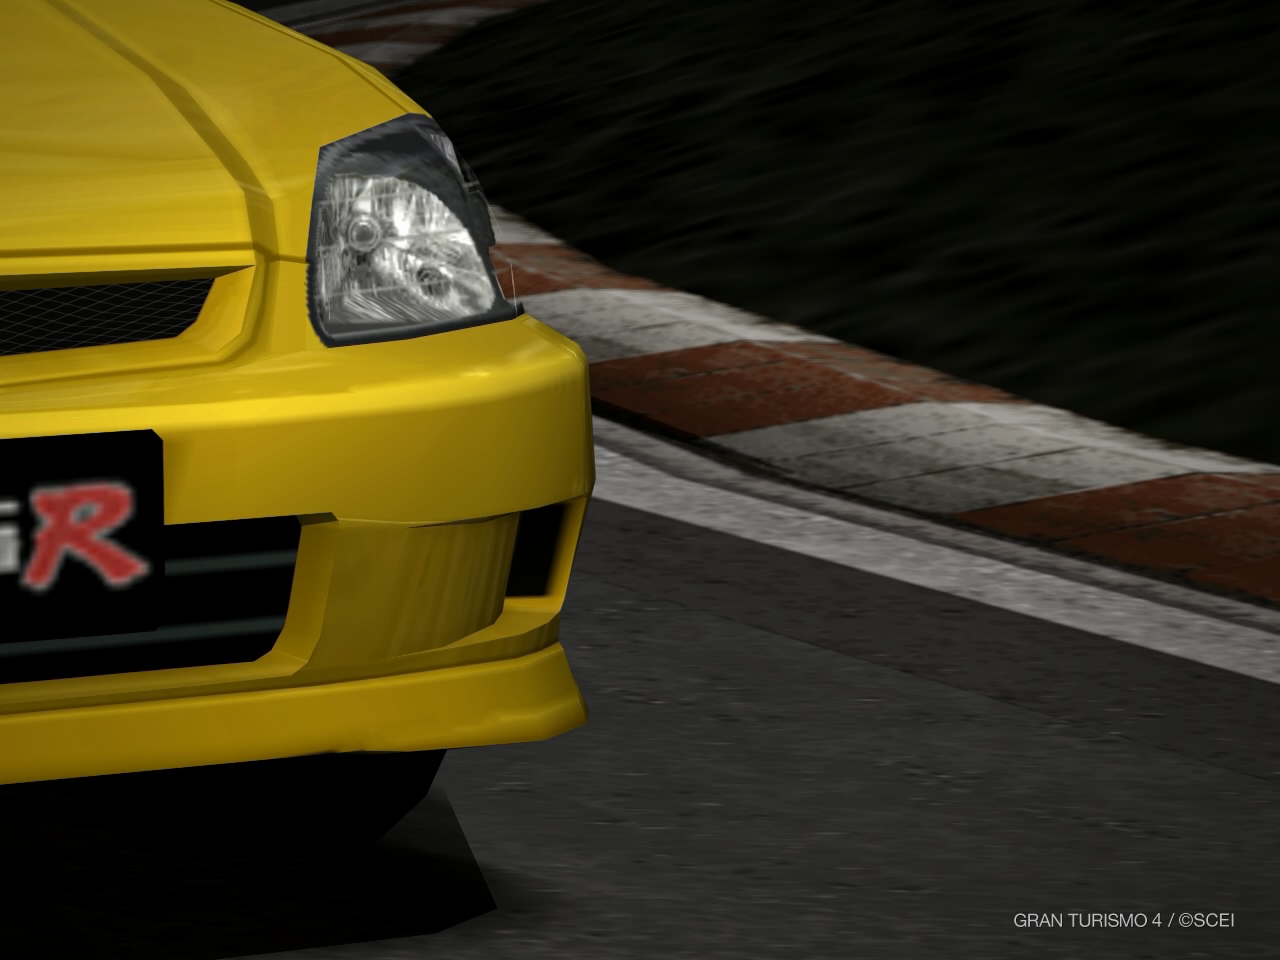
The first picture is the normal shot from GT4, and the second one is a stitched shot.
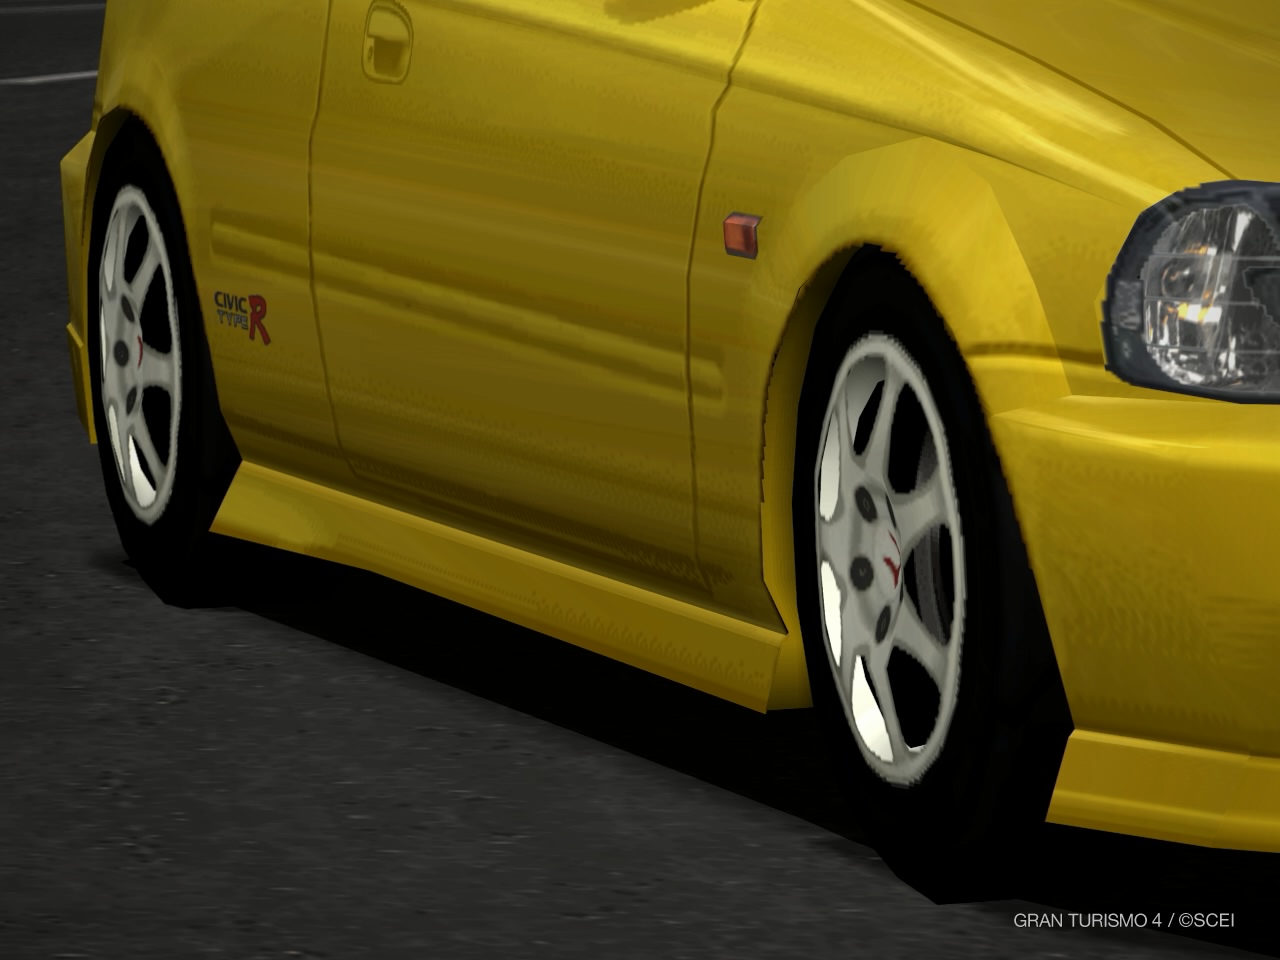
If we take a closer look at the front of the Civic (shown below), the difference is apparent.
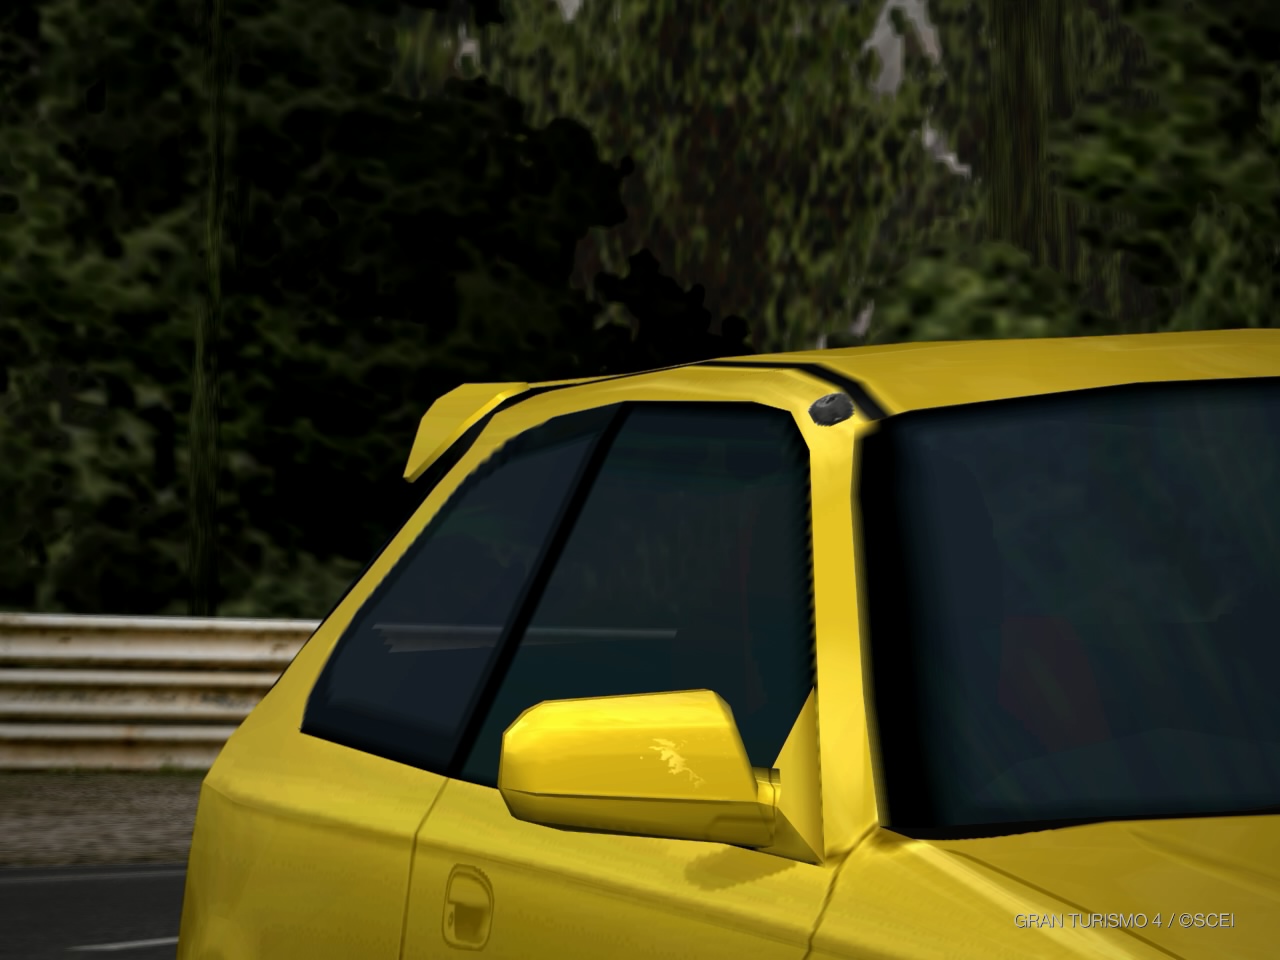
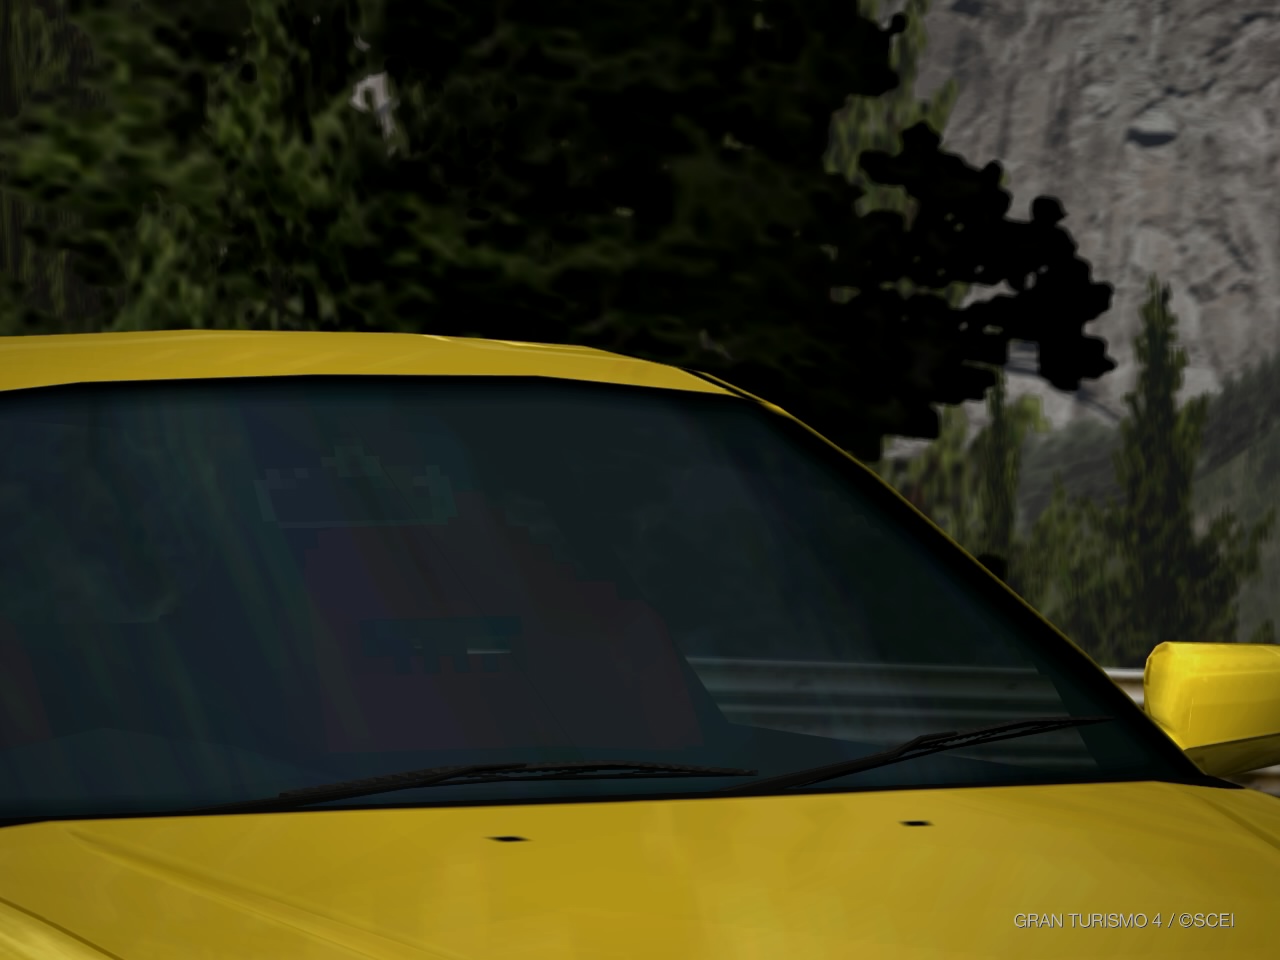
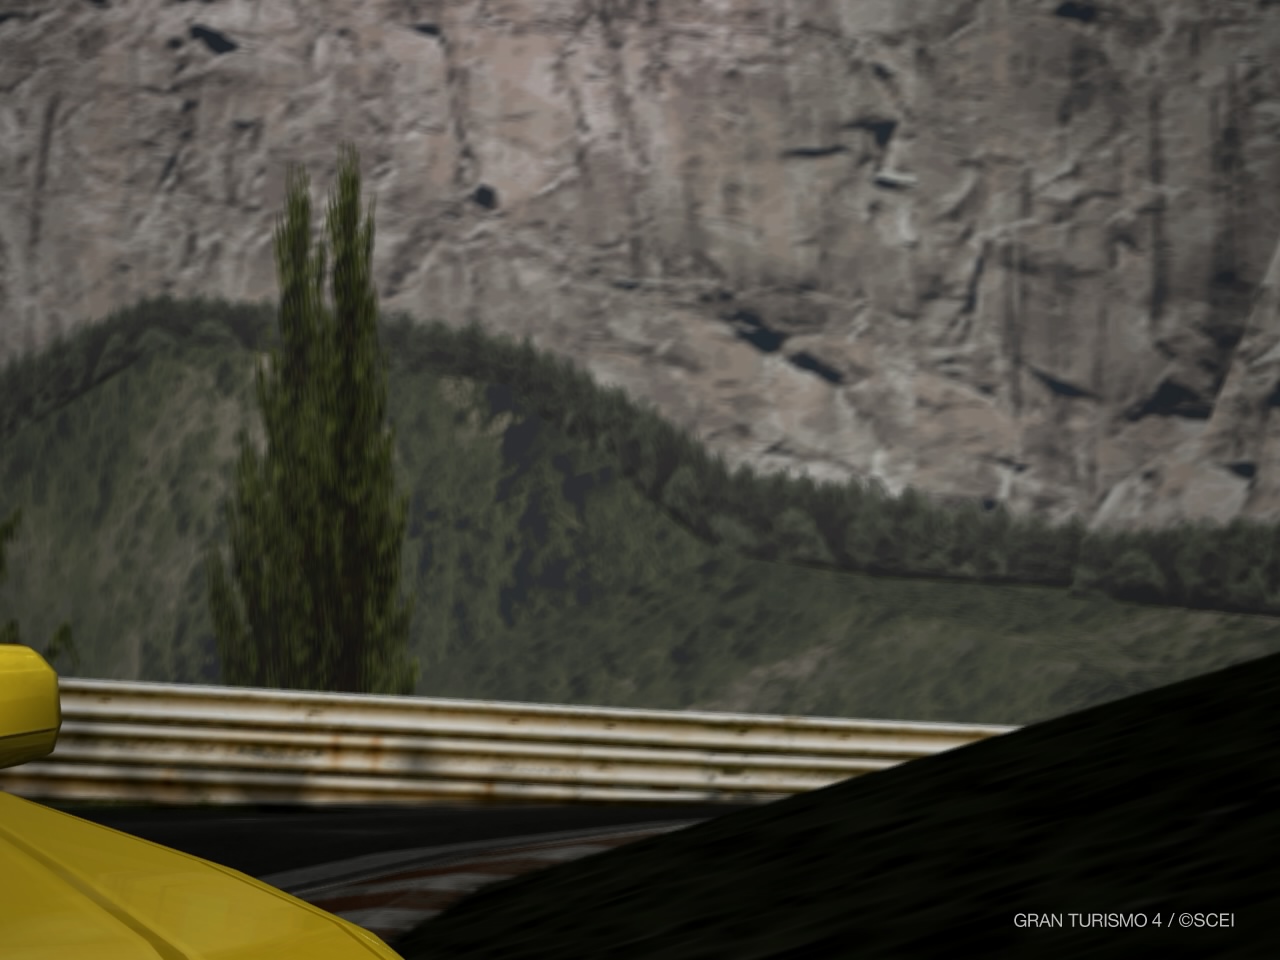
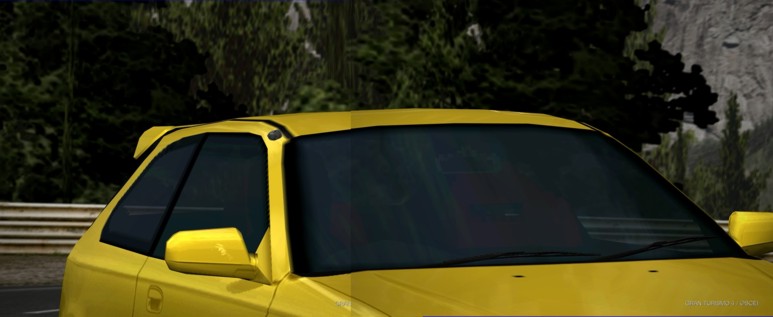
So how does photo stitching work? First, we need to take some shots inside the game. The number of shots really depend on how large you need the image to be. When taking shots in-game, pick a camera point, and when you have everything set-up, take pictures which overlap at certain points. This will make it easier to line-up the pictures as well as stitch the edges seamlessly. For this tutorial, I have taken 6 shots which are shown below...
Open up the 2 pictures on your photo editor as layers, or objects. I used our office's copy of Corel, but the same principles should apply for most photo editing software including GIMP and Photoshop. I tend to work from the upper left corner so let's start with the pictures labeled 1 and 2.
Line up the two pictures. Since GT4 takes
pictures with a Gran Turismo 4 label on the lower right side, we'll
need to have picture 2 on top of the left picture so that the label
is partly obscured. This will make it easier to edit out the label.
The lined up image will initially have a clear line on the top
image's (2) edge.
Select the top image (2) and take your eraser
tool. Use a brush with soft edges and carefully erase part the edge.
Be careful not to erase a part which does not overlap or part of the
background will show through.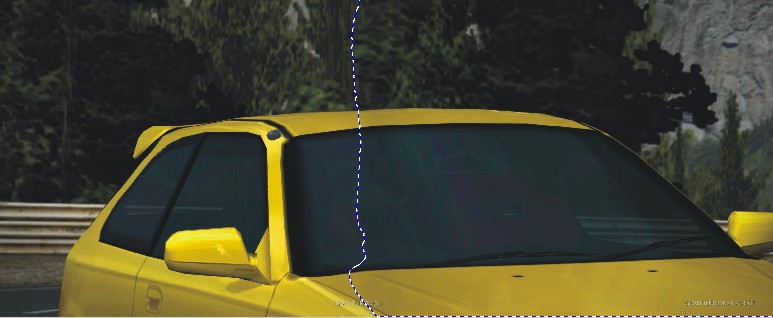
Now repeat the same procedure until you've stitched all 6 images. Remember, when you get to stitching the bottom part of the picture, you will need the bottom part on top. If you're lucky, there might not be any Gran Turismo text to edit out on the upper portion of the image.
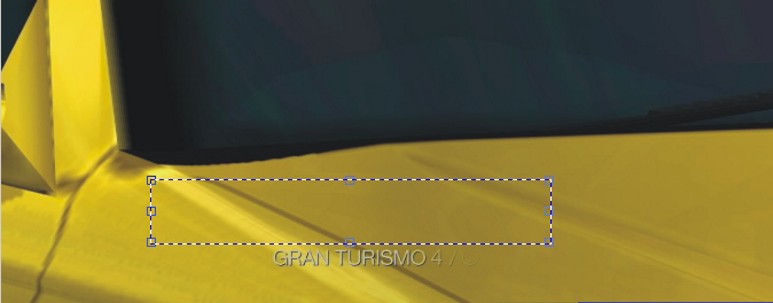
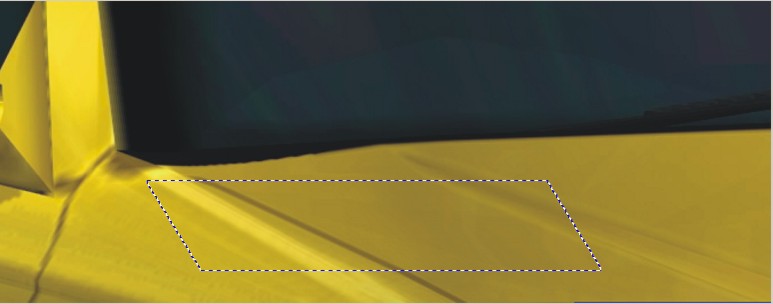
What if you DO have a label showing? Use the clone tool function to edit it out, or you can use the steps below...
First mask out a part above or below the portion you want to edit out. Copy/paste this portion and drag it over the label. You may need to rotate/skew the object to line it up correctly with the image. Then use the eraser tool with the soft edge to soften the edges as you did in the steps above.