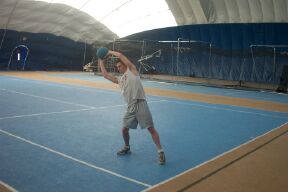
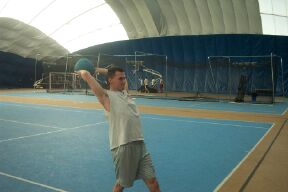
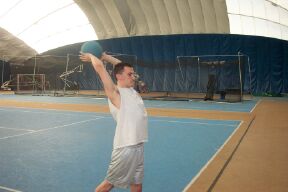
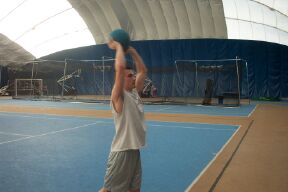
| Javelin Workout Medicine Balls: |
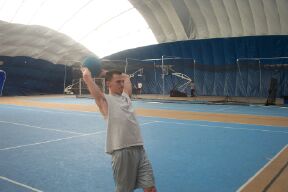
| Transfer of weight from back leg to front leg. Start with ball directly over your head, then rock back and step and throw keeping your shoulders square with the wall. Try to keep your arms straight and make sure to follow through with your throw. |
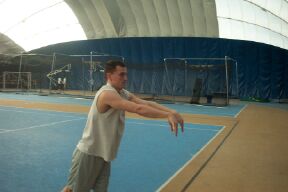
| Javelin simulation with the medicine ball. Facing sideways, place the ball in your throwing hand. Keep it balanced with the non throwing hand. Put all your weight on your back leg, lift your front leg slightly. Put your front leg down and pulling back with it, throw your hips forward and followed by your shoulders and release the ball. You should end up in the same position as the above workout. |
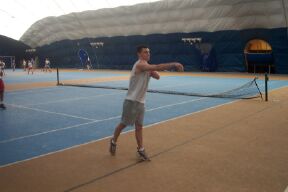
| TurboJav: |
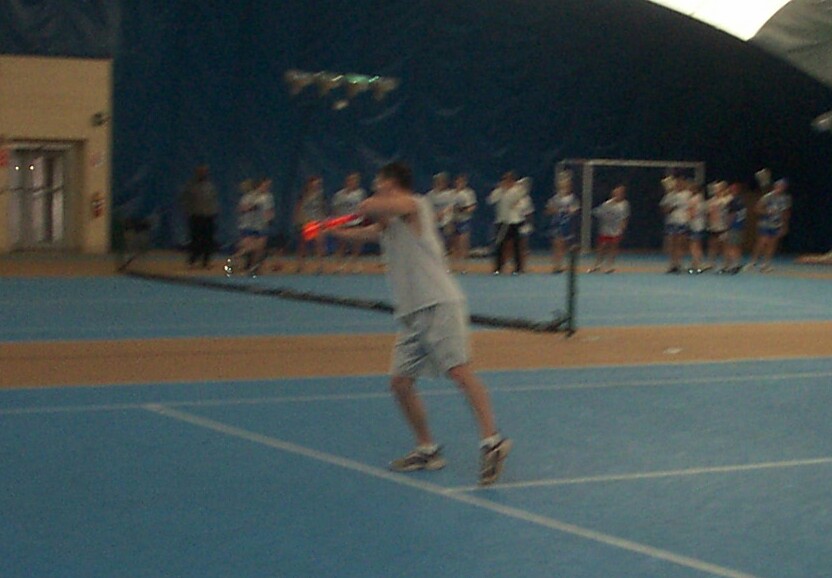
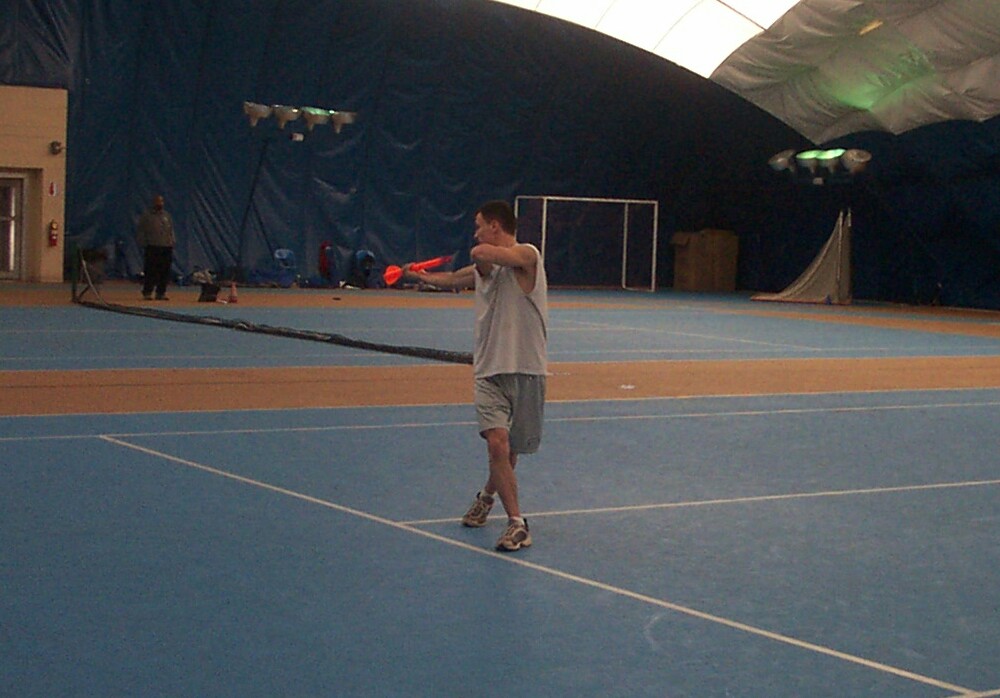
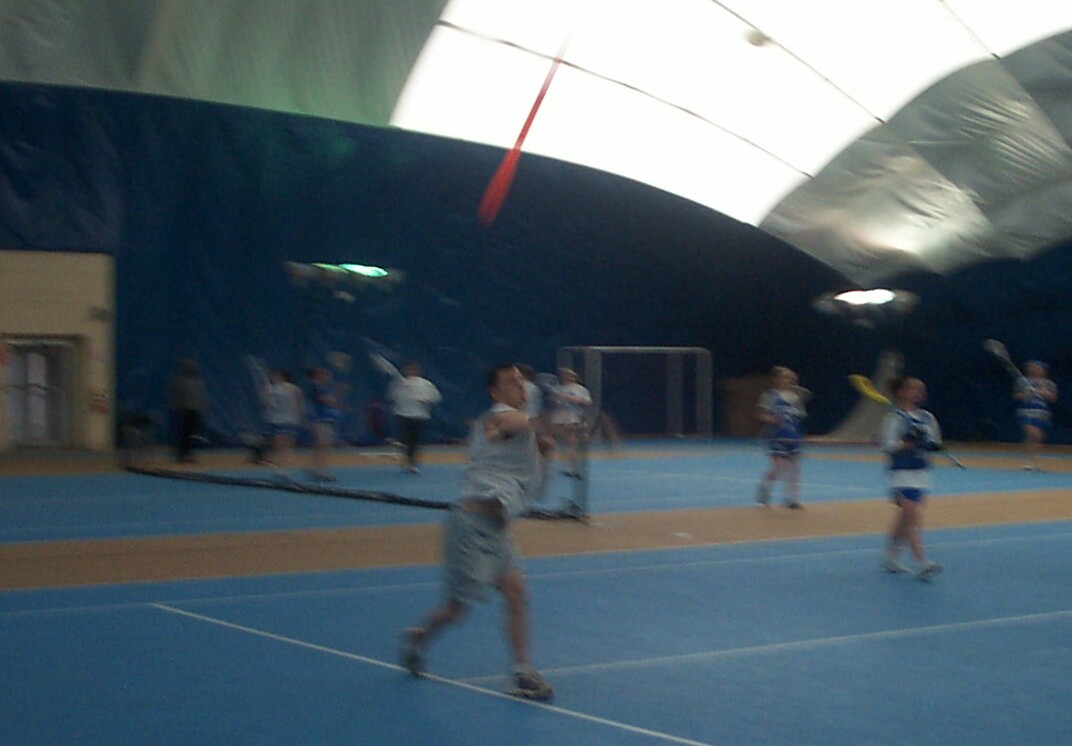
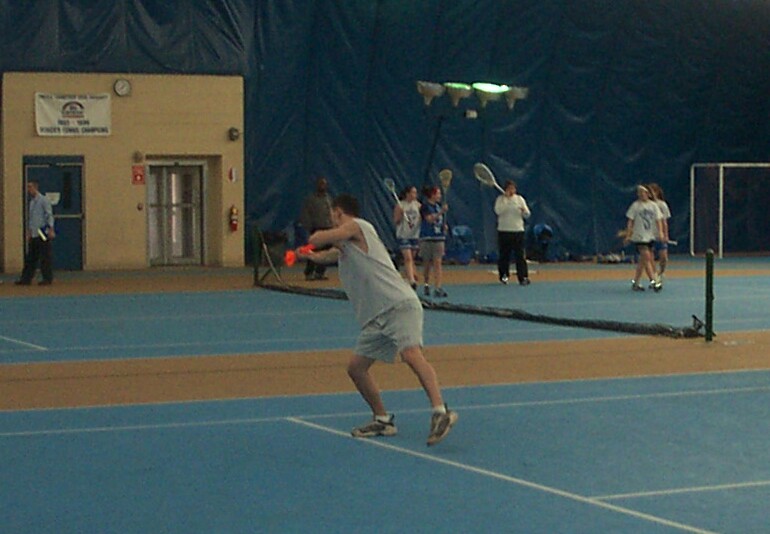
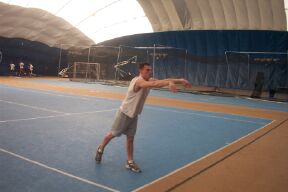
| Find an open are to throw. Keep your hips and shoulder square. DO NOT BRING YOUR THROWING SHOULDER BACK!! Bring the turbojav back behind your ear, bring your front foot back and throw the turbojav through the point. You will probably have to throw over the top to achieve this for this exercise. |
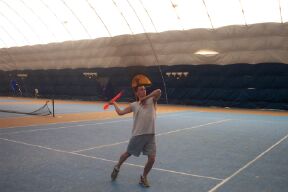
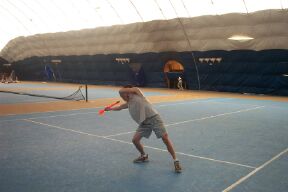
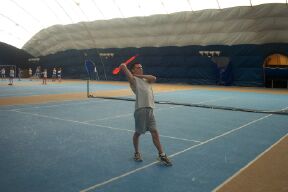
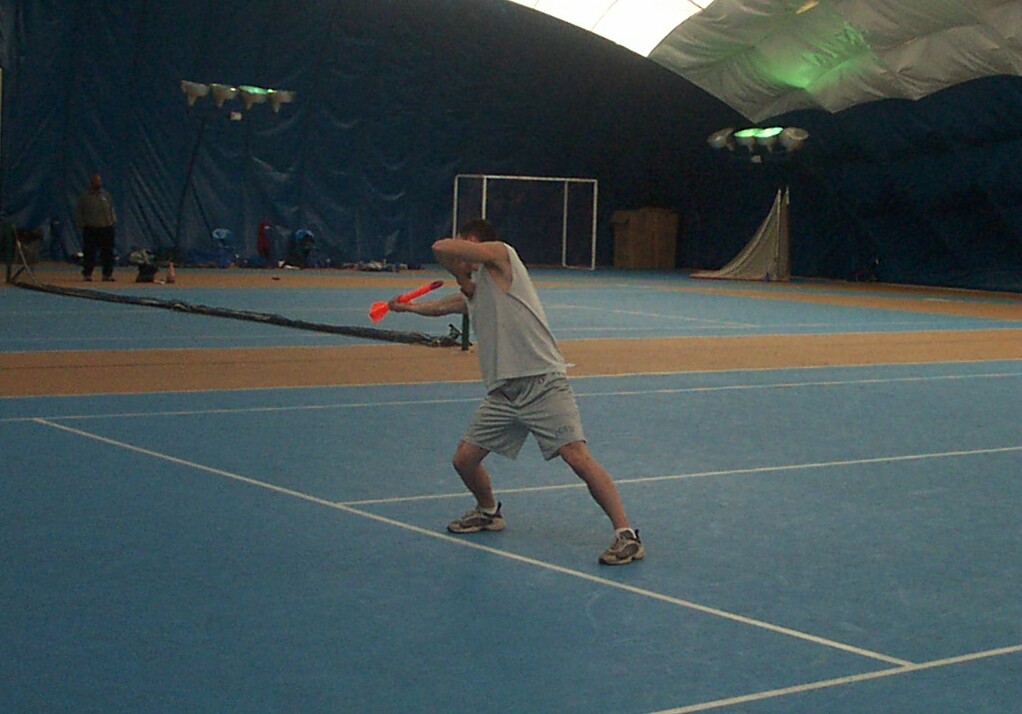
| Keep your arm straight. Rock back putting your weight on your back leg and bringing you front leg up slightly keeping the palm of your hand facing toward the sky. Make sure the turbojav is pointing straight ahead. Now bring your front leg down, roll your hips forward (notice my arm is still straight and my weight is still on my back leg) then transfer the weight forward pushing off your back leg. Bring the javelin forward making sure to throw through the point. Release the turbojav and make sure to finish your throw. |
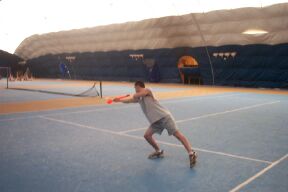
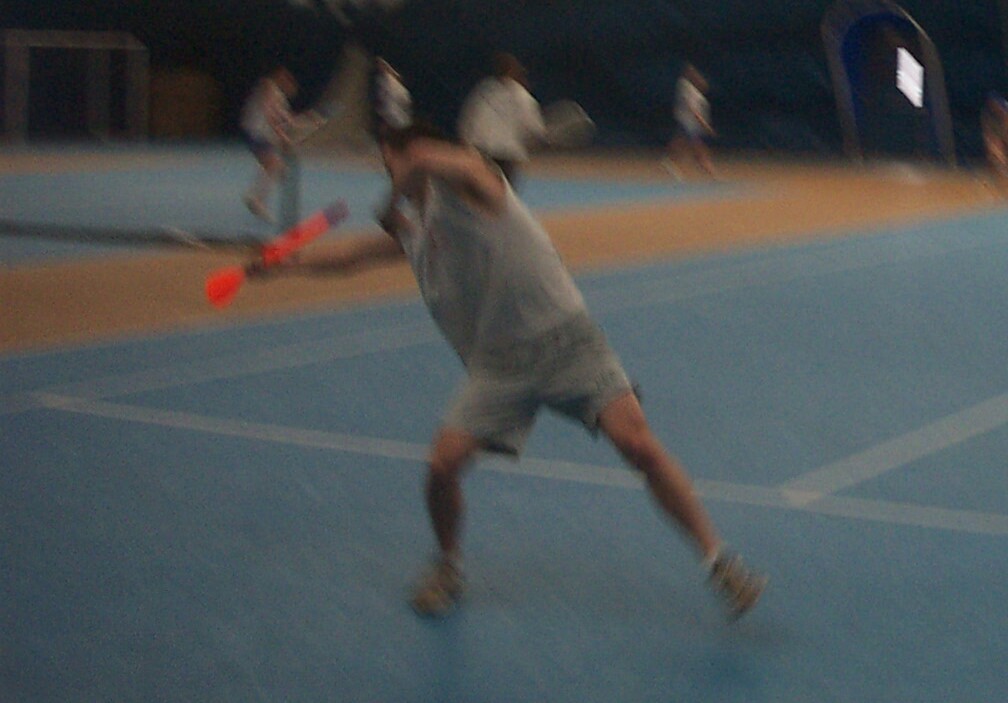
| Just like the regular 3 steps for the javelin. Doing this with the turbojav will help you throw through the point. Starting with the arm fully extended, rock back bringing your front leg in the air. Then step with the front leg(1st step), cross your back leg in front of your front leg (2nd step). Then bring your weight should be on your rear leg while bringin your front leg back to the front. Front foot should hit the ground(3rd step). Notice how my arm is still straight after my foot has hit the ground. Throw your hips forward and throw the turbojav through the point while pushing off of that rear leg. You want to keep your upper body straight. (notice how in picture 4 you can draw a straight line from my foot to my shoulder) If you bend your upper body you will move your fulcrum point which is what you do not want to do. You want to keep your center of gravity evenly distributed. |
| Notes: you can do the TurboJav workout with a Knockball also. The TurboJav is designed so you have to throw through the point. You will not be able to throw it at all unless you have a perfect throw through the point. For this reason it is highly recommended. It will point out things you will not notice with a regular javelin. It took me about 3 weeks to throw it properly. It is a good tool to use early in the season and will be well worth it come time for the SWC and State meets. Also, looking at my grip through the whole motion helps me to keep my arm straight, this might not work for everyone but it seems to help me. |

|
| Email me with your best throws and I will post them here. |
| Name School Date Site Distance Andy Baron JCCC 4-8-08 202'3" Joseph Tanucci CCSU 6-7-04 North Eastern U. 199'8" Kyle Smith Daphne High Mobile Alabama 168'4" Bobby Weinstein Dalton School 5-18-03 New York 164'10" Mike Klejmont Hackensack High School 5-20-03 Hackensack 152'02" Matt Fogarty Stratford High 5-7-02 New Milford 145'4" Collin McBurney Branford High 144'4" Tim Jaques Stratford High 5-1-02 Brookfield 140'5" Ashley Ferra CCSU 5-10-03 UNH 120'7" |
 |
 |
 |
 |
 |
 |
 |
 |
 |
 |
 |
 |
 |
 |
 |
 |
 |
 |
 |
 |
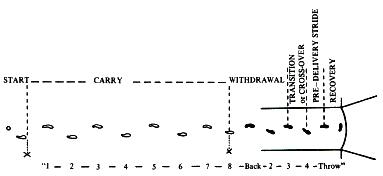
| Introduction To achieve maximum distance in the Javelin the athlete will have to balance three components - speed, technique and strength. The information on this page is for a right handed thrower. Throwing the Javelin comprises of the following phases: |
| � Start � Carry � Withdrawal � Transition � Pre-delivery stride � Delivery � Recovery |
 |
| Basic Technique |
 |
| Working from right to left in the above standing throw picture sequence: � The chin-knee-toe position should be adopted with the weight over the rear leg � The feet should be in line with the throwing direction � The throwing arm held parallel to the ground, long and relaxed with the palm uppermost � The rear leg drives the hips to the front, transferring the weight from right to left leg � The arm is brought in fast and last � The elbow should be kept high and close to the head, with the javelin being thrown over the top of the head The Grip |
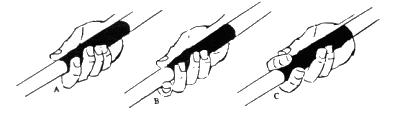 |
| A strong, stable grip is acquired. The grip must remain firm behind the ledge made by the binding (cord), and the javelin must run down the length of the palm and not across it. The fingers, which are not secured behind the binding, must press firmly on the javelin in order to produce a natural spin at release. The 'V' grip (C) is probably the most efficient for the novice thrower as it emphasises the supporting role of the palm. Grip 'B' is the one used by most experienced throwers. Start and Carry The aim is to carry the javelin so as to allow the muscles of the right shoulder, arm and wrist to relax and also to allow an easy running action. � Stand with right foot forward � Carry the javelin above the shoulders or head � Javelin points in the direction of the run up � Palm of the right hand provides a platform for the javelin to sit in � Palm of the right hand points at the sky Approach Run Experienced throwers will use an approach run of 13 to 17 strides - inexperienced throwers will use fewer strides. � Run on the balls of the feet with hips high � Free arm to swing more across the body � Carrying arm to flex to maintain carry position of the javelin � Speed to match athlete's physical and technical abilities Withdrawal The aim is to ensure the withdrawal movement does not effect the athlete's momentum. A checkmark can be used to indicate start of the withdrawal phase which commences with the right foot and lasts for two strides. � At the checkmark the athlete accelerates ahead of the javelin rather than physically pushing the shoulders and javelin back � Head remains facing in the direction of throw � Maintain hips at right angles to the direction of running � Drive the right leg forwards and upwards to help maintain the correct position of the hips Transition The aim of the transition phase, also known as the cross-over, is to place the right foot ahead of the athlete's centre of gravity so as to produce the characteristic lean back. This must be achieved by advancing the right foot forward and not by leaning back. � Right foot remains close to the ground to maintain forward momentum � Right heel makes contact with the ground � As the right foot is advanced forward the left foot is advanced ahead of the vertical axis so as to be in place ready for a quick plant after the right foot has landed � The cross over phase ends when the right foot makes contact with the ground and the left leg is forward in the air Pre delivery stride � The left leg reaches forward � Shoulders & hips now in line with the direction of throw � The athlete waits for the ground to come up and meet the left foot � Trunk is upright � Head facing direction of throw � Shoulders and javelin parallel � Throwing hand above the level of the shoulder Delivery � Following contact of the left foot with the ground the left side must brace against a thrusting right leg action � Right leg drives upwards and forwards bringing the hips at 90� to the direction of throw � Hip thrust is followed with the shoulders and chest turning square to the front and lining up with the hips and brining the elbow of the throwing arm forward � The throwing shoulder is brought over the left leg � The left leg should lift as the athlete rides over it and the throwing arm now comes into play � Arm strikes fast with the elbow high and close to the mid line � The release angle (angle between the horizontal and the javelin) for the javelin has to take into consideration aerodynamic lift and drag. The optimum angle for the Javelin is about 33 degrees (Bartonietz, 2000). Recovery The left foot remains grounded and the right leg is brought past it to halt the athlete. The amount of space needed to stop before the scratch line depends on the amount of horizontal momentum. Adjustment of the checkmark is required to achieve optimum distance on the runway. Skill Drills Running activities without the Javelin � At a steady speed � With acceleration � Sideways � With repeated cross overs � Cross overs mixed with normal running � Over low obstacles between each stride Running activities with the Javelin � At a steady speed � With acceleration � With repeated cross overs � Cross overs mixed with normal running � Over low obstacles between each stride � With repeated withdrawals Throwing drills can also be performed using a medicine ball, Javelin or sling ball |