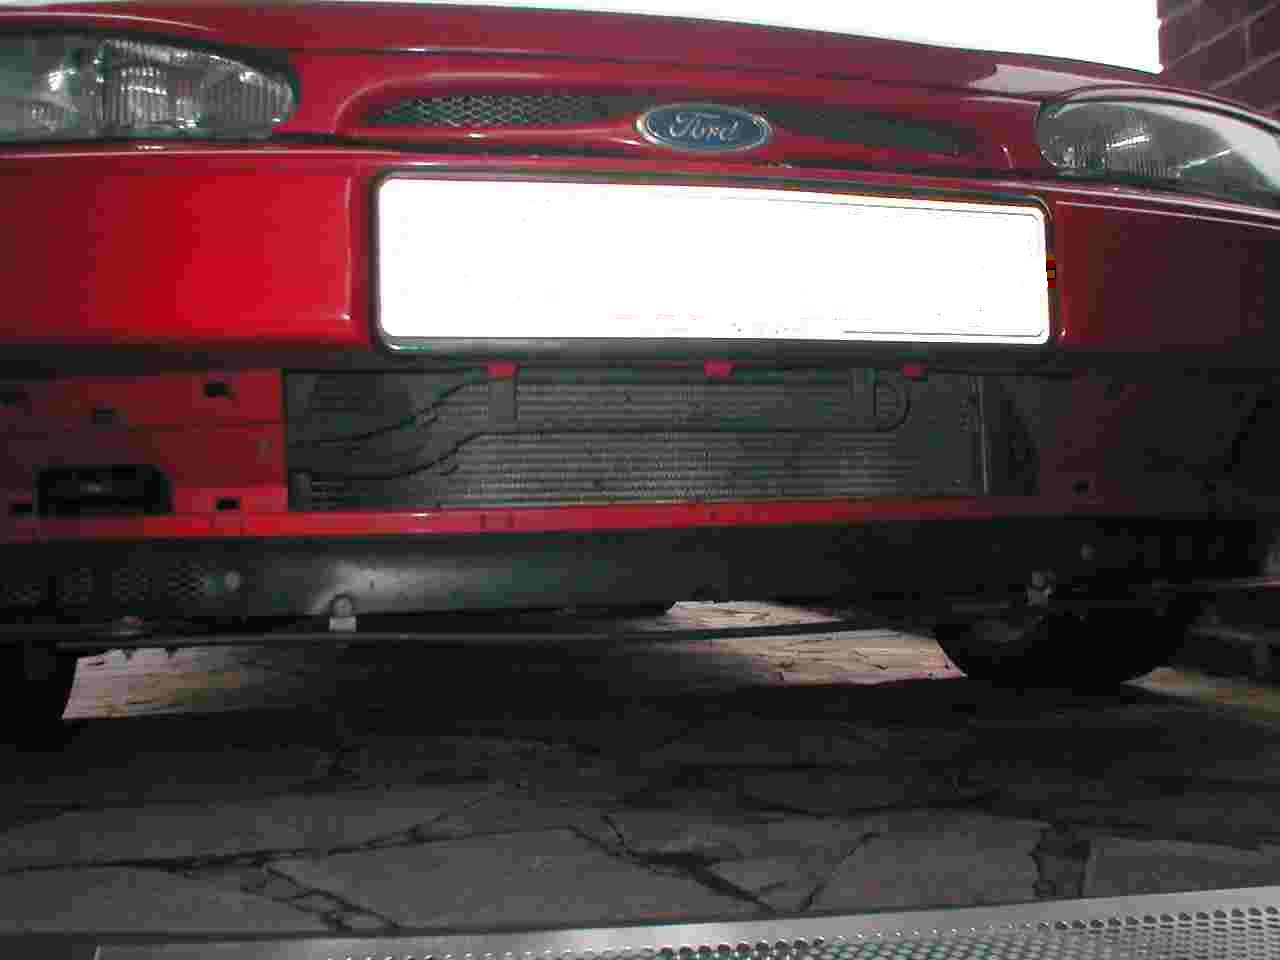
| Meshed lower grill. |
 |
 |
 |
| The finished article. |
| First thing to do with this mod is to remove the black lower bumper moulding. There are two screws each side at the top of the moulding, just below the corners of the bumper. Once these have been removed the moulding simply un clips. I did this by GENTLY prising a screwdriver behind it and helping it on it's way. |
| The next thing to do is to cut out the three vertical bars. These are not a structural part of the bumper so no strength is lost. Rember to cut the lower moulding to suit. This will involve removing the horizontal bars as well as the three vertical ones. Once finished rub smooth with a file and emery paper, touch up to suit. |
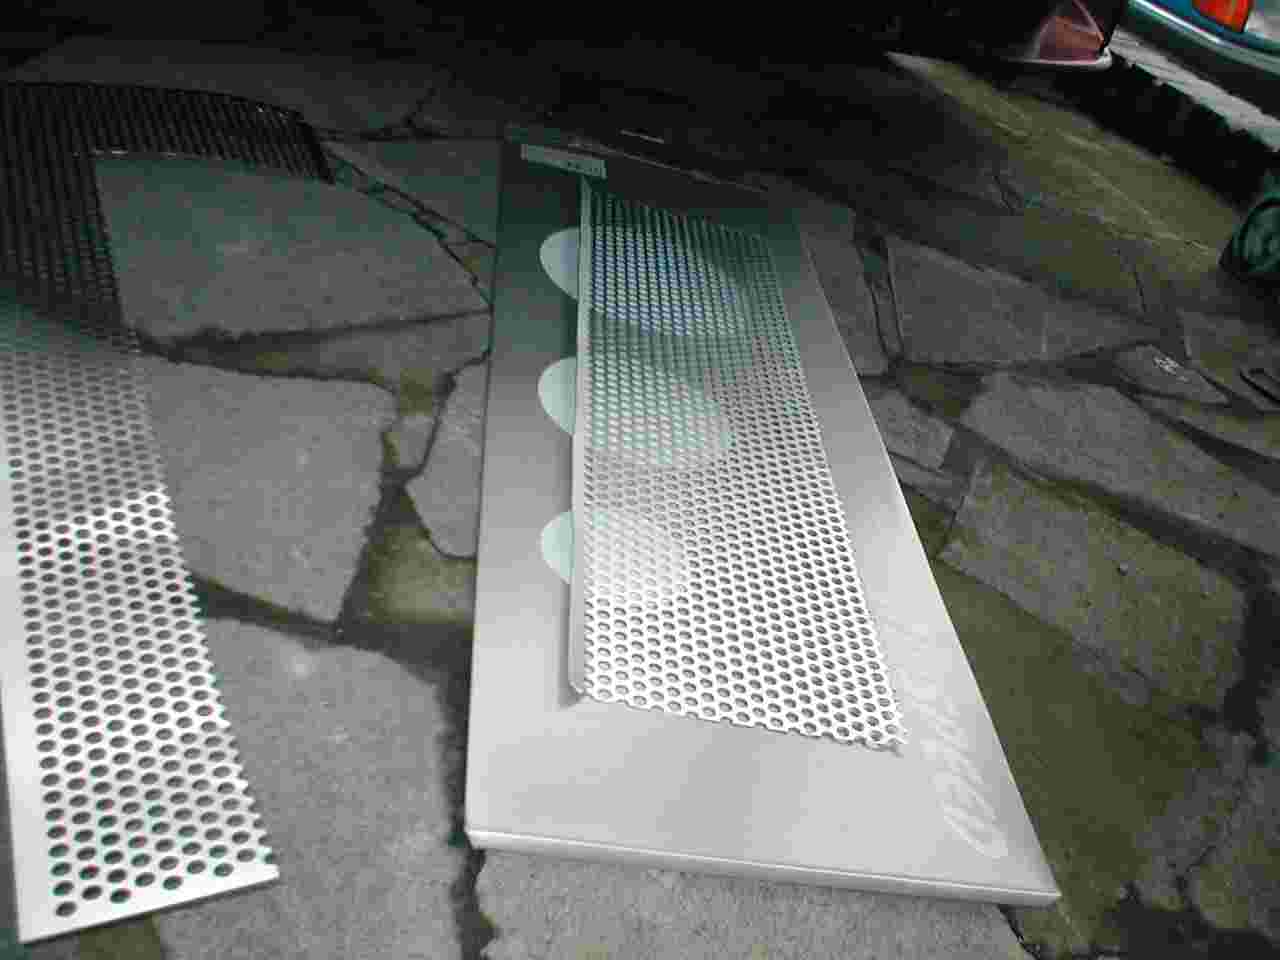
| Now to cut your chosen style of mesh. I made a template out of cardboard first and then copied it onto the mesh. Best to do this if you are unsure as mesh don't come cheap. I then bent the top edge of the mesh to suit the angle of the under bumper. This will ensure a tight clean fit. Spend some time on this bit, and you will be rewarded later. |
| Carefully slide the mesh into the hole. This is tricky as it's tight on the offside by the radiator pipes. Once in place line it up and check that the mesh is level on the horizontal. Finally secure the mesh in place by cable ties or nuts and bolts, whichever you prefer. Refit the lower bumper moulding and replace the two fixing screws, making sure all clips are in place. |
 |