
nmp8668's Simple Icon Tutorial
For Image Ready
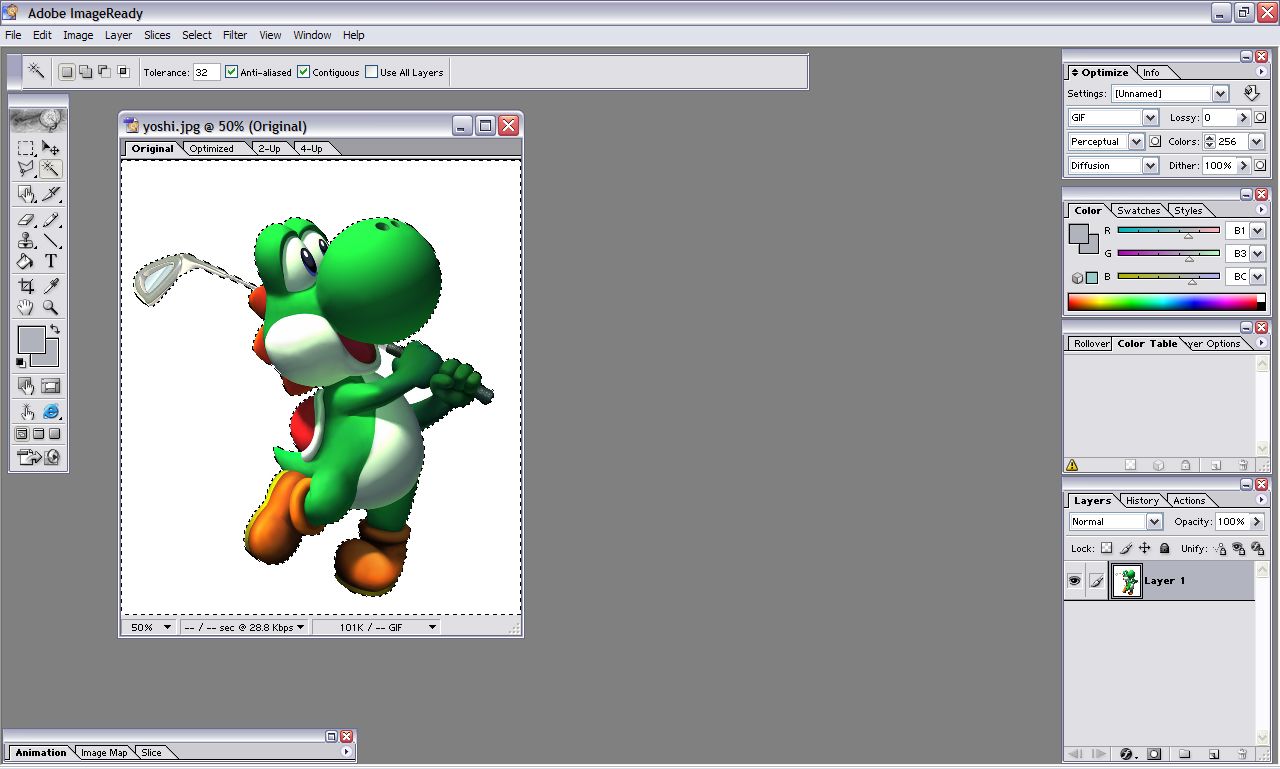
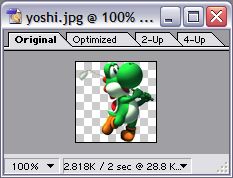
First, find an image you would like to make into an icon. For this tutorial I used this image of Yoshi with a golf club. Most images won't be this simple, but for these purposes it will work.
Now, make your Image Ready look exactly like this:
Everything that looks "gray," is b1b3bc in hex. Make sure to set the color in the Optimization menu (upper right) to b1b3bc always!
Now that you are all set, let's get started!
Select the "Magic Wand" and click on the background.
Now that we have the background selected, let's get rid of it.
Press delete on your keyboard.
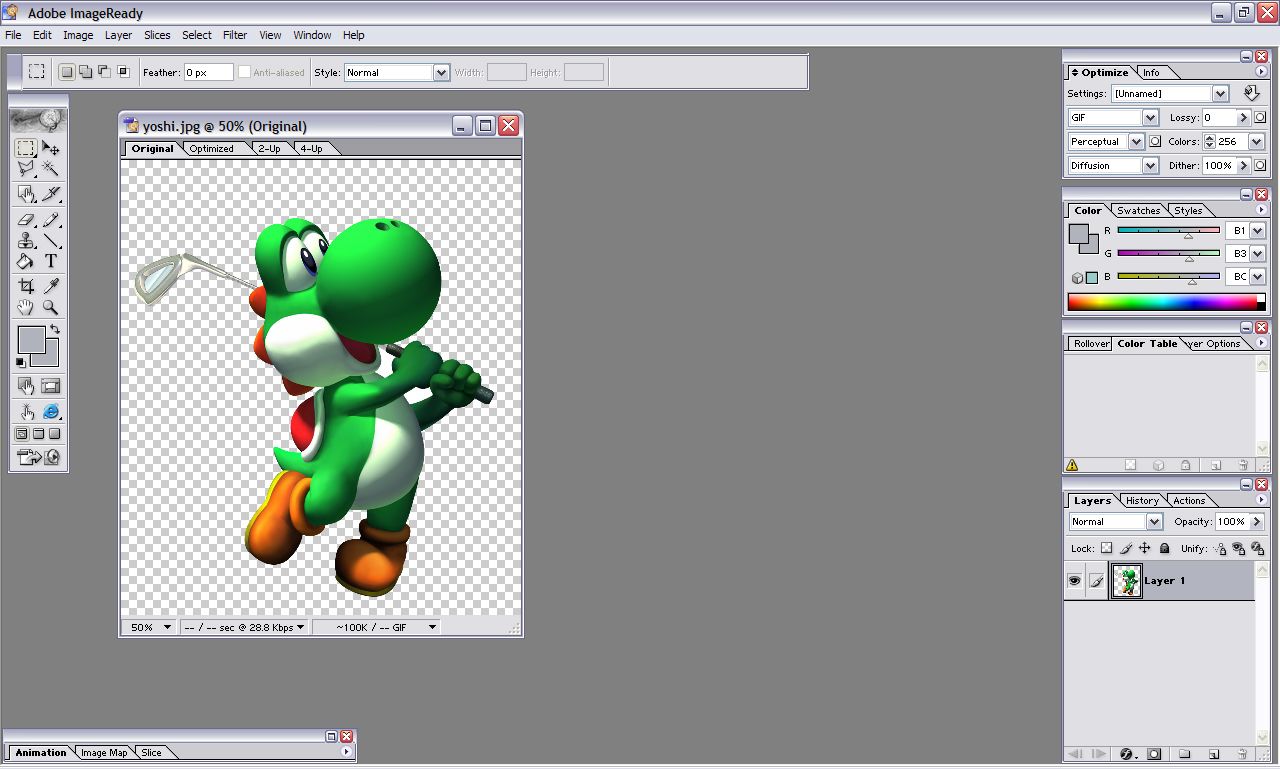
Okay, so after you have done the same thing to the white parts inside his arms, we are ready for the next part.
We have to get rid of the extra space around the image so that it is as large as possible when it is shrunk down to 80x80 pixels.
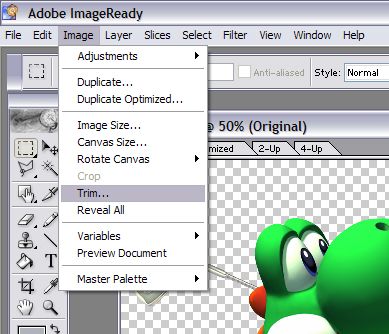
Go to the 'Trim..." option in the 'Image' menu.

Select these options, and click on 'OK'
Now, we have trimed away the extra transparency, we have to shrink it down into an 80x80 square.
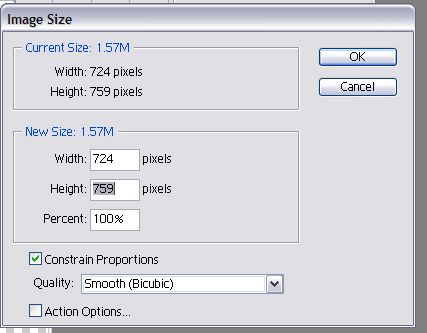
Go to the 'Image' menu, and choose 'Image Size'
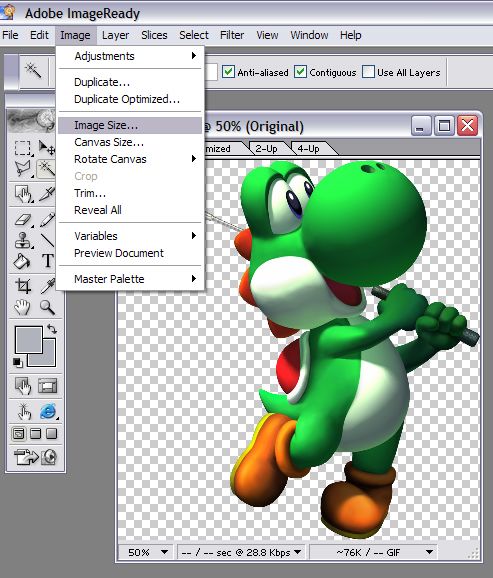
Now, we have to choose our settings.
No, we take the bigger number between Width and Height, and make it 80
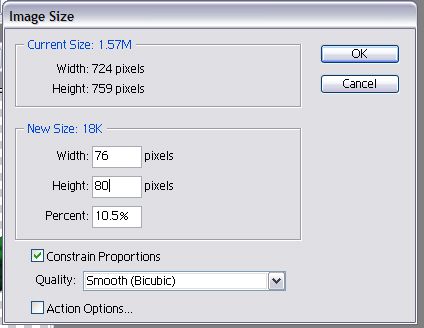
After you do that, click on 'OK'.
Now, we have a 80 pixel by 76 pixel "icon."
To make it 80x80, we have to change the Canvas Size.
Go to the 'Image' menu again, and choose 'Canvas Size'

Now, we have to set the value that is not 80, to 80

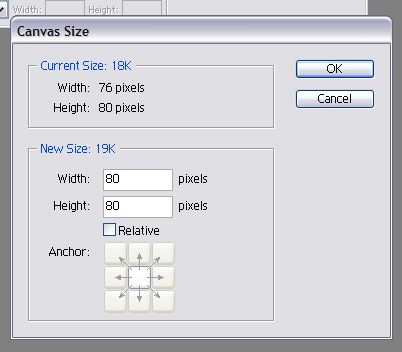
Make sure that the box under the values is as shown.
After you have set the correct values, click 'OK'.
Now, we have to make sure that it is under 5K.
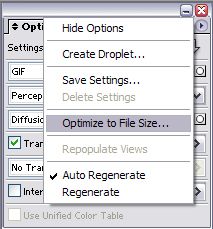
Choose 'Optimize to File Size' after clicking on the little triangle in the upper right of the Optimize menu.
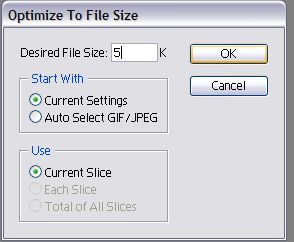
Make sure that it has 5 in the box, and click 'OK'
Now, we should have a good icon, ready for submission.
But we have to save it, so that we can post it in on IGN.
Go to the 'File' menu, and choose "Save Optimized As..."

Now, we have to choose a good name for it. The proper naming format is Category_FileName.gif

Now, all you have to do is click 'Save'and you are done!
The final product:

A transparent gif file, under 5K, with matte set to b1b3bc, and most important, it looks good!
This tutorial was created by nmp8668.
This tutorial was created by Nate Perkins. Copyright 2005.
© Nate Perkins