 |
 |
 |
 |
 |
 |
 |
 |
 |
 |
 |
| How to make a newspaper pot for starting seeds |
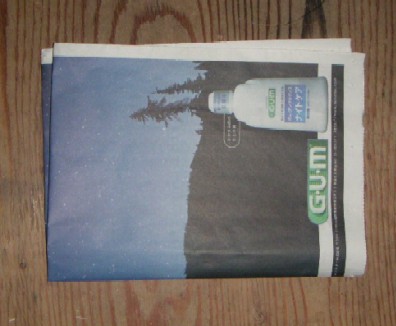
| 1. Take a full sheet of newspaper and open it up. (you might want to practice with a piece of standard copy paper first. If so, start from step three.) |
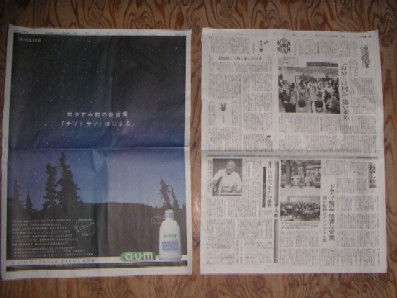
| 2. Rip the paper in half, like in the picture. Then turn one piece so the long side is facing you. (I didn't show that step.) |
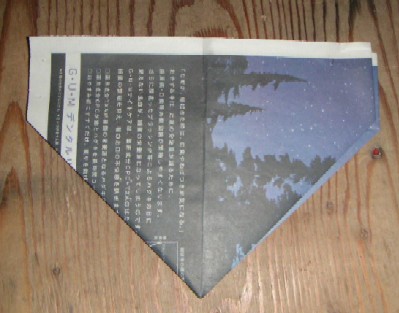
| 3. Fold it in half, left to right. |
| 4. Fold it again, bottom to top, into a quarter size. |
| 5. And fold it in half again, left to right. |
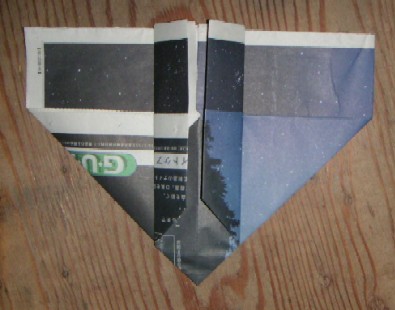
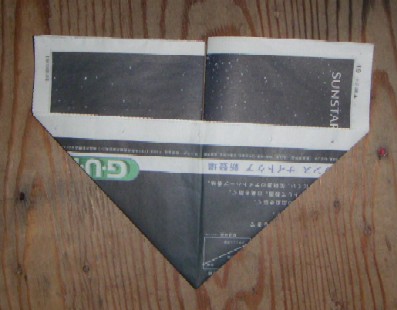
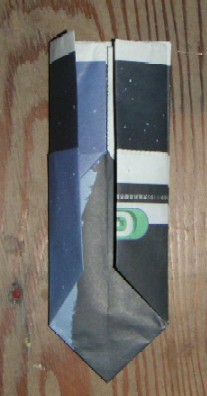
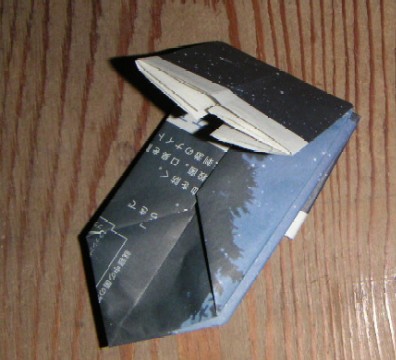
| 6. Now fold the bottom right corner (marked with and "A" in picture five) up to the middle along the spine. The crease in the center of the light blue triangle was the bottom in picture five. See how the "A" has moved up now? |
| 10. Fold them in again. |
| 7. Flip it over like it was a pancake and do the same thing you just did for step six. |
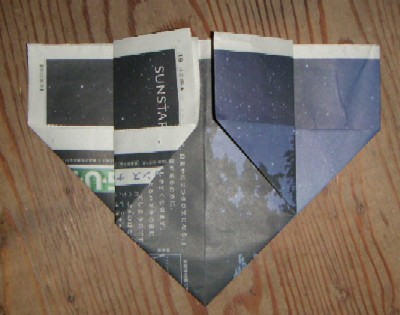
| 9. Fold the wings in to the crease in the center. |
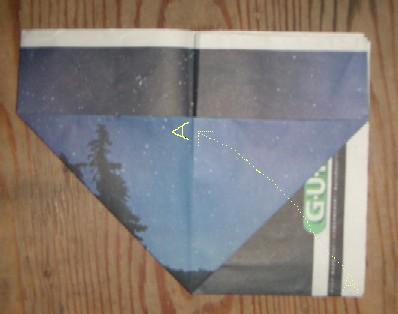
| 8. Open the wings up to make a smooth shape like this. |
| I have been looking all over the net trying to find directions for making seed-starting pots out of newspaper, but all of them seemed to involve staples, glue, or tape. So I decided to try and make a pot that didn't need any of them. I solved the problem by modifying an origami box with a simple extra fold. Here it is. Materials Needed: Newspaper |
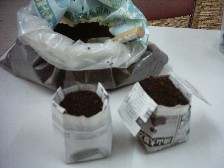
| If you want to check out what pages link here, try this google service here. Check it out! Here are some pots made by George. Send me your pictures too! [email protected] As long as you have made it this far, you might as well try out my favorite links: Journey to Forever Path to Freedom Gardenweb Happy Gardening! Eric in Japan last updated 2008-1-21 |

|
 |
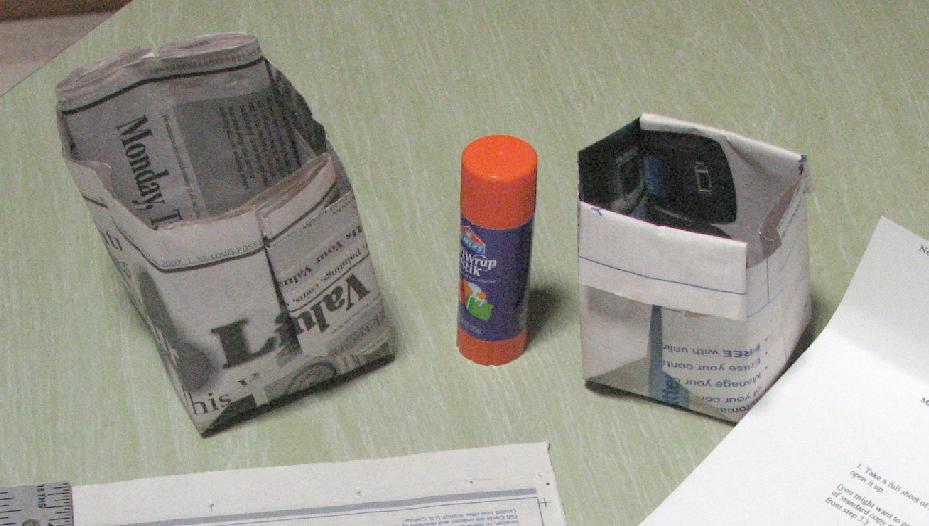
| Here are two newspaper pots I made. The left one has the flaps tucked in, the right of course does not. That is it. Plant your seeds and water them. It is best to keep them on a tray or rack. When your seedlings are ready, just plant the whole thing in the garden. |
 |
 |
| 12. Fold the top flaps down and crease them well. |
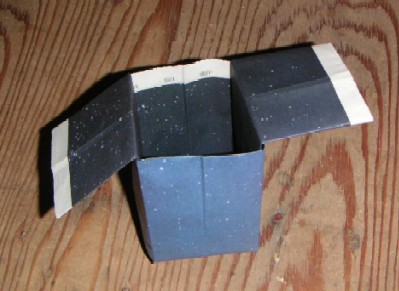 |
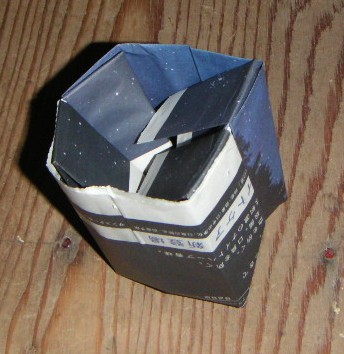
| 13. Now you can open up your pot! Make sure to square the bottom so it can sit well. |
| 14. If you don't like the ears on your pot, you can fold them into the pot. When you fill it with soil, it will keep them locked in place. If you want, you can also drop the ears into adjoining pots to make a four or six pack, like you find in the garden shops. |
| 11. Now flip it over and repeat steps nine and ten. It should look like this when you are done. |
  |