Recent Projects
July 2004
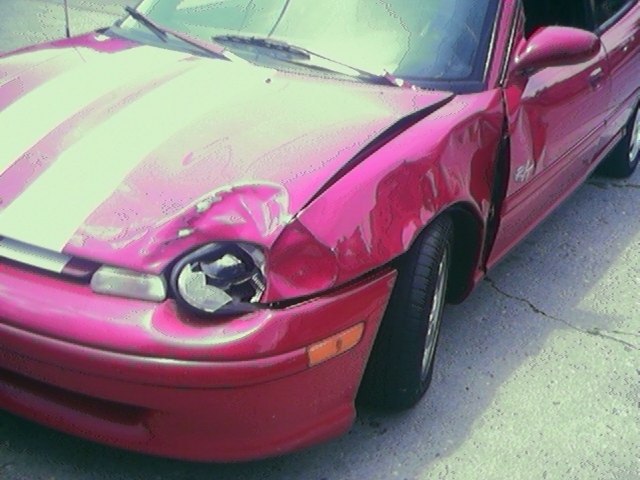
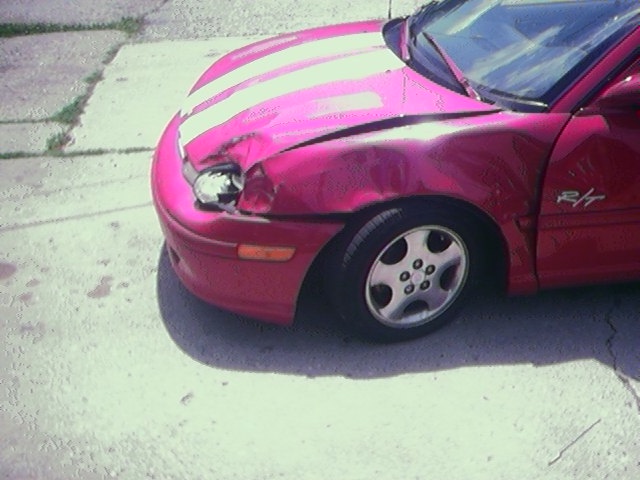
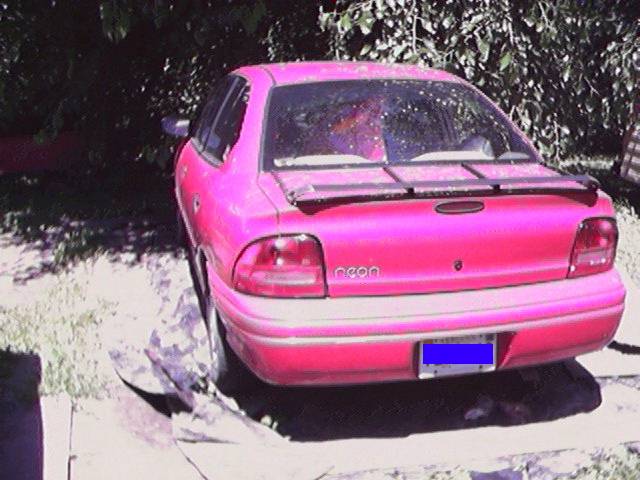
Deer hits Matts Neon
Not much to say was driving home and a deer jumps right out and bamm! I hit it! (well it hit me) This is what it did.
June 2004
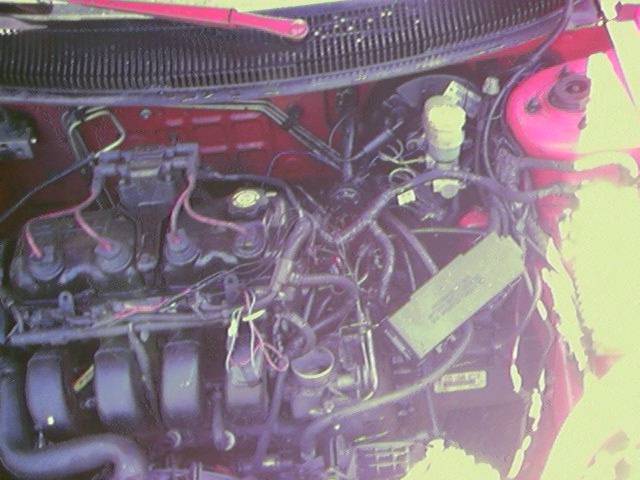
4 Throttle Body Intake(sorry not that detailed)
I was looking at the very large 2.4L intake manifold and decided that I wanted to try to make it better. I started out wanting to make a box style intake. Thought it would be easy and it probably would have been. But after alittle thought on how big I wanted the box style intake to be and TB(throttle body)location. Someone suggested that we should make a two or maybe even four TB intake.
After very little pre-planning we just jumped into the project. We got a spare 2.4L intake from our parts pile, collected 4 TBs, and 1/8in flat aluminum.
First think we did was cut the runners from the intake manifold.
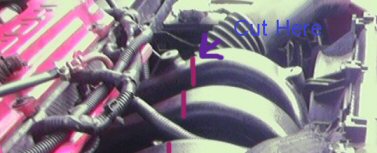
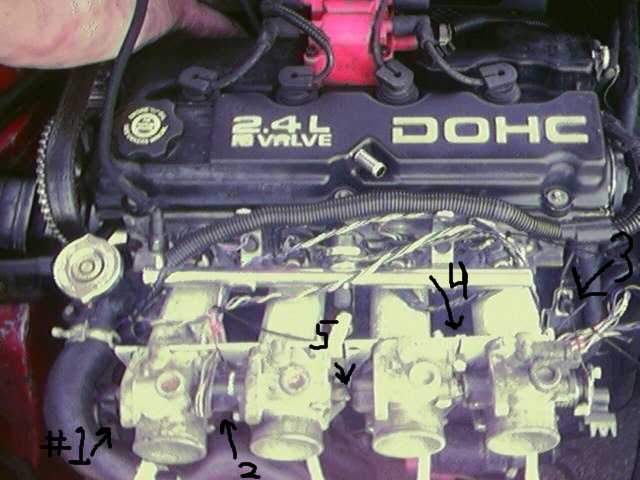
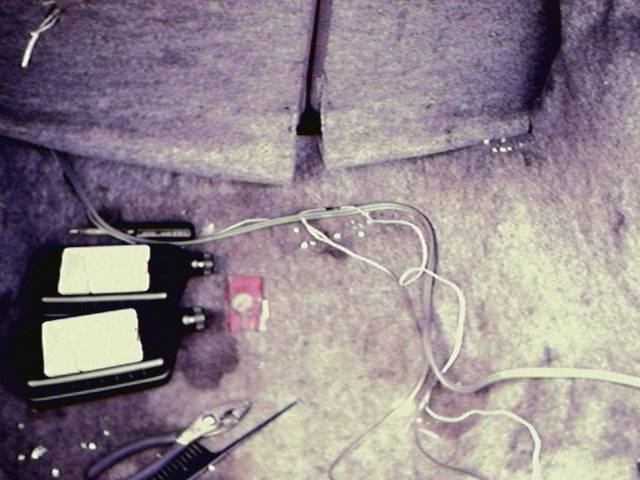
Cutting the runners off was actually very easy. We wasn't that worried about it being perfect. I took the intake to work and welded on a 1/8in thick flat peice of aluminum on the end of what was left of the runners. I cut out the ports and polished the runners. We cut the springs from the TBs except for 1 of them, removed all the sensors and set the TBs inline on the intake and drilled holes thru the flat plate to hold them in the position that we wanted. We shut all the TB's and welded the throttle rods together (Figure #5). But the rods are flat at one end and rod at the other so they had alot of resistance to open. So we cut the plate between each TB to allow them to flex more(Figure #4). We put only one idle control sensor on one of the throttle bodys (Figure #2)and used hose to allow air from that one TB connect to the rest to let enough air in to idle. We extended the wires to put the throttle position sensor on the last TB(Figure #1.) We put the throttle cable bracket on a lower head bolt position and cut a hole to allow the cable to be held in place on the TB spring.(Figure #3)

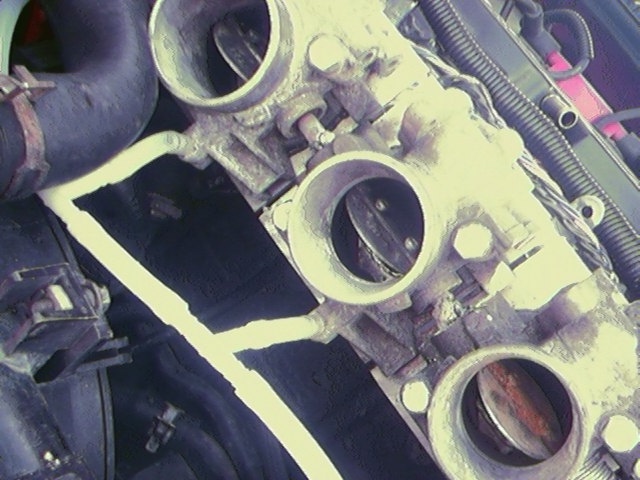
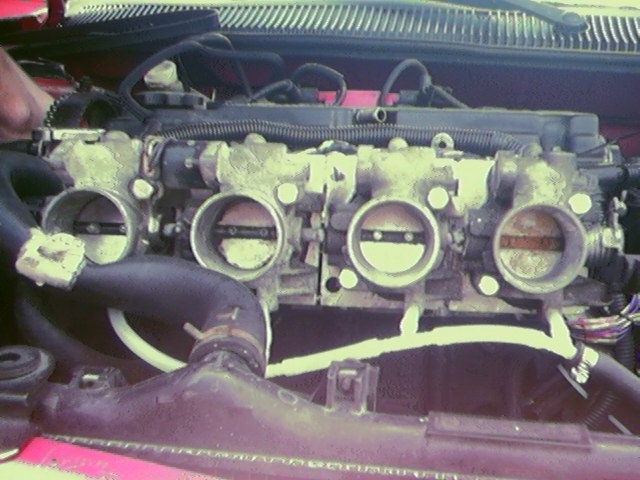
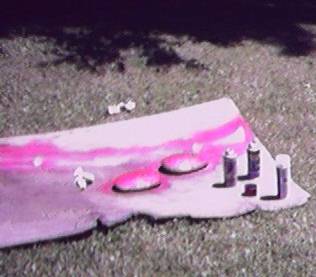
These are poor pictures sorry and we didn't clean it up any.
Not only did we use those clear pipes to allow air from the one TB with the working Idle Controller to get too the other TBs the needed air to allow idle. But they also helped create vaccum for the brakes.
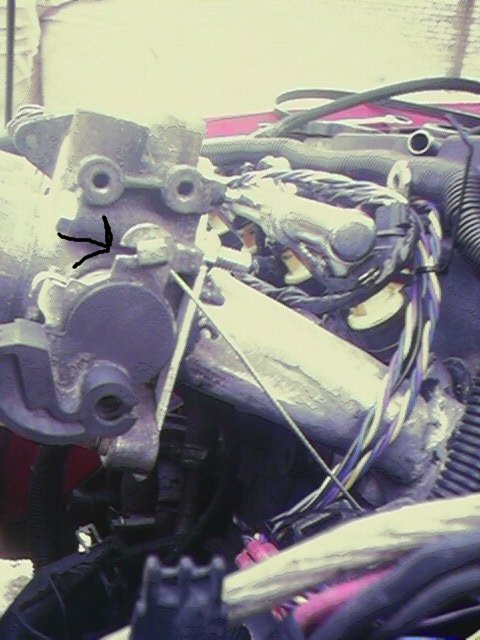
Cut this to let the end of the stock throttle cable open the TBs.
Results
Pros:
Does run!
We was afraid that the motor would run lean. But it didn't appear to be with 30lbs injectors.
It looked and sounded totally awesome when you opened up all 4 of those Tbs. Seriously that was the best part of this project.
No dyno but seemed to be faster but not by much. (We didn't expect anything thought it might make less HP so an improvement was nice)
Cons:
It did idle pretty high around 3k rpm.
It bends up the upper radiator hose abit.
Throttle is pretty hard to press down because you just can't get the TBs prefectly straight.
Just isn't very driveable at this stage and hood won't shut all the way. Just enough to hold it down but not latch all the way.
Brake booster doesn't work very well.
Took alot of work to get everything to work and was probably more than a novice would want to take-on.
Conclusion: I have not put anymore time into this project but Joe is continuing to put time in it from time to time. But we aren't going to try to profect it as far as I know.
So at this point I gave up on the project and Joe is working on it from time 2 time.
May 2003
Project: Running a SOHC motor in a R/T with DOHC PCM and DOHC wiring harness
First thing I had to do it remove the motor from my parts neon. A 95 SOHC 5-spd. (shown below)
The motor from this car had thrown a rod. So I had to take the head off and remove what was left of the rod and piston. There was a little damage to the clynider walls but after filling down what I could I run the glaze breaker over it a few times. This removed all the damage from the cylinder wall and allowed the new piston to move up and down smoothly. Note: The new piston was actually a DOHC piston from another motor i had that thru a rod also. I didn't make it a dohc motor because I didn't have a DOHC intake or exhaust manifold.
I had to use the 99 winring harness that was orginally in the R/T. The 95 wiring harness is not compatably with the 99 boby harness. So I had to add some of the engine harness sensor plugs from the 95 to the 99 harness. I didn't actually cut off the 99 plugs and replace them with the 95. I know that someday I'll put a DOHC motor back in and for that reason I kept the orginal plugs in place while adding the needed plugs. It looks like a mess and it is but for now it keeps the car moving.
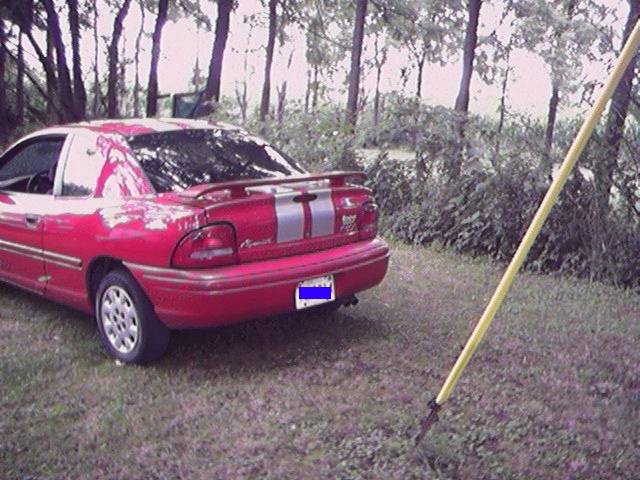
Project: Putting a new spoiler on Joe's neon
Joe got the spoiler from a guy at work that wrecked his car. It was the only thing on the car left that wasn't destroyed. I think it was a cavalier but not sure. Basically we painted it and drilled holes and put it on.
Project: Replacing window and radio
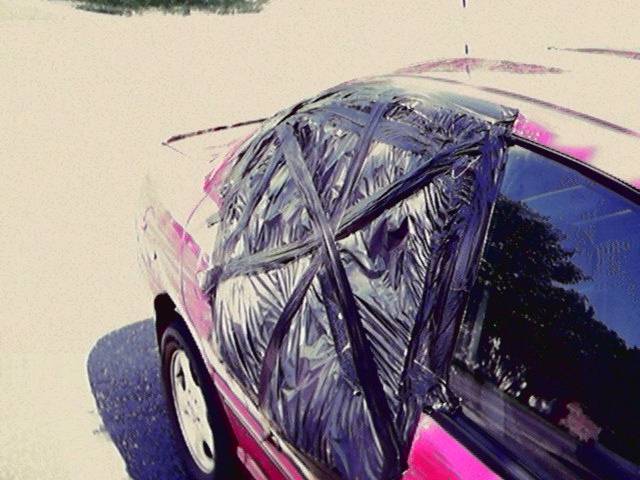
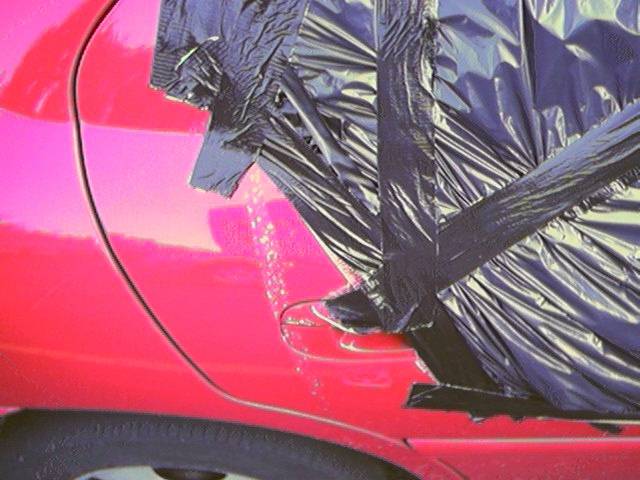
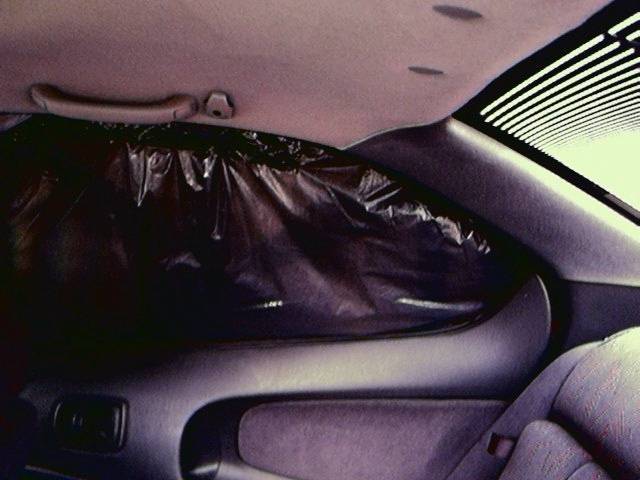
I had to replace the rear window because so bastard broke it and took my cd-player and subs. :(
I had to make a trash bag window. It was about to rain when I noticed it had be broken in to. It was right out front of my house. :(
I thought that all that adhesive would be impossible to remove. But I went to Walmart and got some adhesive remover and it came off like nothing. Just wipe it right off.
How ever took it will be disappointed... it was about ready to die on me.

But the subs where great!!! That is what I'm really missing. They didn't even take my amp.
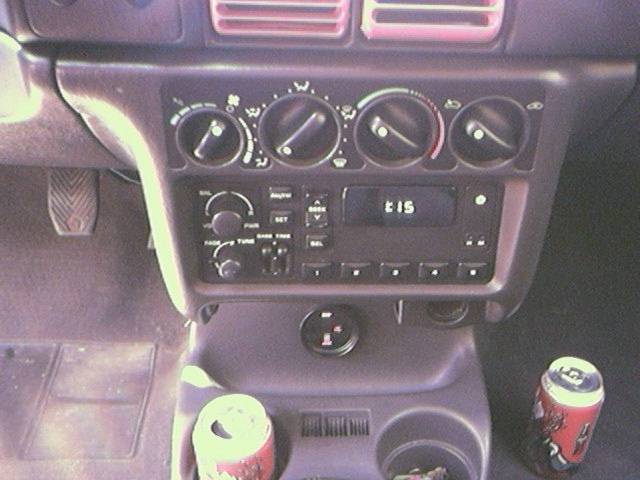
Now I'm back to a stock Radio(no cdplayer or tape) but it is better than nothing. Notice my fuel/air gauge I love that thing :)
I got the new window from the parts car. It only took a few mintues to replace. I had to vaccum all the glass out of the door :( But now I need it re-tinted.
Up comming projects are fixing exhaust rattle and replacing the head gasket.