Lifetime supply of 1" round bar stock (6' long)
Circles out of Rounds
I got pretty good at making driver centers from flat rectangular bar stock, but I still had a problem - they were not as thick as I needed for the driver centers. At first I was going to solder two layers together, and then I thought I'd just leave them "skinny".
After I'd been using the Taig lathe for a while I figured I would try buying some round bar stock and see if I could get the thickness correct. Turns out that I should have done this in the first place - live & learn I guess!
![]()
Lifetime supply of 1" round bar stock (6' long)
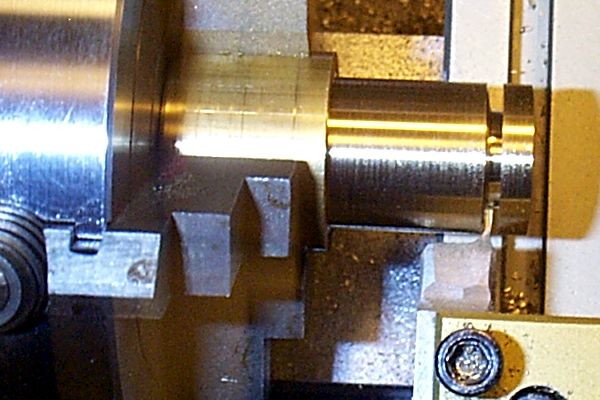
The first step is sawing off a 2 1/2" chunk of bar stock. Anything longer than 2 1/2" needs to be supported by the tailstock, but I need to drill into the end of it. I chuck the chunk of bar into the Taig four-jaw chuck, and center it as close as perfect as I can get. I try to get it to under 5 thousandths runout over the entire length. I am this fussy because I like to run the Taig at it's fastest speed when I turn brass, and any slight off-balance sets up a horrible roar from the vibration.
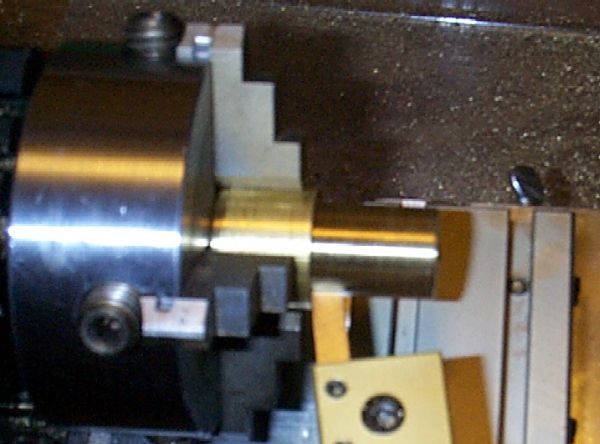
I turn the entire exposed length of bar to the desired diameter, 0.775" for the non-insulated drivers and 0.755" for the insulated. Turning the bar to size reduces any vibration to nothing because the bar is now "perfectly" round and concentric to the centerline of the lathe. The only off-balance possible is on the short section inside the jaws of the chuck.
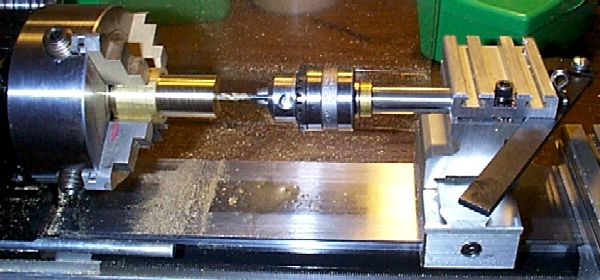
The next step is drilling the center of the bar with a #0 center drill followed by a 1/8" drill. This will remove the majority of the axle hole material and provide clearance for the boring bar.
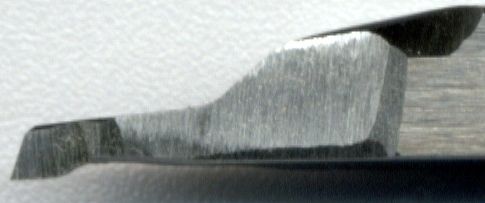
Boring bar

Boring bar in action
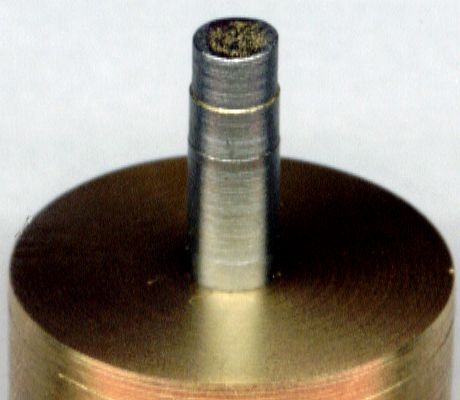
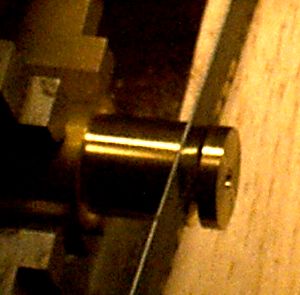
Boring gage for checking correct axle hole size
Steps are turned into the gage for different hole diameters
Gage is inside a correctly sized hole for press fit onto a 4MM axle
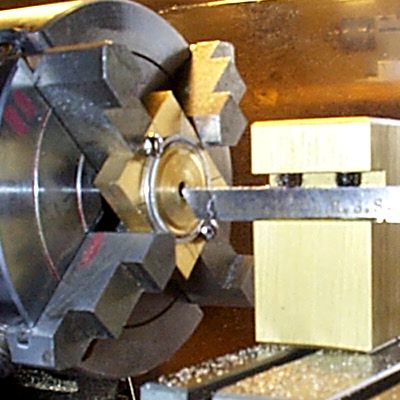
After boring correct axle hole, I start parting off a slice for the driver
center with a small cut-off tool
I cut the slice wider than required due to the "damage" caused by the next
step!
My most embarrassing step - parting the driver slice off with a hacksaw
I tried various methods and sizes of parting tools, and found that even the best of them tended to wander and made the cut-off slice a different thickness with a lousy finish. I finally gave up and resorted to the hacksaw because I always had to re-face the drivers anyway. The hacksaw is very crude, very fast, & very easy - how could that be a bad thing?
Facing the driver to the proper thickness after pressing on a Grandt Line rim
After pressing all eight rims on all eight driver centers, and pressing all eight drivers onto the axles I finally had -
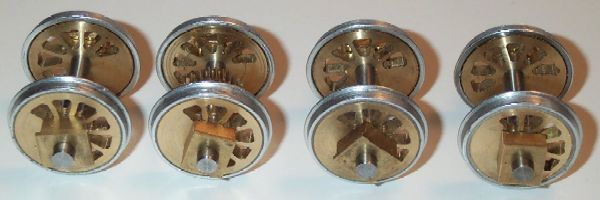
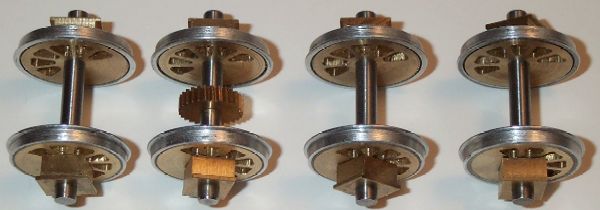
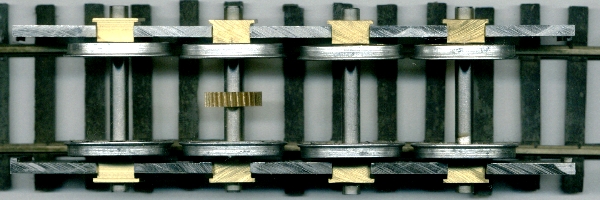
Finished Product!!!
Now for the rest of the locomotive . . .
You are visitor number
Last update Jan 3, 2002

