|
Home
My Accord Pics Modifications My Car Sounds Girlfriend/Friends Dream Car Car Show Links How To Page About Me My Pets Sign Guestbook View Guestbook Contact Me |
First the bumper needs to come off. There are four screws holding it on. You can ignore all those aqua colored ones at the bottom and worry about the four on top colored orange and green, but you can't quite see the one on the left but trust me its there. This pic was courtesy of Matt A.K.A Cryogen97. 
After you have removed the bumper the bumper support needs to come off. There are 2 bolts on each side as show in the pic. You don't need to worry about it falling since there are 2 other bolts that stick out to catch it. 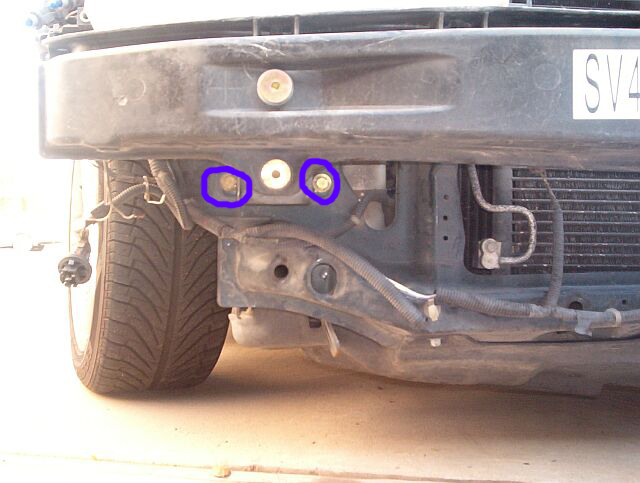
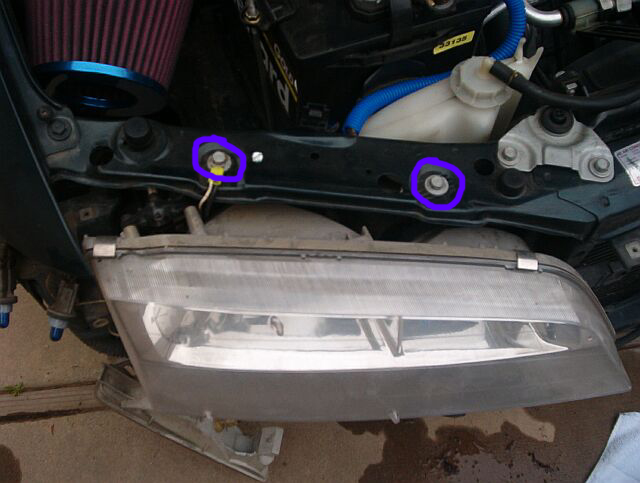
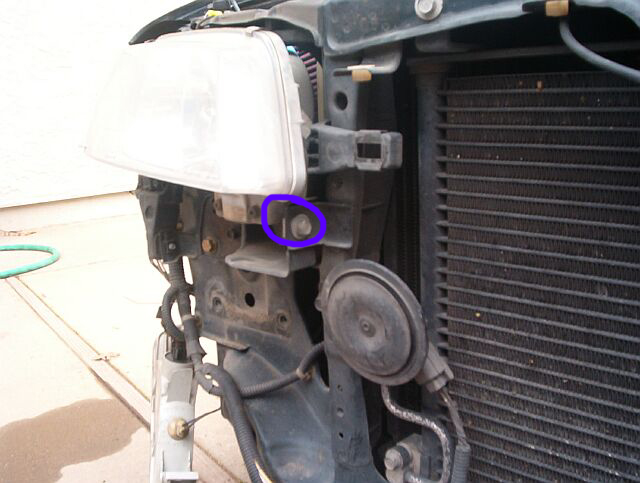
Now that the bumper support is off you can take out the 5 bolts holding the headlights that are shown in the pic. And also disconnect the wires from the headlight bulbs. 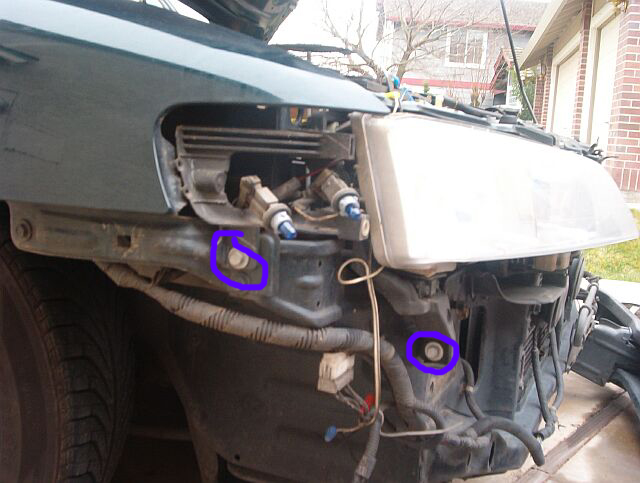
To take apart the housing pre-heat you oven to 300 degrees Farhenheit. Remove the 4 metal clips first and then place your headlight on a cooking sheet clear lense face up. I waited about 3 minutes and pulled it out. Now use a flatblade screw driver to pry the housing apart. Now its time to mask everything off. I masked off everything that was curved in the lense and also the top since it wont be seen. You can look at the pic to get an idea what I'm talking about. 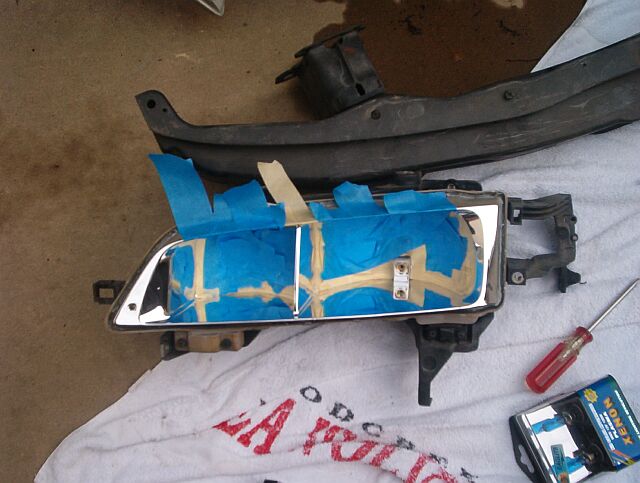
Now comes the fun part. I used Krylon BBQ and Stove flat black. It is rated to withstand temperatures up to 1200 degrees Farhenheit and dries to the touch in 5 minutes. Now shoot on the paint so everywhere is black where you desire. I also painted the low beam cap with the same paint. 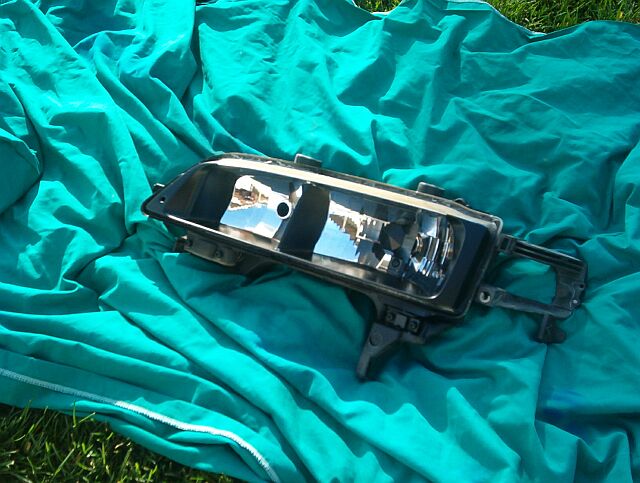
Now it's time to put the housing back together. Squeeze the housing together as much as you can and place back in the oven at 300 degrees Farhenheit and take it back out in about 3 minutes. Now you can squeeze it all the way together and put the metal clips back on. Put everything back as the same taking it off, but in reverse order. 
|