| Casting Glass |
 |
 |
 |
 |
 |
 |
| Email [email protected] |
| This page shows my first experiment with casting glass to make a telescope mirror. This first casting is about 1/2" thick and 6-1/2" wide, someday I plan on making large ones!...2.5x36"??? My first stage is going to deal mainly with melting and getting the glass to flow properly, I will install a controller to anneal the glass propperly, once I learn to melt it correctly |
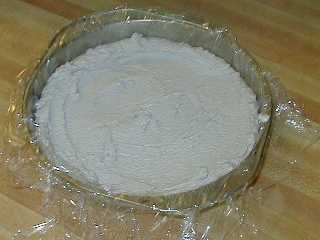
| To make the mold I used a piepan covered with plastic wrap, the casting material is 1-1/2 cups of plaster of paris and 1-1/2 cups of silica sand, mixed with water A smaller pie pan covered with plastic wrap was pressed into the center of this to get the mold shape. After the plaster was cured, the mold was removed and dried out in the oven at about 220*f, after drying, the oven was slowly raised to about 400*f , then the mold was placed in the kiln and baked to about 1800*f. Once cooled, the mold was filled with chunks of plate glass and placed in the kiln. |
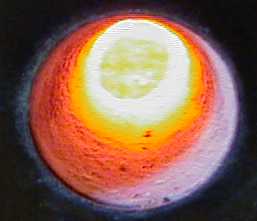
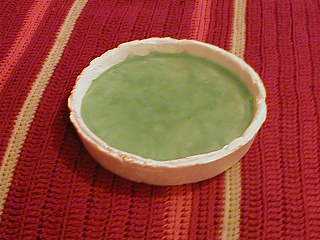
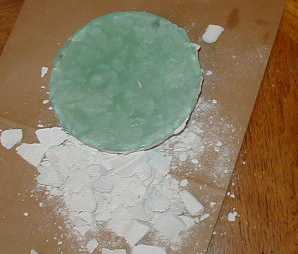
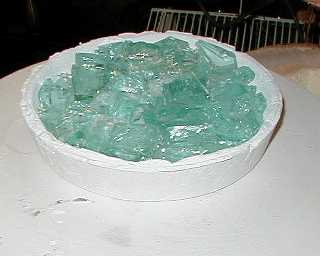
| The first picture was taken through the peephole in the kiln as the glass was melting, the second is the cooled glass in the mold I placed the mold full of broken glass into the kiln and slowly brought it up to about 1700*f, untill the glass was orange and it looked like the pieces had all melted together. At first it looked like melting ice. |
| After about 8 hours of slowly bringing the kiln temp down I was able to remove the blank from the mold and inspect it. Some of the large pieces of glass left a skin looking layer on-top and inside of the blank. This could be caused by heating the glass too suddenly or not enough heat, I am not sure, but I will investagate and try again. |
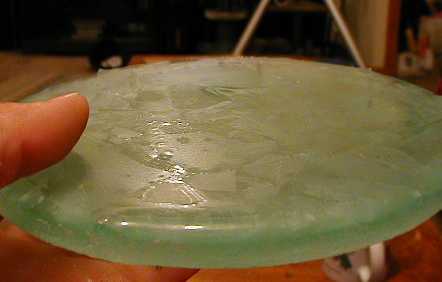
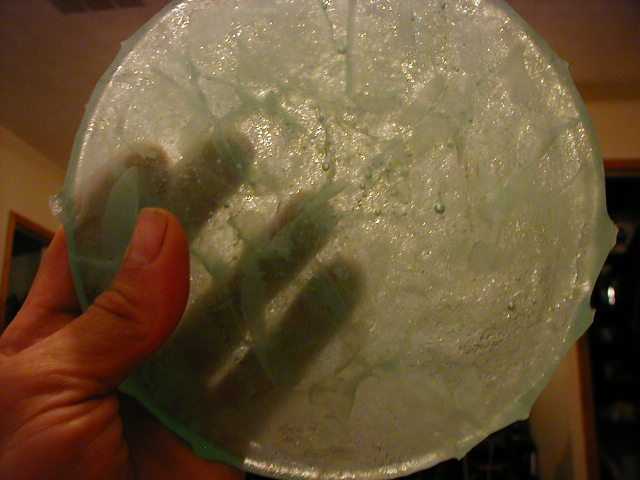
| This is a pic of the disc with a light behind it. You can see the edges of some of the pieces through it and a few bubbles, there are no cracks. I believe the bubbles may go away with a longer melting time, but I am not sure what caused the "skin layer" on some of the pieces. More to come :-) Have a great day! |

|
 |