Power Point
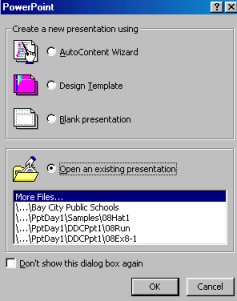
Power point is the program that helps in making the presentations. To begin the program click start>powerpoint>then choose blank presentation.
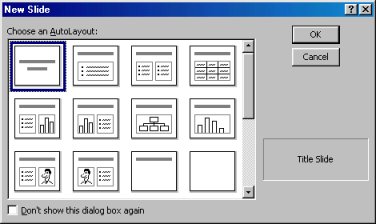
Then choose the layout
Add & remove tools on tool bar

1. Click ōTool bar optionö
2. Select on any tools that want to add in or remove out
*Show button on 2 rows = show tool bar in 2 rows
*Show button on 1 rows = show tool bar in 1 row
Insert background from template ( Template )
1. Choose ōformatö
2. Click ōSlide designö
3. Choose one of the images for template
Apply to all slide --> Apply selected template to all slide
Apply to select slide --> Apply to selected slide
* Hold Ctrl key to select more than 1 slide
Add picture, pattern and texture to slide
1. Choose ōFormatö
2. select ōBackgroundö
3. Choose ō Fill effectö - Gradient
- Texture
- Pattern
- Picture (select target picture for background)
Using Color Scheme
Edit color scheme - Standard
- Custom --> Customize by user, check on ōAdd as standard
Schemeö to add customize scheme to standard for
Next use
Create and modify text
Click to add title à Input main title
Click to add subtitle
* To modify text, highlight on text that want to modify, then use align left, right,
Center, modify font size.
* Right click > order > send to back = make alphabet to pop up over background
Color
Create and modify picture
--> From file = search and select from any file and folder
--> From scanner
* Picture tool bar is use to increase-decrease light, increase-decrease color, grayscale,
Maximize picture
Create table and graph
Graph à create new slide > graph tool > modify information in the graph and
Click ok
Insert date in graph
1. Click ōInsertö
2. select ōDate & timeö
3. choose Update automatically then choose language, presentation form
Input Hyperlink
1. Drag mouse and highlight over alphabet that want to make a link then click ōLinkö
2. Then click ōInsert hyperlinkö
3. Select file that want to link with
* To remove link, check on Remove link box.
Insert sound
1. Click ōInsertö
2. choose ōmovie and soundö
3. select ōsound from organizerö then choose a file
Insert movie
1. Clikc ōInsertö
2. Choose ōmovie and soundö then select movie organizer, then choose a file
Insert voice
Set up volume in volume control>check select recording box >Insert>movie and sound>record sound> create a name for sound
Insert Animation
1. Slide design>animation schemes>subtle/moderate/exciting
2. Custom animation>add effect
Creating slide transitions
![]()
OR
1. Silde show
2. Slide transition
Motion Path by our own
1. Click on the right side
2. Choose ōcustom animationö
2. add effect then choose any effect you want
Timeline Technique
Make graph chart to be more interesting
Organization chart
Diagram
Flow Chart
How to control slide presentation
1. Slide show>view show
2. Slide Show (at left bottom)
3. Click right>next/previous
4. Click Specials button on left bottom page
5. Slide Transition>Advance slide>Click Automatically
Button in Slide
Auto shape>action buttons>hyperlinks to/run program
Slide to different group
1. Click ōFormatö then choose Slide show
2. Choose ōcustom showö
3. click on ōslide show nameö
4. slide in presentation
5. add or remove and arrow
Outdoor Presentation
Presentation by Internet network
make easy Album
Security System
File>save as>tool>security option
Auto Recovery
Tool>option>save>save auto recovery info everyģmin
Make Macro
1. Tool>macro>recording new macro>stop recording
2. Blank mouse>alt+F8> macro>run
3. To build button of macro: Click right on menu bar>customize>commands>macro>move to tool bar
4. To delete macro button:alt+F8> macro>delete>delete
5. To delete form tool bar: Click right on menu bar>customize>commands>arrange command>tool bar>formatting>macro>delete