| |
The first version of the Story
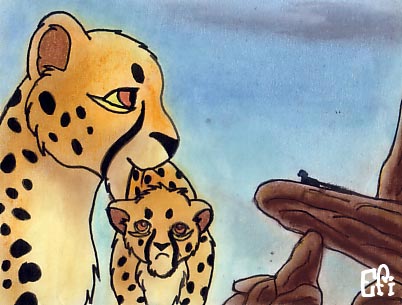
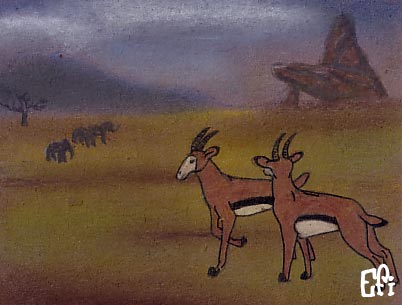
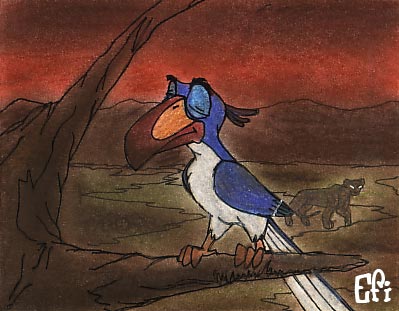
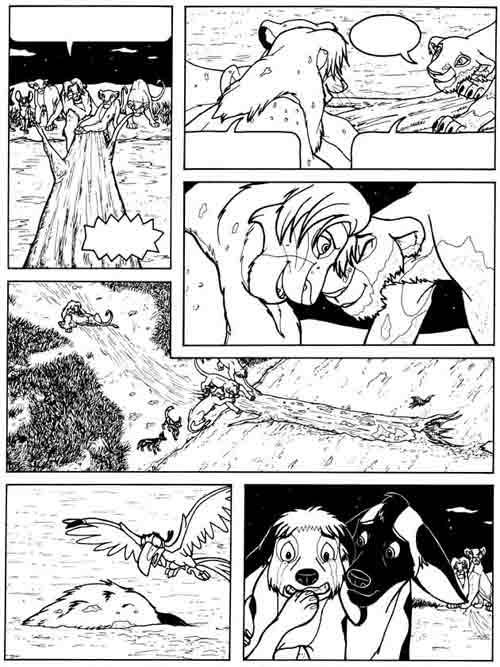
Few people remember how the comic was at first: published as separated color small pictures; dialogues and narration were written in the description of the image. When I got a new set of stylographers decided to make some comic pages "just to test them". The rest of the story is well known XD.
Click on the images to see them larger:
The process
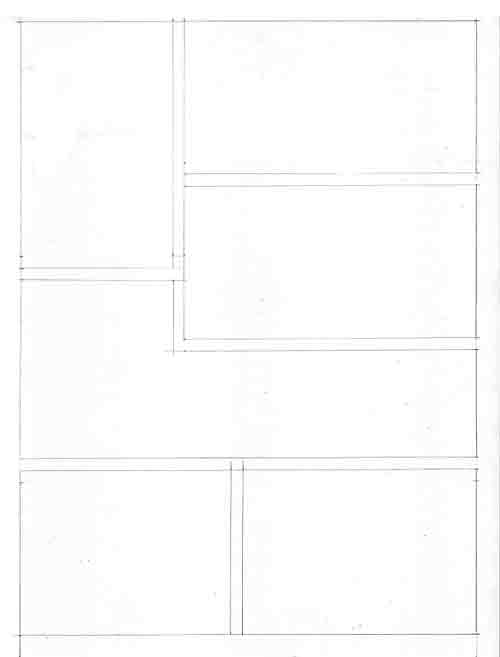
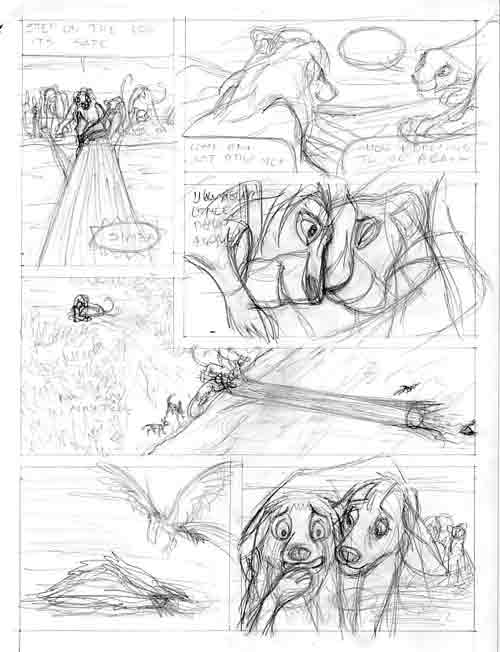
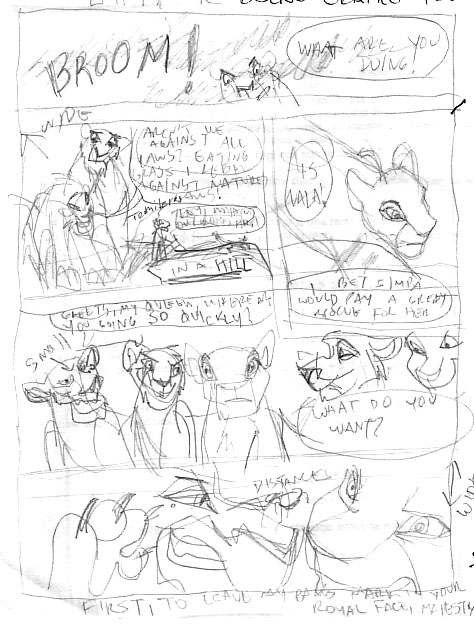
1. First, you had to define the story: how it begins and how it ends, the main events, how the characters will look like, etc. and create a detailed sketch for every page. In your sketch you have to include info such as dialogues, camera views and the order of your panels. It's better if you don't put too much drawings in a single page, keep it easy to be read.I make my storyboards/sketches with already-used paper, that's good for nature. The first drawings could be a bit messy, what you actually need at this step is to create dinamic and expressive poses, also define the overall look of the page, later you'll correct the drawings. Don't forget to keep space for the text balloons. |
|
 |
2.Once you are happy with your page sketch, you have to trace the definitive version on a strong clean paper. (Excesively thin papers will not resist ink) It's good not to press much the pencil, so you can erase easily. Draw the panels and boxes first, preferably using a clean ruler. |
|
 |
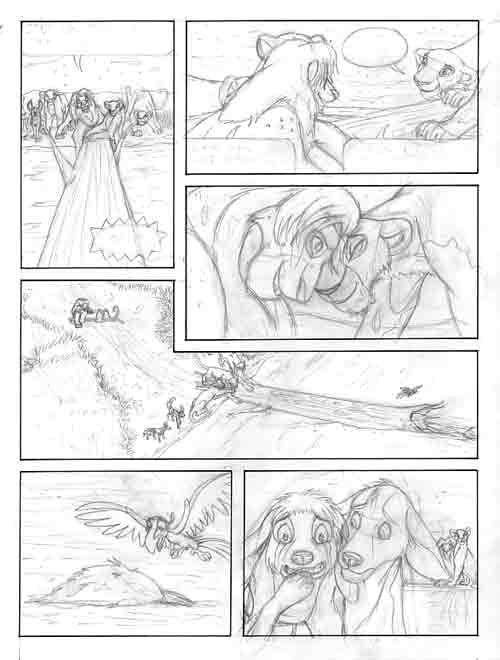
3. Then, draw the characters and text balloons. Use oval stencils is you need. Keep close to you reference images of your characters, also about landscapes, animals, cars, etc, but try to add your personal taste. During this step you might change some things from your original idea, that's totally valid. |
|
 |
4. If you 're happy with your result, erase softly the drawing, leaving only the main lines. |
|
 |
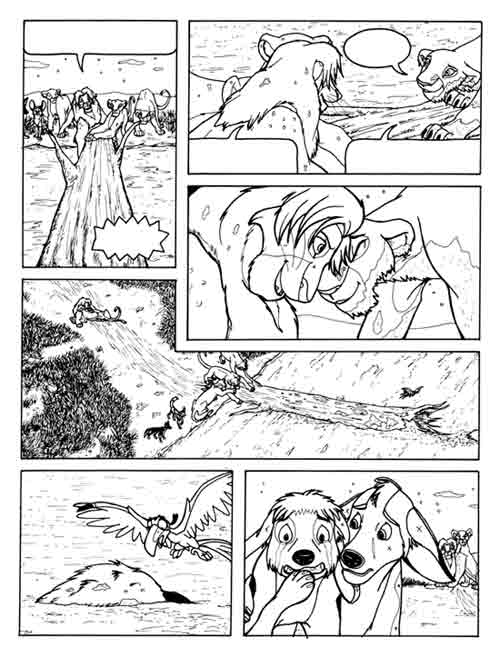
5. Start inking. I use rechargeable stylographers beacuse of its cost. There are better instruments, though. I redraw everything using diferent tip sizes, later I retouch some parts in order to add caligraphic effects. Wait until your work is completely dry. That's really important, cause next step its to erase softly your pencil lines.(Just imagine what would happen if you erase over wet ink. It's just horrible.) |
|
 |
6. Later, you have to digitalize your drawing. Scan it with 720 DPI in white and black mode or with 300 DPI in grayscale. The first option is good if you're too busy to correct your mistakes, but the lines might look a bit messy. With the grayscale option you have to adjust brightness and contrast. I use Adobe Photoshop, that is an awesome program for correcting drawings. |
|
 |
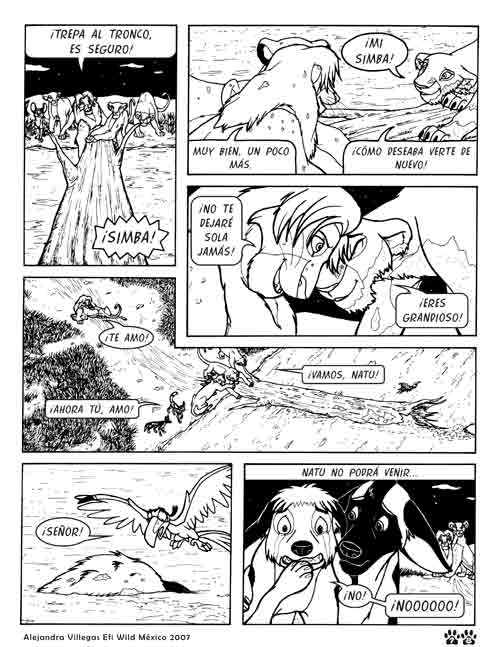
7. Put the texts in the appropriate place, scale your image for Web use (75 DPI), and... upload it!
There are better ways to make a comic, you can find great tutorials online; I just wanted to tell you how I made Nala's Tears, my very first comic ;) |
|
 |
Story's origins
I can't (and I don't want to) deny the big influence that Rudyard Kipling's "Jungle book" gave me to write Nala's Tears. I had read a short version of that book, but almost at the same time that I joined TLKFAA, I got the full version."The Jungle Book" inspired me a lot, specially with names, but never was my intention to copy it.
Also, Nala's Tears came out from my fascination for ancient asian fables (That explains Natu's look :P), and of course, from experiences of my own life. I love all my characters, specially Natu; they have a bit of my personality.
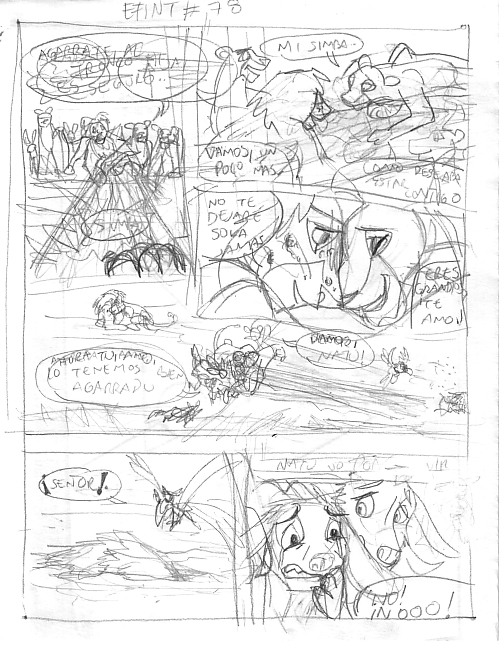
Sketches
The preliminar drawings for each page. Sometimes they change a lot in the final version.
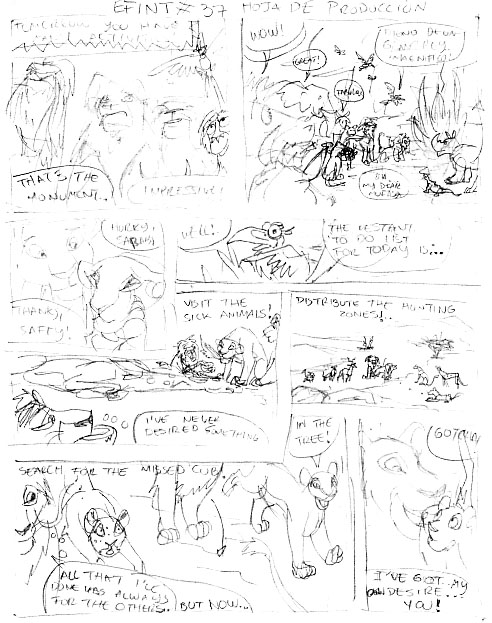
Page 37 |

Page 70 |
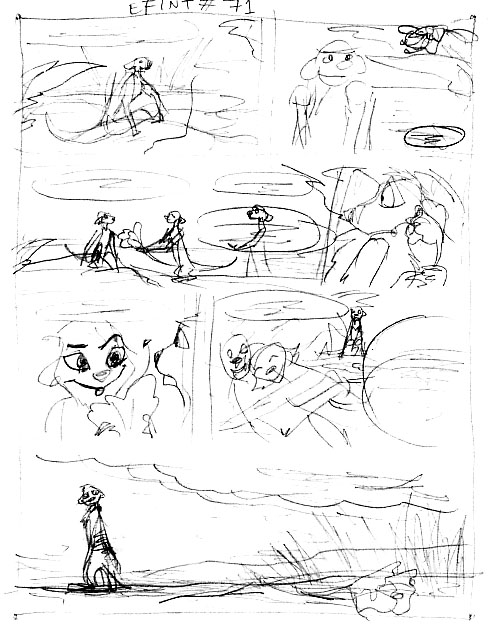
Page 71 |
Page 72 |
Scraps
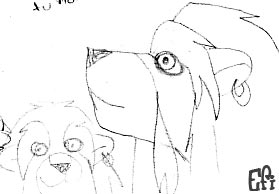
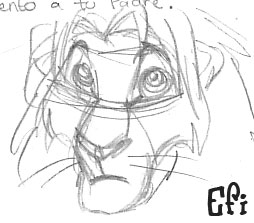
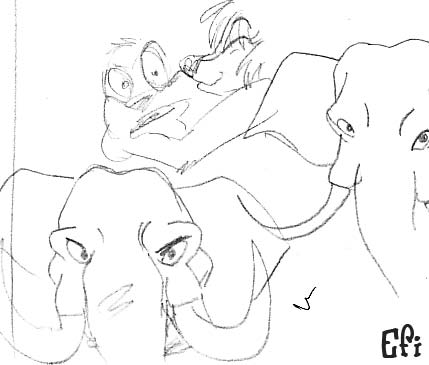
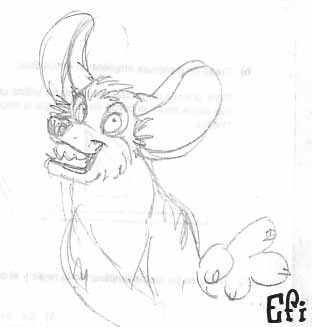
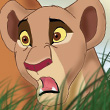
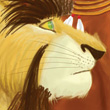
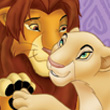
These are pictures that I did while I was drawing the comic.They are not serious, were done just for fun.
|
|
|
Furtive lick |
Early Natu's sketch |
Cute Natu |
|
|
|
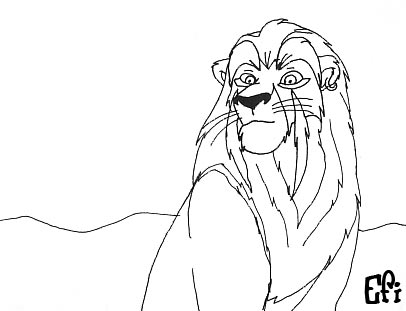
Naive Simba |
Puppy Efi |
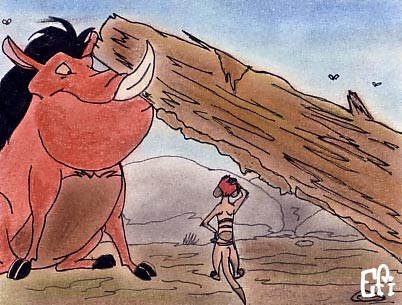
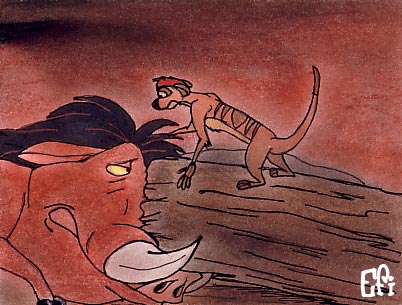
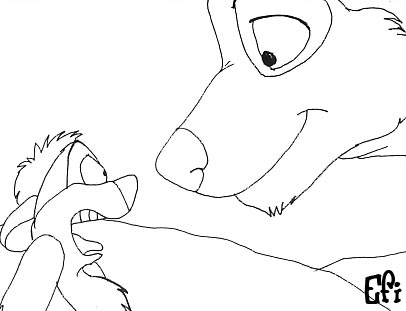
Baikal, Timón & elephants |
:::
|
|