

Creating Wooden Texture - Texture Creation
1. Create a new document by pressing Ctrl+N. Give the document dimensions
as follows, Width=150, Height=150, Mode=RGB and Contents=Background Color
(selected).
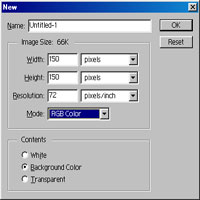
fig-1
2. Create a new layer by pressing CTRL+Shift+N and fill with (Foreground=#CFAA53).
Image shown below.

fig-2
3. Press Ctrl+A to select all. Goto Filter >> Texture >> Grain
and modify the values to Intensity=32, Contrast=50 and Graintype=Regular
and click Ok. Again, goto Filter >> Texture >> Grain and modify
the values to Intensity=32, Contrast=50 and Graintype=Horizantal and click
Ok. You will see below image(s).
After applying After
applying
first time "Grain" second
time "Grain"
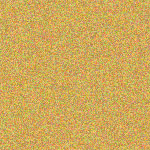
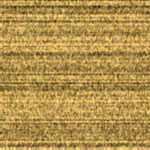
fig-3 fig-4
4. Now, goto Filter >> Blur >> Motion Blur and enter these
values, Angle=0 Degrees, Distance=14 and click Ok.
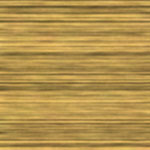
fig-5
5. Goto Image >> Adjust >> Brightness and Contrast and change
the values to Brightness=+20 and Contrast=+33.
6. Goto Image >> Adjust >> Levels and change the value as
per your idea. Image shown below.
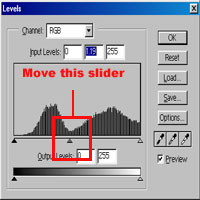
fig-6
7. You can use any one of selection tools. But, in this case, i used Elliptical
Marquee Tool. Make an circle or rectangular or what ever shape you feel
better and draw the shape. Goto Filter >> Distort >> Twirl
and change the values to Angle=39 and click Ok. Deselect it. That's it!
Desired texture is in-front of you.
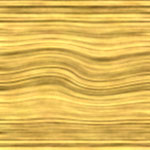
fig-7
That's all my dear friends. Hope You Enjoyed It!!!
Don't forget send mail to me.
"Fundamentals are the Route
to the Destination" - BHMK
Go Home