

Keeping an image within the eyes of
an another image - An Image Manupulation
Description: To do this operation, i opened two images a) a main
image (fig-1) and b) a small image (fig-6) to keep in the main image (fig-1).
To do this image manupulation, do the following,
1. Open an image (any image that is convenient for this operation). But,
i choosed this image shown below.
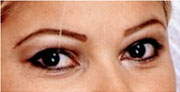
fig-1
2. If an image's dimension is so smaller, it's better to make ZOOM. To
make ZOOM, use Navigator as shown (figure) below and ZOOM it.
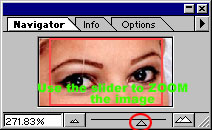
fig-2
3. After ZOOMING an image, you have to select the area on the image. Select
Elliptical Marquee Tool from the "Tool Pallette" and select
the eye (black ball) of an image as shown below figure.
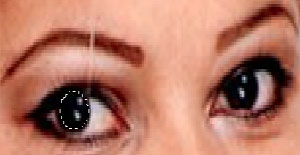
fig-3
4. Press Ctrl+C (to copy) and press Ctrl+V (to paste). Similary select
other eye's area as shown below figure.
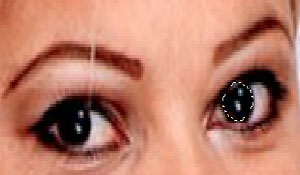
fig-4
5. Again press Ctrl+C (to copy) and press Ctrl+V (to paste). Now you will
see two layers as show below figure. Press Ctrl+E to merge it (Note:
Don't forget to select the top layer to merge it DOWN). Deselect it.
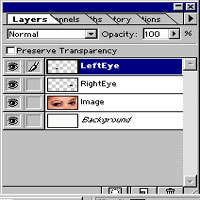
fig-5
6. Now, it's time to open another image. Open any image. Make it to small
size, so that it fits into the eye's. I selected this image.
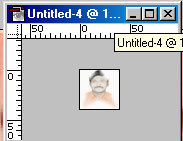
fig-6
7. Make any changes to it (if you require). Make to any shape, if needed.
Select it by pressing Ctrl+A (Select All) and press Ctrl+C (to copy).
Now, switch to main image, and press 2 times Ctrl+V (to paste two small
images) on it. Drag that small images to the center of an eye as shown
in figure.
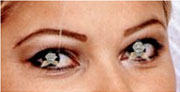
fig-7
8. In the Layers Pallette, you will see like this. (Note: Don't
get confusion, because i changed the Layer Names to RightEyeImage &
LeftEyeImage. You can also change the Layer Names by Double-Clicking on
that Layer(s)). Merge it by pressing Ctrl+E.
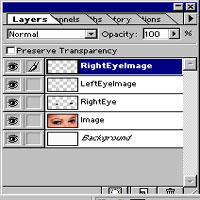
fig-8
9. Move the top Layer (small images pasted and merged-it) to down as shown
in the figure.
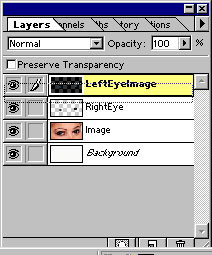
fig-9
10. Now, select the Layer on which you pasted an eye(s) and merged it
as shown in the figure.
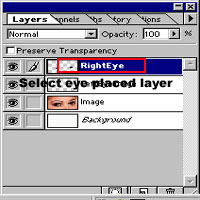
fig-10
11. Select the Layer Pallette and change it's Opacity to 34 (you can change
to desired value as per your exercise) as shown in below figure.
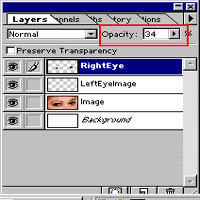
fig-11
12. That's it! Desired image is in-front of you.
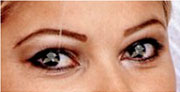
That's all my dear friends. Hope You Enjoyed It!!! Don't forget send mail
to me.
"Fundamentals are the Route
to the Destination" - BHMK
Go Home