| TRUNK / RACK INSTALL |
| 12 mm socket 13 mm socket Socket wrench and extention bar 13 mm open end wrench Needle nose pliers T25 Torx wrench T30 Torx wrench T40 Torx wrench 08.5 mm Drill bit Drill |
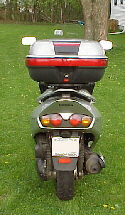
| 1. Remove the Reflex tail fin (Pictures TR1 / TR2 ) |
| 12 mm socket 3 Bolts |
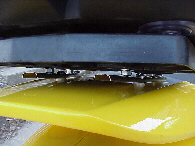
| 2. Drill holes into fin ( Pictures TR3 / TR4 ) |
| Drill in marked area ( recessed area ) |
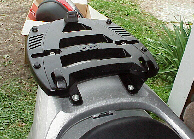
| 3. Lay down rubber pad and attach brackets with nuts and bolts. ( Picture TR5 ) |
| 4. Attach fin back on Reflex. |
| Torx and 12 & 13 mm socket |
| 5. Loosely attach rack base. ( Picture TR6 ) |
| 6. Center and allign base tighten screws. |
| 7. Attach monokey locking lip ( Picture TR6 ) |
| Torx |
| 8. Attach rubber bumpers (between rack and box ) |
| Needle Nose Pliers |
| Torx and 13 mm wrench |
| 10. Check all nuts and bolts for tightness. |
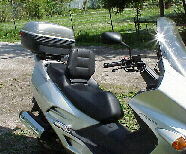
| 9. Attach trunk and check seat operation. |
| Rack - SR-18 Rack NS250 - $78 USD Trunk - E460-A903 ( Metallic Silver ) - $257 USD ( Prices in 2001 ) |
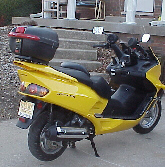
| These are the instructions on how to install a GIVI trunk / reack. When I got mine in 2001 the instructions were not in english so I had to "wing" it. Hopefully since the Reflex has now been around for awhile they have english instructions in the boxes. |
| PROBLEM: |
| More storage space needed. |
| SOLUTION: |
| GIVI Trunk and Rack |
| TOOLS / EQUIPMENT NEEDED: |
| DIFFICULTY RATING: |
| EASY |
| INSTRUCTIONS: |
 |
| Picture TR1 |
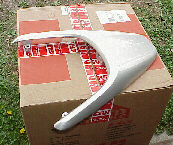 |
| Picture TR2 |
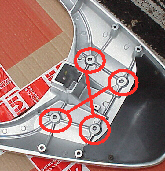 |
| Picture TR3 |
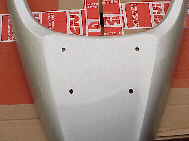 |
| Picture TR4 |
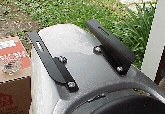 |
| Picture TR5 |
 |
| Picture TR6 |
| Picture TR7 |
 |
 |
| Picture TR9 |
| If you need a larger view of any of the pictures on these pages E-Mail me with the picture number and I will send it to you. |
| Picture TR8 |
 |
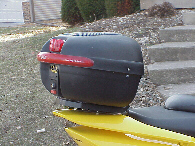
| GIVI Trunk unlocks and comes off so you can carry it like a suitcase. |
| CHEAPER TRUNK INSTALL |
 |
 |
| Picture TR10 |
| Picture TR11 |
| Picture TR12 |
 |
| Picture TR13 |
 |
 |
| Picture TR14 |
| This is a $50.00 trunk I bought off of Ebay. |
| This is a cheap box but it is functional and works fine. |
| The box comes off just like the Givi. |
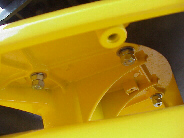
| I drilled the hole in the rear fin like picture TR4. |
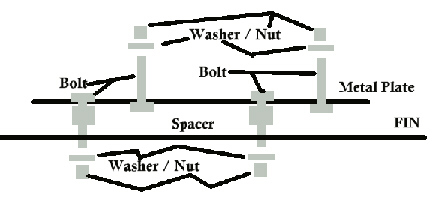
| I used metal plate ( 1 in wide ) and bolts to make a raised rail. |
| I then mounted the box holder on the rails. |
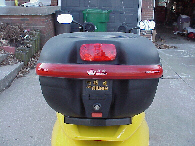
| On the back of the box I mounted a clearance light I bought at the local farm store. I hooke it up to the brake light. |
| Total install with the light and hardware was about $ 60.00 The Givi install above was more than the $300 + |
 |
| If you need a larger view of any of the pictures on these pages E-Mail me with the picture number and I will send it to you. |
| There is another version below |