Notice the gap the razor fits through.
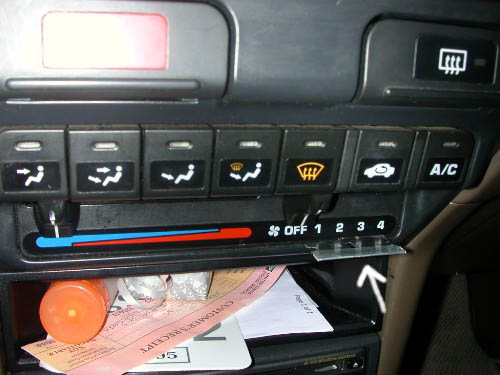
Slide small screwdriver through the gap and under the plastic
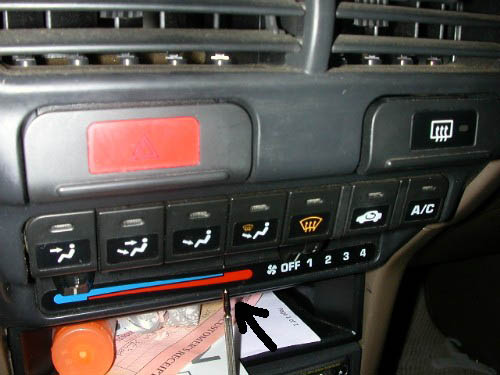
Carefully peel of the plastic piece.
It will break if you use too much force.
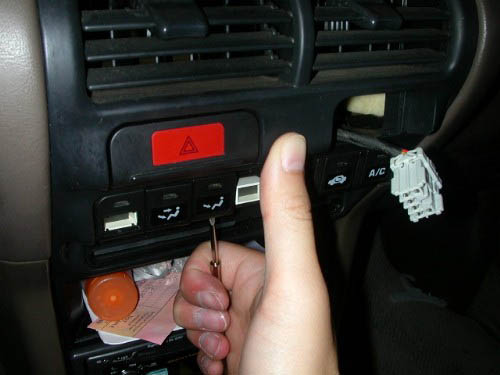
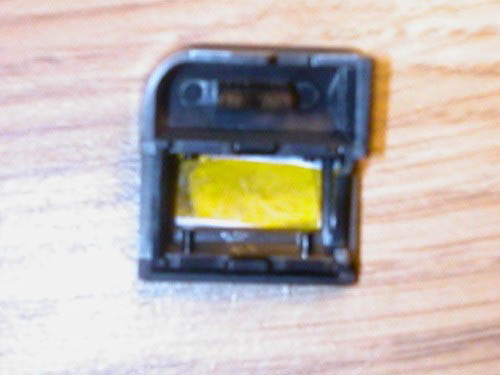
Remove climate control buttons.
With screwdriver under the button, give it a thumbs up and it should pop right out.
Becare not to get hit by flying buttons!
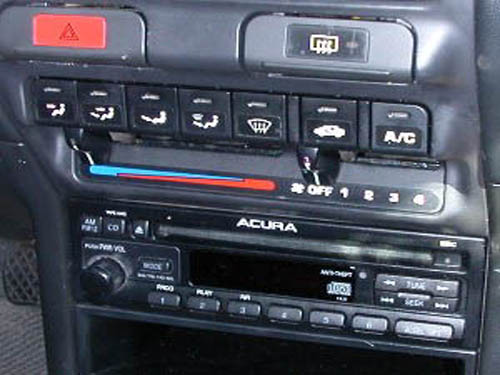
Blue stuff, remove with nail polish remover. I highly recommend a same artist paint brush because it allows for greater control over a Q-tip.
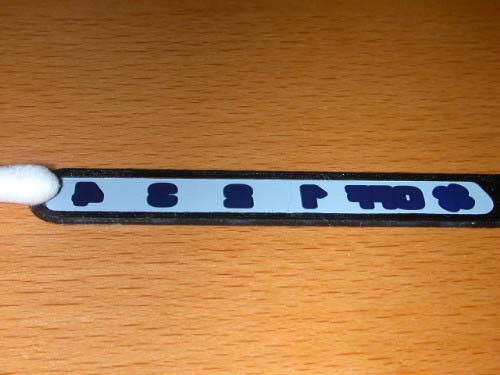
Remove blue stuff until you can see through. Be careful not to over expose the plastic to the nail polish remover because you will get dots in the black non-visible parts.
Remove only the fan, off, and numbers. Don't attempt to remove the red or blue stuff unless you have are mad.
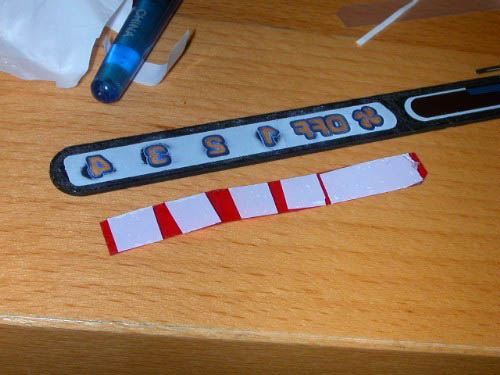
White stuff (teflon tape, white plastic bag). Required because when you remove blue stuff, you also remove the layer of white that is visible in the day light.
Cut white stuff so that it covers all illuminated parts.
Then cut film such that it can cover white stuff, and stick to plastic.

Apply white stuff to film, then apply film to plastic.
For all the buttons, same concept as above. Carefully remove blue stuff, cut film and white stuff, apply.
Finished project in the daytime.
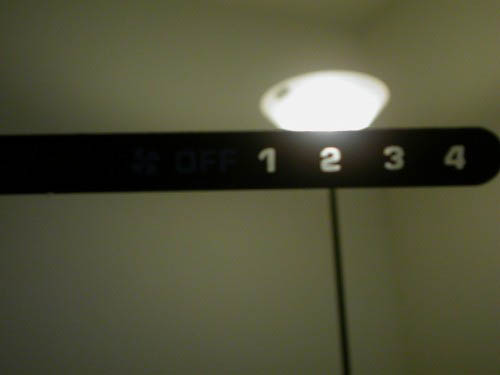
Illuminated Amber.

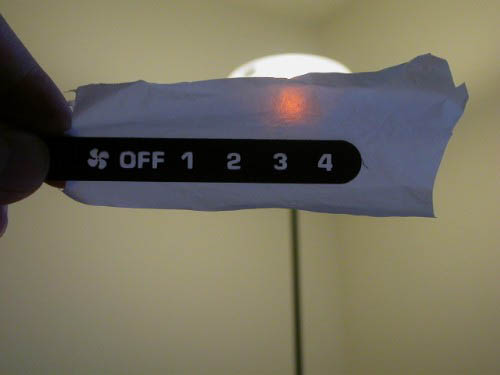
Illuminated Red.