Required Tools and Material:
Philips screwdriver
translucent film
|
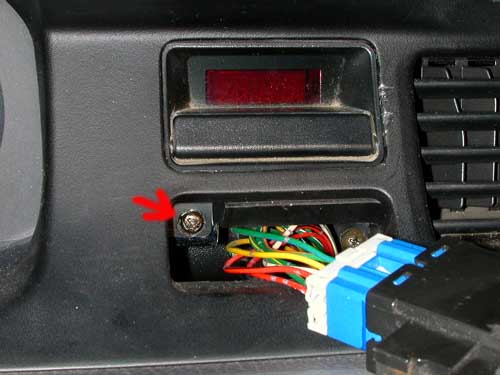
Remove hazard button from car. Best method I found was using a flat head screwdrive and CAREFULLY pry out the left side. Once that is out, use your hands and pull. Disconnect the connector. Remove screw |
|
|
Remove two screws to remove the gauge cluster surround/vents. Disconnect clock |
|
|
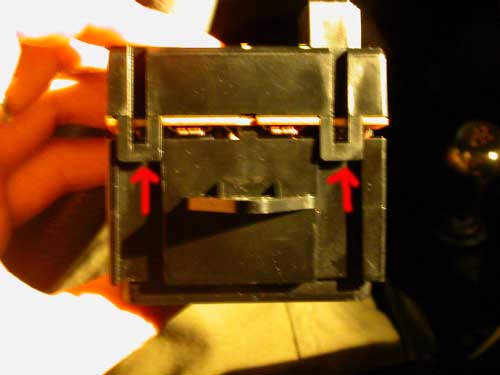
To disassemble clock, release the 4 prongs. There are 2 on each side. Note, you do not need to remove clock from gauge surround/ vents, but if you want to, go ahead. Be careful not to lose any pieces. |
|
|
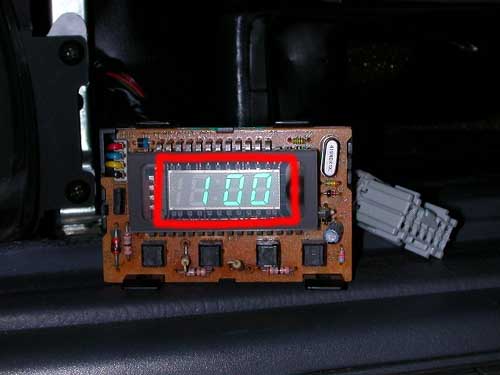
Clean glass of any dust and apply translucent film to the actual glass on the clock. Reassemble and install into car. Remember to reset the time. |
|
|
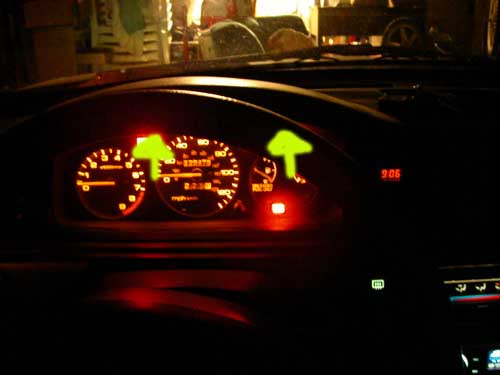
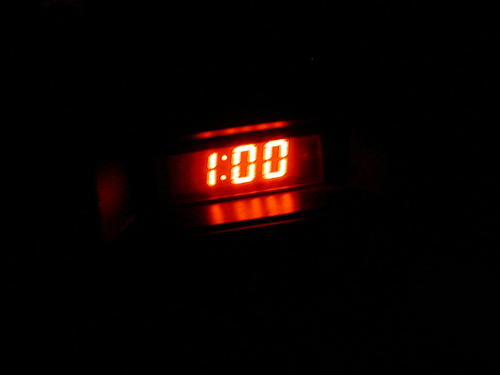
Amber Illumination |
|
|
To remove film, carefully use a razor blade to peel off. Then use a small towel and a small amount of nail polish remover to remove excess adhesive. |
-David