 |
|
|
|
|
|
|
|
|
|
|
|
|
|
|
|
|
|
|
Build a Log House - Easy! |
|
|
|
This may not be the very best way to put together a log house, but this technique is the easiest! This is called Tounge and Groove construction, using upright logs with grooves cut along the edges, and horizontal logs with tongues cut in the ends to fit into the grooves.
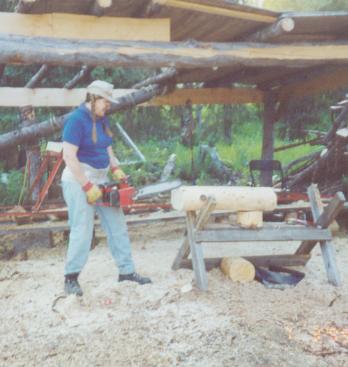
Our cabin actually took us three summers to build because we had no real equipment! Every log was hauled in by hand on a set of wheels from an old dolly. Every one was peeled by hand. We even found the first chainsaw we used. Over the years we were able to buy some equipment, but it was still all done the hard way!
The plan is not original, we saw an old article from an issue of Mother Earth News. We have seen a few of these cabins done this way in Canada as well as Alaska. A crew of strong folks with the right equipment can get one of these done in just a few weeks! |
|
|
|
 |
|
 |
|
|
|
|
|
The bottom log is long and sturdy. This one was set on July 4! We drug it in with a truck and hoisted it by hand! The corners will be cut out so that all 4 sides will be level. A grinder is used to level the bumps out. |
|
|
|
|
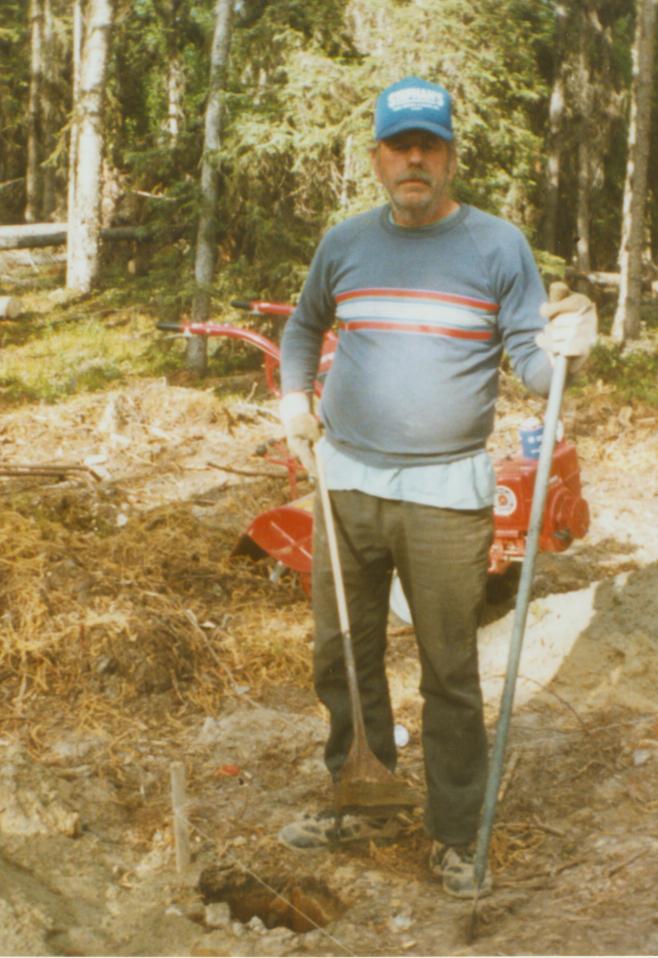
We got started with a stick and a spoon! No equipment except what we found. Step one is to set in foundation posts. John must dig the holes for railroad tie posts by hand, 4 feet deep! |
|
|
|
|
|
|
 |
|
|
 |
|
|
|
|
|
|
Putting in the floor was a challenge for us. We finally decided to cut grooves into the foundation logs to set in the floor joists. They are reinforced 2x8. This was just a little dangerous! But it was done in a week! |
|
|
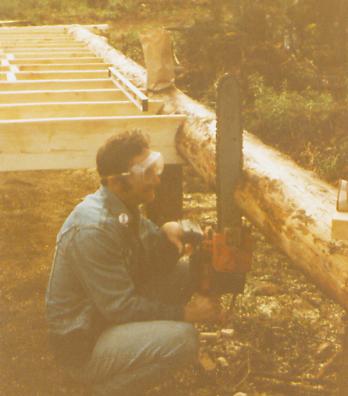
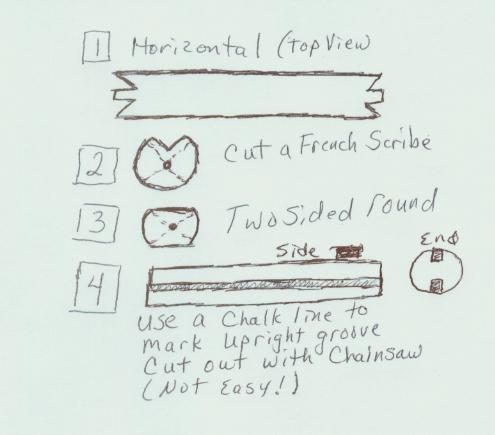
Now it is time to cut the logs. The upright logs will hold the horizontal logs in place. First cut the uprights, making sure the ends are square, cut 3 inch deep grooves the length of the log. Then cut the ends of the horizontal to fit into the grooves. We chose to use two sided logs for the walls. |
|
|
|
|
|
|
 |
|
|
 |
|
|
|
|
|
|
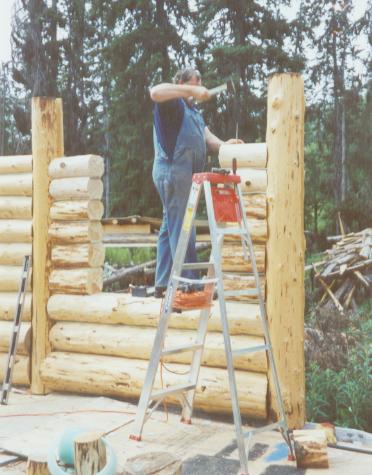
Every horizontal was placed into the grooves of the uprights. The long ones had to be "button holed" in place. The window frame logs were easy. Each log was nailed in place with 12 inch spikes and the tongue was nailed into the groove for stability. John did all the nailing, and he really got huge arms over the years! |
|
|
|
|
Every log was carefully measured and cut by Connie! she really got good at carving. We used a bent clothes hanger for a template to cut the "ears" beside the tongue so that each log would perfectly fit around the upright log where it belogned! |
|
|
|
|
|
|
 |
|
|
|
 |
|
|
|
|
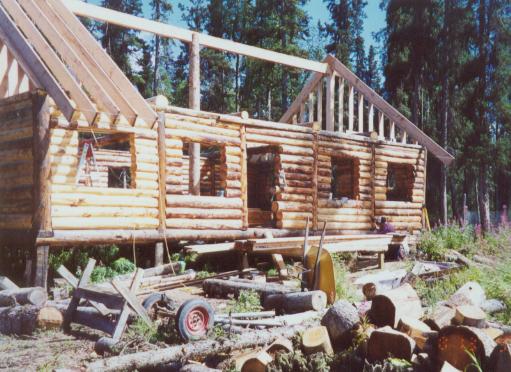
Our Cabin is 24X40, there is a support post in the center which helps hold up the top roof beam. The beam is made of several 2X12s laminated together. We had to hire a crane to set the beam. A day of celebration for us. The size and type of roof is highly variable in these cabins |
|
|
|
|
|
|
Our roof is big enough for a loft. The ceiling is vaulted, high and airy. The measurement is 10 foot rise and 12 foot run. The rafters are 20 feet long. They were hoisted with a rope and nailed in place over the beam with large wooden mending plates. They were reinforced, then covered with OSB decking and a good metal roof. We moved in before the roof was finished! With a tarp on top and plastic on the windows and a blanket for the door, no water or electricity, I moved out of the camper and into my cabin! |
|
|
|