|
Here is the write up I used. Parbreak on LS1tech.com does fantastic works. I followed this write up and included some pics I took along the way.
|
1) Start with 120-180 grit sandpaper and sand off all the pebble-like finish.
2) Go to 320-400 grit to remove previous grits scratches.
3) Now here's where you can make a choice. You can either keep going up in grits to 600, 800, 1000 to make the plastic smooth or you can stop at 320/400 depending on what type of primer you use. I don't like sanding that much so I use a high build primer. One good rattle can brand is Duplicolor High Build Primer/Filler. Get the gray, not the red oxide.
4) If you can't get that and have to use regular primer then continue with the finer grit papers up to 1000.
5) Now you will need to use an adhesion promoter since these pieces are plastic. I use a product called Bulldog and it is available in rattle cans. Spray 2-3 light coats waiting 2-3 minutes between coats. After last coat wait 10- 15 minutes before applying primer or the primer will "wrinkle".
6) Now start applying primer and make SURE the first coat is very light and only a dusting. You just want a misting to adhere to the Bulldog/
Adhesion Promoter.
7) If using Duplicolor wait 15 min. between coats. Otherwise follow directions on can.
8) Continue now with slightly heavier coats up to about 3 coats.
9) Light dry over night and sand with 400 grit. Check progress and if smooth sand with 1000 grit and you're ready for basecoat. If not satisfied lay down some more primer and dry overnight again, etc.
10) When ready for base coat again first coat is only a slight misting. You're not looking for full coverage. Some primer should actually show through. Follow instructions on time between coats. 2nd coat a little heavier and 3rd coat should be enough for full coverage. If you are using a solid color, that is not metallic, you can wetsand the base coat with 1000 grit if you want, but if it looks good leave it alone.
11) Wait at least 20-30 minutes and then start applying clearcoat. Again, for rattle can stuff Duplicolor is good. Light misting for 1st coat followed by slightly heavier coats.
12) 4-5 coats of clear. Let dry for 2-3 DAYS!!
13) Now if you are planning on wetsanding and polishing you can do that at this time. I usually do not wetsand and polish since my painting skills are fairly adept. The key to not having to do this is to lay on the clear very lightly. Go with multiple light coats holding the can about 12 inches from the surface. Also try to do it in as clean environment as possible so you don't get dust in the finish.
|
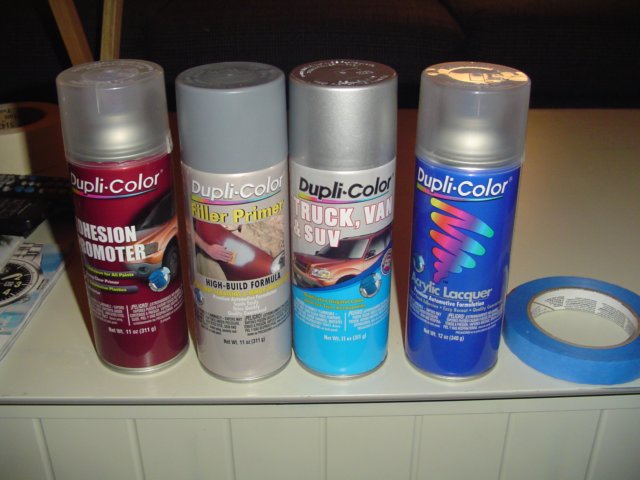
| Here are the tools of the trade. First you will need sandpaper. I used 100, 320, 400 then 2000 grit. Blue painters masking tape and sharp precision scapel is also handy. Dupicolor Adhesion Promoter, High Build Sandable Primer, Color of choice and Clear Coat. |
 |
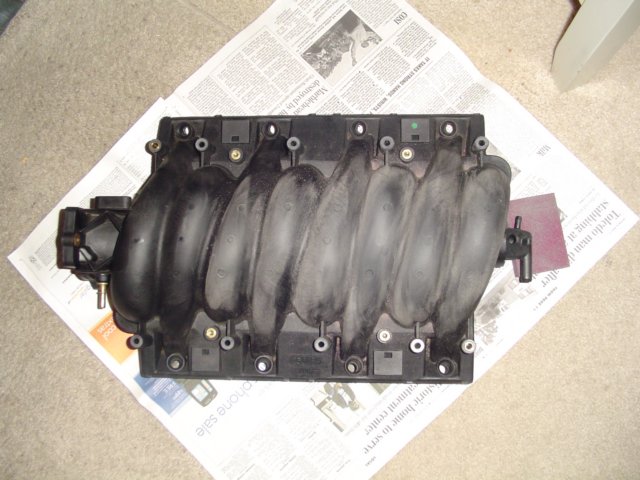
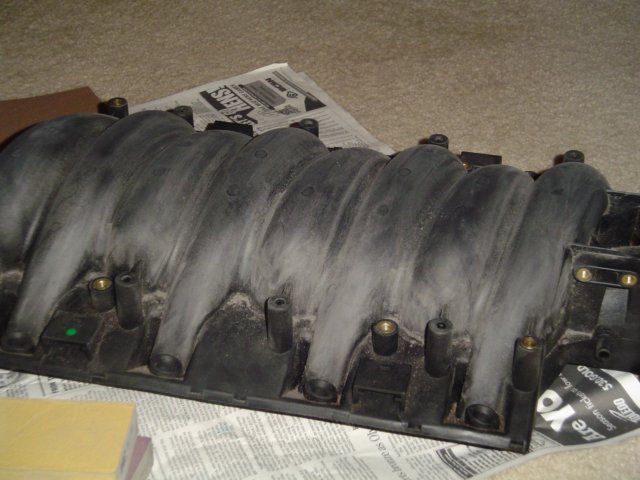
| First, you start sanding off the rough finish on the stock intake. All those raised up little circles had to go. |
 |
| This is going to be the biggest part of the job. Keep sanding, and sanding, and do some more sanding. |
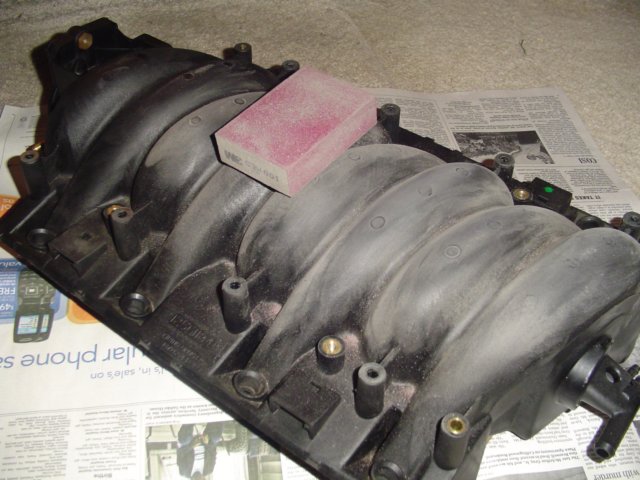 |
| After you most of it feeling kinda smooth, just up the the 320 grit to get rid of the scrapes left over from the previous heavier grit sandpaper. There will be a lot of dust and particles clogging things up. Keep blowing them off to stay clean. |
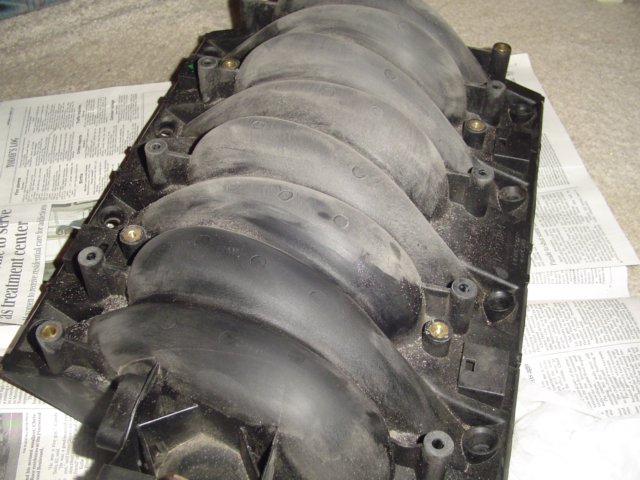 |
| Things are starting to smooth out here. When it comes down to where you are satisfied with how smooth it is, use some compressed air/air compressor noozle to blow out all of the dust in all the cracks and crevices. Then I used a "Duplicolor Prep Wipe" to clean up the intake and get it ready for spraying. |
 |
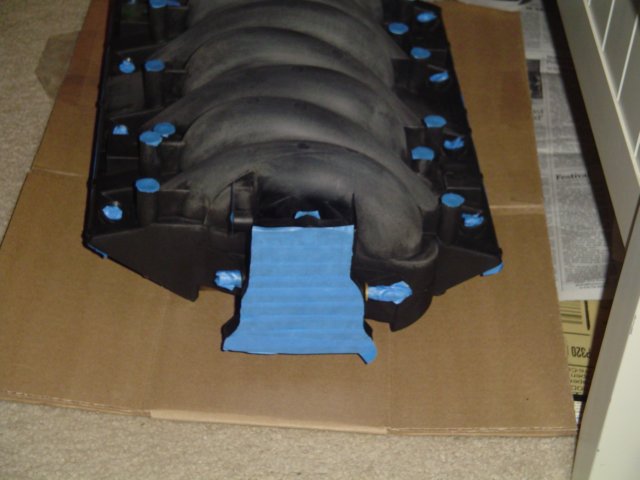
| Now it's time to start masking things off. Mask off all the bolt holes and the throttle body space, along with every noozle on it and I recommend at least the bottom parts that sit up against the cylinder heads to protect from overspray. |
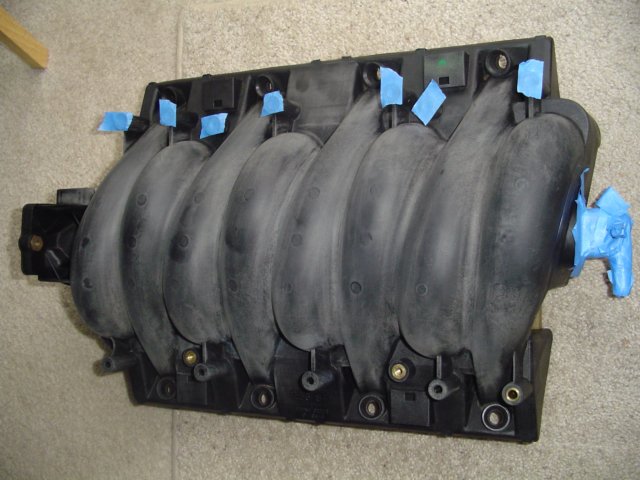 |
| Everything is masked off now. Time to bust out the sharp scapel and trim off the excess. |
 |
| It's a lot of work, but worth it. You want to keep these things paint free but also don't want a bunch of tape blocking your paint spray. |
 |
| Pic of the front being taped off and trimmed down. All ten bolt holes are covered and trimmed. |
 |
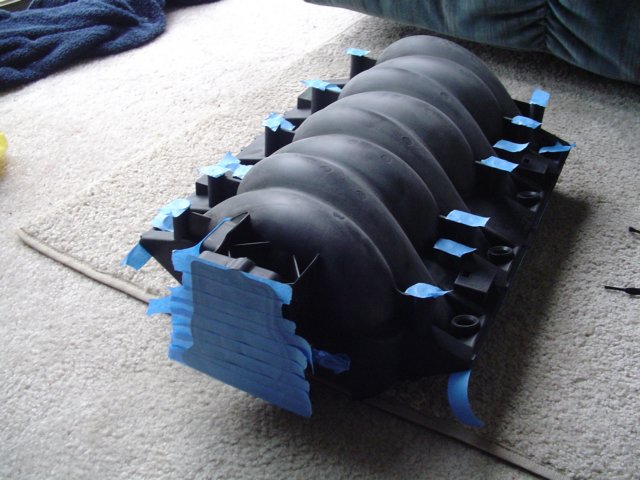
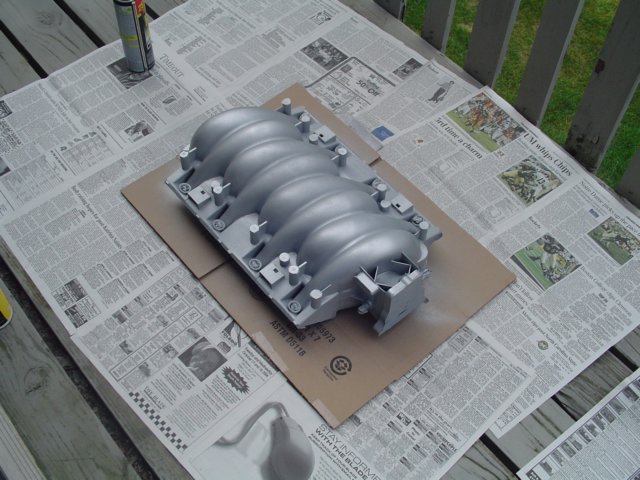
| I sprayed the Adhesion Promoter and followed the instructions for that. Next was the Primer. SPRAY ONLY A LIGHT COAT!!! Here is a shot of the first coat I did. You only want a *Misting* to lay the foundation to the Adhesion Promoter. You should still see some intake. |
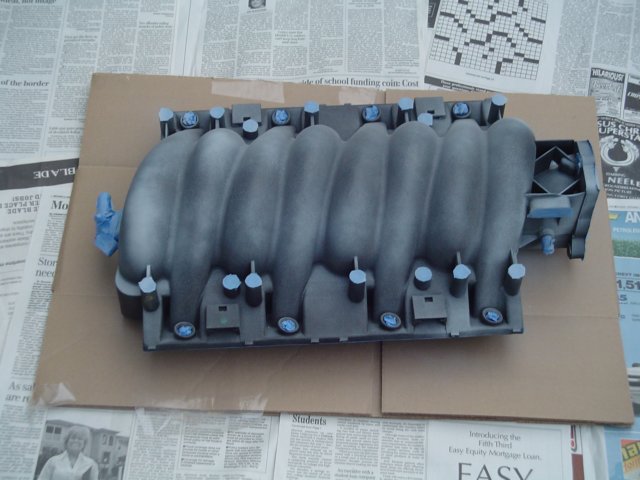 |
| Second coat you can go a little heavier. |
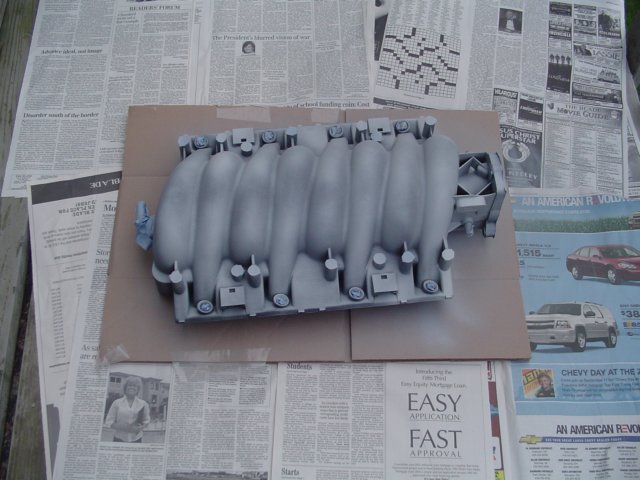 |
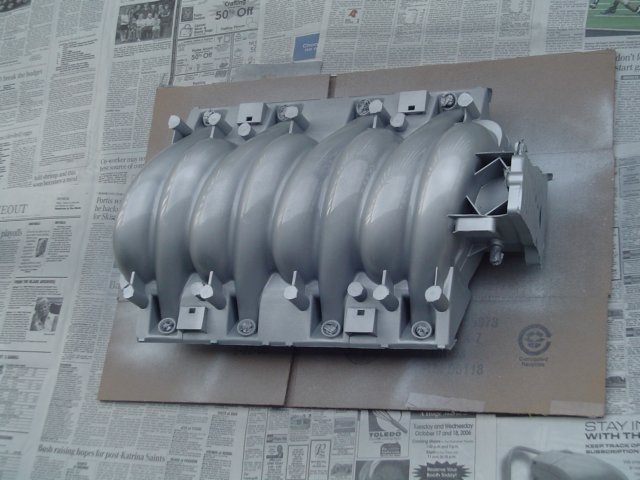
| Full coverage in about 3 coats. After the primer has dried for 24 hours, you can use the 400 grit to sand it down a little to make it smooth. You do not need a lot of pressure, just enought to make it smooth. |
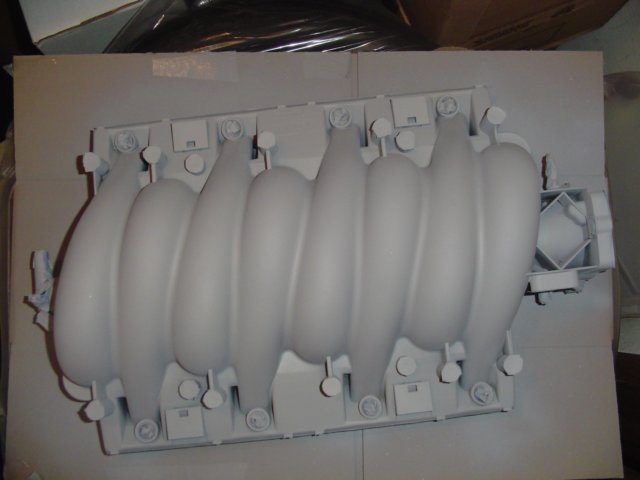 |
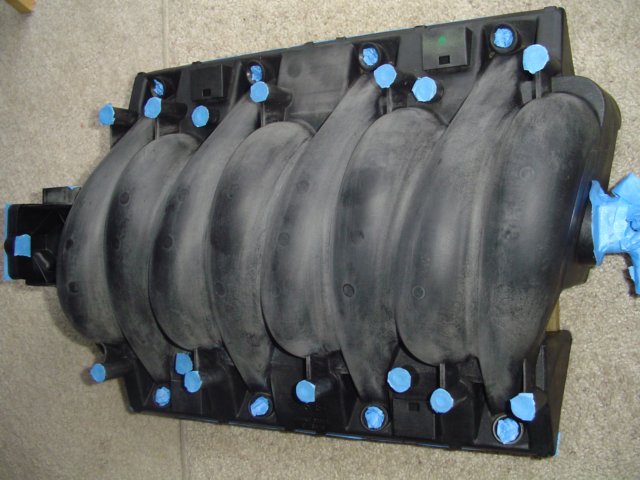
| Now, same technique is going to go into the painting. LIGHT COATS!!!! First coat will only be a misting. A lot of the primer should still show through after the first misting. Wait 15 minutes then apply a slightly heavier coat. Again, you don't want to drench it. This will cause sags and runs. Let it build up in layers, just as it looks in the primer pics. |
 |
| After roughly 4 coats of paint, time to add some clearcoat. You guessed it. LIGHT COATS!!! Do NOT attempt to get full coverage on the first spray. After 4-5 coats, let it dry for 3-4 days. Once dry, you can use the 2000 grit wet/dry to sand down the clearcoat and make it shiny. Any rough bubbles or texture that popped up should be gone. |
 |
| Here is a pic of the intake installed. |
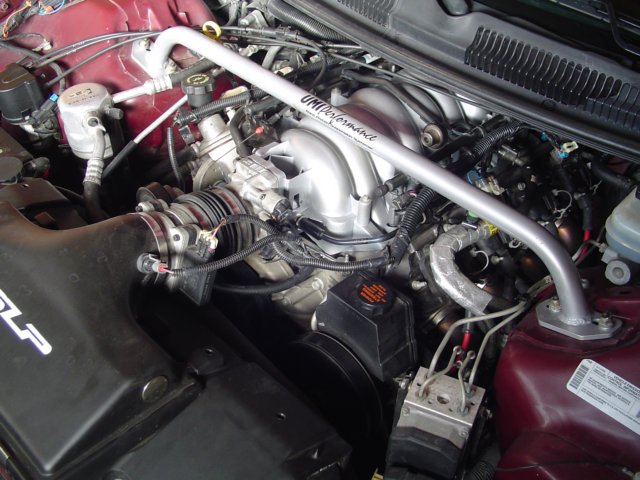 |
| Looking good in the Silver Themed Bird. |
 |