In this series of tutorials I will explain how to use a tube I made to make your own wooden frames, wooden shelves and wooden cabinets with shelves. You will need to download the "pinetop" tube to follow along with while doing this tut. It is a PSP7 tube and can be used in PSP6 or PSP8 by opening the file in PSP and then "Export" it as a tube with these options...Placement mode = Continuous and Step Size = 1, then just name it "pinetop". Click on the link below to download the tube. Screenshots have been resized to conserve download time when opening this page. I will be using PSP 7 for this tut.
Pinetop tube
Making a Simple Wooden Shelf
Step 1
Open a new image at 500 x 500, resolution at 72, 16 million colors and transparent.Step 2
Click on your tube tool and select the "pinetop" tube. Click at location "250 x 250" with the tube tool. Now while holding down the left-shift key, click your tube again at location "250 x 200" and let go.Step 3
Click on the "Deformation tool". Put your cursor on the top-center node of the deformation outline. Click and drag the outline down halfway on the dark part of the wood. Click and drag the outline down 2 more times. Apply the deformation. It should now look like the image below.

Final Step
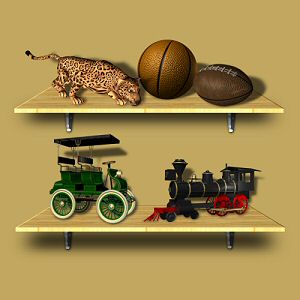
You can now save it as a PSP tube. Below is a cabinet using the tube you just made. Just make a new image with 4 to 6 layers. On each layer add the tube and adjust accordingly by "flipping" and/or "mirroring" the tube and then using the move tube to move the peices into place. Some peices might need adjusting with the deformation tool as well. Just experiment with it, undo anything you dont like and maybe even add some doors.
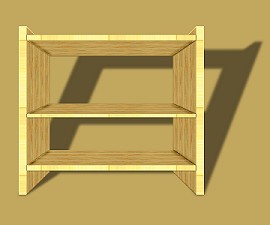
I hope that you have find this tut very informative on how to create a simple wooden shelf. Till then if you have any questions you can click on the email link below. Thanks for trying this tut and I hope to see some of the results from using it.
![]()
![]()
![]()