Welcome to my 555 Conversion Page!
This page is under construction. I will add more too it as I complete the project.
Removing the old Transmision
This is probably the first step that you will do when working on your conversion. Start with getting the vehicle lifted and secured with jackstands. Next, remove the front wheels and split the lower balljoints. Then remove the axles on both sides.
NOTE: It is much easier if you unbolt the swaybar mounts and remove the bushings but it can be done either way.
Next unbolt the trans, front motor mount and starter. Finally pull the 525 out and find the nearest dumpster.
Installing the Transmission
This was the probably the hardest part of the entire conversion for me. First, start by getting the flywheel machined, and bolted back on the engine with your new clutch. Next prepare the transmission. Start by removing anything that will get in the way during the install. This includes the cable mount, the drivers side transmission mount and the passenger side tail shaft. Trust me! It will be 1000 times easier to get the trans in with these items removed. Next find a way get the trans and the motor together. What worked best for me was getting one of those generic trans jacks that goes on a regular floor jack and using a ratchet strap to hold the trans to the jack. It will be easiest if what you are using to get the trans under the car is secure and you don't have to worry about the trans shifting around on you.
NOTE: Take some time and plan put some kind of contraption to hold and lift the trans. You will save your self huge headaches!!
I also found that you will have to move the motor forward and let it hang down some to get the trans on the motor. More ratchet straps come in handy here. Make sure to not let the engine hang completely from the remaining passenger side motor mount. Also watch that you don't pull your heater hoses off...not that I would know anything about that! :-).
Once you have the trans lined up with the clutch and and on the motor start bolting the motor and trans together. Getting them to fit back together is not the easiest trick in the book, but keep fighting with it and it will go. Bolt the passenger side mount (removed earlier) to the transmission and then to the body of the car once you have the motor and trans bolted together. Next replace the front motor mount! You have it apart and this is the perfect time to do it!
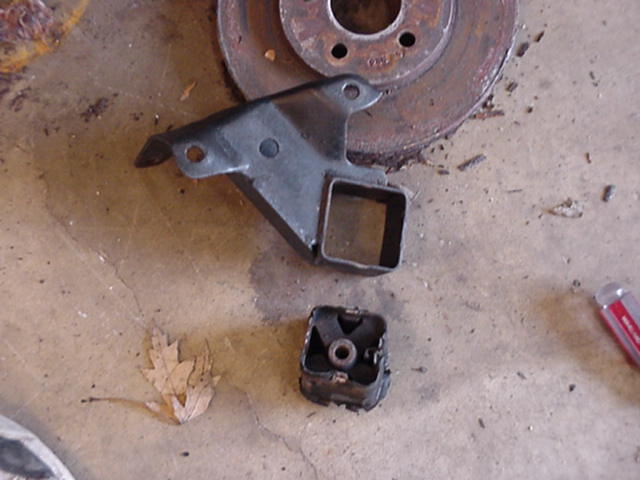
Replacing the Front Mount
The frout mount is held in my little metal tabs that are bent over holding the main 'motor mount' in place. Bend these little tabs out of the way and beat it into submission with a hammer. Taken apart it should look like this.(Rusty rotor is optional)
Installing the Shifter
The biggest problem in installing the shifter is the floor pan. The original floor pan has a big hump where the orignal shifter used to bolt on. This prevents you from installing the new cable shifter flat. It also prevents the one shift cable from going through the center of the console mount. I used a Daytona shifter and Daytona cables. Don't let anyone tell you they are too long, they work great!
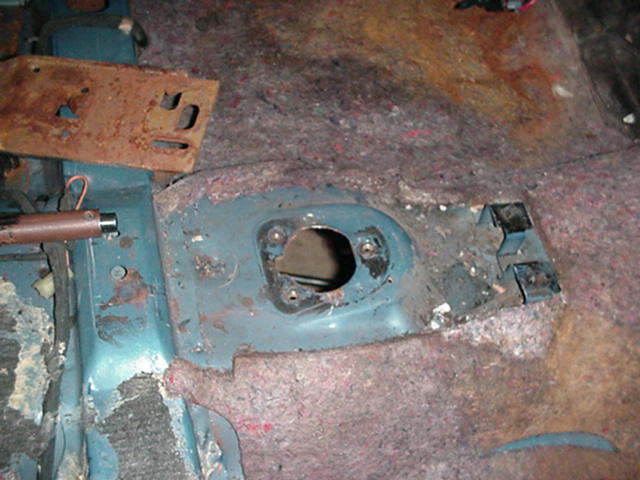
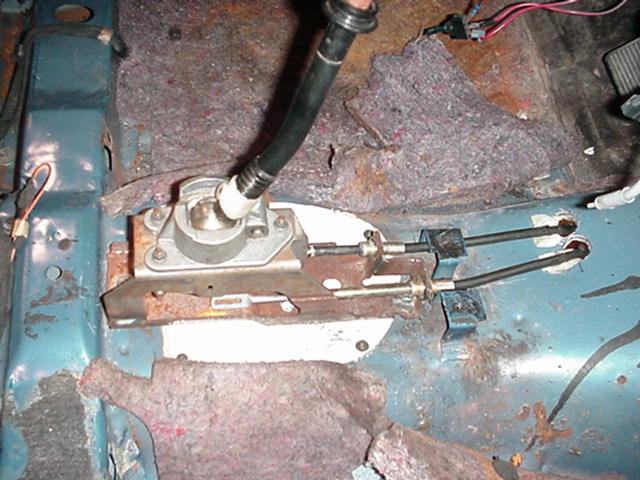
This is a shot of the orignal floor pan just after the 525 rod shifter was removed.
To deal with the hump that was left from the original shifter, I had a few choices. I could beat it into submission with a hammer, or cut the entire thing out. I chose to cut it out with the handy jig-saw.

After I had the hump out of the picture the floor was actually quite flat. I cut out a piece of sheet metal to cover the hole that was left behind. I used some constrution adhesive to glue the metal down to the floor and seal out any water from the bottom of the car. Then I used 6 sheet metal screws to hold the fabricated piece down. Notice how the shifter cable mount is now lined up nicely to allow the cable to go through the middle of the storage box barcket.
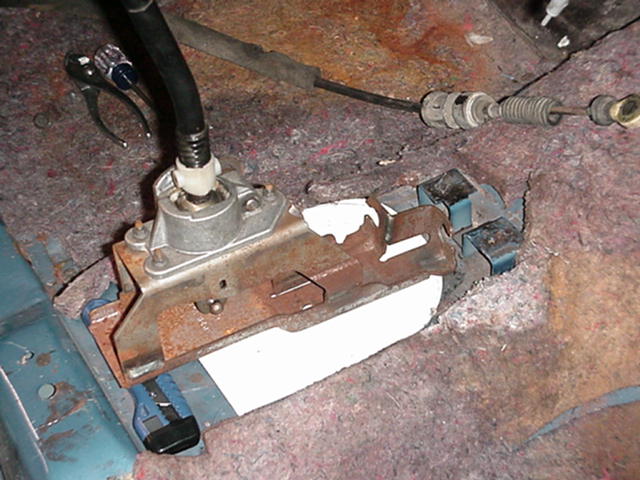
Here it is all put together and bolted down. I think that it turned out very nicely. By moving the cables so far to the left, they are well out of the way of the exhaust.
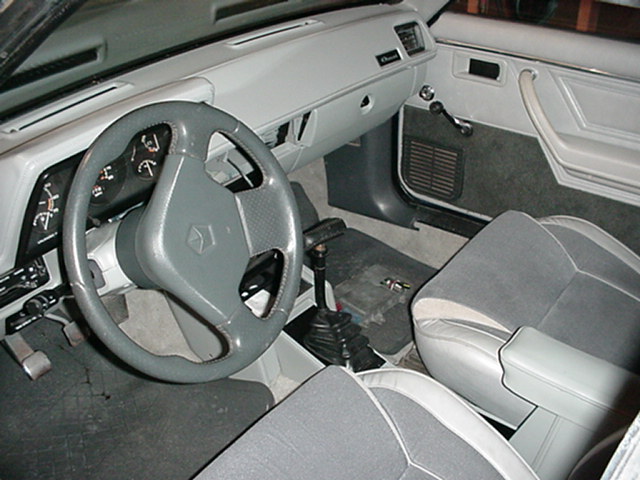
Here is a shot with everything put together. All the console pieces fit nicely.