| Repairing or Rebuilding Dell Laptop Batteries |
| Looking for an alternative to purchasing the expensive replacement batteries for your Dell Laptop? |
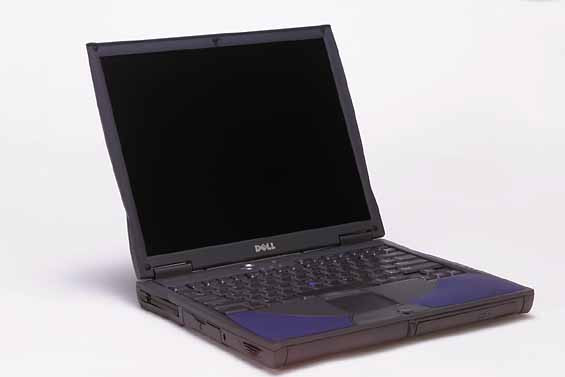
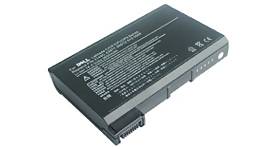
| When the battery in my Dell Laptop took a turn for the worse, I began to search around for a replacement battery. Most batteries I found from battery stores were well over $100 dollars. Well that seemed a little steep to me. So then I turned to the Ebay option. Well you can find good deals on Ebay dont get me wrong, but many batteries being sold on Ebay are used and carry what might as well be considered a 10 second, or 1 touch warranty with them. If you decide to take on this project or one like it, there are certain cautions I need to warn you about. First off, do this project at your own risk. I am not an expert with these types of batteries and make no guarantees that this will work for you. I will also not take any responsibility for any damage you do to either yourself, your laptop, or any of your property. I am mearly trying to share information that could possibly save you some money. Secondly, please read this entire page before beginning your project. Most batteries in the newer laptops contain lithium ion or LI-ION batteries. These batteries are very explosive and should be handled with extreme care. Safety glasses should be worn anytime you are working with batteries. Anyways, being the type of person I am, who wants to get as much as I can for the least price, I decided to look into my dead battery. I figured it doesnt work the way it sits, so I cant make it any worse and it isnt doing me any good at all in its current status. First off, The battery I rebuilt was for a Dell Inspiron 4000. This was experimental and will be for anyone else that tries to do this as well. The battery I had was totally shot, it would not charge at all and the battery light would blink red when the laptop was plugged into the wall for power. The first step I took was to carefully pry apart the battery case. This will take some patience on your part as these battery cases are glued together very well. They were never intended to be disassembled. Once I removed the top half of the battery case, I was able to see the LI-ION cells. There are 4 cells in my particular battery and they were panasonic CGR18650 cells. I proceeded to take a multi-meter and check for voltage on each INDIVIDUAL cell. In my case I had 2 cells that had about 2.7 volts and 2 cells that did not register much of a charge at all. I could have probably gotten away with just replacing those 2 cells, but usually the lifespan of LI-ION batteries are relitivly close to one another. So I decided it was necessary to replace all 4 cells. Before I begin any more work on the battery, I quickly drew a sketch of the battery pack, where each wire inside the battery pack ran to, and the polarity of each of the cells. This comes in handy when its time to reassemble. I then carefully pried the metal tangs off of each end of the cells. They were held on with two small spot welds wich were not too difficult to break. When removing the metal tangs, be careful not to puncture the battery. |
 |
 |

|