Workshop Construction Pictures

This is a shot of the building site prior to us even moving into our house. Construction on the shop began in the summer of 1999 . No plans were ever drawn up...maybe just a couple of rough sketches...everything was in my head. It's a scarey thought, but much of this was "seat of the pants" building...kinda doing whatever seemed to be what I wanted to do at the time. Not the best way to build, but it got done.

I laid the footer out and decided to start digging with the old pick and shovel. Level was maintained with a simple water level (the little blue container setting on the far wall). Everyone's backhoes were busy that summer. Fortunately, one became available. It's amazing how puny the human body is compared to hydraulic machinery. He accomplished more in one hour than I did all week.

The blockwork is nearly complete. Next step
was the floor. The finish was unbelievably smooth, perfect for sweeping.

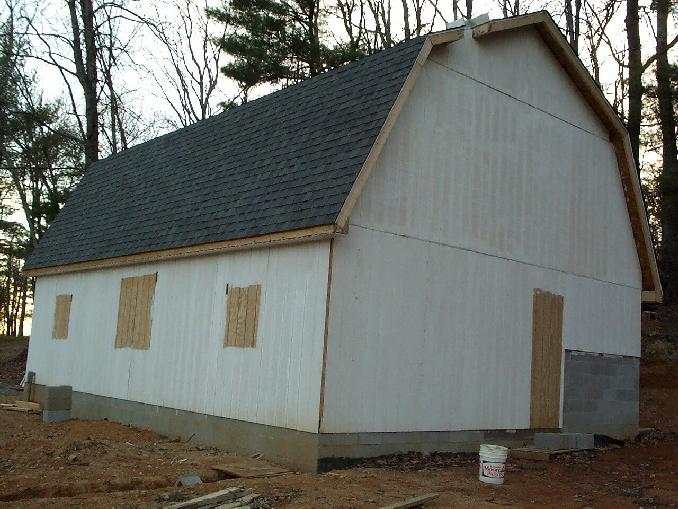
The wall were studded up and the T-111 siding tacked up. Hurricane Floyd was supposed to provide high wind gusts and rain the day after I got the siding on. I didn't have the siding nailed good - the nails for my nailgun were late in the mail. They arrived the morning that Floyd was supposed to hit. Needless to say, there was some intense nailing going on that evening after work. Many hundreds of nails were driven in a little over an hour. Gotta love pneumatic power!

I wish we would have taken some shots of the trusses being set. There was no room (or money) for a crane, so I used trees. I set a 3/8-inch cable about 35-40 feet up in a big maple tree, across the shop to a locust tree. The whole system was tightened with a come-along. A pulley was placed on the cable with a pulley hanging below it (a movable point tyroleum for you rope rescue types). We set the base of the truss on top of the wall then lifted it sightly above horizontal with the rope and slid the whole thing down the wall. We then pulled it vertical and nailed it down. The first truss took 1 1/2 hours...we were a little nervous. The other 17 trusses went pretty fast. We were done by dinner time.

Work progressed throught the summer at a fevered pitch.
I worked by myself most of the time, getting help from my friend
and excellent carpenter, Trevor, whenever he could spare some time. His
help was GREATLY appreciated. I was blessed with good weather throughout
much of the summer and fall. I contracted the shingle work out in
mid-October because the building needed to be dry quickly! Raining
weather was approaching.


The shop spent it's first winter without any windows. The only heat inside was a kerosene heater and a little propane heater. I spent the winter doing wiring, framing windows inside, and numerous other tasks.

As you can see, the trees are beginning to turn.
We're giving the siding a coat of primer before putting them up on the
"second story". Hindsight is always 20-20, I should have
bought all the T-111 siding at once. The stuff for the top portion
didn't come close to matching the bottom. Oh well, it's just a shop.
The shop spent it's first winter without any windows. The only heat inside was a kerosene heater and a little propane heater. I spent the winter doing wiring, framing windows inside, and numerous other tasks.
I managed to get the 16-foot ramp built the weekend before I had carpal tunnel surgery on my left (and dominant) hand so I could access the upstairs of the shop. The ramp has three 4x6's under the 2x6 decking.

A view of the back side of the shop showing where the chimney will be. This is the area where the blacksmith shop is going to be built.
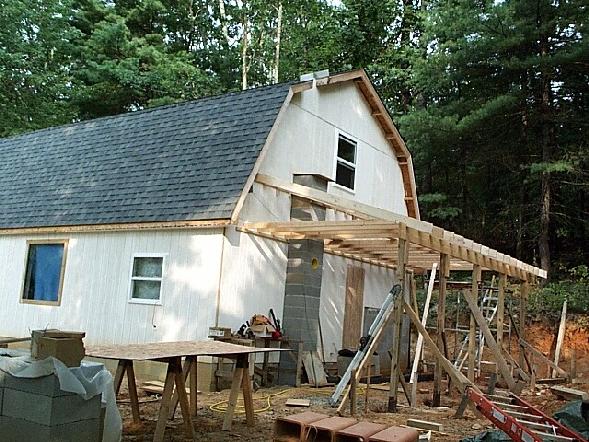
Construction of the blacksmith shop began as soon as the weather turned nice in the spring of 2000..and after I regained strength in my hand. The flue blocks were laid to a height just above where the roofline of the shop was going to be. Then I framed up the shop. Oh yea, I put the windows in before I started the blacksmith shop.
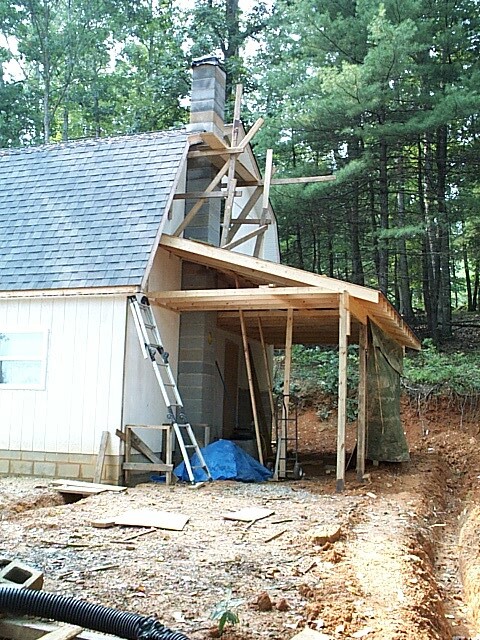
Once the sheathing was on the roof and the tar paper was nailed down, I continued up with the flue blocks. Sometime during this process, I put the drainage ditch around the side of the blacksmith shop.
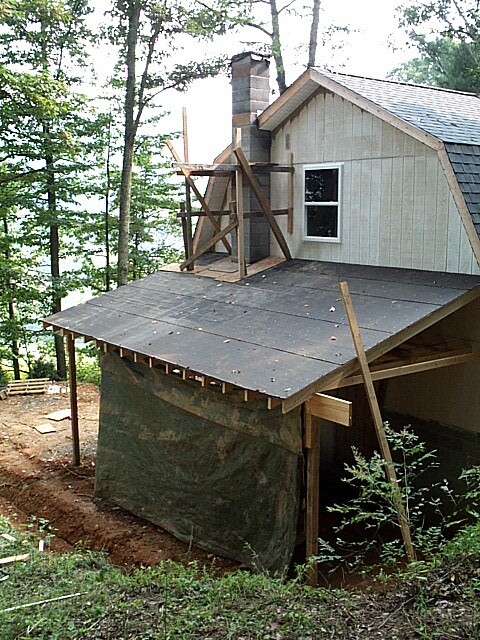
The green tarp actually ended up being much of the shop wall during the winter of 2000.
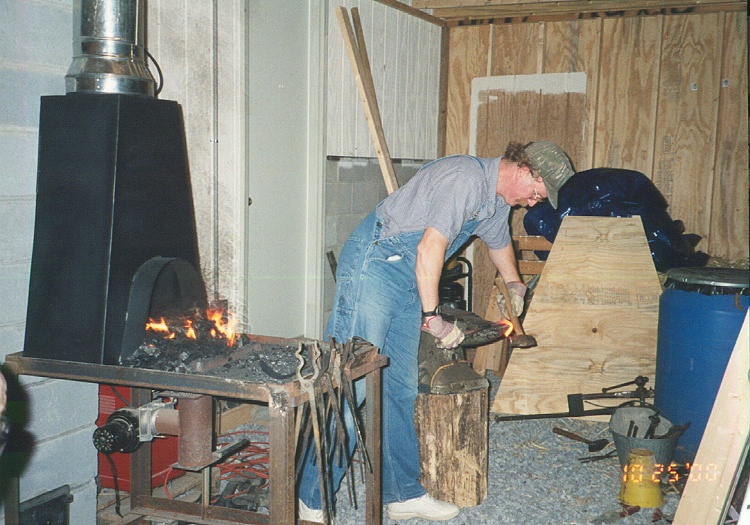
In October 2000, I got everything put together. The instant the side draft hood was in place and tack-welded to the forge, I fired it up. It was one of those moments that I had dreamed of for a long time....to have a blacksmith shop under roof where I could tinker around anytime I felt like it!!!! Work slowed down a bit between December and March because of torn rotator cuff surgery on my left shoulder.
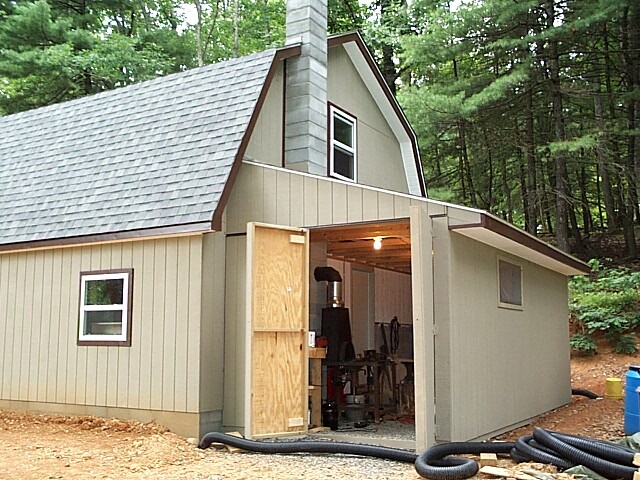
This is a view of the blacksmith shop...Ridge Line Forge....complete with a door. I still have a few modifications to do, but that can be done anytime at all. At this point, it is very functional. As you can see, the soffit and fascia and window trim has been added, along with a couple coats of stain.
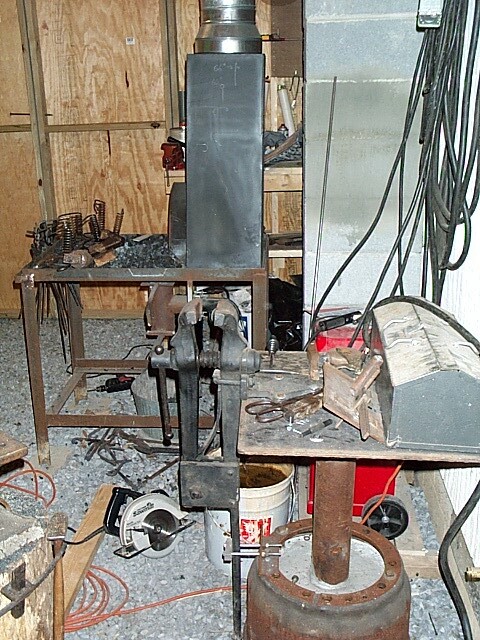
This is a view of the inside of the shop. The side draft hood is awesome. It's made of 1/8-inch stee, so it should last for quite some time. It's made by a blacksmith in Lost Creek, West Virginia. If you'd like to find out more about them, give me a shout and I'll give you his name. I welded up the table in the foreground and mixed and poured the concrete in the bus brake drum a week or so after shoulder surgery. I found out that you can get a lot of work done "single handed" if you take your time and be creative with levers, clamps, and other gadgets. Makes for a pretty nice mount for the post vise. The floor is gravel...because I couldn't afford anything else!

By the end of summer 2001, the outside of the shop was
nearly complete. There was still a little trim work to do, but not
much. I'll eventually add a small roof over the entrance door....but
there's no hurry for that. Hopefully I'll get some grass to grow in
that red clay out front.
Thanks for stopping by!
Mark Allamong, Half-assed woodworker, Quarter-assed blacksmith
Mark Allamong, Half-assed woodworker, Quarter-assed blacksmith