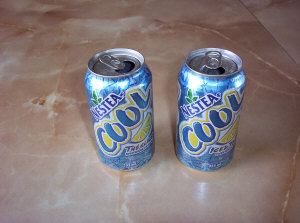
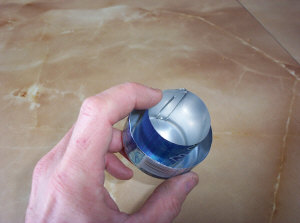
Start with two identical pop cans. Rinse them out thoroughly and remove the pop-tabs.
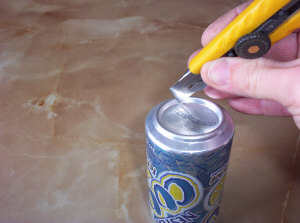
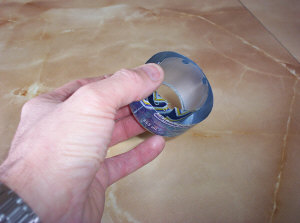
Using an X-Acto® or OLFA® knife with a FRESH blade, score around the inner circle on the BOTTOM of one of the cans. You only need to go around ONCE, but doing it twice will help the pieces separate easier.
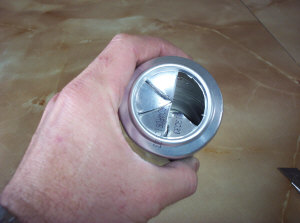
Use the knife to cut from one side to the other, be sure NOT to cut into the raised ridge. Make three or four cuts, as if you were slicing a pizza!

Using a set of neddle-nosed (or other) pliers, remove the wedges one at a time, by wiggling them back and forth until they snap out.
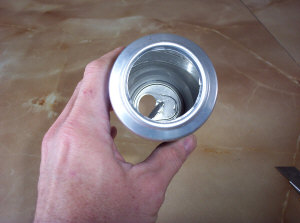
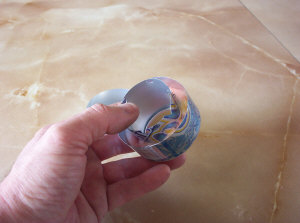
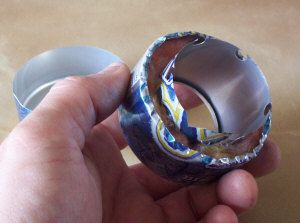
This is what the can should look like. Sharp or jagged edges should be removed with sandpaper or a round file. This will eventually become the BURNER portion.
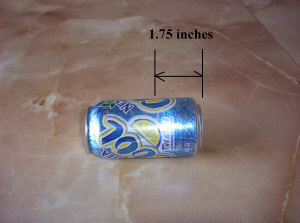
Measure ONE and Three Quarter inches from the bottom ridge. Make a mark along the side.
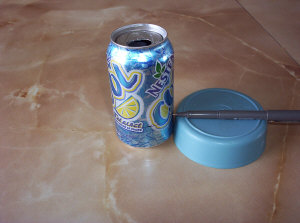
Draw a line around the circumference of the can, using a block of wood, jar lid or anything that is roughly the same height as your mark.
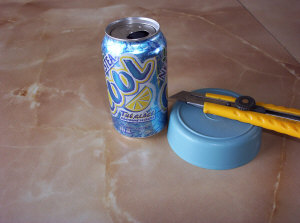
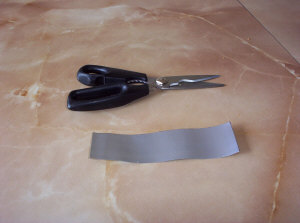
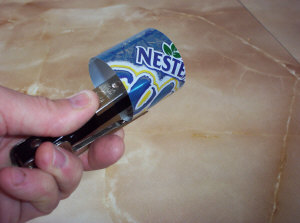
When it comes to slicing the can to height, you can do it as shown, scoring the can with your knife until it cuts through; or by using kitchen shears to cut...either way will work fine.
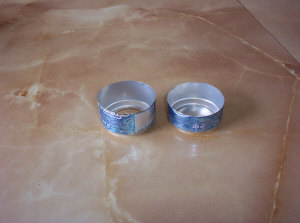
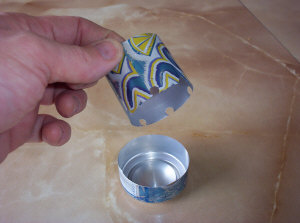
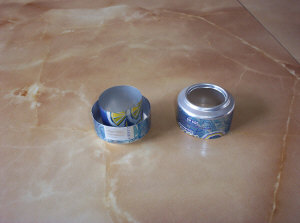
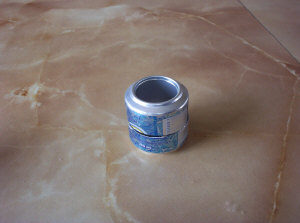
You should end up with a "ring" as shown.
Make the same sort of cut with the OTHER can except that you should:
a) Leave the BOTTOM in the second can, do NOT cut it out as you did with the first.
b) Cut the second can 1/4 inch SHORTER than the first.
Using the remainder of either can, cut and flatten as shown.
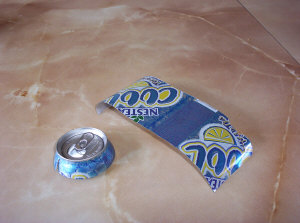
Cut this into a thin strip that is 6.25 inches LONG and 2.00 inches WIDE.
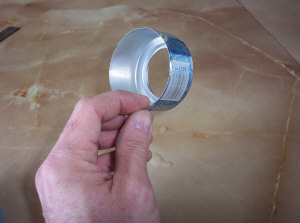
Using a paperclip to hold it secure, make this strip into a TUBE that will fit INTO the raised ridge at the bottom of either can-end.
When you have the proper dimension, staple this tube as shown. Remove paperclip.
Note that the "label" is on the OUTSIDE of the tube, just as it was on the can. This way, the INSIDE of the burner will have no writing on it to detract from its appearance.
Using your kitchen shears or a paper punch, make a few notches or holes along one end of the burner sleeve. This will allow fuel to move from the burner throat into the burner jacket.
By now, it should be obvious which way this thing goes together, but if not...here's a disassembled view. Note that the HOLES in the burner sleeve are at the BOTTOM of the burner.
In order to make it easier to ASSEMBLE, you should take the burner sleeve and fit it to the TOP portion of the burner (the one where the bottom was cut out of at the beginning of this page!) with the holes facing as shown. This may be confusing, but will save you a LOT of grief during the fitting stages!
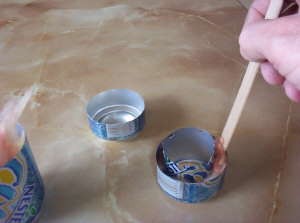
Pack small portions of Fiberglass insulation between the burner body and the sleeve, as shown. You can wear gloves if you wish. The important thing is to pack it in EVENLY.
Use a tongue-depressor or a screwdriver to assist in the packing. Make sure that the insulation is packed EVENLY around the sleeve, but don't use too much, you should get by with LESS THAN a handful. The insulation is not an ABSOLUTELY NECESSITY to building this, but I found that it helps to slow the burn rate of the fuel, and it adds no appreciable weight to the final product.
Once you have packed sufficient insulation into the cavity, you should crimp the bottom edge as shown. Use small pliers to do this and make the crimps as close together as possible.
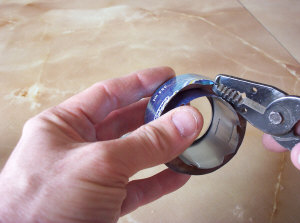
This is what it should look like. Large crimps will result in sharp corners when you are trying to fit them together. By making small crimps, the two halves will fit together a lot easier!
Note that the sleeve is STILL held in place by the fiberglass insulation. Also note the HOLES in the burner sleeve, on the BOTTOM end of the assembly.
Match the two halves together as shown. This is the "hard part" of construction! Be very gentle when fitting the two halves together...finesse is the key! This may be frustrating, but after building a few, you WILL get the hang of it!
When both halves are properly nested together, use the palm of your hand and GENTLE force to compress. Try not to make an AIRTIGHT seal with your hand, since the air must escape...better to go past your hand than to cause a bulge in the body of the burner! Check that the sleeve remains centered in the body from time to time!
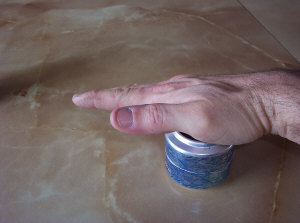
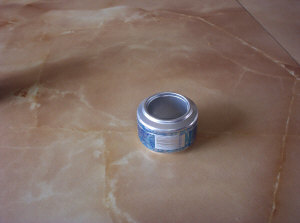
This is how it should look when completely fitted together. The two halves should "bottom out" against the inner sleeve. Check the perimeter of the body for cracks and ripples...neither of which can be repaired. If your burner body has torn open, toss it and start again.
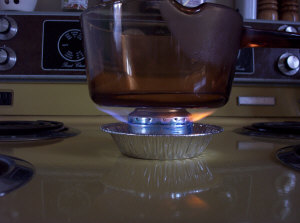
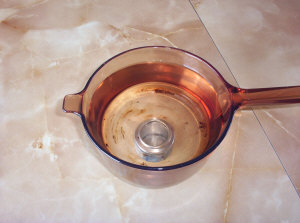
That is a FOUR LITER, CorningWare® pot (full of water) resting DIRECTLY UPON the burner! This type of burner will support up to TEN POUNDS and some builders have claimed greater achievements by using different materials for the center sleeve. Note that the burner itself has a rather SMALL diameter when compared to a larger pot, therefore the center-of-balance is quite narrow. Something you might want to keep in mind if designing some HEAVY DUTY burner!
At this point, you should add some burner holes. Some builders will measure the perimeter and divide by the number of holes, others will use mathematical instruments to determine port spacing...I just use "rough guess" procedures. I will start with 2 holes across from each other, then add 2 in between those two, then continue until I have 8 holes that are somewhat equidistant. I use a PUSH-PIN to make the holes, some people use drills...either works. One thing to remember is NOT to make the holes too small. I have found that a pushpin makes the best size of hole for this model.
Usually, eight to twelve holes are sufficient, although some builders claim to make as many as THIRTY-TWO holes.
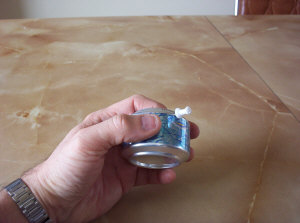
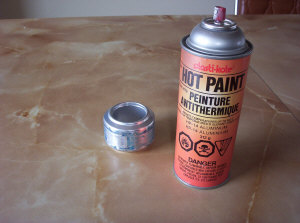
When all my burner holes have been made, I will rough-sand the outside of the burner with sandpaper and then apply a HI-HEAT paint such as this one (don't use BLACK!) to give it a professional appearance!
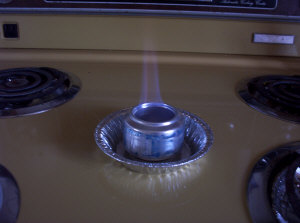
Of course I can't finish this article without performing some sort of a TEST RUN...the orange flames are probably caused by impurities that were left in the cans. This will clear up eventually, but demonstrates why you should start with a CLEAN, RINSED can!
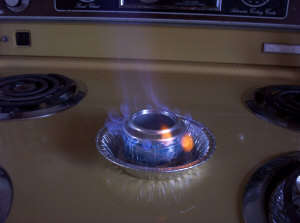
Flames stablizing now....
Burner in action, bearing the FULL WEIGHT of the pot, without flinching! This ISN'T the same pot as shown earlier, by the way!