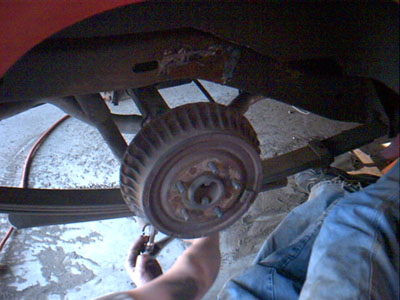
The rear setup is pretty straight forward. First of, jack up the rear end and place firmly on jack stands. Next, I removed the bumpstop brackets. A grinder and an air chisel work great for this. Use an angle grinder to take down the welds on the sides of the bumpstop, and the air chisel to pull them all the way off.
Next , un-bolt the U-bolts to free the rear end from the spring. I suggest only doing on side a ta time to help keep everything lined up properly. Now you need to remove the center bolt that holds the spring pack together and keeps the rear properly positioned. The bolt has a stud on it instead of a regular hex head, so a good set of vice grips is needed to hold on to it. Make sure you lube the hell out of it too, because it's probably just a bit rusty. Once the bolt is out, the pack will kinda fly appart. It's under a decent ammount of pressure. We just used a long ratchet and stayed the hell out of the way. we left the retaining clamp in up front, so the spring swung down. Alternatively, we probably should have used a chain or clamp to keep the spring from popping and then slowly released it. Oh well.
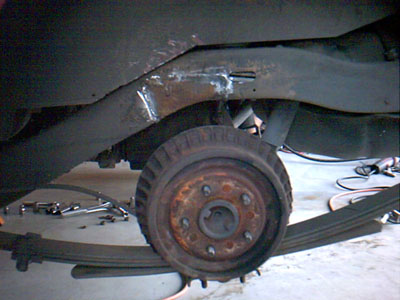
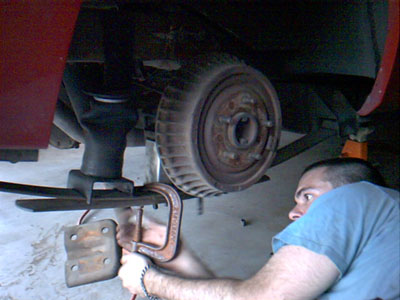
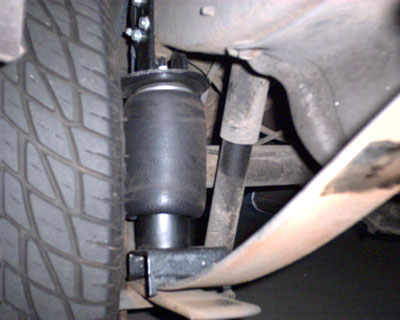
Replace the center spring pack bolt. I also retained the overload leaf, just to be safe. The bolt will need to be trimmed down a bit to clear the lower U-bolt plate. After the bolt is re-installed, it's time to put everything back together and install the bags. Put the entire unit together. Make sure the bagis straight and the top and bottom mounts are parallel to each other. You'll need to use a clamp to pull tab on the lower mount flush with the spring. It sits over the spring pack bolt, and if it's not flat to the frame, you won't be able to properly re-install your block or rear end beceause the pin won't clear the top of the tab From here on out, just follow the instructions provided by AirLift, and you'll be set.
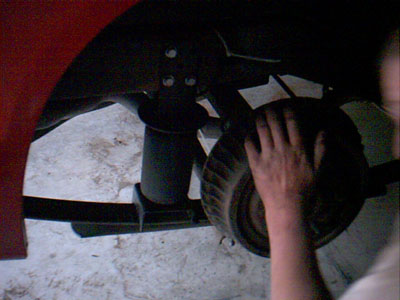
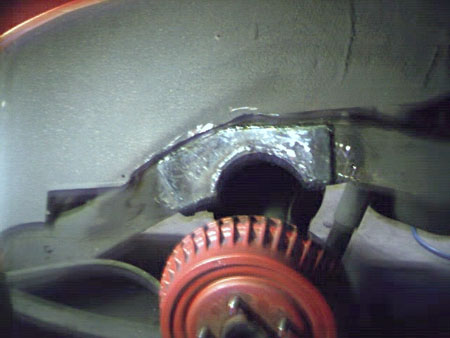
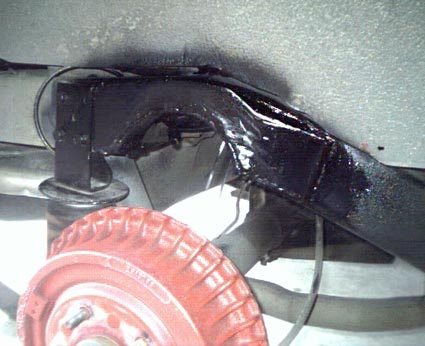
After I did all of this, I realized that I really did need to notch it cause it jus wasn't low enough.
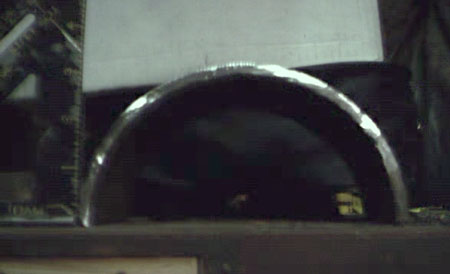
Here's a shot of the tube I used for the notch. It's 3" deep, a 6" diameter 1/4" wall mild steel tube was cut in half.
|