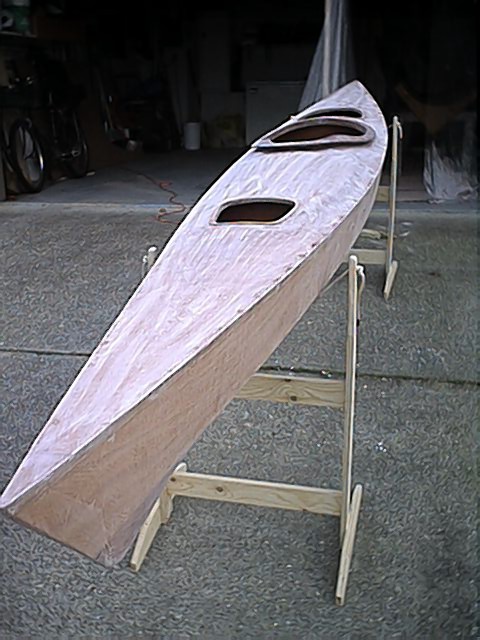
| Sunday, March 3. I sanded the deck and vacuumed the shop in preparation for putting the 'glass on. I masked the hull about an inch below the deck with 2 inch tape. Then I cut my 4oz cloth and lay the 2 pieces on, with a 2 inch overlap at the narrowest part of the deck by the cockpit. Dave helped me as I applied the epoxy with a roller instead of the squeegee; I preferred it but it was good to have the extra hands to keep the cloth tight. 18 oz of epoxy later the cloth was saturated, just the 1 inch drop over the sies to epoxy. I had heard it would be hard to wrap cloth over an unrounded edge, and as I am putting a rubrail on that is what I have. They were right! I had to wait until the epoxy was setting up before I was able to keep the cloth on the wood and not bubbling up. I ended up with a few small bubbles but nothing major. The grain & colour was coming! I glued the scarfs for my cherrywood rubrail and later in the day I trimmed off the excess cloth, following the tape line and was left with a tidy,straight trim job that will be covered by the rubrail. 5H Monday, March 4. Mixed up 6oz epoxy and coated the deck. Just enough. .75H Wednesday, March 6. Hand sanded the deck, mixed another 6oz of epoxy and rolled on the final coat. 1H Check it out! |
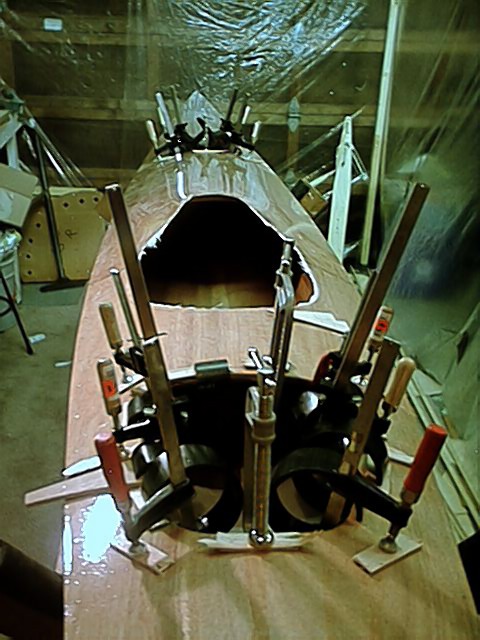
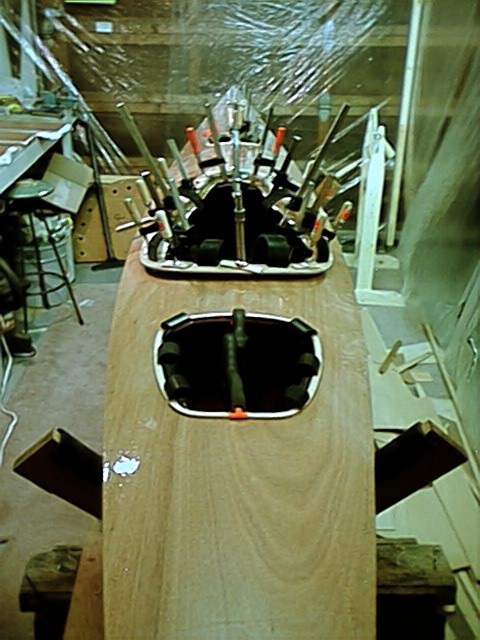
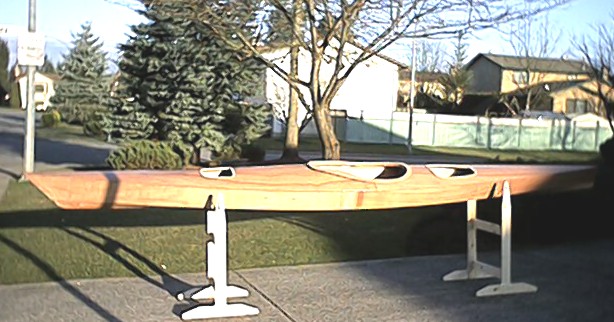
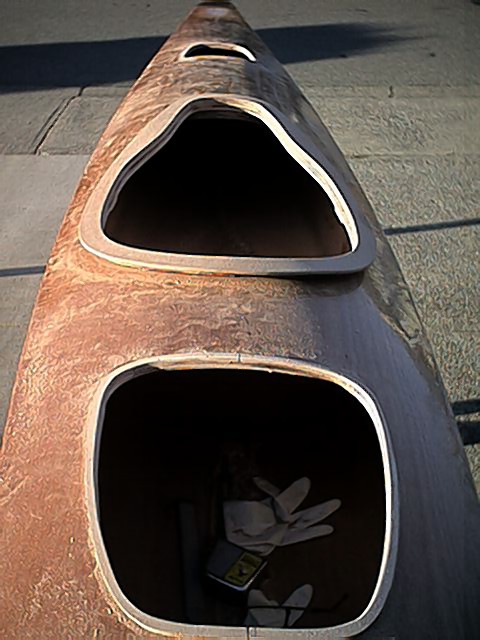
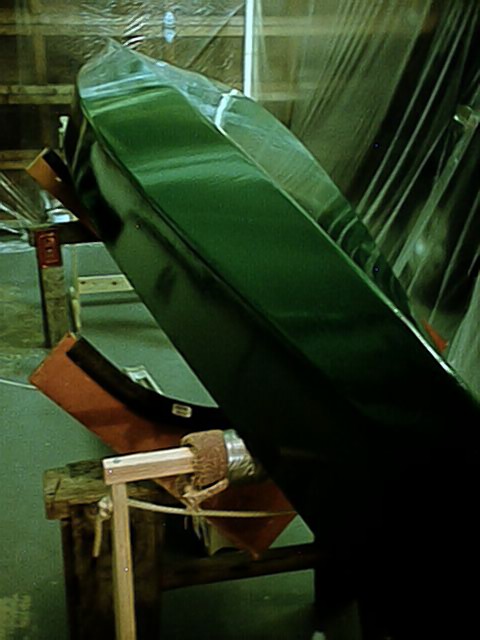
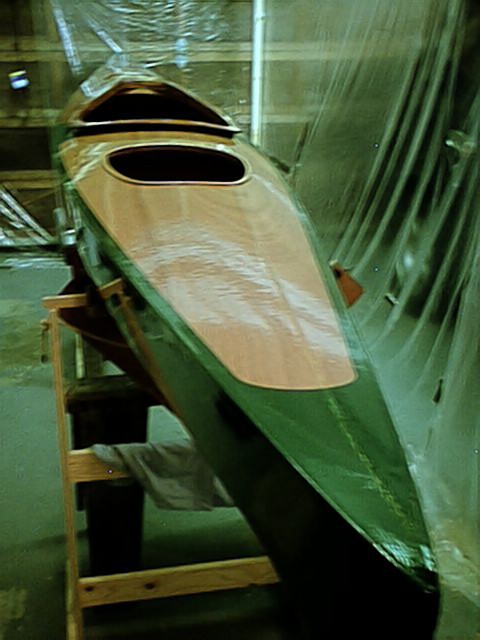
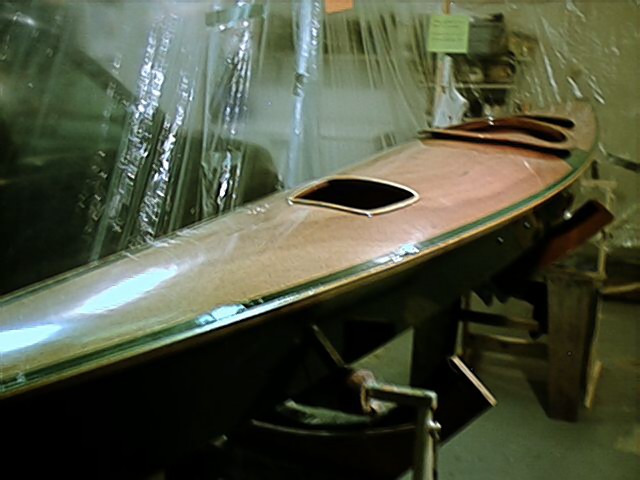
| Saturday, March 9. Cut out the hatch openings and fitted the covers. I had to trim back the hatch cover frames to get a good fit. It turned out that I did not have enough curve on the front hatch cover plus I had cut it from a different sheet of plywood than the one I used for the deck. It ate away at me until I decided to make another one. 1.5H Sunday, March 10. Cut out the mini hatch beams and the stiffeners along with the new hatch cover. 2.5H Tuesday, March 12. With the help of Dave, I glued the stiffeners and beams in place and made the new hatch cover for the front. It went very well as we just about used every clamp in the shop. The kayak bristled! 3H Thursday, March 14. I unclamped the hatches and trimmed the beams and stiffeners to the correct shape. Plenty of strength there now. Only a few pieces to go! 1H Friday, March 15. I 'glassed the hatch cover and then wet out all of the spacers, the coaming and the rims for the hatches. I used a tip from the CLC forum for holding the spacers in place. I nailed the spacers fore and aft with brass brad, cut off the head and drove the next spacer down on top. Repeated this until I had the coaming on and ready to clamp. Clamped fore and aft first and then alternated side to side until I had the whole thing well secured. Clamped the rims in place and called it a night! Check it out! 2H Sunday, March 17. I removed all the clamps and took the kayak outside, it was a crisp sunny day. Great for trimming and sanding the coaming and the hatch rims. I used a coarse hasp, then 80 grit sand paper and finished with a sanding sponge. It worked well though I had to be careful not to catch the bottom edge of the deck plywood with the hasp as it tended to splinter chunks off. It was a learning process but the final result was very gratifying. Two pictures: 1 2 3H Wednesday, March 20. I mixed up 150 mil. of epoxy and sealed out the deck beams, stiffeners, coaming & spacers. Also sealed out the underside of the hatch covers. 1H Saturday, March 23. Mixed up some filleting material and put it in a cleaned out caulking tube. It worked well for getting to those hard to reach places plus it puts out a nice fine bead. Smoothed it wi.th my finger or a spoon. I had plenty of material left over after I had done the bulkheads so I did the sheer clamps in the cockpit area and as far as I could reach in the storage areas fore and aft. I sealed the coaming and rims around the hatch openings and called it a night. 2H Sunday, March 24. I took the kayak outside and sanded the hull and deck down. Lots of white dust everywhere but in a couple of hours I had pretty well got it done. 2H Friday, March 29. I filled some small imperfections with automotive glazing and spot putty. Dries nice and fast. Sanded the hull once more and I was ready to prime. I went with a quick dry alkyd primer; made to go over fiberglass. It dried in two hours, I filled a few more small 'wrinkles', sanded them, primed them and after another couple of hours I was able to put the first coat of alkyd gloss marine paint on. It was worth the wait, see for yourself. 4H Saturday, March 30. Wet sanded the marine paint and gave it a secondcoat. 2.5H Sunday, March 31. Same as Saturday; the final coat! 2.5H Tuesday, April 2. I marked out the deck area that I was going to paint, masked it off and applied the quick dry primer and the first coat of finish. 2H Wednesday, April 3. I applied the second and final coat of finish and removed the masking tape. Now it was time to think about varnishing the deck. 1H Thursday, April 4. The deck was already sanded so it was just a matter of rolling on a coat of varnish and tipping it off after I lightly sanded the painted lines as I decided to varnish over the paint for extra protection. Have a look. 1H Friday April 5 & Saturday April 6. Light sand and varnish to get a bit of a build. 2H Monday, April 8. Wet sand with 400 grit and varish. Now the dips are starting to get filled and things are smoothing out! 1.5H Thursday, April 11. With the assistance of my lovely wife Andrea, I put the 1/4 by 3/4 inch cherry wood rub-rail on, attached with silicone and 3/4 inch brass brads. Then I sanded and varnished the deck and rubrail. Nice effect! 3H |