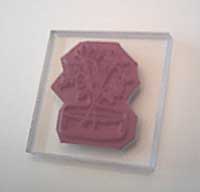
1. Rubber - the image
2. Cushion - padding
3. Mount - acrylic or wood
Preparing the stamps with EZ mount:
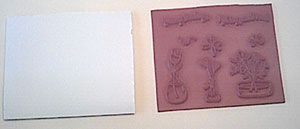
There are many ways to prepare unmounted images. It depends on how sharp your scissors are and how thick of a material you are comfortable cutting through. I have included two ways so that you can decide on the best method for yourself.
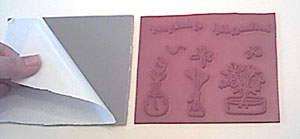
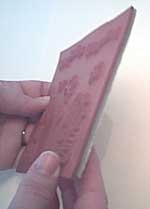
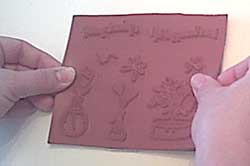
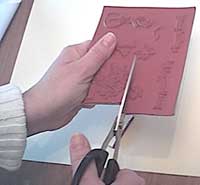
1. Very Sharp Scissors: (single cutting) - Peel off the paper on the back of the EZ mount cushion so that the sticky side is revealed, and put the rubber image/sheet on top with the images facing upwards. Next, peel off the paper on the other side of the cushion to reveal the smooth, "clingy" surface. You will then cut the image with a very sharp pair of scissors. You can cut as close the the image as you want.
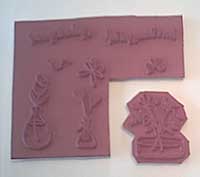
2. Regular Scissors: (double cutting) - Cut out the images from the rubber sheet. Then pull the backing off of the EZ mount to reveal the sticky side and place the images (facing up) on the cushion, leaving enough room between them to cut apart. To help prevent the stickiness from getting all over your scissors when you cut, you can place a single layer of clear plastic bag or cellophane over the entire piece. Be sure to remove the paper from the other side of the cushion to reveal the smooth, "clingy" surface. Then cut through the cushion following the pattern of your cut rubber images.
I prefer the first method myself, only having to cut once. I have a pair of Kai scissors which work great for this. They are available in the back of our catalog.
Storage: The cheapest and easiest way that I have found to store unmounted rubber stamps is in CD jewel cases. You can purchase these at office supply stores or even at Wal-Mart. Just be careful to place the stamps so that the image is not being smashed by the ridge on the left side of the case. The cases can then be labeled on the outside edge and stored in any CD storage container or tower.
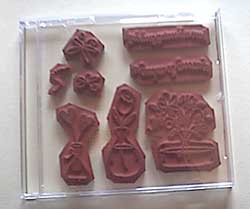
Benefits of Unmounted Stamps:
1. Less expensive
2. See through mounts allow you to see where you are stamping.
3. Easier to line images up - place the image where you want it on the mount, then line the mount up with the edge of the paper for straigter corners, words, or borders.
4. Building designs - you can place many images on the same mount to create your entire card front, ink it, and stamp only once instead of once for each image.
5. Alphabet stamps - you can build your own words on the acrylic blocks and space the letters as close or as far apart as you like.
6. Versatile - you can cut the image into parts and use them in different ways. Ex: Happy Birthday on one line can be cut apart and mounted on two lines, or spaced different with an image between the two words.
7. Storage - takes up less space than wood mounted.
8. Curvature stamping - stamping on curved surfaces (flower pot, candle) is easier since your hand can be the mount and you will have more flexibility around the curve.
If you have any questions, please contact me.