 |
| DIY INTAKES |
 |
 |
 |
 |
 |
 |
 |
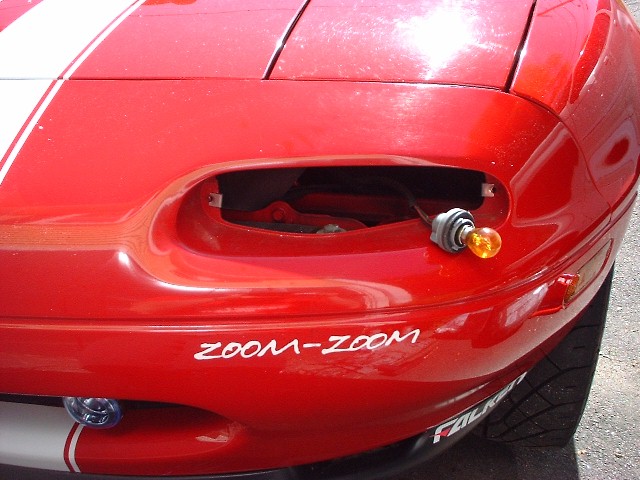
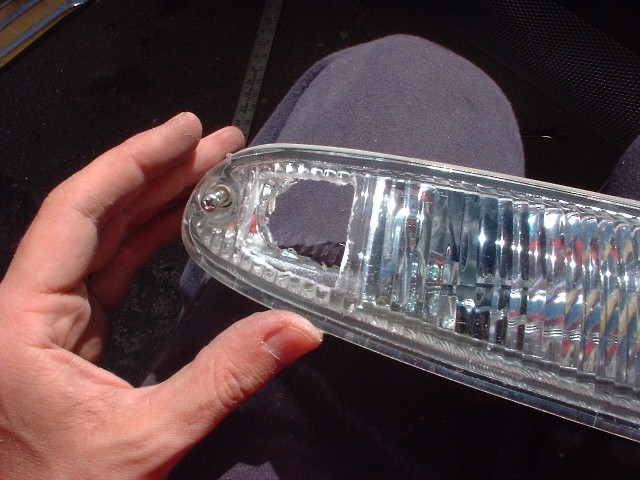
| I have a racing Beat "elbow" air intake and wanted to find a way to get more cool air into the engine compartment to keep the temperatures lower. I turn signal intake seemed like the way to go. However the $140+ price tag seemd kind of steep and I didn't particularly like the look of the manufatured TSIs. On Miata.net, I got the idea to create my own TSIs using the stock turn signal units (thanks Louis!). The units have an empty compartment on the outside portion of the unit. I beleive it's used for a running light in Europe. This empty chamber is convenietly seperated from the blinker portion of the unit by a divider. Therefore, it is possible to cut through the front and back of this chamber to allow air to pass through as it does with one of the manufactured TSIs. A piece of metal mesh serves as the grill and completes the finished look. Here are the steps I took... |
| DO IT YOURSELF TURN SIGNAL INTAKES |
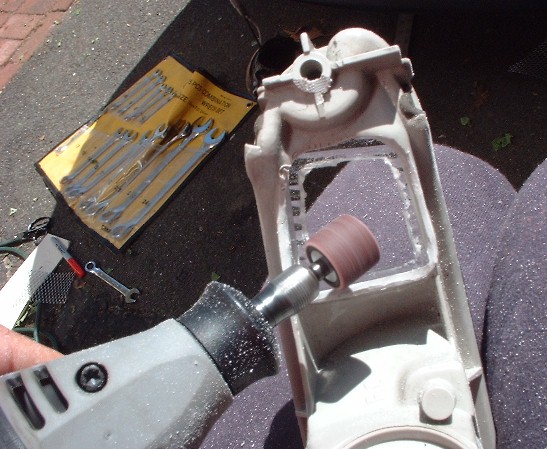
| Tools: A Dremel with cutting disk and cylindrical sander Materials: Metal mesh. I used metal gutter guard purchased at Home Depot. You only need about 6 sq. in., but it comes in packs of 5 for about $6. Time: About 1 hour. Proceed carefully and at your own risk! |
| First remove the turn signal units by unscrewing the two screws at the outside edges of the units. Twist the base that hold the bulb to remove it. There are three tabs that hold it in place -- just twist it a quarter turn to find the notches and the base pops out. |
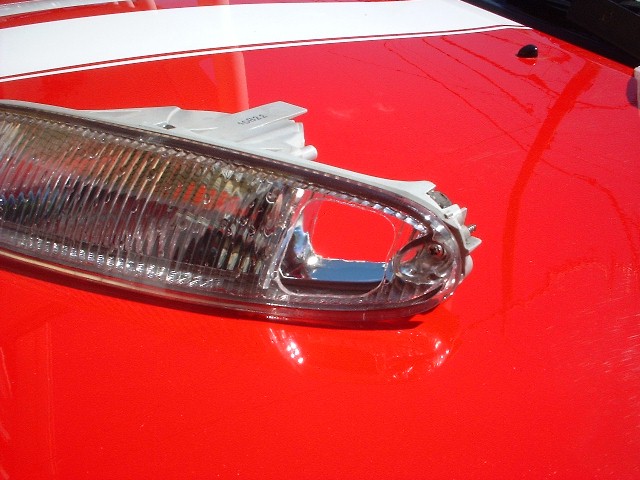
| Use the cutting disk of the Dremel to cut out the grey back of the empty chamber on the outside edge of the turn signal assembly. Also use the cutting disk to cut an opening in the clear front portion of the chamber. Leave enough room (a good 1/4 to 1/2 inch) to finish the job with the Dremel's cylindrical sander bit. You'll need the Cylindrical sander to smooth out the edge and give a curve to the corners. It's safer to cut a smaller rough opening and sand down from there than to cut too much initially. |
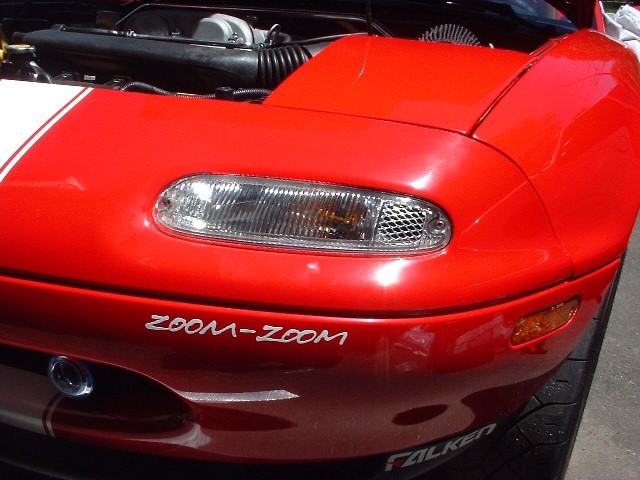
| When finished cutting the turn signal unit should look like this. |
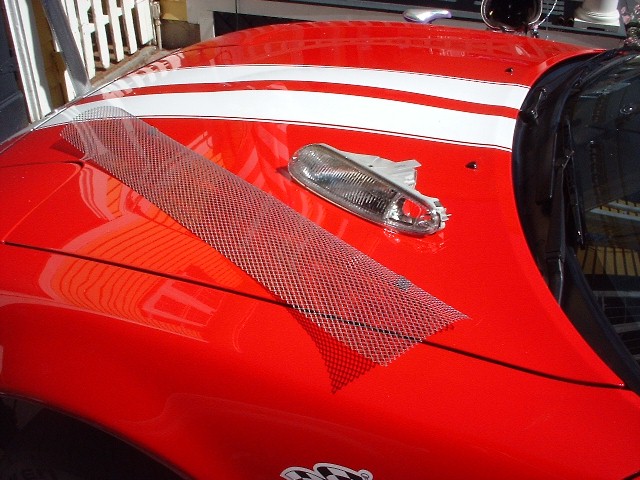
| Next comes the mesh grill. I used "Gutter Guard" purchased at Home Depot. It only came in packages of 5 sheets like that pictured to the left. Hower, I used one of them to fashion a mesh grill for my Miata's mouth, so it was worth the $6. You'll need to lay the mesh against the opening in the turn signal and trace with washable magic marker the shape that you'll want to cut. You can cut the mesh with a strong pair of scissors, or something tougher like tin snips. Make sure to cut the piece of mesh large enough to reach all the way to the edge of the interior of the chamber. There is a slight indentation between the clear plastic portion and the grey backing. This indentation will securely hold the mesh once you push it into the chamber. I found it easiest to slighly bend the piece of mesh and wedge it into the open chamber from behind. If it's a little too large, pull it out and trim a few more links. I decided to leave the mesh unpainted, but you could spray it flat black or some other color to match your car, or even with some clear coat to prevent it from tarnishing. |
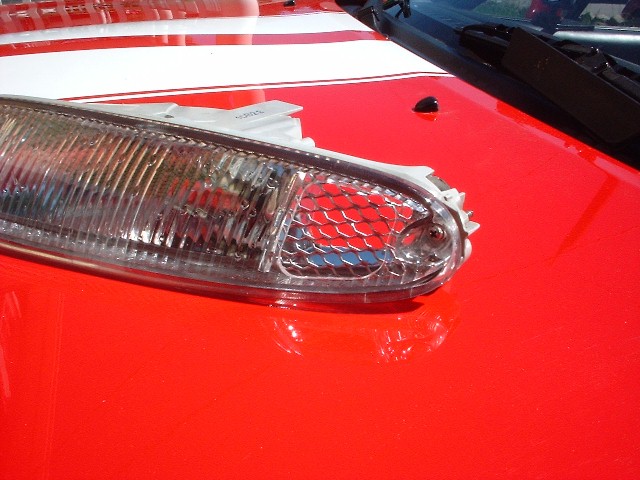
| When your finished and satisfied with the job, reconnect the bulb to the turn signal unit by popping it into the opening (lining up the tabs and notches) and twist it in till it hold snugly. Insert the turn signal assemblies back into the opening on your Miata's nose and screw the two screws back in to hold the assemblies in place. There you have it -- $6 turn signal intakes that preserve the original look of your Miata. |