This is what your rearend housing should look like when removed from the car. This conversion can be done with the housing still in car. I just found it easier to do with it out of car since I was replacing gaskets and painting. Not a bad idea to replace your axle housing seals and wheel bearings if needed. I also removed my center section and put a new gasket in.
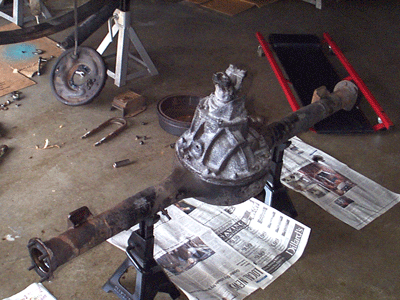
With everything out of car and cleaned up, now is a good time to paint the axle housing and related parts.
Step 3 :
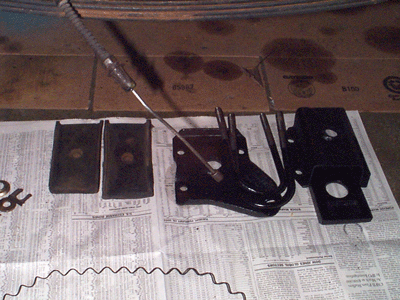
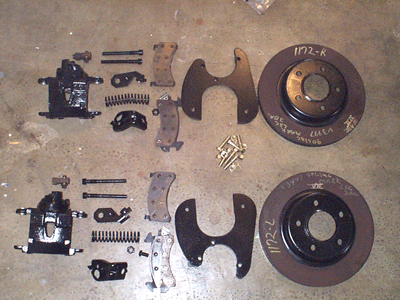
Now with the rearend assembled (center section installed and new axle housing seals installed) and painted, start test fitting the brackets to the housing. The brackets come with some spacers welded on so they can be swapped side to side to get different spacing to the rotor when the calipers are mounted (instuctions are supplied with brackets that explain this). I mounted mine so the bracket was farthest inward when mounted (I used the spacers). Depending on how clean you axle housing is (rust, etc) you may need to grind (clean ) the back of the flange so the bracket spacers fit as flush as possible. The following page will illustrate this.