This ended up taking a while to do, mainly because I was undecided on how I wanted to do it, how to do it etc. It's not much more than a cut-and-screw type of thing. But there are one or two things to do in addition to that.
Tools/Materials used:
Circular Saw.
Dremel.
Sanding bit for the Dremel.
1/2" MDF.
Wood screws, 1" in length.
Metal strip's (in lumber section of hardware store).
Tin snips.
Vise.
Hammer.
Elmer's wood filler.
#6 x 1/2" screws.
1/2" Self-tapping screws.
Vinyl.
3M Contact 80 spray adhesive.
2x4 board.
Chop saw.
Router w/straight flute bit and flush trim bit.
Drill with 3/8" bit and 1/8" bit.
1/4" Hardboard.
Pneumatic staple gun.
1/2" staples.


The first part is very straight foreword, cut the center piece to the size needed for your amp, and then decide how far back you want the amp 'recessed' and cut a strip of wood that length. Drill pilot holes and then screw together.
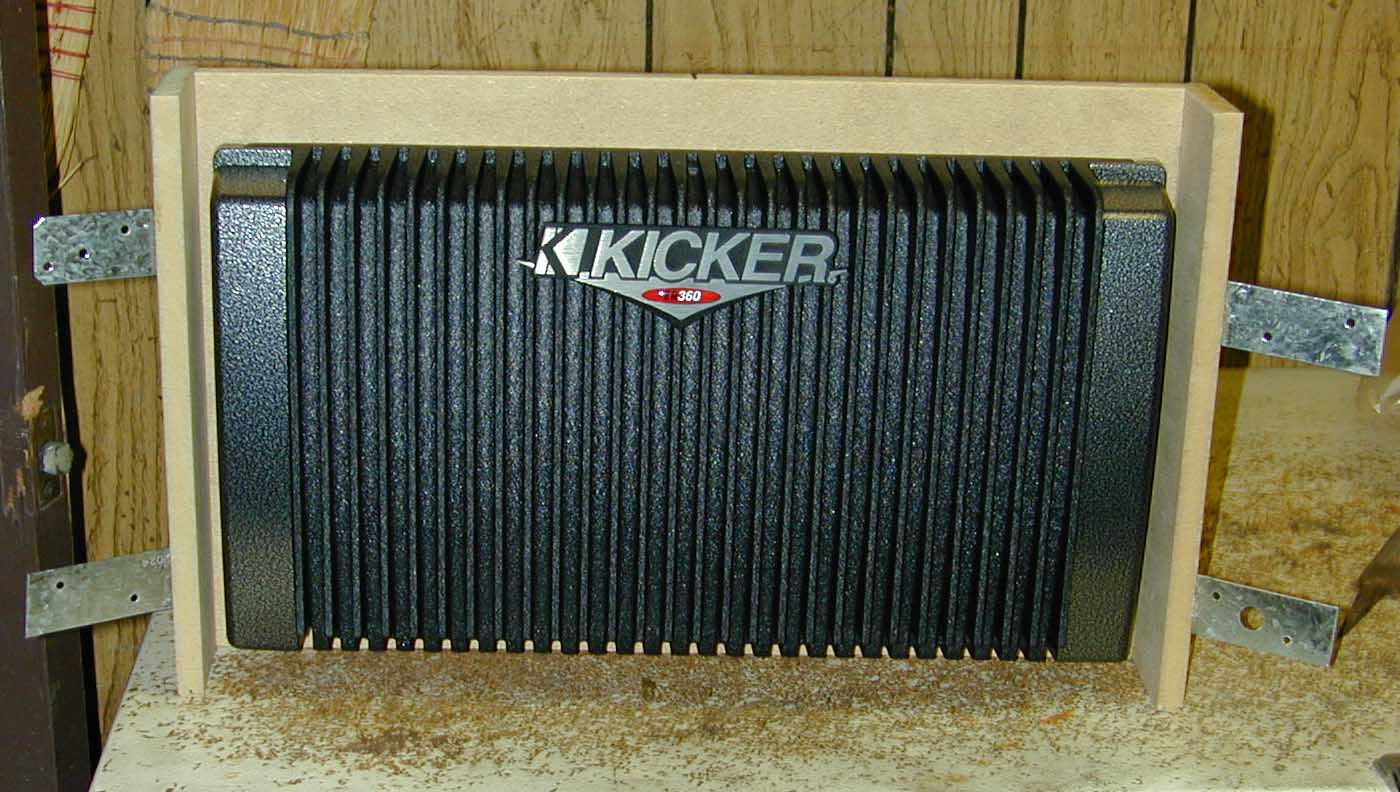

For this, figure out the angle needed for the sides and their lengths to get the proper fit. Once that is done, cut the 1/2" MDF at that angle. To help in getting it the right angle I used a Dremel with a round sanding bit. Once that is done, cut and bend metal strip's to that same angle and then attach the sides. This will hold everything in place, but still allow it to flex and move so you can get it fitted exactly in the car, then solidly fasten it together. I used a piece of a 2x4 and cut it at the right angle to fit from behind and then screw it to both pieces of MDF. To hide the screws on the front, I simply counter-drilled the holes using a bit the same dia. as the screw heads. Next you need to mount the amps to the rack and find out which connections you will be using. Mark that on the MDF and then drill/router out a hole large enough to fit whatever wires you will be using. MAKE SURE TO ACCOUNT FOR HEADS ON RCA'S AND WIRING when making the holes!


Next thing to do was give the rack a top. Without one, you could see behind the rack and see all the wires and such. I used 1/4" hardboard for it. Do a rough cut on it to get it a little bigger than the rack. Use the staple gun to staple it in place. I put a couple staples in the middle and each side. Then use your router with a flush trim bit to trim it flush. Once that is done, just finish stapling it in place. The next thing to do on the finishing was to fill in gaps and the counter-drilled holes. I used Elmer's wood putty for that. Its fairly easy to work with, dries quick and is easy to sand.


Now it is time to cover the rack, I chose vinyl on mine. To vinyl the rack just simply spray glue (liberally) on the rack and the vinyl and let it sit for a few minutes. Then apply the vinyl, with something this shape doing so isn't that hard. Once everything is on trim off the excess. Now, you need to open up the holes for the wiring. I did this by first using an ice pick to poke through, and then use a razor blade either cut all of it out or just make slits to form an 'X'. Doing the 'X' way looks better, it allows you to push the wires through and then push the vinyl back in. It then gives the appearance that the wires are just coming through the vinyl.
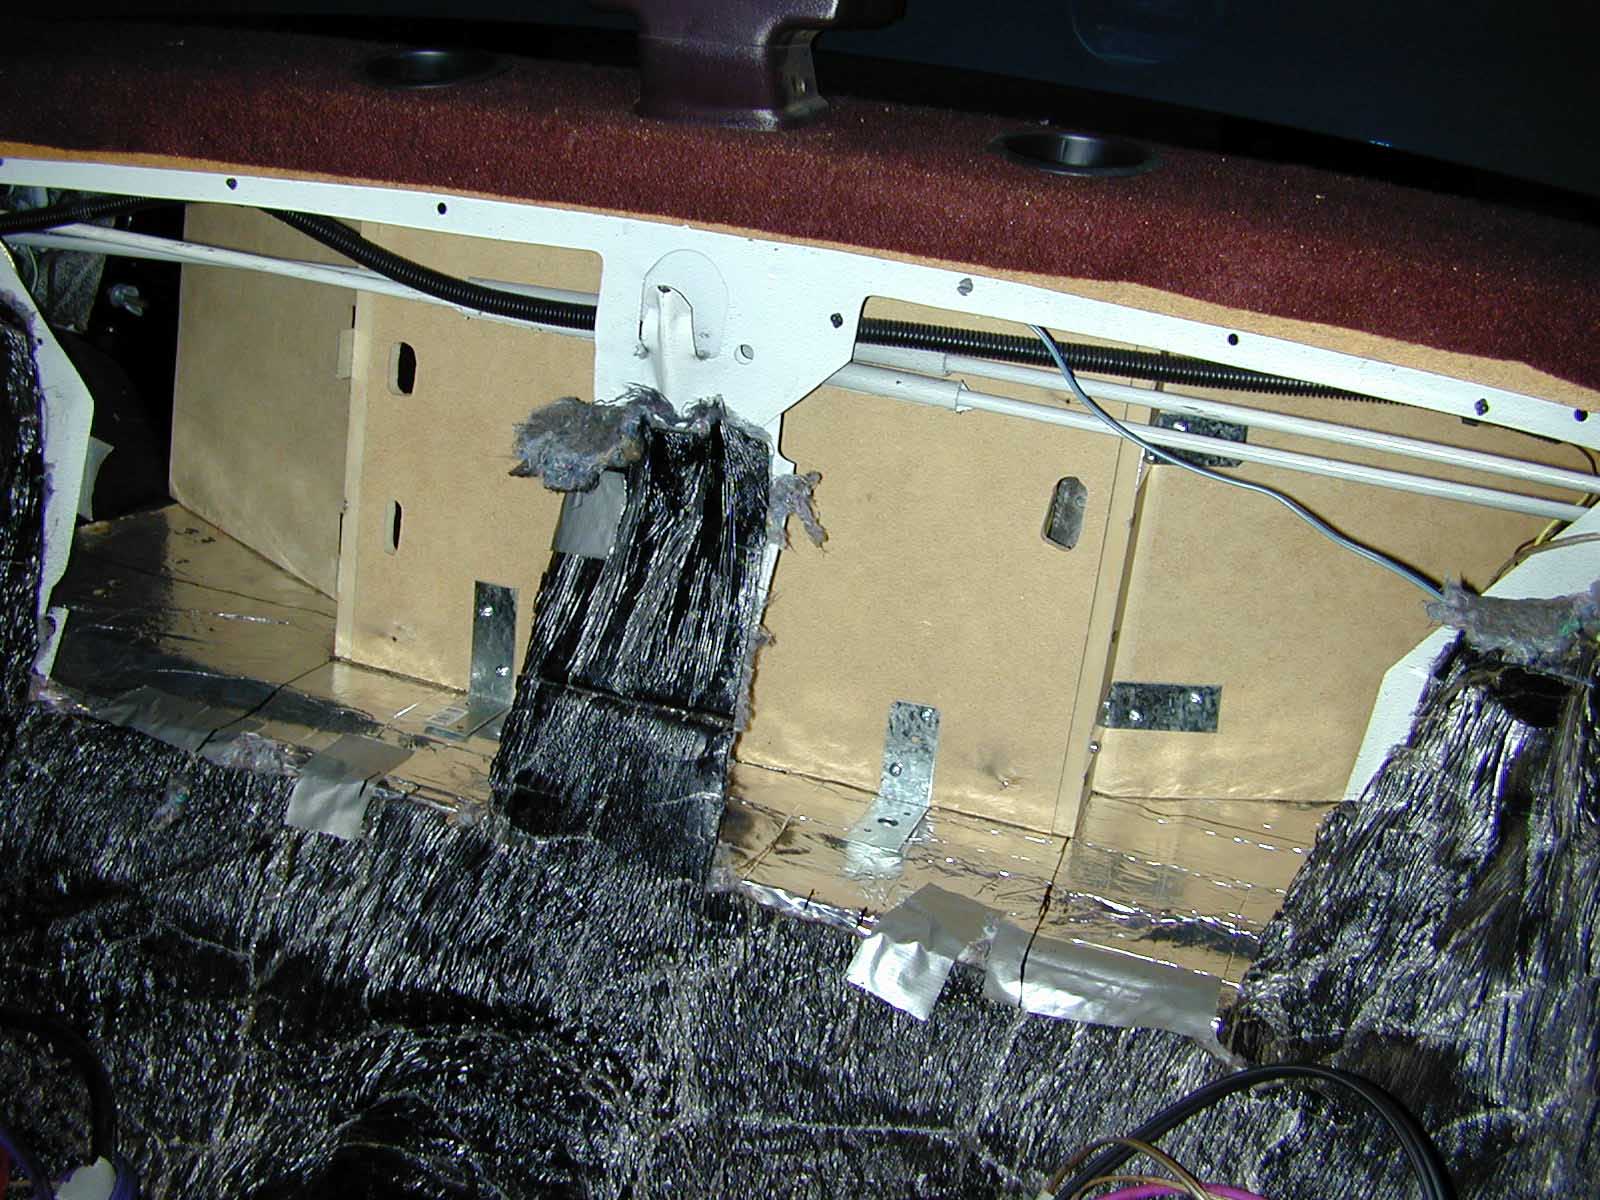
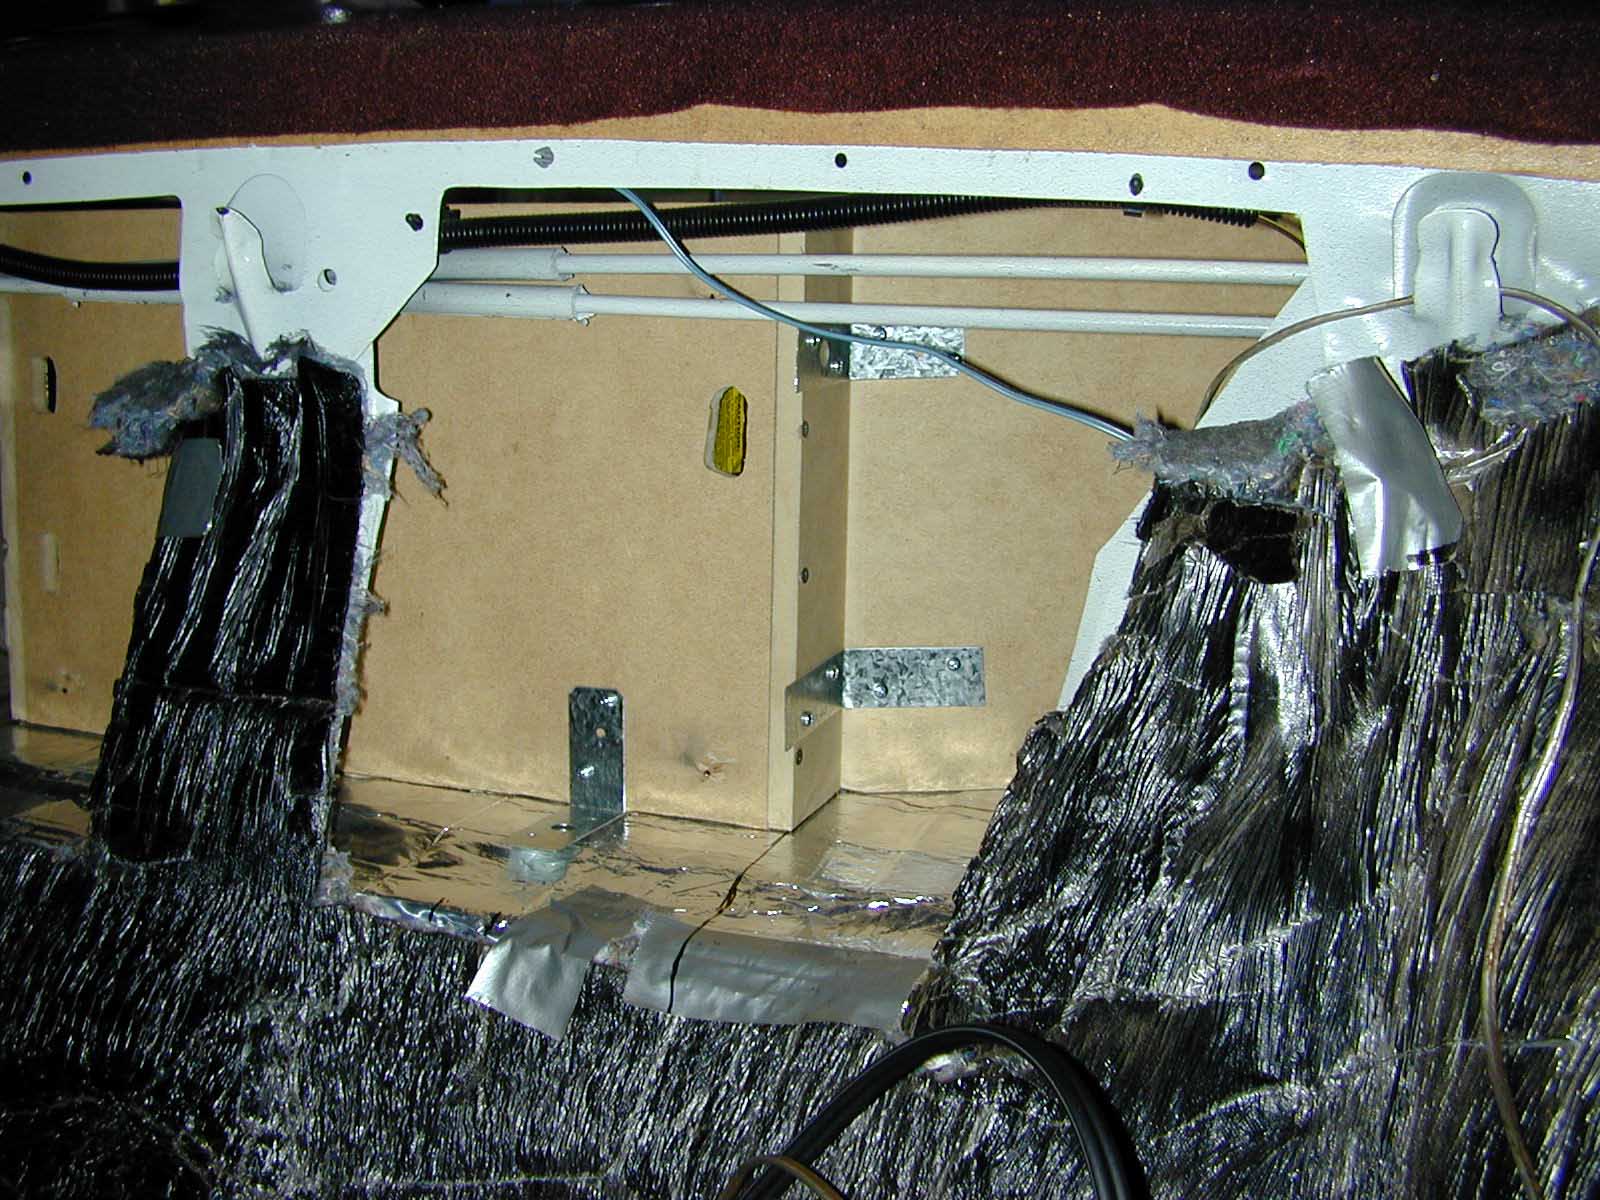
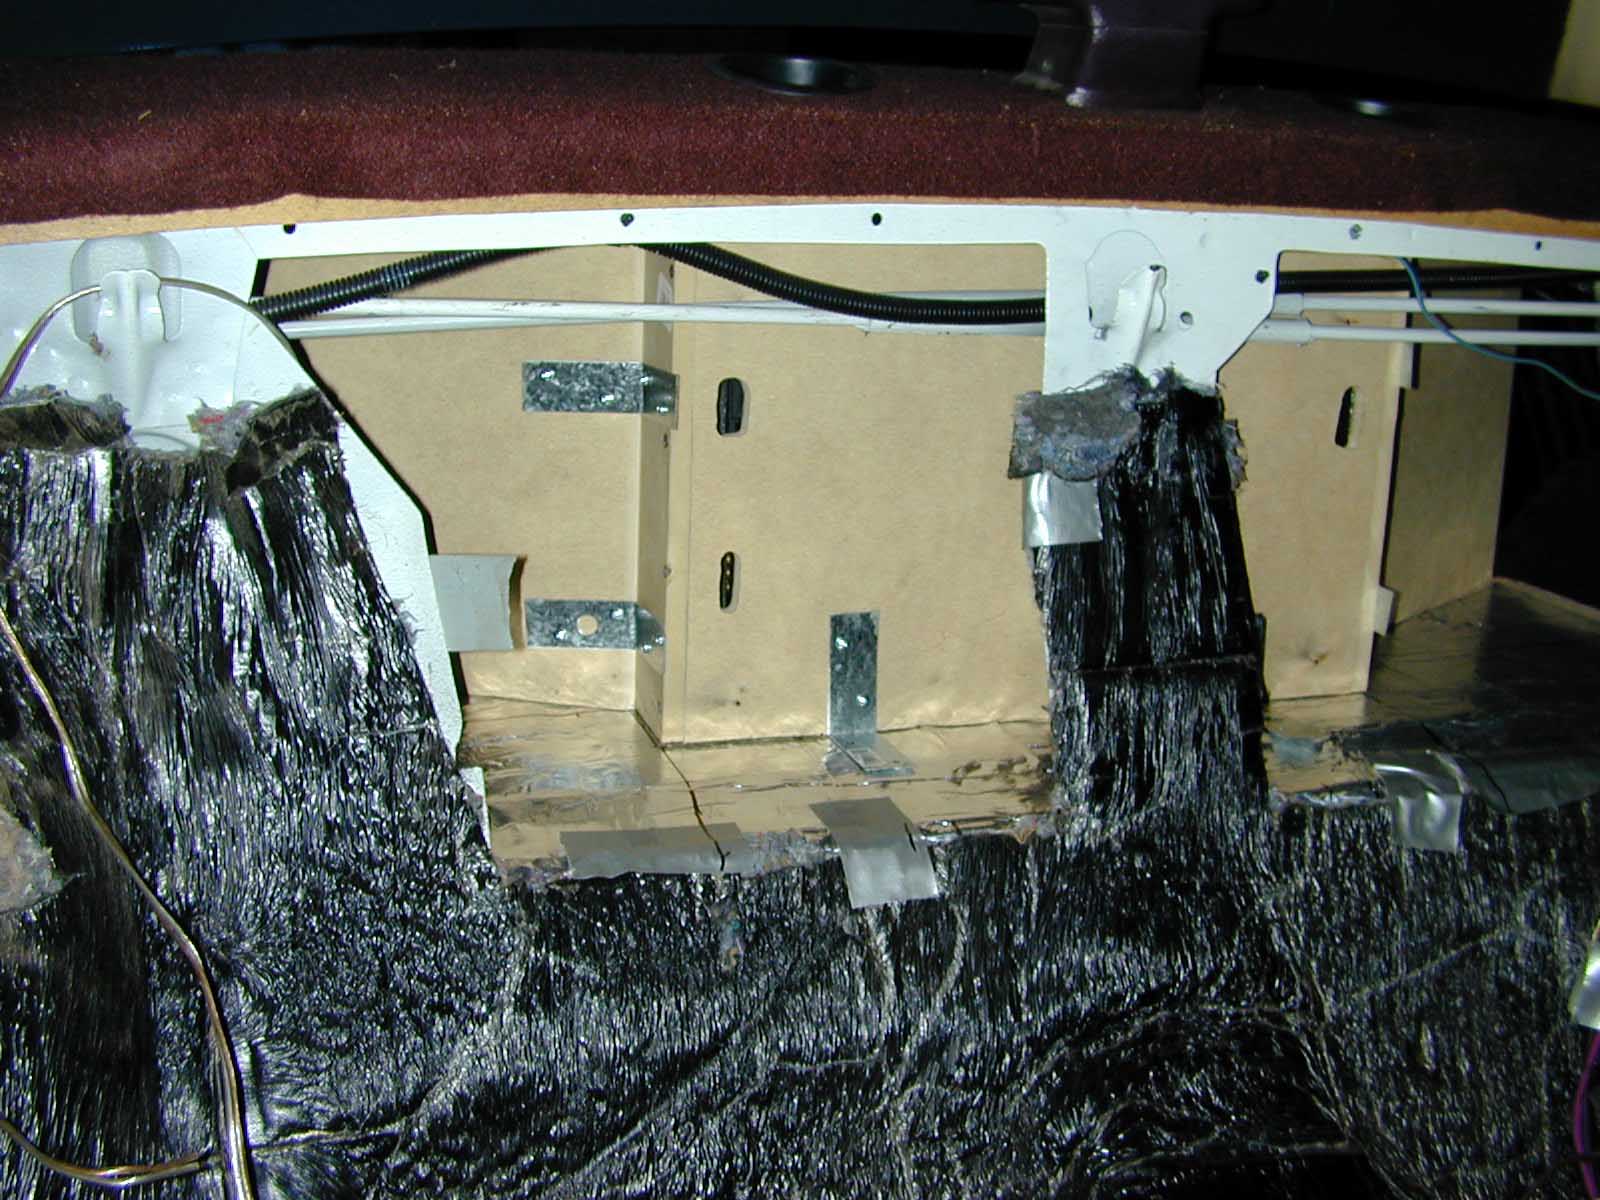
Now it comes time to attach the rack to the trunk floor. I used 90 degree 1/8" thick steel found in the lumber section of the hardware store. Screw the metal to the rack and then to the floor using self tapping screws. BEWARE OF GAS TANK AND GAS LINES!!! Make sure you know where they are and that you aren't screwing into them. MAJOR problems will then be arising....
Overall this was an easy part, it just took me much longer than anticipated thanks to me changing my mind and the wonderful holidays not allowing me to work.