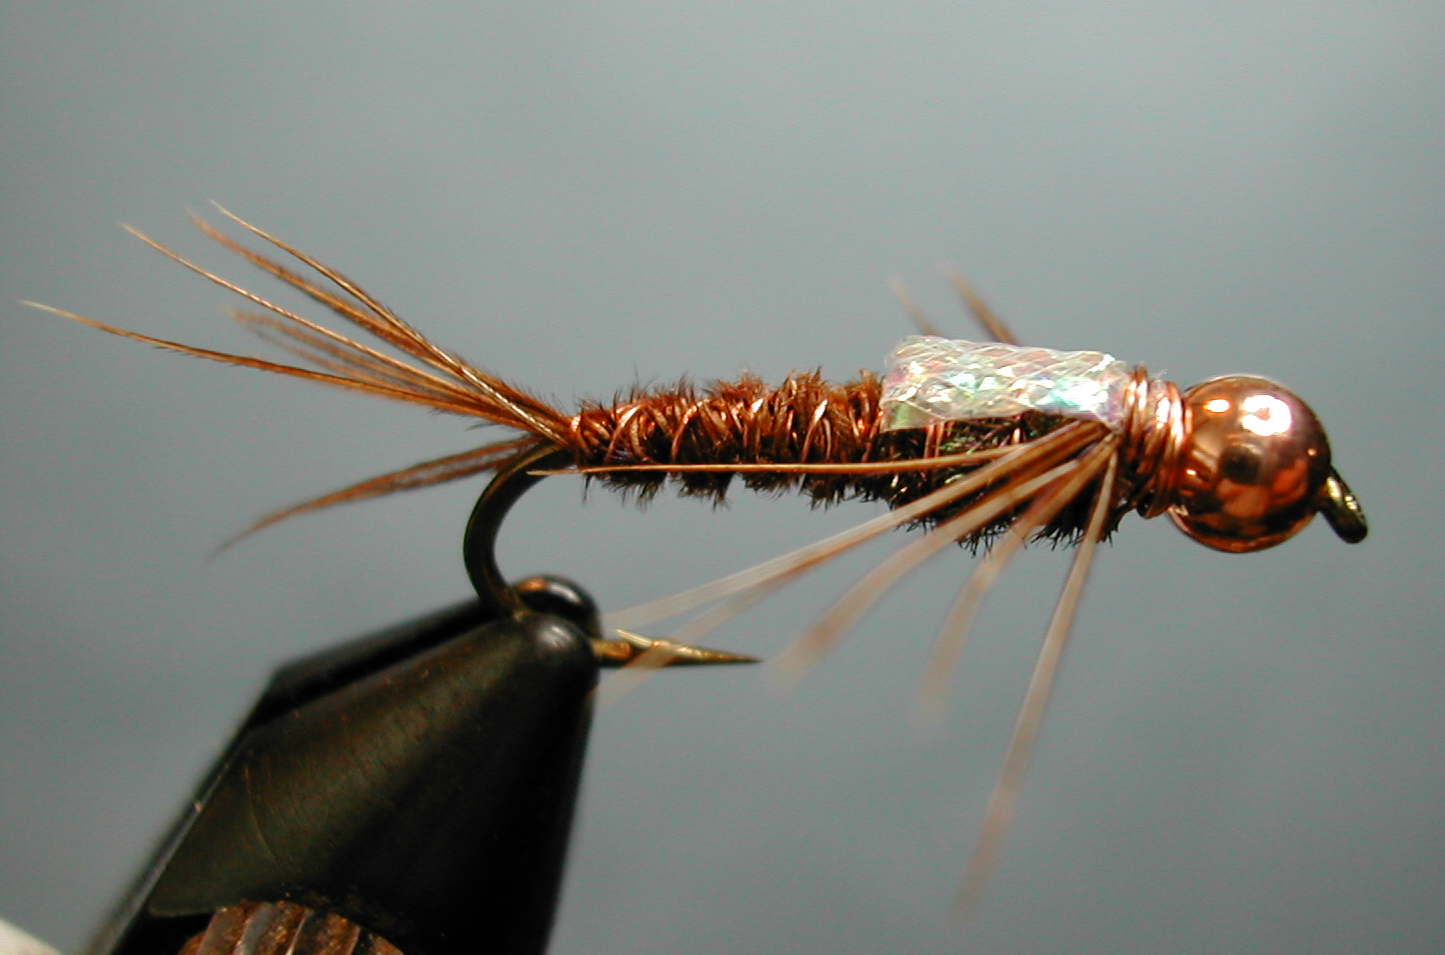
How many times have you had the one fly that was working that day fall apart just as the fishing was heating up? I can't count the number of nymphs that I have had to "repair" on the river, when they just could not take any more abuse. The problem always seems to be that some material just can't take the fish teeth, rocks, and thorny branches that they are often cast into. This fly is a direct response to these problems. There is no thread used in this pattern. Instead copper wire is used to bind the materials to the hook. This adds a lot of durability, some flash, and a little more weight. This fly has all the best parts of a Brassie, and a Pheasant Tail. It can be tied with or without the bead.
Hook: 1X long nymph hook size to match the
bugs that want to approximate weighted with Copper bead, and Lead
wire
Thread: Copper wire
Rib: Tag end of wire
Tail: Pheasant Tail
Thorax: Butt ends of Tail
Abdomen: Peacock twisted around copper wire
Legs: Pheasant Tail
Wing Case: Mylar braid
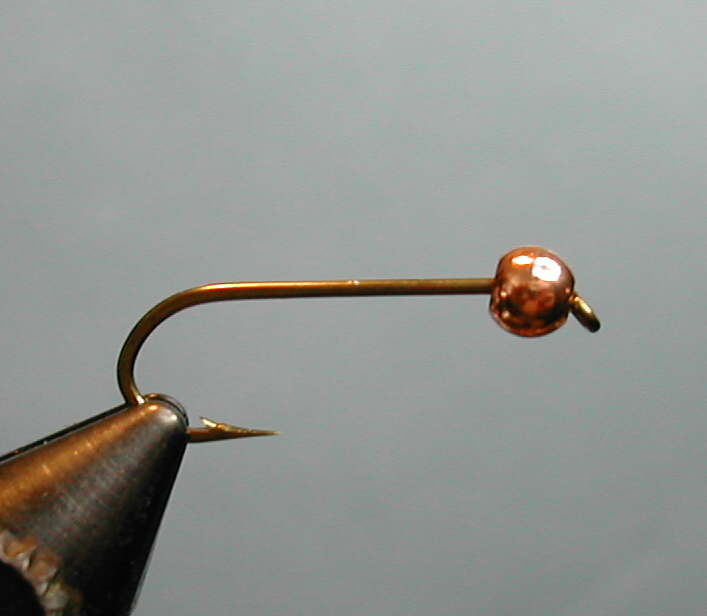 |
To begin chose the appropriate bead for the size hook you are using. It is important to use beads that drilled larger on one side than the other for this pattern. You can see in this image that the larger hole is toward the back of the hook. |
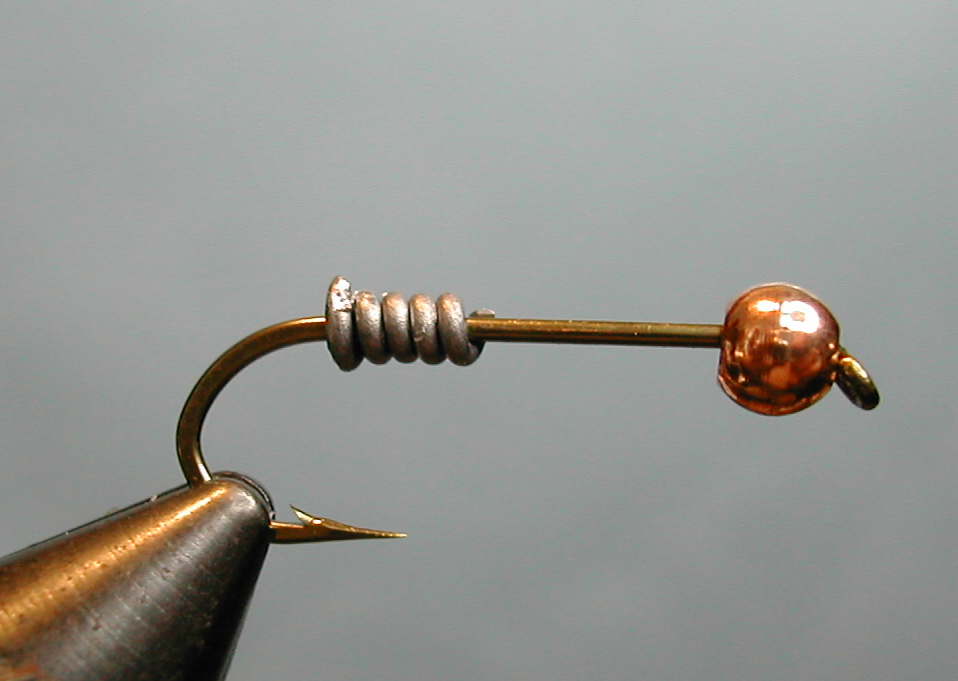 |
Wrap a few turns of lead on the hook. Four or Five turns is normally just right, but you will need to adjust to the size wire, and hook you are using. This is .035 inch wire on a size 10 hook. |
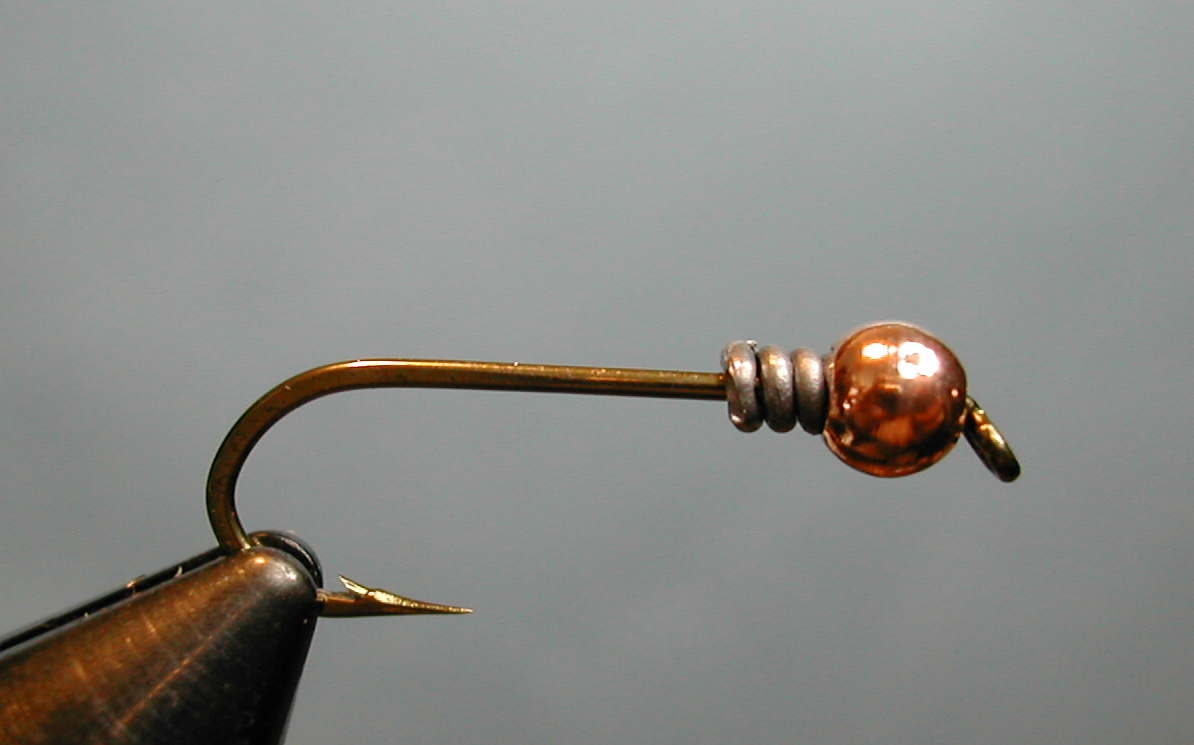 |
Slide the lead into the larger hole in the bead. This does a great job of filling the hole in the bead, and gets more weight to the front of the fly. |
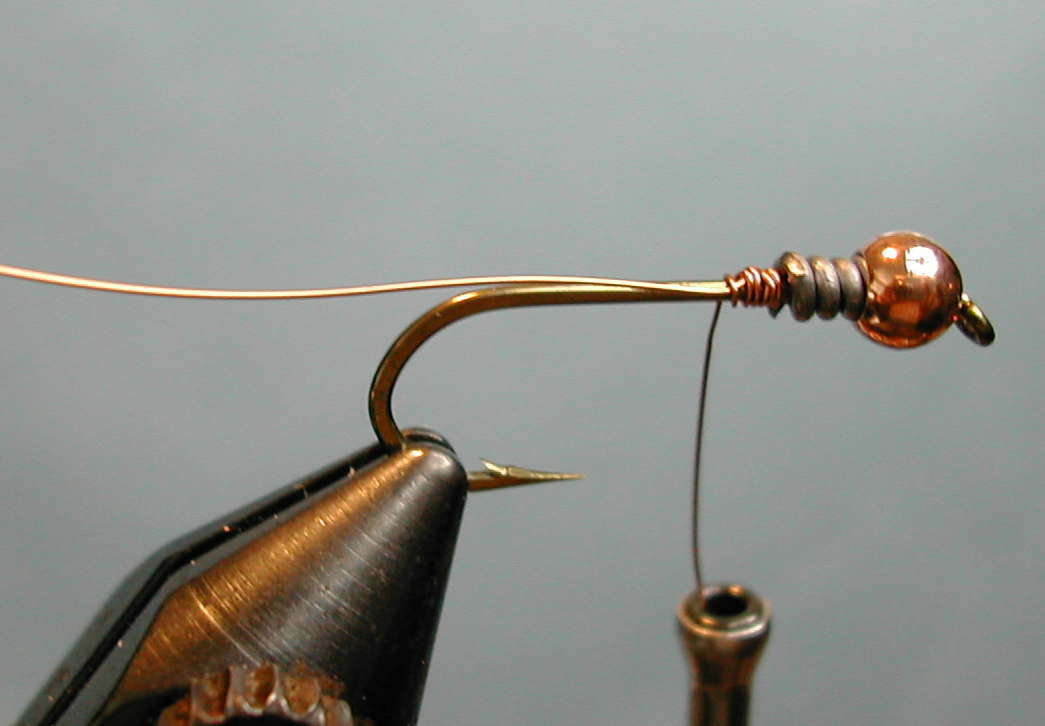 |
Start you wire just behind the lead. You can see my bobbin hanging below the fly in this image. I don't think that wire is the best thing to use in a ceramic bobbin, but I do it anyway. Be warned that this practice will most likely shorten the life of you bobbin. Be sure to leave a generous tag end, as it will become the rib later. |
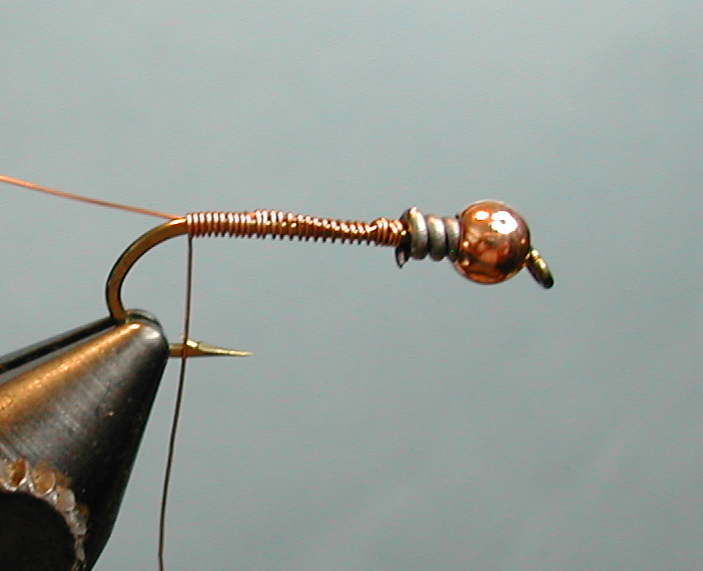 |
Wrap the wire back to where you would normally tie in a tail, and rib. Try to keep the wraps even. They don't need to touch one another, but you don't want it too lumpy either. |
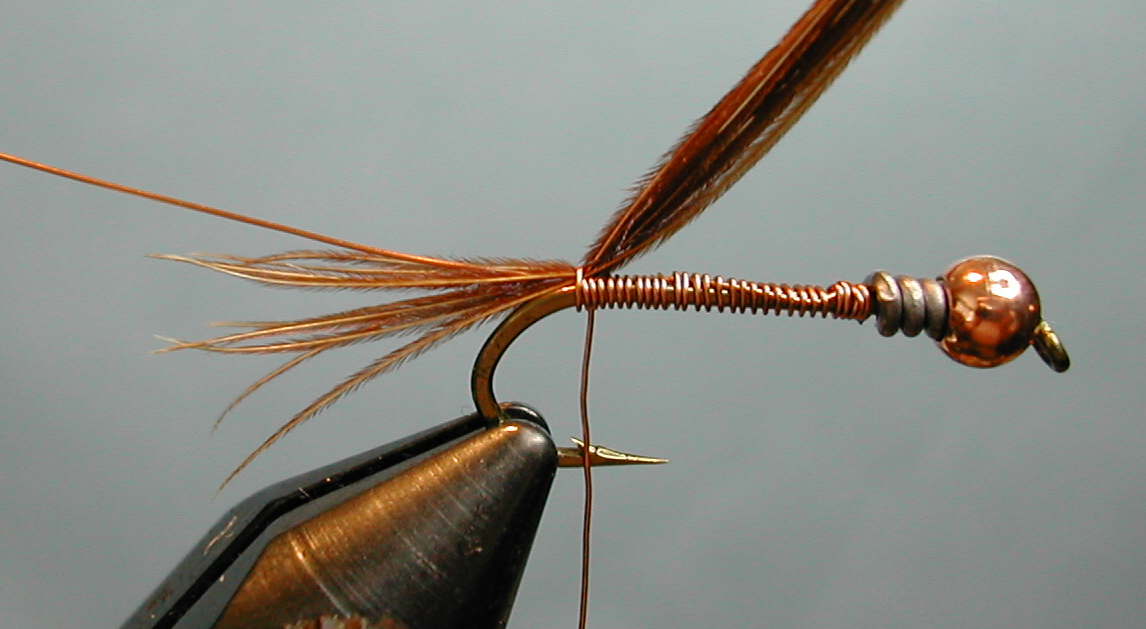 |
Tie in the tail of your nymph at this point. Take one wrap around a cluster of tail fibers and pull them back or forth to adjust length of nymphs tail. |
 |
Wrap the butt ends of the pheasant tail forward to form the abdomen of the fly. Secure slightly behind the lead wire. |
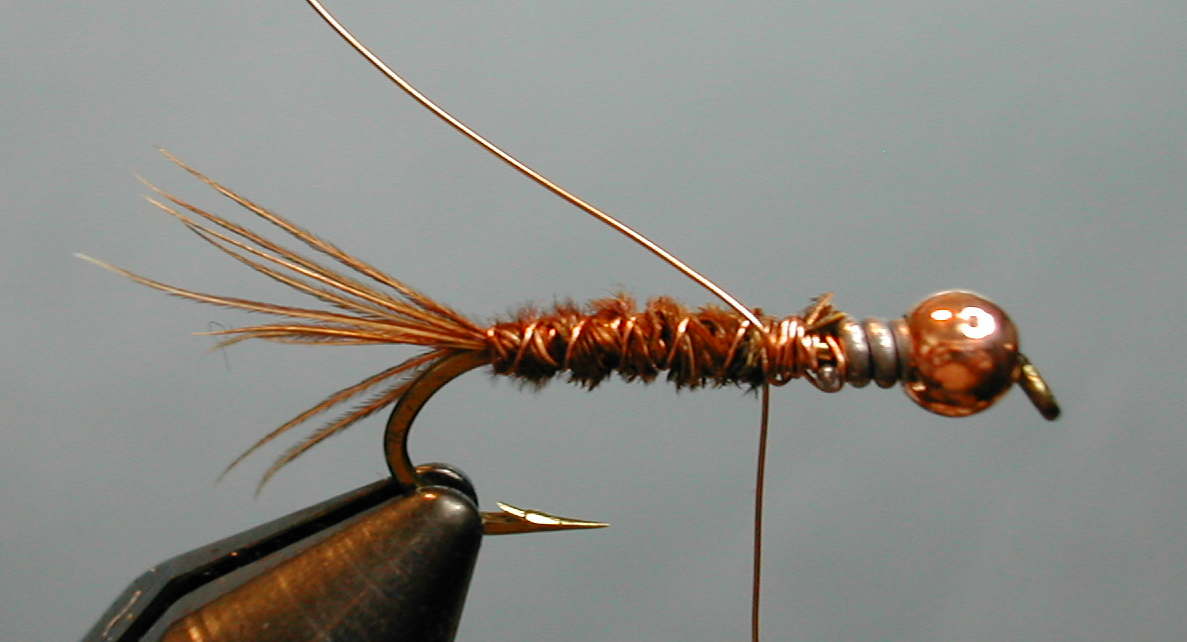 |
Wrap the rib forward. It is important that the rib be wrapped in the opposite direction of the pheasant tail fibers. This allows the rib to protect the fibers from being torn loose. It also gives much better segmentation to the the fly, as the rib tends to get buried between the fibers if it wrapped the other way. When the rib is almost to the lead tie it off with the wire from your bobbin and cut the rib wire off. |
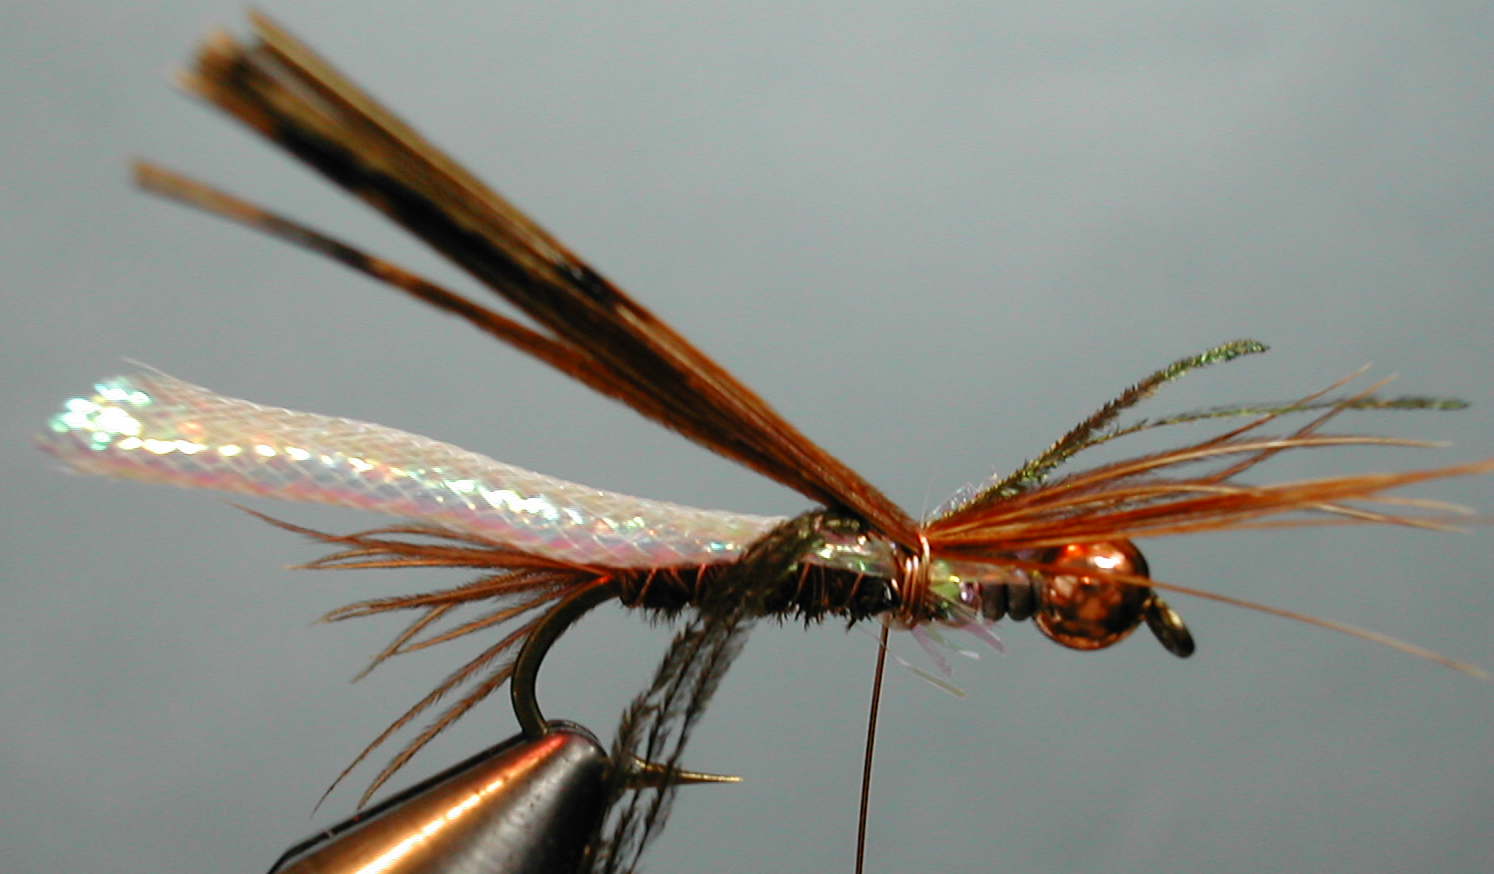 |
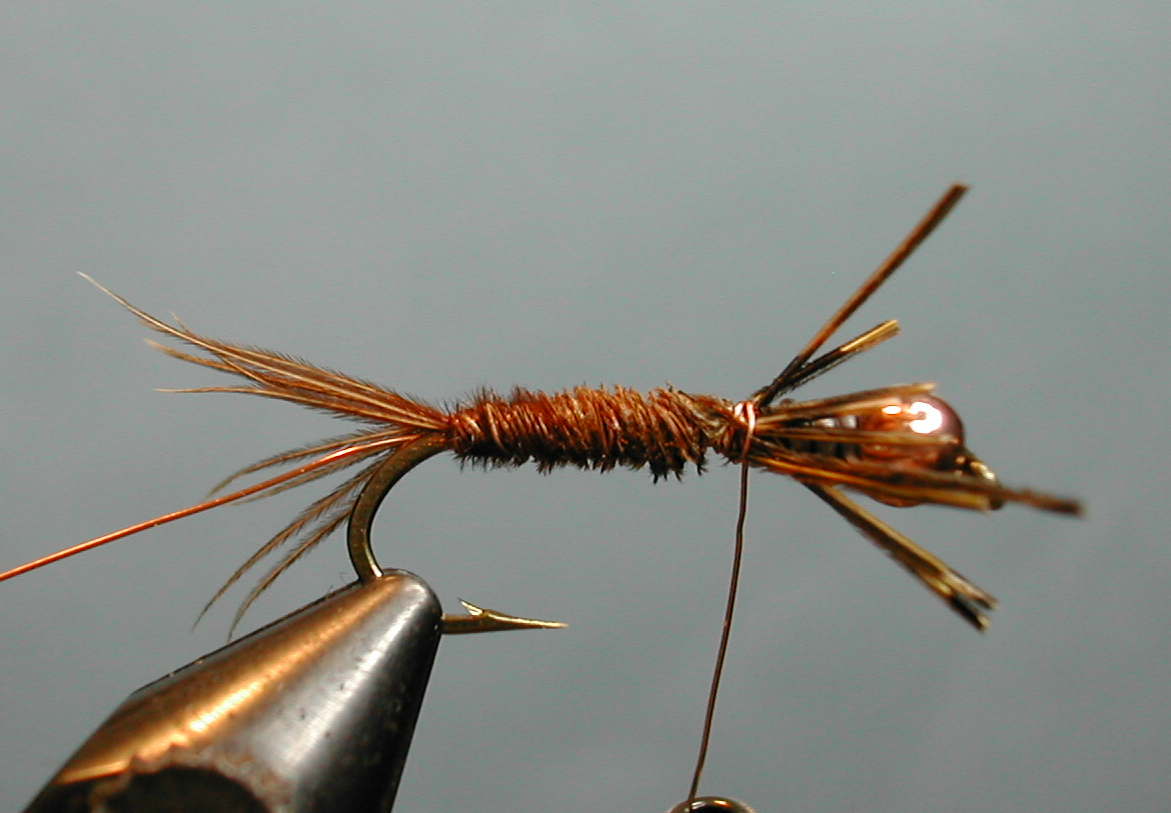
This looks like a terrible mess, but it will get better very soon. Tie in the following three materials one at a time with only wrap of wire per each material: pearl Mylar braid, pheasant tail fibers, and peacock hearl. Allow the tail fibers to hang past the eye of the hook about half a shank length. Tie in plenty of peacock (this fly could have used more). Tie in and trim the Mylar tubing. |
 |
This step is very important to making this fly last. You must twist the peacock around the wire. This is a skill that is only learned by trial and error. If you wind it too loose it will have large gaps when you wrap it forward. If you wind it too tight it will break the peacock and you will have to start over at the last step. |
 |
Wrap the peacock "cable" that you made forward. Then while holding the thorax together with your left index finger, separate the hearl from the wire, and tie the peacock off. Then trim away the left over peacock, and the butt ends from the pheasant tail. You can see that this fly would have looked much better with a little more peacock. |
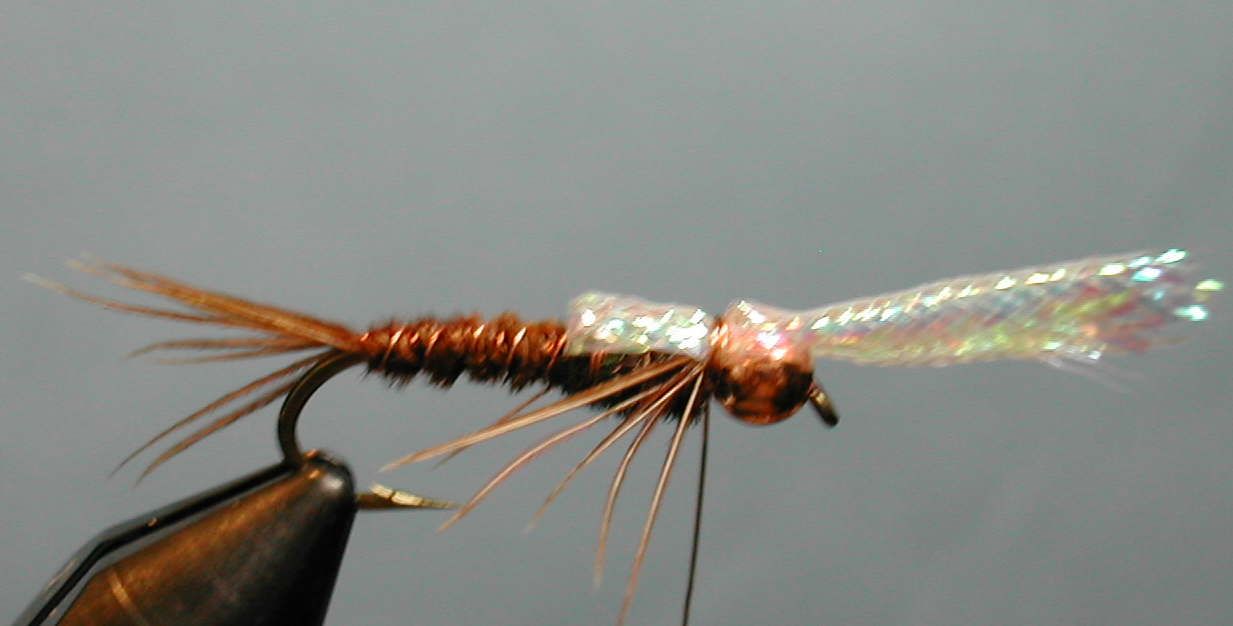 |
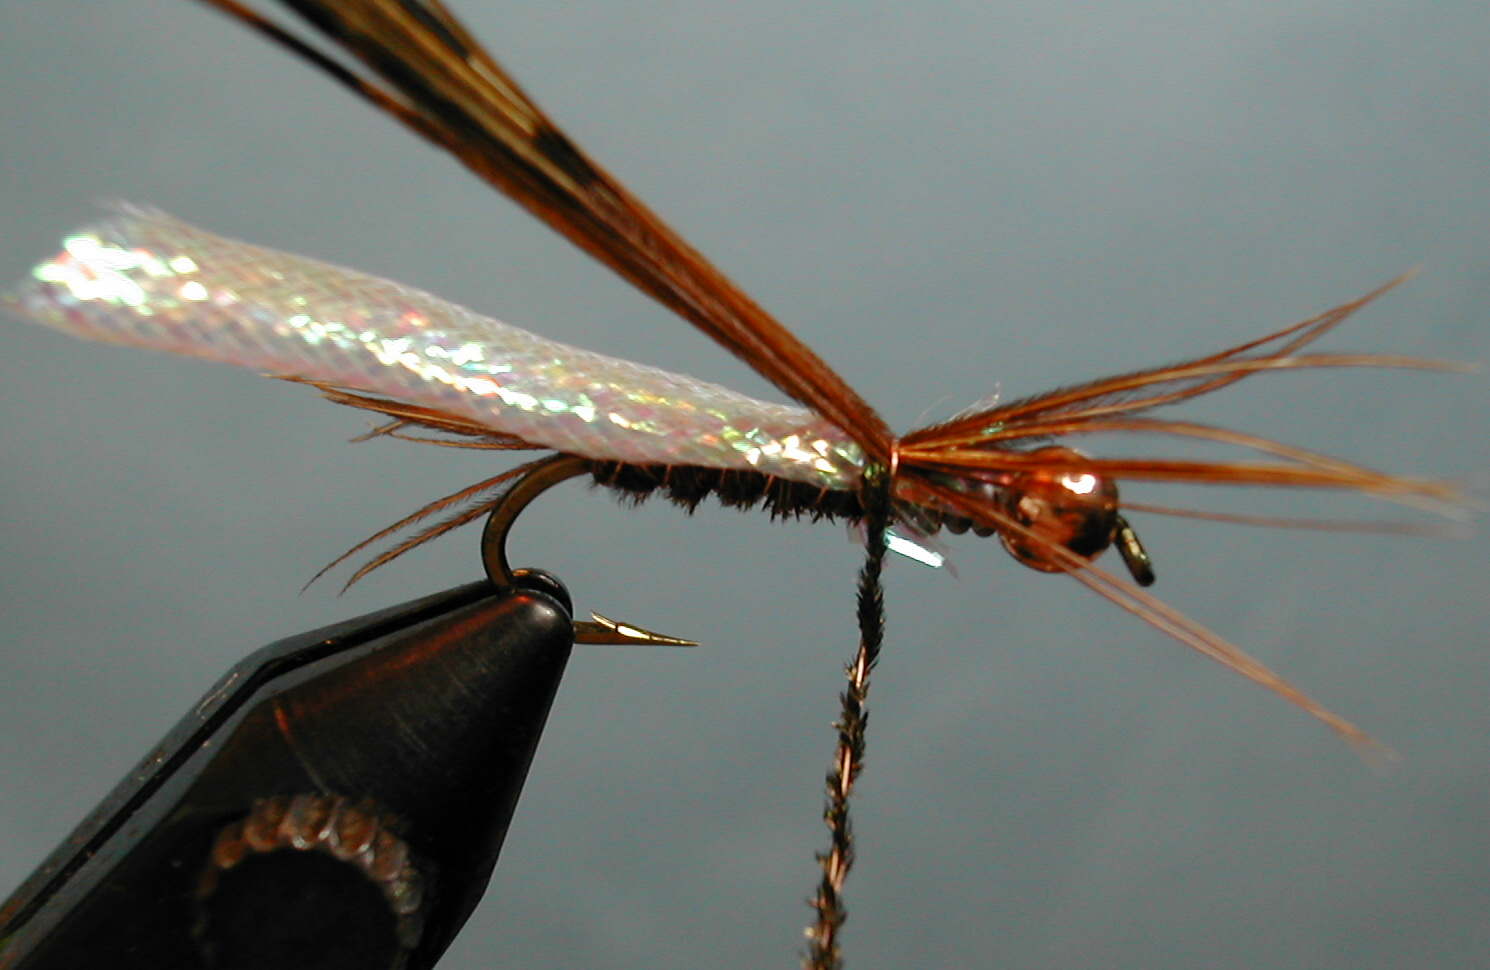
This is the worst image in the set, but I think you can still see what has to happen. Folding the wing case forward causes the legs to split to each side. It is a good idea to separate them into somewhat even bunches before your fold the case forward. Tie the Mylar off behind the bead and pull the legs toward the back of the fly. |
|
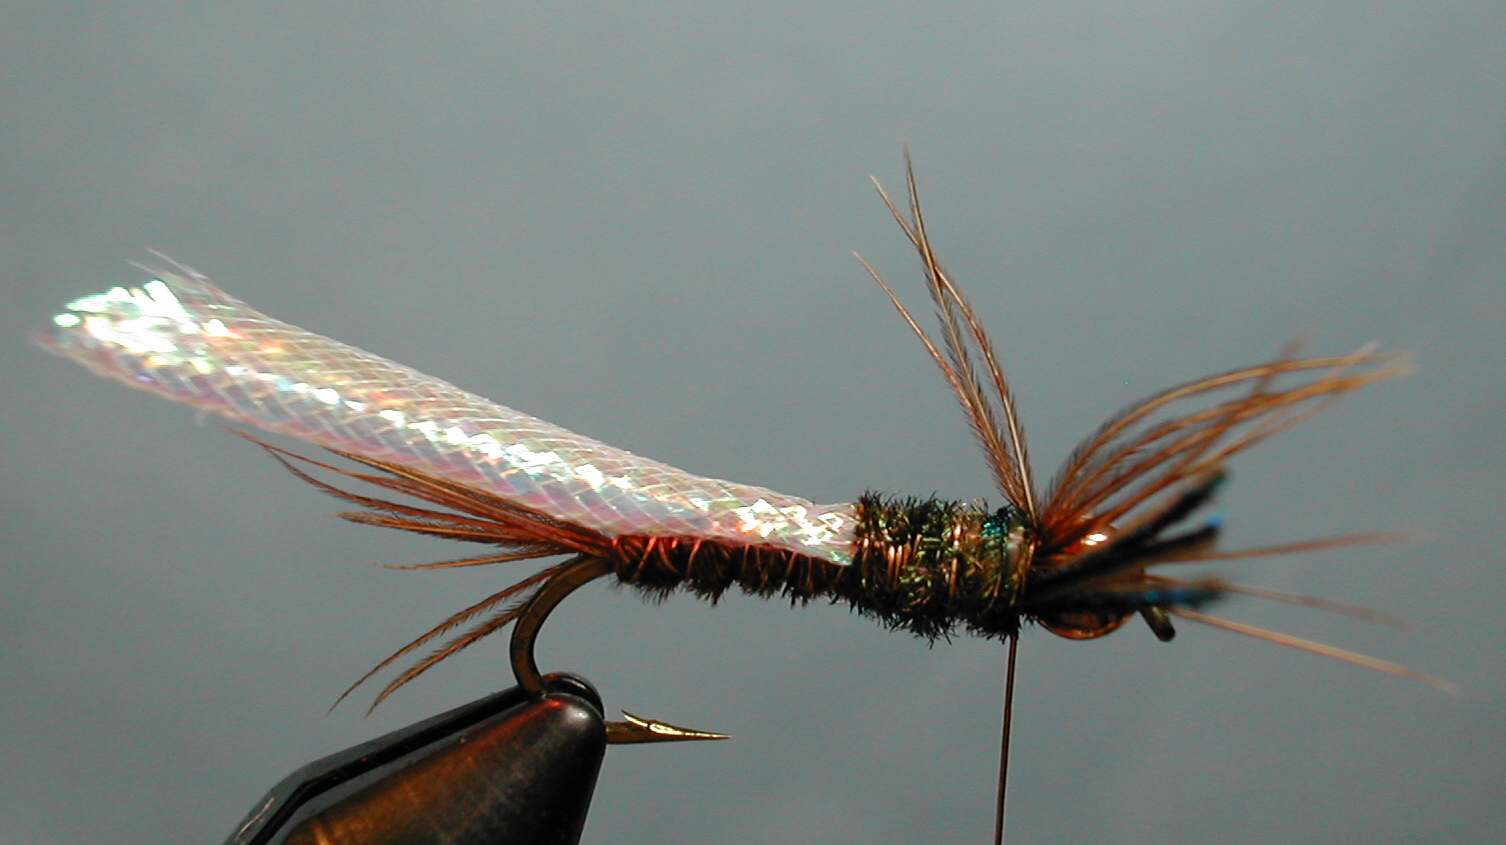
Trim the Mylar off and whip finish the wire. Viola! a very tough fly. |