How to: Make a Bouffant scrub hat
So you work in the OR and you're into crafts? Want to learn to sew a bouffant hat for yourself? This hat uses a flat front for comfort, and an elastic back for fit. One size fits most if you have short hair. If your hair is long, see the advanced tips at the end.
If you've never sewed much before, start with tips. If you are slightly more experienced, start with "Gathering Supplies".
Tips for beginners
- What hardware (reusable suplies) do I need to make a hat?
- You could hand sew the hat, but that would take far too long. I recommend either a basic sewing machine that can sew straight lines and a zig zag stitch, or a serger machine. You will need a 'bobbin' for your sewing machine. The bobbin holds the thread inside the machine to stitch the back side of the fabric. They come in metal or plastic and a few different sizes. Read your sewing machine manual to see which size you need.
You will also need a needle. Any craft/sewing needle should be fine. The bigger the needle you buy, the bigger the hole in the fabric. After you stitch a line, one thread is on the front of the fabric and a second is on the back. Use the needle to pull the one on the front through and knot both threads together on the back. Along with needles pick up some craft pins.
You will also need a pair of scissors capable of cutting fabric neatly. If you don't plan on making many hats, some average 8" craft scissors should do. If you plan on sewing alot, invest in some nice sewing scissors.
You also need a ruler to measure the size of the rectangles, some string (or use a length of the thread you bought) and a pencil. You will need a safety pin to thread the elastic. If you are really really neat you may want an iron to press the fabric as you sew.
- What kind of software (consumable supplies) do I need to make a hat?
- You will need at least 1/2 yard of cotton or cotton blend fabric. At a craft store ask for quilting fabric, calico fabric, or if you want fancy hats, batik dyed fabric. Different fabrics cost different amounts, check sale racks for end-of-the-bolt remnants or out of season holiday fabric to save money.
You will need cotton thread to stitch with. The thread should match or at least coordinate with your hat. You only need a small spool of thread to make a few hats (you will have lots left over).
You will need some elastic for the back of the hat. 1/4" or 3/8" elastic fits nicely in the hat band. It usually comes in a little package for not too much money, or you can have a length cut at some stores. How much you need depends on how big around your head is, and how snug you want your hat.
You will also need some paper to trace the template or pattern on to.
- I'm confused. Can't I just get a shopping list?
- Sure. Assuming you have a sewing machine and the needle and bobbins to go with it:
1/2 yard (or 2/3 yard) cotton fabric, one spool matching thread, one pack basic craft needles, one pack basic craft pins, one pair 8" craft scissors or sewing scissors, one pack 1/4" or 3/8" elastic, one pack safety pins, paper for pattern tracing, one pencil, one ruler or measuring tape.
- How do I draw the circle?
- The easiest way it to tie a piece of string to a pin and a pencil so they are 9" apart for the small hat. Pin the pin to the fabric near the center of the circle. Take the pencil and pull the string taught, and trace a circle. Its not important for the circle to be perfect, just kind of close to a circle.
Alternately: you can fold the fabric carefully and cut along the edge to approximate a circle the full width of the fabric piece.
- Fully unfold fabric piece
- Fold the top of one thickness of fabric in a triangle.
- Fold the triangle in half. Notice the top center points, this is the center of the circle.
- Fold in half again.
- Fold the point at the top in half one last time.
- Cut in a slight curve along the marked edge to approximate a circle.
Since the circle will be gathered, it does not need to be perfect, just close enough.

- How long does it take to make a hat?
- It took me 2 hours the first time I made one. I was familiar with my machine and how to thread it. As I make more it gets faster each time. You should be able to make one in 2 hours if you are new or slow, and in about 30 minutes if you are fast and experienced.
- How do I cut the pieces out in the right shape?
- Turn the fabric over, with the back facing up. Trace the pattern pieces onto the fabric with a pencil. Cut along the pencil lines.
- What is a selvege?
- The selvege is the finished edge of the fabric on the bolt. It is often not patterned (or white) and frequently has little holes in it. The circle piece for your hat may go into the selvege a little, and its okay as it will be hidden in the seam allowance.
- What is a seam allowance?
- That is the space from the edge of the fabric to the sewn thread line. We will use a 3/8" seam mostly, as this is a common marking line on most sewing machines.
Gathering Supplies
You will need a piece of fabric approx 1/2 yard by a little longer than a 1/2 yard to make a single small hat. These directions show you the layout to make 2 small hats from a single piece of 45" wide fabric (the most common size of fabric from a bolt) 1/2 yard long. If you buy a piece 2/3 of a yard you will not need to seam the back band from two pieces for small hats, or you can make the medium or large hat. Since no one will really see the back band seam (it will be at your neck under the bouffant) it isn't a big deal. Since I have short hair (chin length), I've used 1/2 yard to make my hats.
Don't forget matching or coordinating thread, and some 1/4" elastic.
Choosing fabric
Most hats you find in scrub shops will be made of cotton or cotton blends, just like the scrub tops/pants. I have only made hats unsing cotton or cotton blends. I'm sure you can use other types of fabrics. Be sensible. Fabrics containing nylon (fleece, etc) may not be allowed in your OR. Knit fabrics or stretchy fabric will be harder to sew with.
Other supplies
Don't forget to have thread to match your fabric, and a small piece of 1/4" elastic. You could sew this by hand, but I recommend using your machine or serger.
Fabric Pieces & Measurements
Front band: 13" long x 3" wide at center tapering to 1.75" wide at ends
Back band: 20" long x 1.75" wide
Main hat: 18" diameter circle (for a small hat), 22" diameter circle (standard or medium hat), or an oval for longer hair
Elastic: A long as you need to make the hat comfortable, usually about 6"-8" depending on how loose you want it.
Click your layout size to open a pattern for front band.
1/2 yard layout - small hat (or 2/3 yard layout 2 medium hats)
2/3 yard layout - small hat (requires 8.5 x 14 legal paper, or print two of the 1/2 yard layout and tape together on the "fold" line)
Layout and cutting
Note: Layouts are a junky MS paint interpretation, and not at all exact, or to scale.
Get your pattern, and pin it to the fabric in the layout shown for the length of fabric you bought. Each layout makes 2 hats. Notice the front band is on the fold in the 1/2 yard layout. Also in the 1/2 yard layout, the 4 rectangles are sewn together to make longer pieces for the back band. The total back band should be 20" by 1.75" The 1/2 yard layout only makes the smallest hats for short hair. Use the 2/3 yard for larger hats.
| 1/2 yd Layout | 2/3 yd layout |
 |  |
Sewing
Text Directions
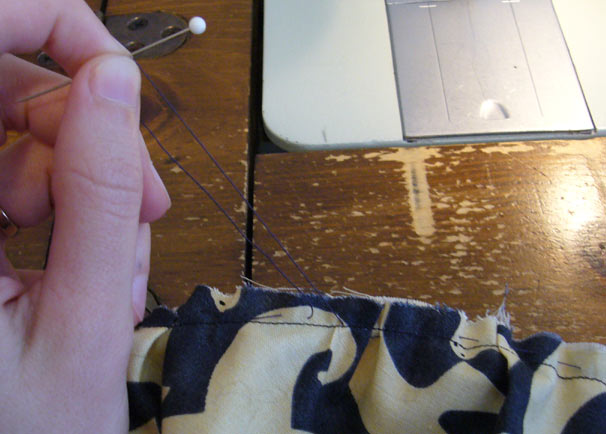
- Sew a loose running stitch around the edge of the 18" circle. This helps with gathering later. If you are feeling fancy, you could pleat the hat instead.
- Put 2 pins on the circle, one at the front center and the other at the back center.
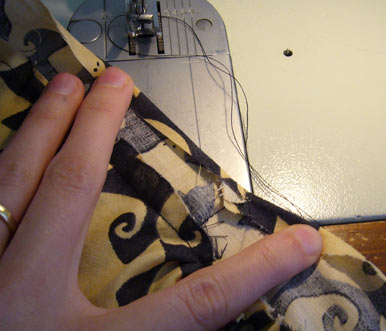
- Sew the short 1.75" edge of the front band to the short 1.75" edge of the back band with right sides facing each other. Repeat on other end.
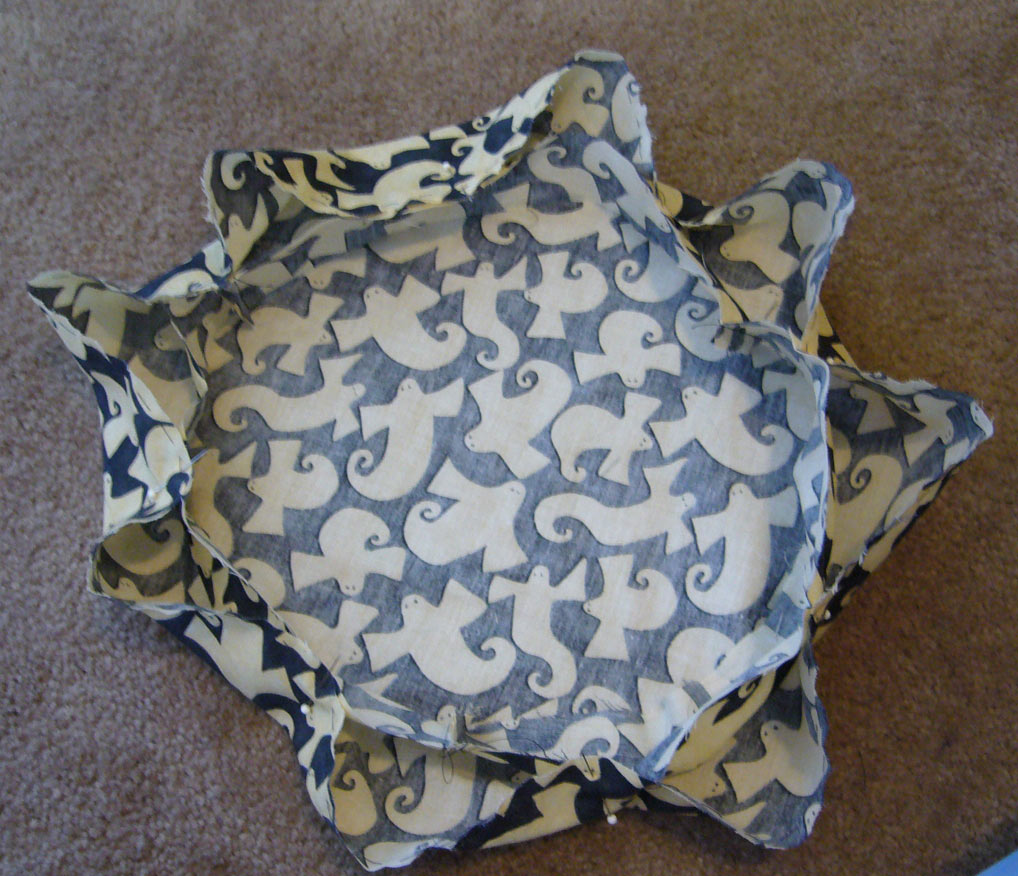
- Pin the completed band with 8 evenly spaced pins, making sure to start witht eh center of the front band.
- Pin band to hat. Deatil: Line up the front center pins, and pin hat band right side to the wrong side of the circle. Pin the center backs together. Pin the back band flat to the hat, leave no gaps for gathering. There will be a big gap n the fron, this is where the gathers will be. (phot is only partially accurate)
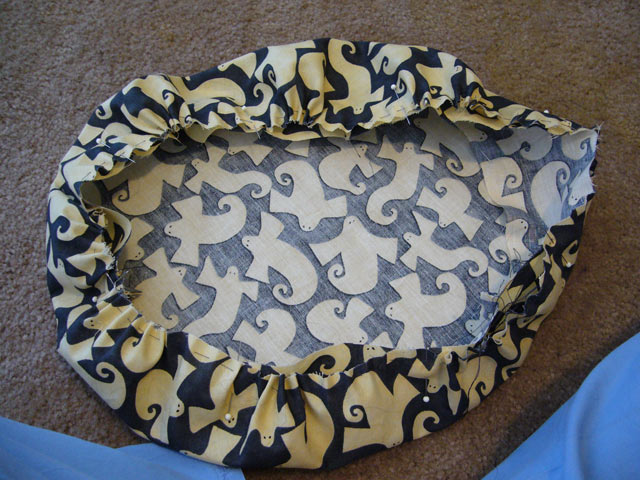
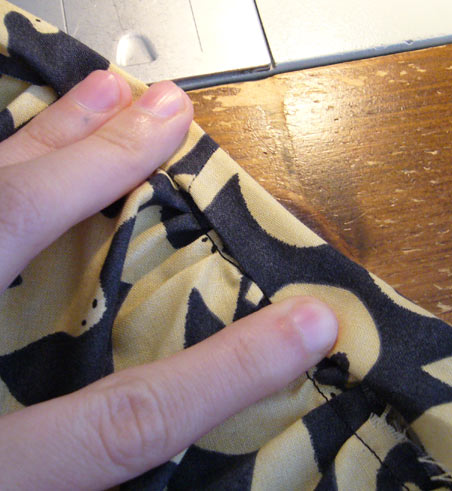
- Pull the gather thread from step 1 to make even gathers around the front of the hat.
- Sew a 3/8" seam where gathered edge of hat and band meet.
- Remove the thread you use to gather the hat. (Unless you did it really really close to the edge it will show on the finished hat, so take it out)
- Press hat band at seam if desired.
- Press a 1/4" or 3/8" seam on the free edge of the hat band. (don't get out a ruler, just estimate)
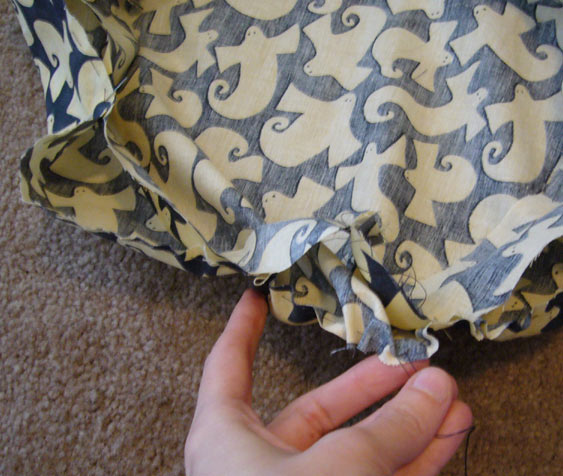
- Roll the band in half. (The new pressed seam allowance lays next to the last seam. Hard to describe, see pictures) Pin if desired.
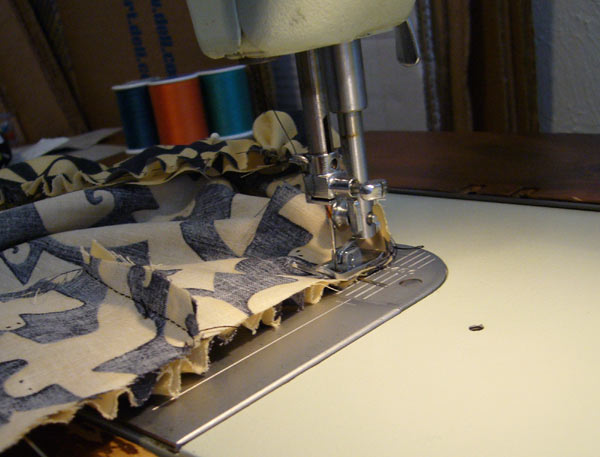
- Sew around the front band to close the front of the hat. Sew very close to the old seam.
- Leaving a 2" gap one each end for sewing in the elastic, sew the back band like the front band.
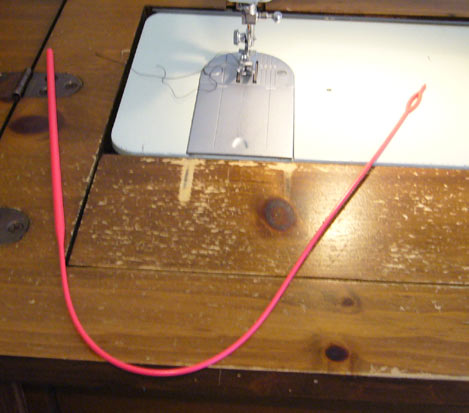
- Thread the elastic through the back band. Use a safety pin, bodkin, or other device to help thread the elastic through.
- Using a zig zag stitch, sew the elastic to the back band of the hat.
- Either using the machine or by hand, stitch the openings by each end of the elastic closed.
- Tie up all the loose threads to the inside of the hat, and enjoy your new hat.
|
Image Help
Click the links to open images related to the steps below.
Step 1: Running Stitch
Step 2: Pinning
Steps 3&4: Band pinned & sewn
Step 5: Pinning band to hat
Step 6: Pulling gathers Finished Gathers
Step 7: Sewing
Step 8: Removing the gathering thread
Step 9: Pressing
Step 10: Pressing the seam allowance on free edge
Step 11: Turn the edge Edge turned in
Step 12: Sew close to the old seam
Steps 13 & 14: The gap on one end of the front band to thread elastic through using an elastic tool
|
Advanced tips
So you have the basics down and you're looking for tips? Keep these things in mind when sewing your hat:
- Press the seam allowance from the front band/back band seam towards the back band.
- You can use a smaller seam allowance to make a larger front band and a biger pocket for the elastic.
- Hat not 'pouffy' enough in the front? Try sewing the back band seam flat (no gathers), and putting all the gathers/pleats along the front half of the hat.
- If you are using 1/2 yd of fabric, mark the direction for the center back seam allowance with a pin. This way you dont get stuck pushing against it when you try to run the elastic through.
- Having trouble threading the elastic? Use a safety pin on one end to push it through, or get a tool called a "bodkin" which looks like some kind of tiny torture device to grip the elastic.
- Still having trouble with the elastic? If you plan to make alot of these try picking up a tool used to help you thread cords/elastic I love mine!
- Have longer hair? Use either a larger circle or use an oval 18" on the narrow axis and 22" or longer on the long axis. Sew the front band on so that the hat is longer than it is wide. Using an oval lets you have more room for your hair, but not as much pouf on the sides.Click to see descriptive image
- Elastic wearing out? Purchase a cord lock for your elastic. Use a longer length of elastic and sew a button hole in the middle of the back band (or just off center if you used 1/2 yard fabric). Pass a loop of elastic out of the buttonhole and clip it with the cord lock. Now your hat will stay snug even after the elastic fails.