| The Secondary Coil |
| Specs: Diameter - 6.625" Coil Height - 24.5" Height/Width Aspect ratio - 3.7:1 Wire - #26 AWG enameled No. of turns - 1,441 Total Inductance - 82.9mH Operating frequency w/topload - 105kHz |
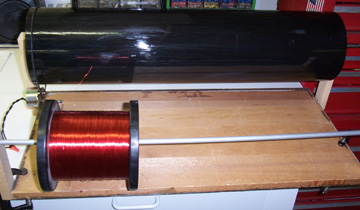 |
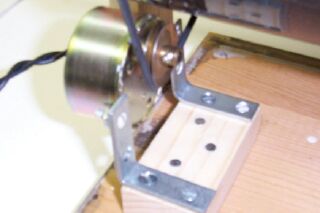
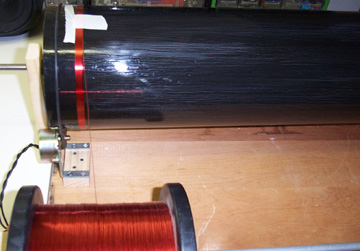
| I obtained a 6.5 inch diameter length of ABS drain pipe as the form for the secondary coil, and cut it to a length of 26.5 inches. Several days of careful preparation went into it. First the ends were squared up, then the the form was thoroughly washed to remove all dirt and debris. After initial drying from a heat gun for several minutes it was hung from the ceiling and let to completely dry out for 48 hrs. I sanded the tube first with 80-grit sandpaper to remove all rough spots, bumps, and the manufacturer's ink stamped on the side. This was followed by sanding again with 160-grit sandpaper which made the surface as smooth as glass. After a complete wiping down and inspection for any surface imperfections, the tube was ready for sealing. I applied 3 coats of polyurethane varnish to the inside of the tube, sanding lightly in between coats. A winding jig is absolutely necessary for building a good secondary coil. I made and fastened wooden support mounts on a large piece of pine board. Holes were drilled in the supports to hold 2 long shafts, one for the coil form and the other for the spool of wire. I cut, drilled, and wedged 1 x 2 wood pieces into each end of the tube to act as shaft bearings. I mounted a small 110-volt geared motor that I had to the base board, and wired it to a foot-operated switch. This enabled both hands to be free. A large O-ring was installed between the motor pulley and the coil form, making the form rotate at about 8 rpm. With the form turning in the jig, I applied a coat of clear polyurethane varnish and left it spinning until dry. I sanded the coat of varnish with 160-grit sandpaper to remove dust particles and applied the next coat. I then repeated this process 2 more times, for a total of 3 coats of varnish. |
 |
 |
 |
 |
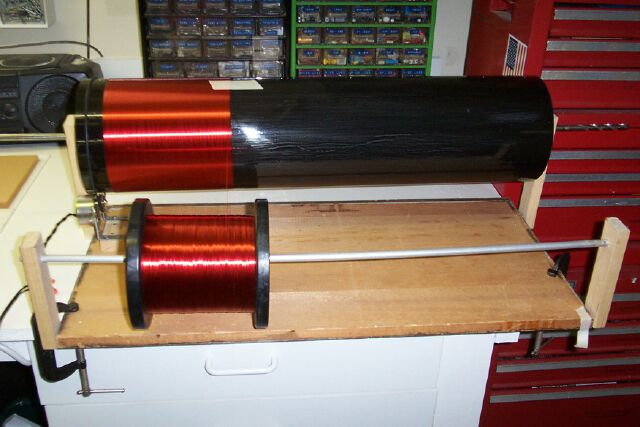 |
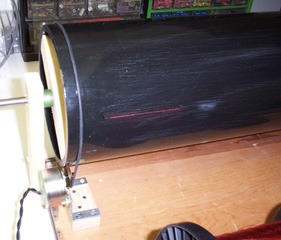
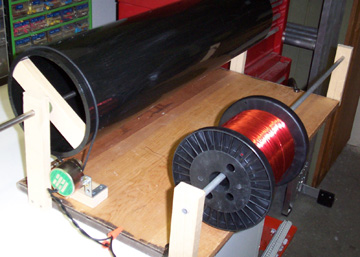
| With the form now prepped, the fun can begin. Winding the secondary is the best part of building any Tesla coil. Taking your time and paying careful attention to each turn will yield a beautiful-looking coil. The foot-operated switch allows both hands to be used, and with a coil of this size you do need both hands free. Do not drill holes into the form to secure the wire! Internal arcing can occur between the ends of the wire and that can be disasterous. A small dab of superglue on the starting end is all that is needed. Leave about 1 inch of space from the ends for the start and end points of the windings. After the coil was completely wound I applied 5 more coats of varnish with light sanding in between coats, letting it spin dry each time. This gave it an even coat and prevented any dripping or pooling. |
 |
| When the coil was completed I wrapped it in a blanket to protect it until the top deck assembly was ready. |