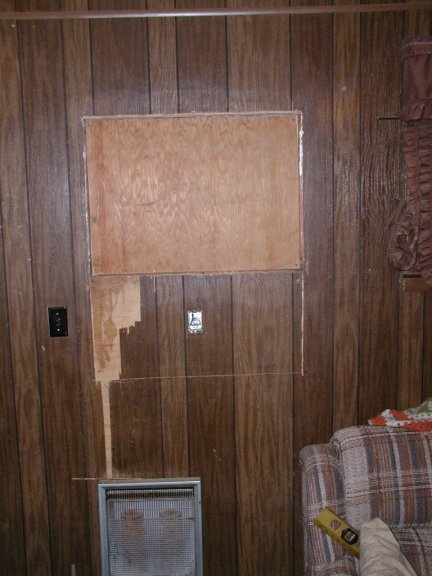
Watch it take shape as I post pics on it's construction and finishing all the way to putting my first relics in for display !
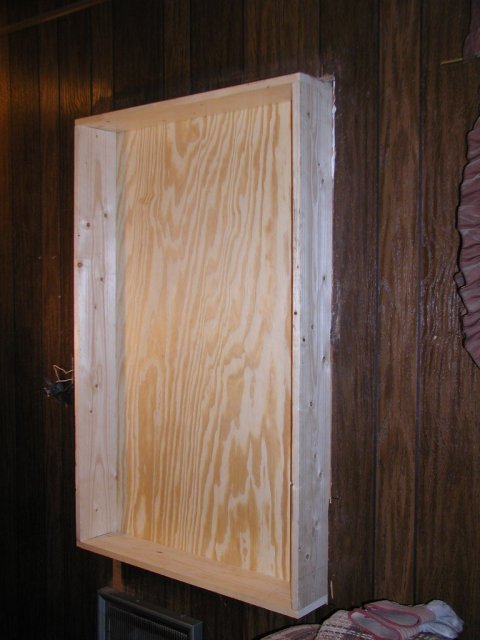

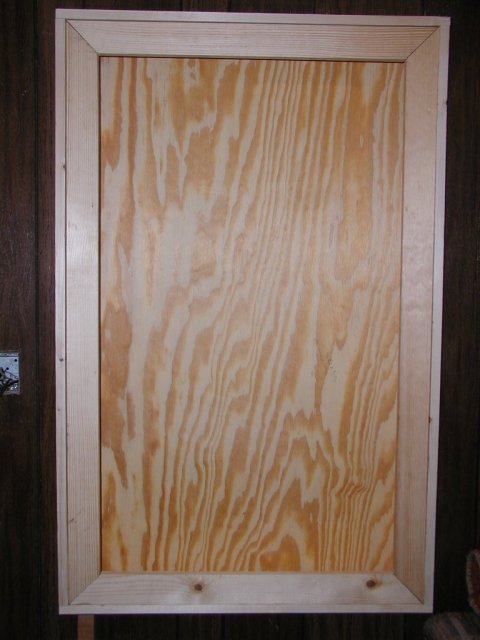
The door is constructed from 2.25" wide strips ripped from a 1X8 spruce board. I used my moulding cutter on my table saw to shape the half round design on the front of the door and used a dado cutter to cut a 5/16"X 5/16" landing for the plexiglas door insert. Glazing points will set the glas panel in the door from the rear. The case itself will be stained with Tripp Super Poly dark walnut stain.
I will use plexiglas shelves to hold my relics to allow light from above and below to illuminate everything.
I haven't made a firm decision about lighting. Originally I planned to use two small flourescent fixtures (one above and one below) but I am now considering trying out some new high output leds on a light strip. That will be an experiment AFTER the case is finished.
I changed the size of my door frame width to accomodate a nice old style cabinet lock.
I have now cut the dado and will run the rails and stiles through the molding cutter, then ASSEMBLY ! 3 Brass hinges on the right side, a bullet catch and half mortise bit key lock on the left will make it look NICE !
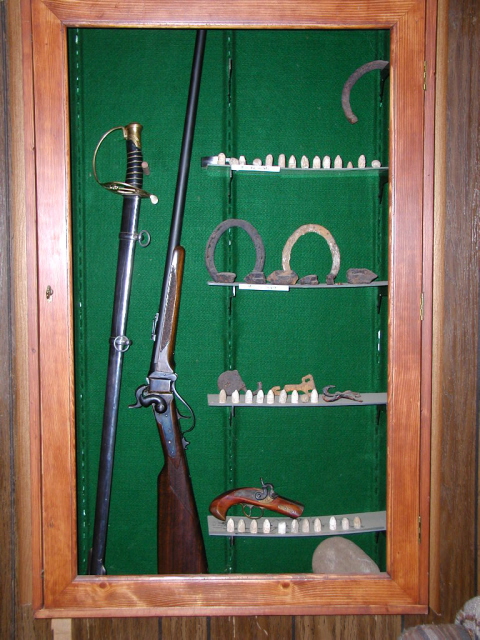
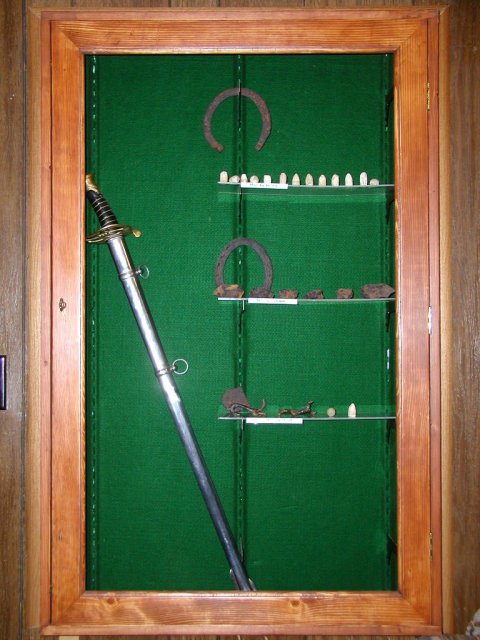
Updated with my replica Sharps 1863 rifle, more bullets and a kit Derringer I built many years ago.
Everything worked out just the way I planned it.
I have the trim up now and will not put lights in it; it just isn't needed. I will put in more shelves and relics soon.