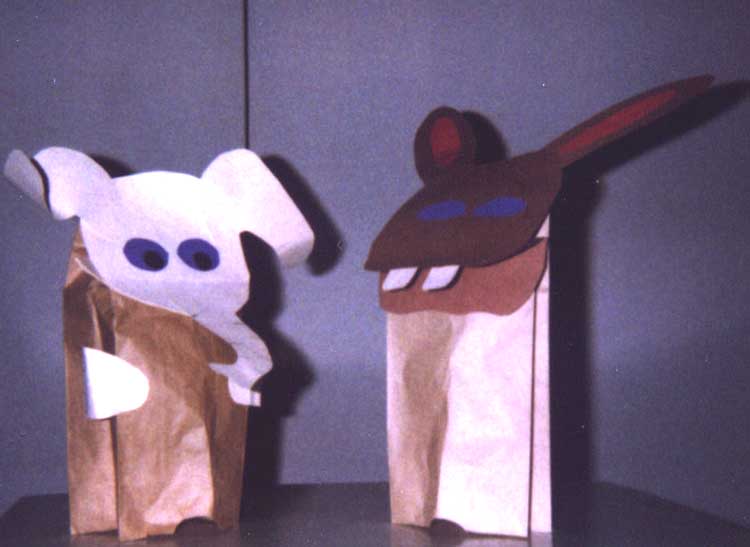
| Today we're going to make Lunchbag Puppets, like the ones I have here. You can make your puppet anything you want--it can be an animal, a person, real or imaginary. But we're going to go through the first part--the actual putting-together of the puppets--all together. Even if you think you know how, try not to get ahead. | 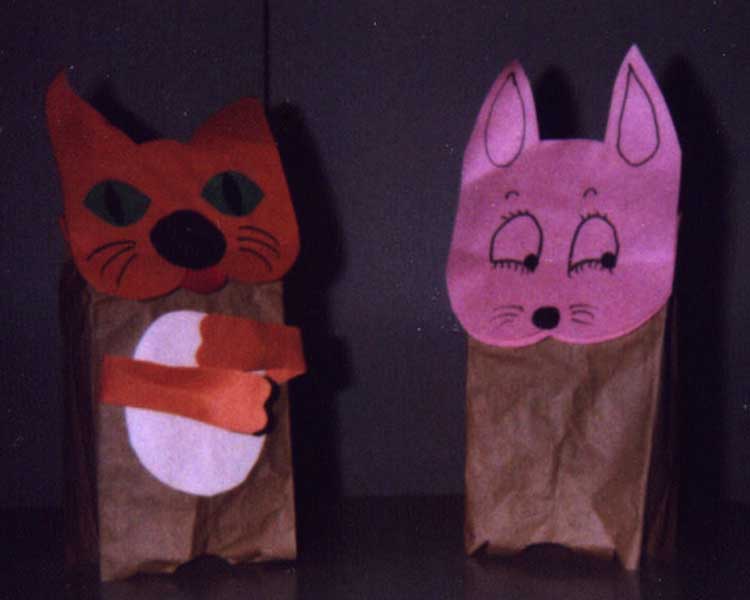 |
 |
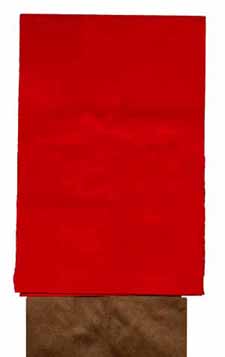
We start with one sheet of construction paper. This is the main color of your puppet, so choose carefully. Fold the paper in half the short way (like a hamburger, not like a hot dog). |
| Open it up and cut along the fold. Now you have two smaller rectangles of paper. | 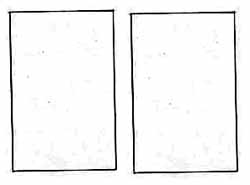 |
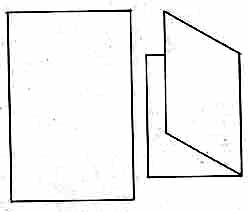 |
Fold one of the rectangles in half again, the short way, but don't cut it. Now you have one folded and one unfolded rectangle of construction paper. |
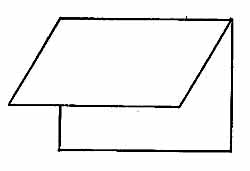
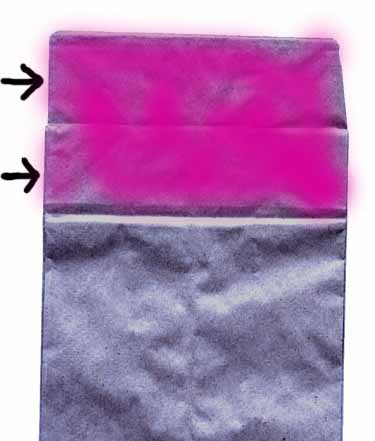
| Take your lunchbag but don't open it up! Examine it until you have found the rectangle of paper that becomes the "bottom" of the bag when it is opened. (At this point I generally have to go around to everyone and make sure they have it right.) Place the bag on the desk so that the "bottom" of the bag is at the top and facing you. (Make sure everyone gets it.) | 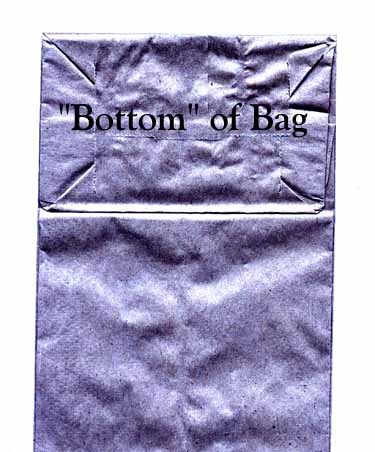 |
 |
Lift up the "bottom" of the bag as if you were opening a mouth, and fold it back. |
| This should reveal a flat surface marked by creases into two long, narrow rectangles. (Check that everyone is on the right page.) | 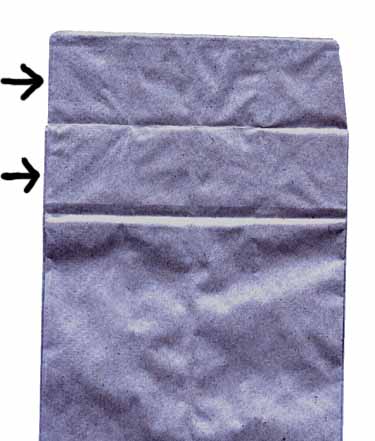 |
 |
Take your glue stick and cover both of these rectangles with glue. It is almost impossible to use too much. (Help whoever needs it.) |
| Now take your folded piece of construction paper and fit the fold of the paper into the crease between the rectangles in the bag. Close the "mouth" down on the paper and press to set the glue. (Help whoever needs it. Many students will be tempted at this point to put their hands in their puppets and make the mouths go, but try to prevent it, because it is often difficult or impossible to get the bag folded flat again afterwards, and you'll need to.) | 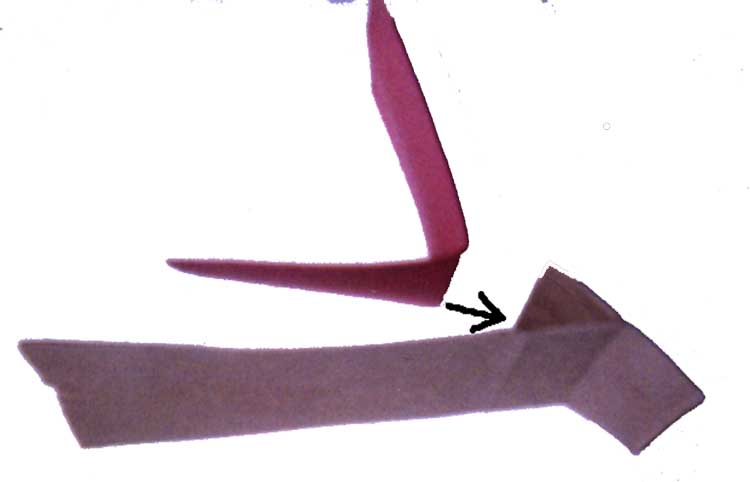 |
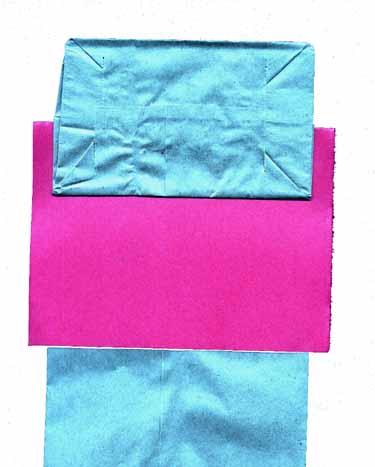 |
Place your puppet on your desk so that it is "face up," and you can see the "bottom" of the bag and the lower part of your folded construction paper. |
| Take your glue stick and cover all of the visible construction paper and the "bottom" of the bag with glue. | 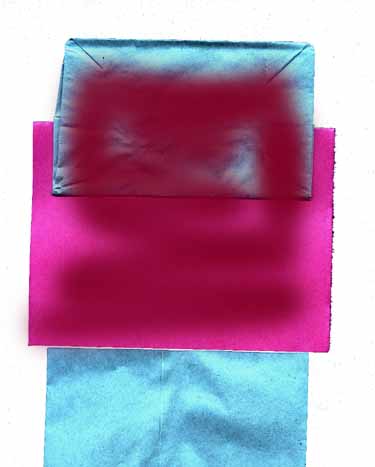 |
 |
Now take your other rectangle of construction paper and glue it to the puppet so that the bottom edge of the unfolded paper matches the bottom edge of the folded paper, and the top of the unfolded paper sticks off the top of the puppet. |
| Now you have finished the assembly part of the puppet-making process. You can put your hand inside and make the mouth work, like this. Don't do it too much, though, until the glue has a chance to really dry. |  |
 |
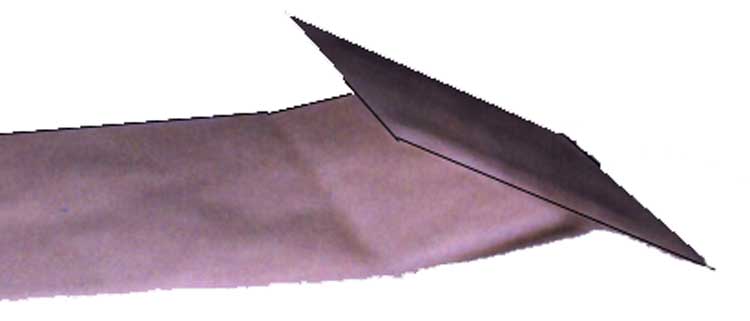
Your next step is to cut the top of the head and the mouth into whatever shape you want. One warning, though: You can cut the paper into any shape or size as long as you DON'T CUT THE BAG! (I generally have to go around and show everyone how to tell where the bag stops, so they can avoid cutting into it when shaping their mouths, and still a few usually manage to do it. That's why the extra bags, and why I always make one myself, which I can let a student have if one makes a mistake.) |
| Once you've cut your puppet's head to the shape you want, you can decorate it with markers or by gluing more construction paper to it. By the way, that's another way to make the head a different shape. If you want really long ears, for instance, don't try to cut them into the puppet's head--cut them out of a second sheet and glue them on. You can also glue arms, legs, tails, etc onto the body of your puppet if you want. | |
|
You're done! Wow! |
E-mail me! matt_buchanan_88@post.harvard.edu