You Will
Need / Templates / Making the Puppets
/ Manipulating the Puppets
Japanese
Doll Theatre Puppets
 These puppets are not intended to duplicate any kind of Japanese puppet.
Rather, they are similar in CONCEPT to the puppets used in Bunraku and
other Japanese "doll theatres." They are incredibly simplified compared
to these puppets, which can take a lifetime to learn to make, but they
allow students to begin to understand some of the ideas of this kind of
puppetry. Central to the project is the fact that, as in Bunraku,
the puppeteers are always plainly visible--indeed, as a friend of mine
put it, in a way the puppeteer IS the puppet. Also important is the
idea of creating a puppet whose character is clearly delineated by its
dress and apppearance. I usually show my students lots of pictures
of Bunraku puppetry before we begin, but they are not required to try and
make their puppets "look like" the puppets in the pictures. (Although
I see no reason you couldn't do that if you wanted to.) Rather, they
are asked to imitate the level of detail (many students refuse to believe,
at first, that they are looking at puppets rather than real people) and
the way that the puppets' dress and appearance define them. When
it comes time to manipulate the puppets, we again imitate concept rather
than actual story. Instead of acting out "Japanese" stories with
the puppets, we concentrate on making the movements of the puppets lifelike,
on convincing interaction between puppets, and on the way that the body
of the puppeteer reflects the affect of the puppet.
These puppets are not intended to duplicate any kind of Japanese puppet.
Rather, they are similar in CONCEPT to the puppets used in Bunraku and
other Japanese "doll theatres." They are incredibly simplified compared
to these puppets, which can take a lifetime to learn to make, but they
allow students to begin to understand some of the ideas of this kind of
puppetry. Central to the project is the fact that, as in Bunraku,
the puppeteers are always plainly visible--indeed, as a friend of mine
put it, in a way the puppeteer IS the puppet. Also important is the
idea of creating a puppet whose character is clearly delineated by its
dress and apppearance. I usually show my students lots of pictures
of Bunraku puppetry before we begin, but they are not required to try and
make their puppets "look like" the puppets in the pictures. (Although
I see no reason you couldn't do that if you wanted to.) Rather, they
are asked to imitate the level of detail (many students refuse to believe,
at first, that they are looking at puppets rather than real people) and
the way that the puppets' dress and appearance define them. When
it comes time to manipulate the puppets, we again imitate concept rather
than actual story. Instead of acting out "Japanese" stories with
the puppets, we concentrate on making the movements of the puppets lifelike,
on convincing interaction between puppets, and on the way that the body
of the puppeteer reflects the affect of the puppet.
You
Will Need:
-
Heavy card stock (8.5x11), enough for two sheets (one and a half, really)
per student.
-
A printout of the two templates below (or just draw your own).
-
One-inch brass fasteners (brads), enough for four per student.
-
Scissors to share.
-
Markers or crayons to share.
-
Paper punch to share.
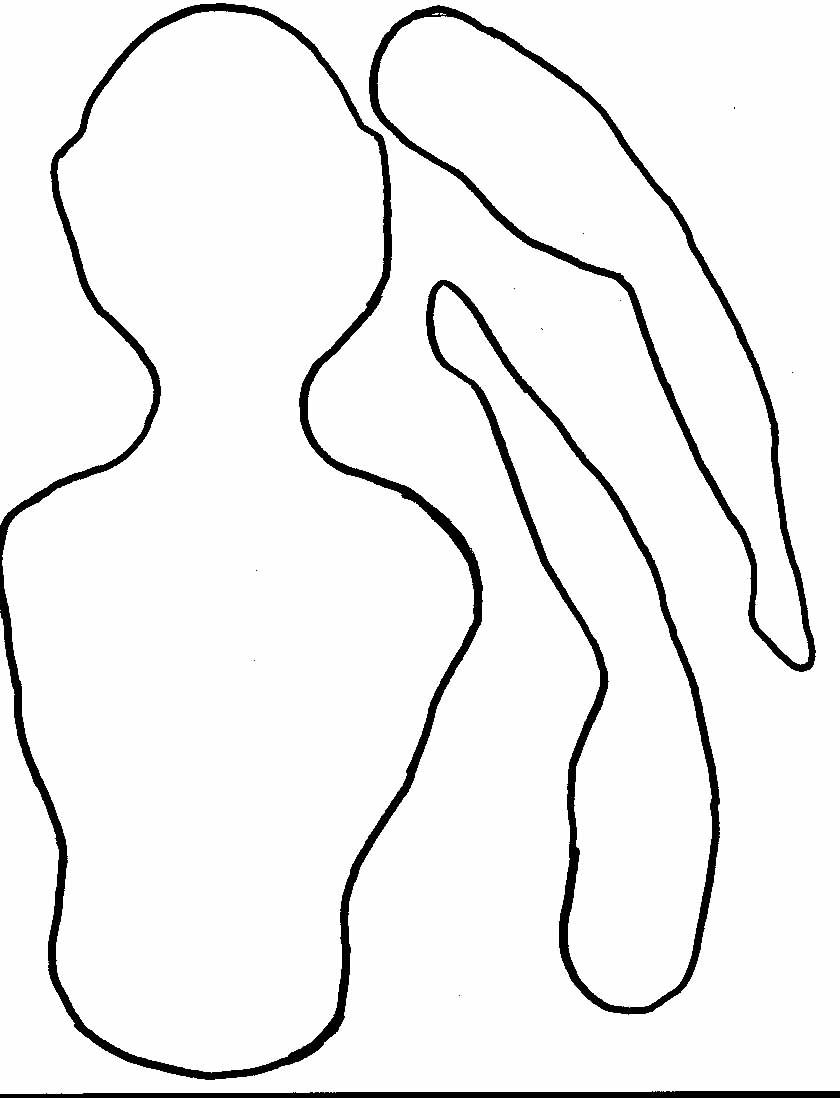
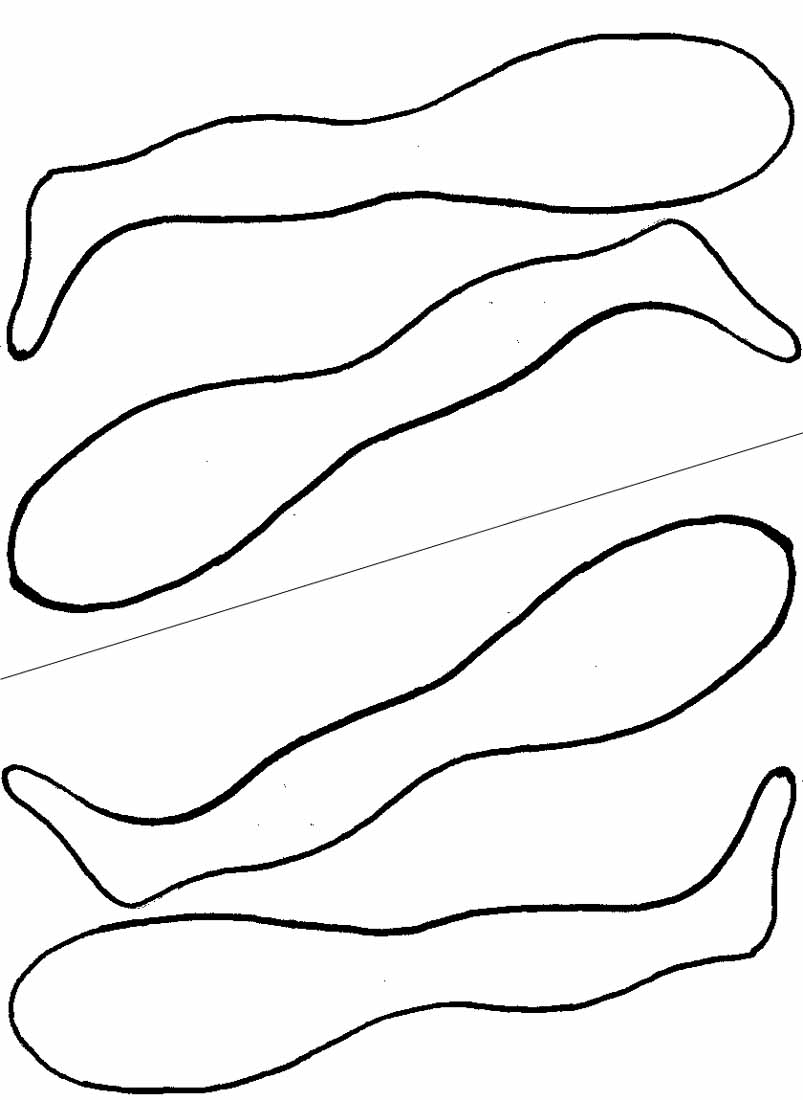
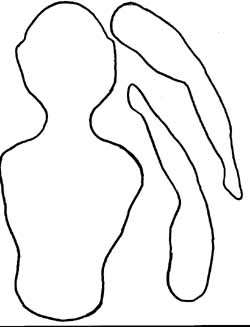
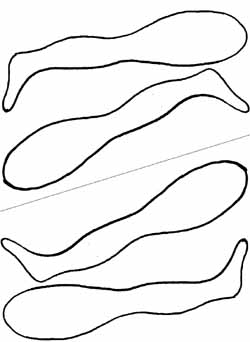
Templates
Print these so that each just fits an 8.5x11 sheet. (Or you can just
draw your own.) Photocopy on card stock enough for everyone
to have one "torso/arms" sheet and every two people can share one "legs"
sheet. (I usually cut the "legs" sheets in half ahead of time to
avoid acrimony.) Everyone's browser and printer combo handles
scale differently. If you click on the images below, they'll take
you to images that should just fit on 8.5x11 sheets, but you may
not be able to print them that size--it'll depend on your printer.
Otherwise you can print them any size and enlarge them on a photocopier,
or draw your own, using these as models.
| TORSO/ARMS |
LEGS |
 |
 |
Making
the Puppets
-
Each student gets one torso, two arms, and two legs (naturally).
Do not cut them out right away, however. The decorating comes first,
for reasons that will become clear. Set out markers or crayons, etc.
-
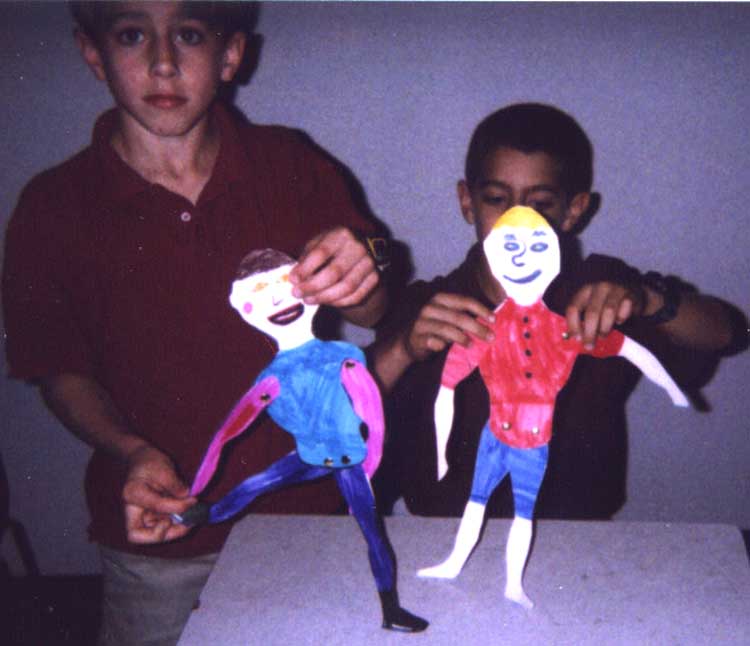
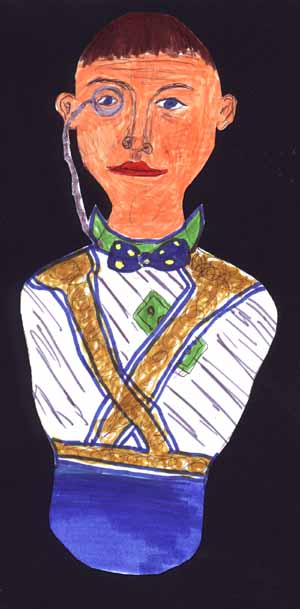
The idea is to decorate the puppets so that they represent clear characters.
I usually say something like, "When you look at a real person, you usually
can't tell from the way he's dressed or the way his face looks what kind
of person he is--other than obvious things like recognizing a cop from
his uniform. But you should be able to tell by looking at your puppet
who he is and what he is like. (The puppet below, made by a student
who really understood the assignment, is supposed to be Bill Gates!)
-
We look at pictures of Japanese puppets to get an idea of the level of
detail attained, but don't necessarily try to imitate them.
-
The puppets as drawn on the templates are more-or-less naked (or at any
rate in form-fitting clothes). Some students will want to draw clothing
on them that goes "outside the lines." This is perfectly okay.
(Equally, one can make a character who is thinner or fatter than the template.)
That's why we don't cut them out until after they are decorated.
(Plus, that way they students don't get as much ink on their desks.)
-
When the decorating is complete (which should take quite a while, if the
students are serious about the details), cut out the puppets carefully.
-
Using a paper punch, make four holes in the torso--two shoulders and two
hips--and corresponding holes in the arms and legs.
-
Using brass fasteners, attach the arms and legs as shown.
-
For the most part it works best to put the legs behind the torso and the
arms in front of it. That way the legs look more natural, and the
arms can move in front of the body. Sometimes a student will have
a specific reason for doing it the other way. (A character who is
a ballet dancer looks better with the legs in front, and one of my students
once made a burglar, and wanted him to be able to put his hands behind
his back for handcuffs.) That's perfectly okay. One of the
things I like about this project is the creative ideas it stimulates.
-
Occasionally students want to put elbows or knees on their puppets.
I generally allow this, after pointing out that it makes the arms or legs
a little shorter than they "should" be. (If you wanted to, you could
of course design templates that allowed for this. The reason mine
don't is that with only one puppeteer, four joints are about all they can
reasonably handle.)
Manipulating
the Puppets
Real Bunraku puppeteers spend years learning their craft. They use
their whole bodies to manipulate their puppets. Obviously we can't
really approach this level of skill in a single drama lesson. But
my students are usually able to get facile enough with these enormously
simplified puppets to make them move fairly naturally, and interact with
each other. I stress that, as in Japanese puppetry, there is no need
to hide the presence of the puppeteer. Rather than putting handles
or something on the backs of the puppets, I demonstrate manipulating the
puppets by simple moving their various parts with my hands, in plain sight.
The children quickly perceive that they are able, as audience, to watch
the puppets while ignoring my hands, and after that they have no difficulty
doing it themselves. Since these puppets are mostly about moving
bodies rather than talking, we do mostly "pantomime" stories. One
student might narrate a familiar story, while two or three others' puppets
"act it out." Try to leave time for the manipulation, or the lesson
becomes simply and arts-and-crafts project. (Nothing inherently wrong
with that, but if you're the drama teacher, you want to go beyond it.)
Back to top.
BACK TO PUPPETS MAIN PAGE
BACK TO LESSON PLANS
E-mail me! [email protected]